|
I have finished the under garments of my project, and am well on my way to being finished the bodice of the dress. Before I show you the final products that will be worn underneath the gown, here's the petticoat in progress.  The pattern pieces for the skirt and bodice.  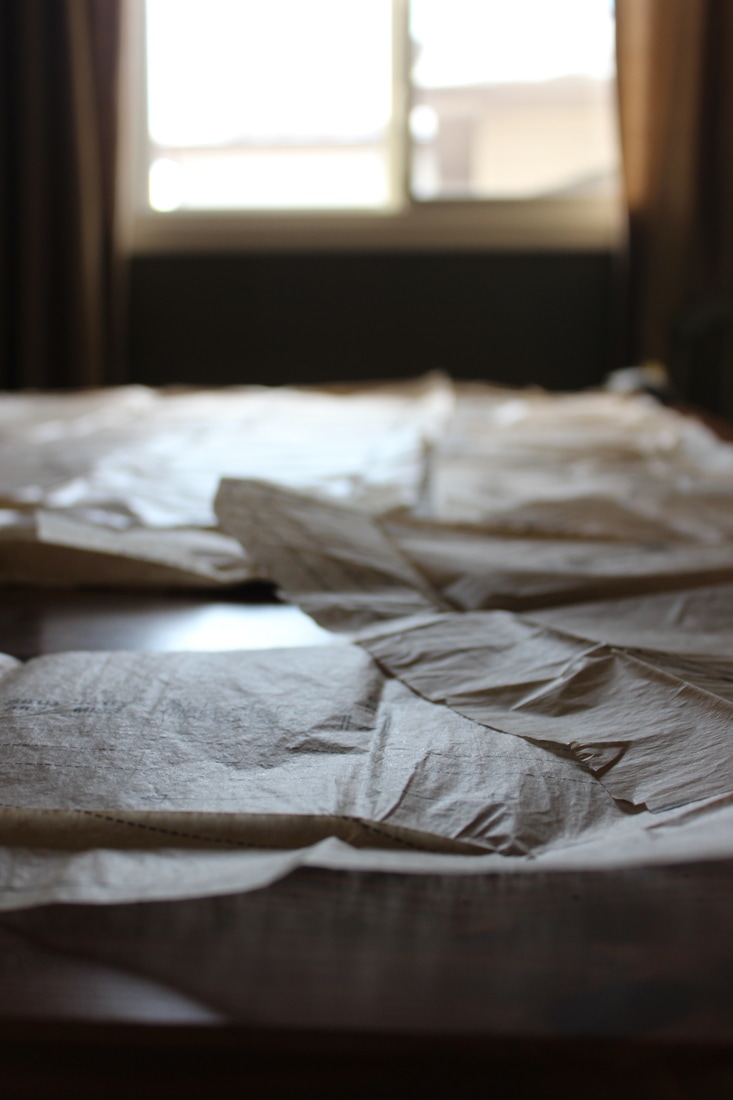 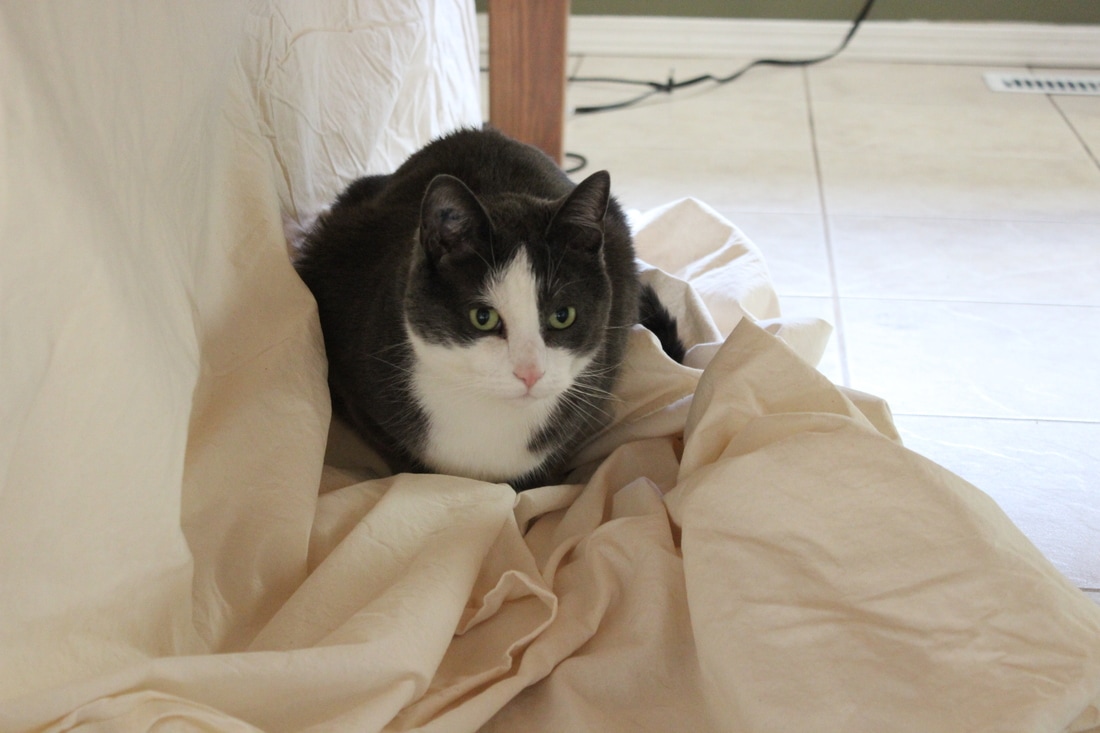 And my very helpful sewing room kitten And here is a sneak peak of all the undergarments on. This was taken before the skirt was hemmed. I am also wearing the mock-up of the bodice in this photo.  In this photo, I am wearing the completed shift, stays, and bumpad. On top I am wearing the un-hemmed petticoat and the mock-up of the bodice, without sleeves.
0 Comments
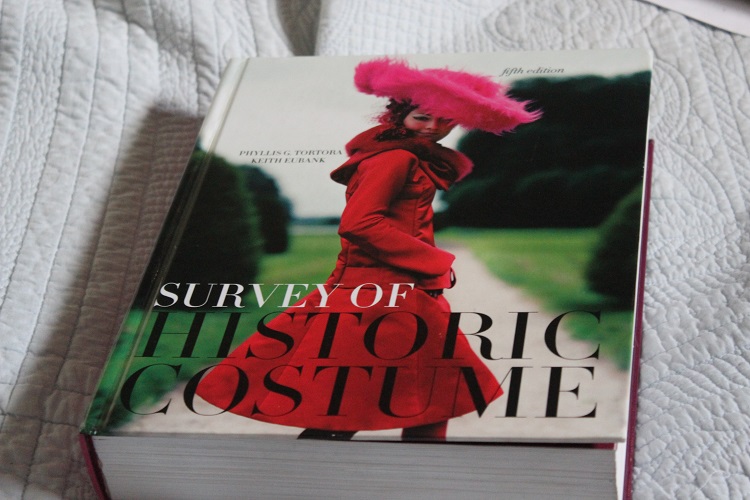 A friend of my sisters recently gave me the book 'Survey of Historic Costume', and I am so thrilled to get to look through it! It has been a huge help in the research for my project since there is a large Rococo section in the book. 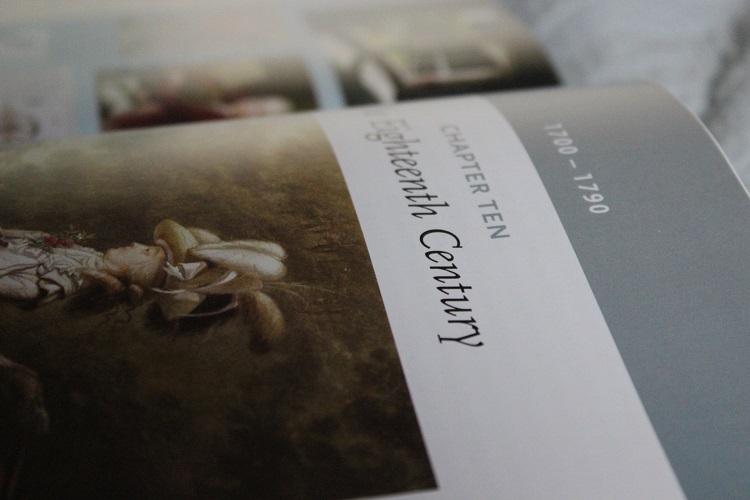 The 18th century chapter goes in depth into everyday life and the clothes that were worn. 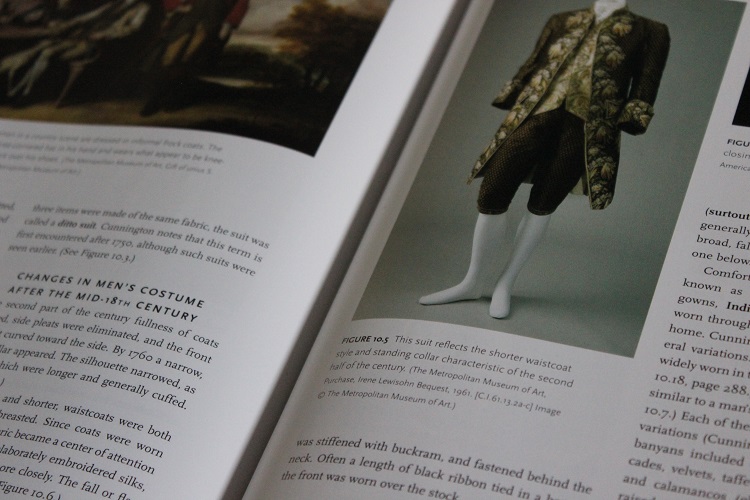 It also talks about mens clothing, which is sometimes forgotten about in costuming books. I love seeing every aspect of the 1700s. The book has a chapter that covers from 1700-1790. It explains not only the clothing worn in the era, but also other details about what was going on at that time and how people lived their everyday life. It goes into the clothing of the age in great detail, starting with what the cloth looked like and how it was made, then goes into the styles of clothing from working-class to gentility. The book also talks about how styles changed throughout the century and why. I would absolutely recommend this book to anyone who is interested in the history of clothing. 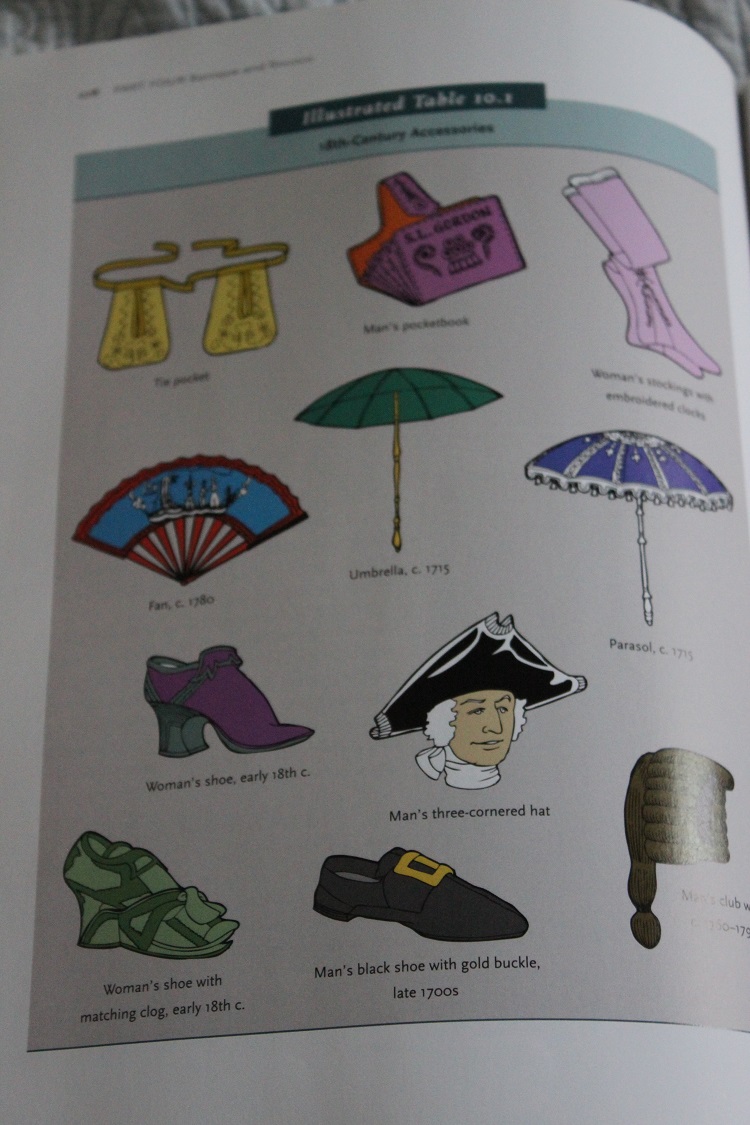 It has helpful illustrated charts about accessories and such that let you know what something is if you haven't heard of it before.  And I loved the section about cosmetics! And now for the promised Progress Report: I have been slowly but surely working on the stays of the costume. This is the most difficult part of the costume, so I cannot wait until I am finished and can finally move on the the dress and over petticoat. I will post photos of all the undergarments working together once I am finished this stage. ~K 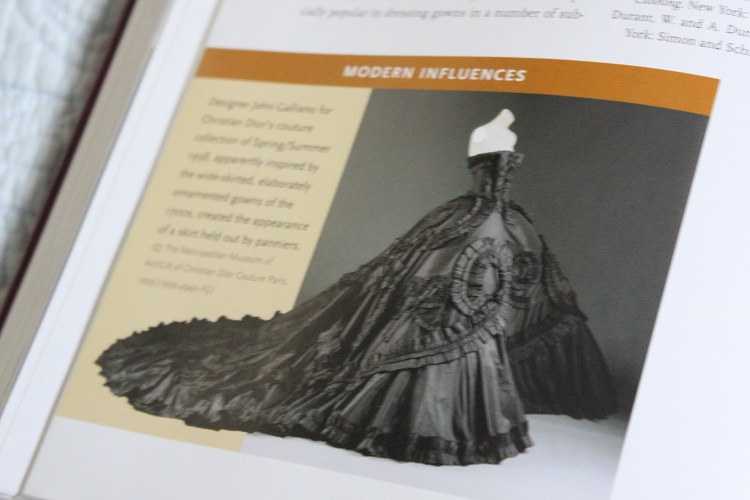 The book also finishes off each chapter with some modern day clothes that have been inspired by that era. I am in love with this Dior dress I am so excited to work on the 18th century dress, but unfortunately, I have to make all of the undergarments first. All of the things that go under a period dress are just as important as the actual dress. Without the stays, bumpad, and petticoat(s), the dress would look very flat, and without the chemise, it would be very uncomfortable. Since this is the first time I have ever created a project like this, it has been a bit slow going, since I don't have anything already made. So far, I have finished the bumpad and chemise, and I am slowly but surely working on the stays. 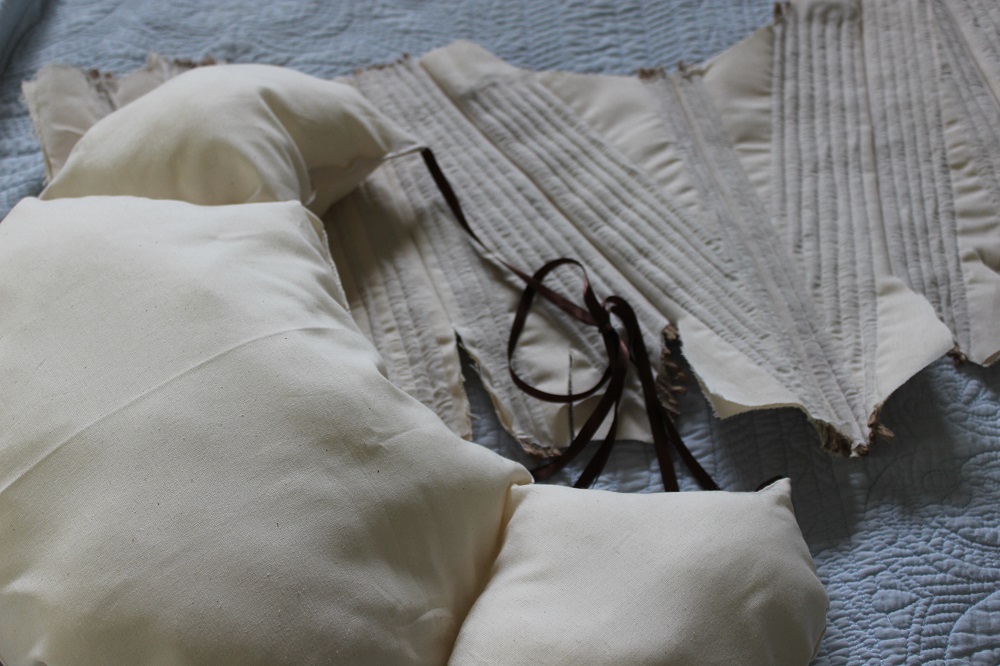 The half-finished stays and bumpad This has been a bit of a nerve-racking process, but my American Duchess* pattern has made it much easier. I was apprehensive to start on the stays since they are so different from anything I have ever made before. I decided to go with a different technique when it came to putting them together than what you would see in period garments, purely to make things a bit easier on myself. The biggest change being: I used cording rather than any type of boning. This is not accurate at all, as far as I have seen. Cording did not start in corsets or stays until the regency era. After that, it was quite popular throughout the 19th century, but before the early 1800s, I have not seen any examples of stays with cording in them in my research. 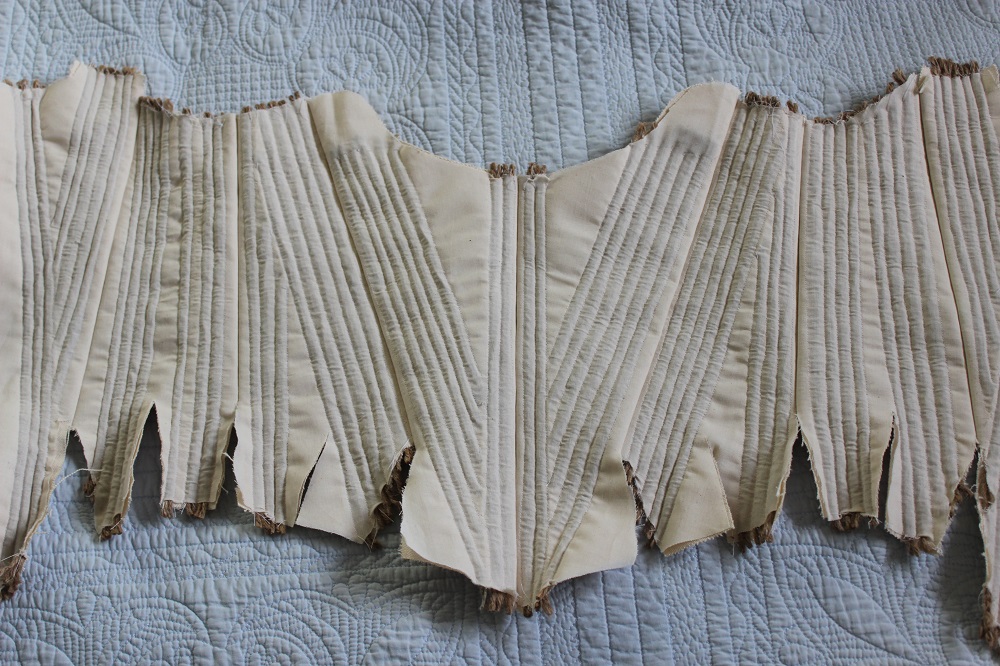 I went with cording for a few reasons. One, I have made corded garments before, so there was less chance of failing and having to start over. Also, I already had cording in the house, and I did not have to search or buy anything else. Lastly, I have never worn a corset or any heavily boned piece of clothing before, so I thought that this would be a better way of easing myself into that. Another thing that will be different and not at all period correct is that I will not be bias binding the stays. 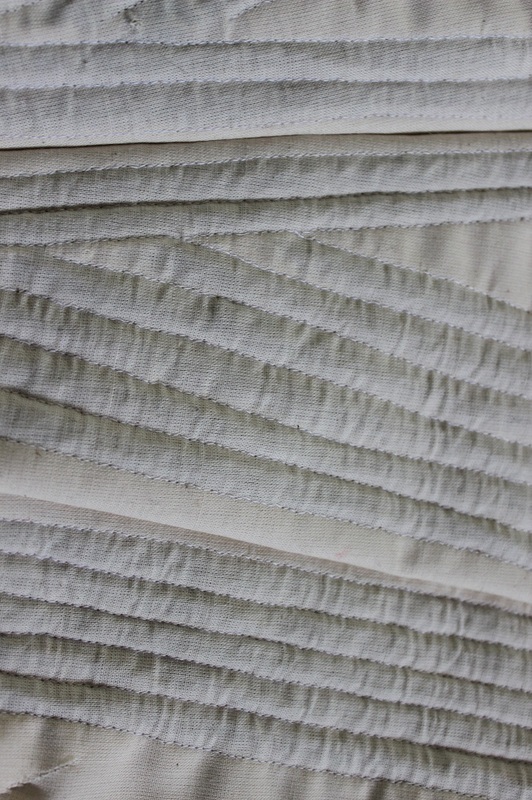 Close up of the historically inaccurate cording 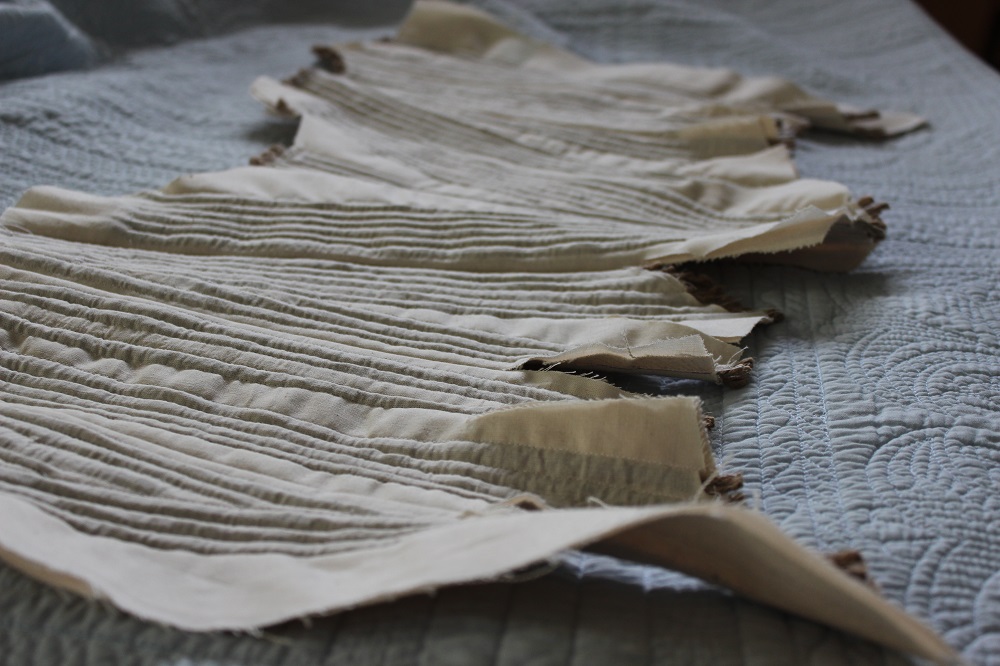 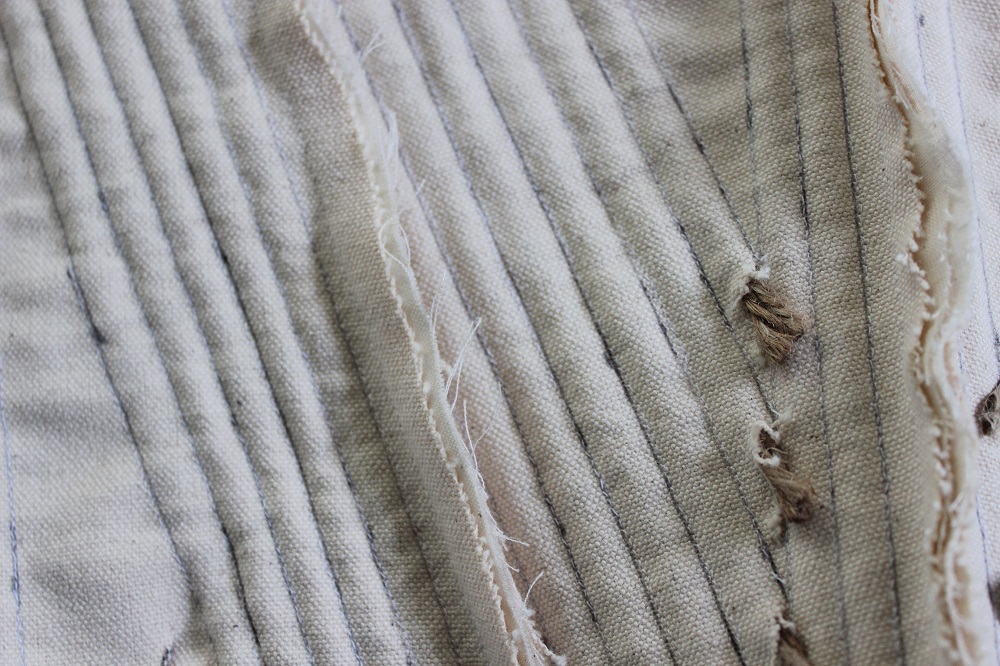 The inside of the stays. This will be covered with a lining Once the stays are finished, I just have a petticoat to make, then I'm on to the fun stuff!
~K *I am not an ambassador for American Duchess, any opinion I have about the company and their patterns are my own:) As I mentioned in my last post, not all fabrics are suited for historical gowns. For example, polyester was not around in the 18th century, so if you are trying to be as historically correct as possible, a lot of thought has to be put into the fabric used. I am going to be using cotton for my entire project. This isn't the most historically accurate thing to use for the gown, however the cotton is kinder on my budget than wool or linen would be. The reason that cotton isn't always the most historically accurate is because of the fact that it was actually illegal through much of the 18th century in Prussia, France, and England. This seems like a weird thing to be illegal, but the governments did have a reason. Before cotton got so popular, it was very expensive and not super common, but in the 1600s, it's popularity started to grow. Linen was originally the fabric used for undergarments, etc, because it breathed easily, was tough enough to be washed often, and could be bleached to be quite white, which was a symbol of wealth. However, linen could get clammy during winter as it holds moisture very well, plus it could not hold colours very easily. To dye it something other than white took a long time, which meant that it was pretty expensive to do. This is where cotton came in- cotton holds colour much more easily, and the colour stays through washing better. Chintz became very popular. Chintz was from India, and it was a flower pattern in blues, reds, yellows, and sometimes green. England, Prussia, and France did not like the popularity of cotton, because the money from the cotton did not go to them, but to India and America. At first, the governments just added taxes to the fabrics, but by 1701, the parliament of England banned the import of imported calicoes and Chintzes. In 1721 in England, they made it illegal to wear printed cottons from India, America, and basically any place that was not Britain. People took this law very seriously, and there are accounts of people wearing cotton being molested on the street and having the clothing torn off of their body's, or in an extreme case, having acid thrown on their clothing. 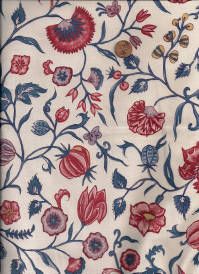 An example of Chintz from the 1700s In America, it was a different story. Cotton was very popular for it's ability to breath well, how easily it is dyed and also the fact that it grew so well there. Near the end of the 18th century, England finally decided to get rid of the law making it illegal to buy and wear cotton. By the early 19th century, cotton was widely popular everywhere. Muslin is very commonly seen in gowns from the early 1800s. Because of its hardy nature and easily dyeable fibers, cotton was a popular choice, and still is. I recently picked up my fabric from Ikea, of all places. Out of all of the fabric stores that I had access to, Ikea had the nicest prints that looked like they could have been block printed. In the 18th century, the colours that were normally used on Chintzes were red, blue, and yellow. The yellow was not often seen, but it would be added to the blue to create a green colour. This green would not be the same as the greens that we see today, since artificial dyes did not come into the fashion industry until the mid 1800s. Chintzes were expensive to make, since it was a lengthy process, involving many steps to create the final look. If you are interested in the process of woodblock printing and learning more about Chintz, the Met has some great videos and essays about it here and here. The second link is a great video that describes the dyeing process through the 17th and 18th centuries. 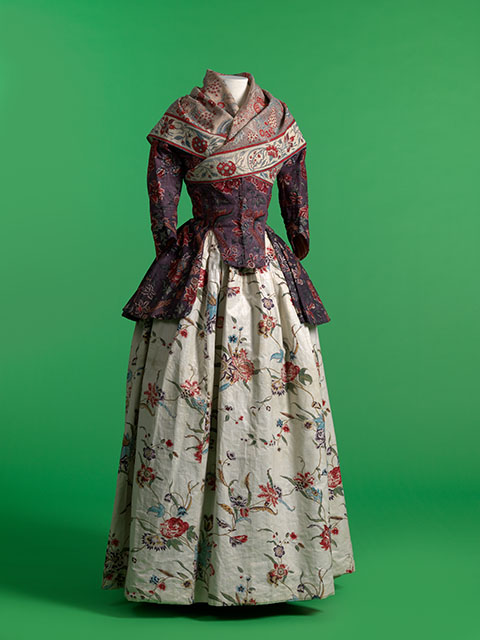 A jacket and petticoat made from chintz, 1770s Next week I will talk about events that occurred in the mid 18th century, and talk about creating the correct silhouette for the time period through proper undergarments.
~K 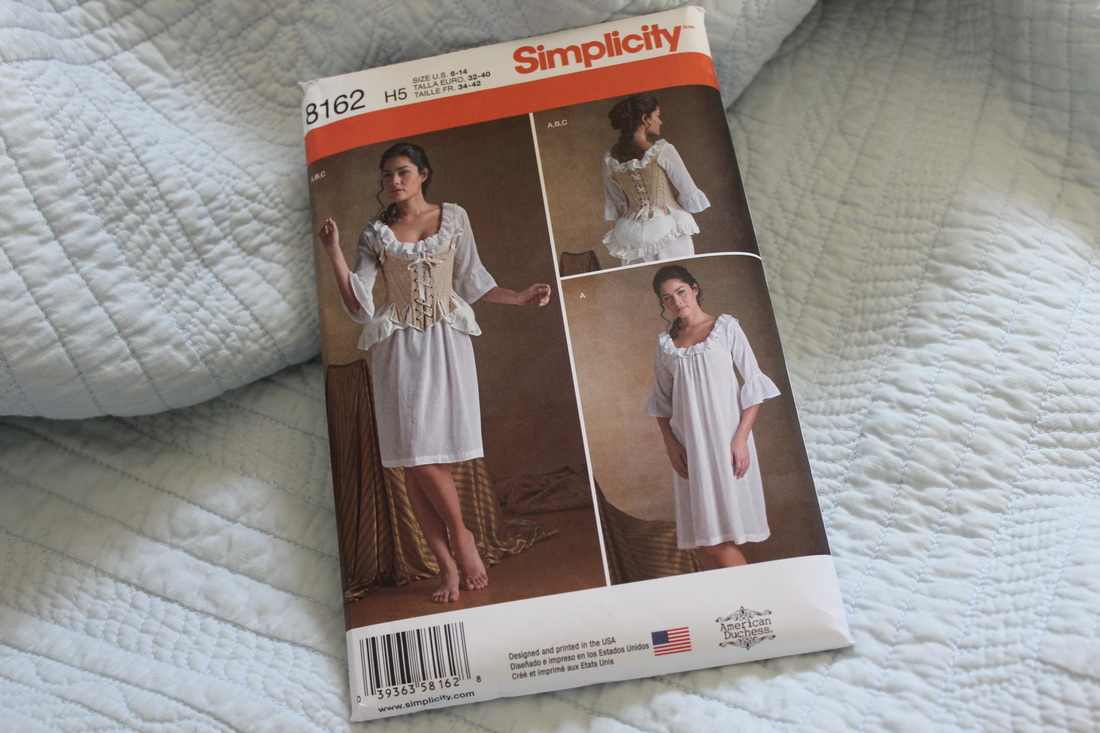 Here is the undergarments pattern. I also got the Italian Quarter-Backed gown pattern from American Duchess. 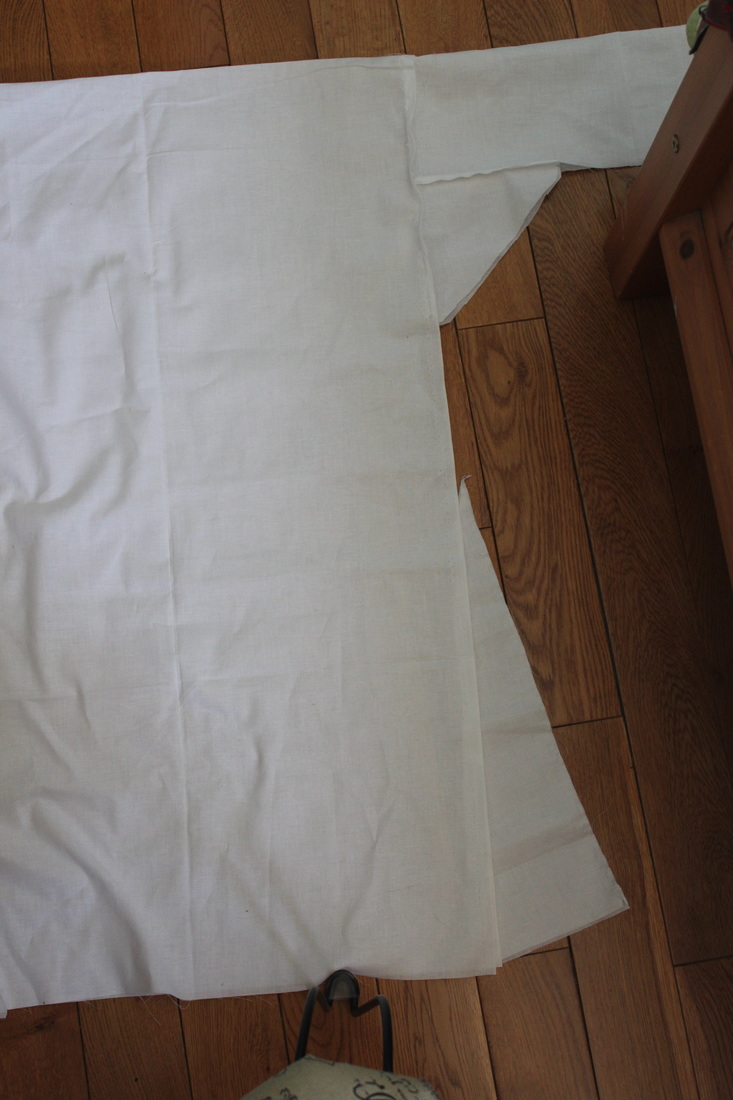 Here I have all my pieces roughly pinned together. As you can see, the main body is just a rectangle. Once everything is sewn together, I will cut the neckline. Here I have all my pieces roughly pinned together. As you can see, the main body is just a rectangle. Once everything is sewn together, I will cut the neckline. My new American Duchess patterns just recently arrived in the mail, and I am thrilled to finally be able to start my project officially. The day that I got the patterns, I started working on the chemise. I did adjust some of the pattern to make it a bit more historically accurate. Instead of using the main body pieces that were given in the pattern, I decided to just make a rectangle for the body with 2 triangular side gores, a method that was used for over a hundred years for chemises. Not including the main body for the chemise, the majority of the pattern pieces look very well done and pretty close to historically accurate. I understand the parts that are not, since the patterns were made for beginner sewers and for making costumes, not replicating the past. Another great thing about these patterns are how easy they are to follow, and it has been incredibly simple to adjust the pattern in any way that I need to for it to fit better and to look more like the examples I have seen from the 1740s. I can tell that a ton of research has been put into these patterns, and I am impressed by how well Lauren from American Duchess managed to balance simplicity and accuracy to the period. I would absolutely recommend these patterns, especially for anyone that is just beginning to create historical costumes. One thing that I would like to note, which seemed to be an issue for many people when I looked at the comments and feedback on the patterns, was the sizing. Sizes in sewing patterns versus sizing in ready made clothing are very different, and the only way to make sure that you are cutting out the correct size is by measuring constantly. I have noticed that I am much larger sizes in sewing patterns than I am in ready made clothing. I just wanted to touch on that since a few people complained that the sizes on the American Duchess patterns were too small. I would recommend you to be cautious when cutting out any sewing pattern and to measure yourself and the pattern before cutting your fabric. 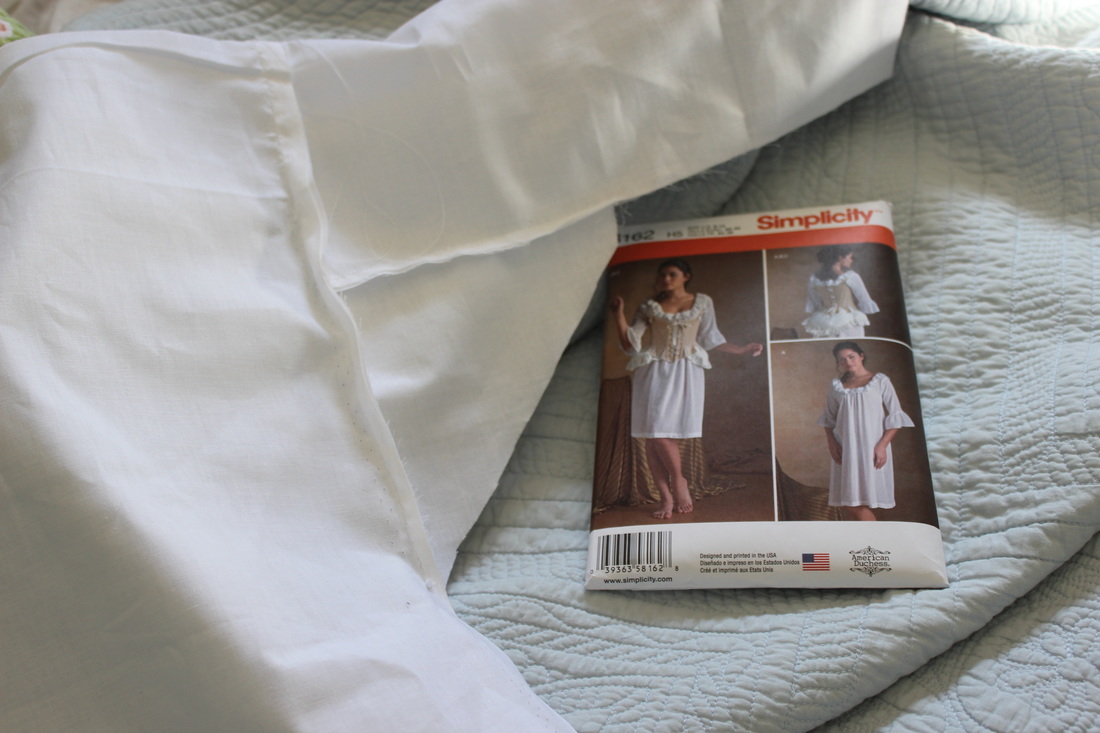 I used the pattern for the sleeves and sleeve gores, and I am very pleased with the size and how historically accurate the pieces look. Overall, it has been a pleasure working with this pattern, and I cannot wait to keep working on this project!
~K Hello all! The start to anything is always a bit daunting, isn't it? After a lot of thought, I have decided to start with a plan, and some research. The late 18th century has always interested me, so I have been researching it for years. However, it wasn't until a few years ago that costuming and historical clothing started to appeal to me. An average woman in the late 1700s would wear many layers, starting with a chemise. A chemise is the main undergarment for any clothing from the 1500s until the early 1800s, and were a basic shift that went underneath the stays (corset). Mainly made from linen because of how white it could be bleached and how easily it breathed, chemises could also be made out of cotton. Cotton is not something that would be seen in clothing from Prussia, France, and England from the mid 18th century because it was illegal (more about that in later posts...).  An example of the pieces of a simple 18th century chemise. Picture from http://www.marquise.de/en/index.html Over the chemise, a woman would wear stays, a stiff garment with boning in it to shape the body as well as support it. Stays often get a bit of a bad rap now because of the false information that is commonly believed. The amount of layers and weight of each made it so that it was more painful to not wear the stays than to wear them. After the stays come the petticoats. You can wear however many you want underneath an 18th century dress, but the more that were worn, the nicer shape one would get. On an everyday basis, a woman would wear at least two. Petticoats were just a simple linen or cotton skirt that was tied around the waist. They can be corded or quilted as well to add more fluff to the whole outfit. 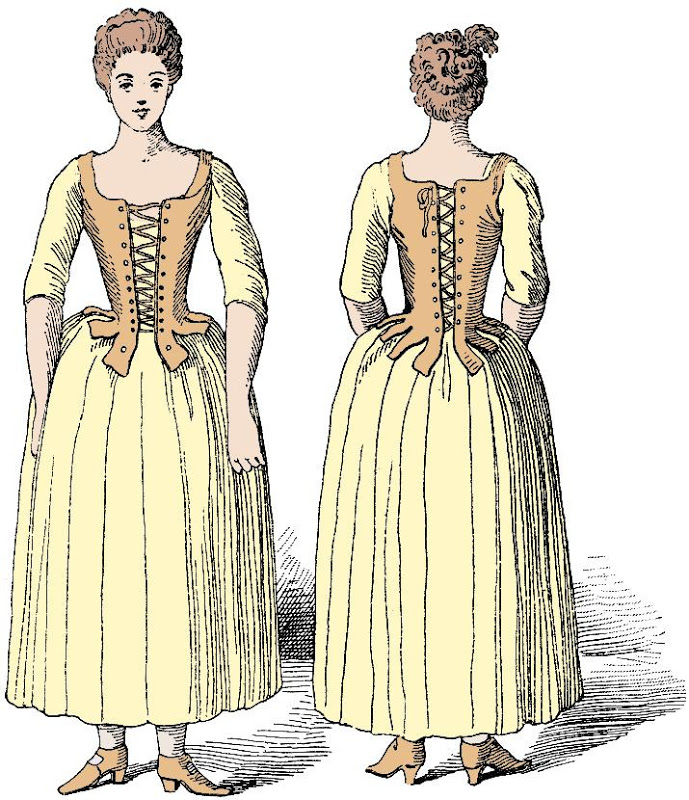 A working class woman wearing a chemise, stays, and petticoats, most likely over a stuffed bumpad. Image from Le Corset a Travers Les Ages, published in 1896. Next comes the main dress or skirt and jacket. The skirt would be made in the same way as a petticoat, just in the fabric chosen for the ensemble. A dress or jacket would normally be worn with a stomacher, a triangularly shaped piece of decorated fabric that was pinned to the front. All of the clothing worn during this time was made so that it could be worn for a very long time, meaning that it could change with your body. Stomachers allowed one to change the size of the bodice with a small amount of fabric. Skirts were tied around the waist so that they could change size easily. The outfit doesn't stop at these pieces- you need all of the accessories! This includes stockings, shoes, a carefully styled wig, a hat, gloves, fichu (a piece of fabric/lace to go around the neck), jewelry, etc. When it comes to the 18th century, the more the better. 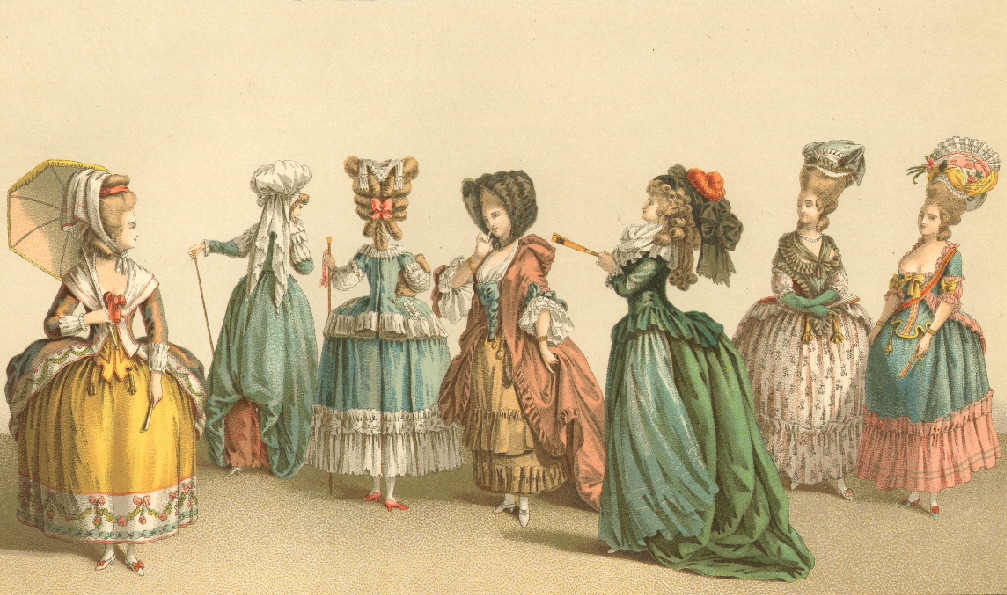 A fashion plate from Sabatier and Durin. Notice all the accessories that have been added to the main dress- cloaks, hats, fichus, gloves, and more are all a part of the oufit. After all of that information, here are my plans for this project- I will need to make: One (1) chemise One (1) pair of half-boned stays Two (2) petticoats One (1) overskirt to go with a bodice One (1) bodice with stomacher I have decided to use the American Duchess patterns from simplicity. I am thrilled to be working with these patterns, being a long time follower of the American Duchess blog. I can't wait to get started! ~K |
EtsyArchives
April 2020
Categories
All
|
 RSS Feed
