|
Over the past few days I have been spending all of my time working on a new pair of 18th century stays to go underneath the Robe a la Francaise. I used the American Duchess stays pattern as a tentative base, then altered it with the help of extant garments, other historical costumers advice, and a little imagination. Since this project is going to be entirely hand sewn and will take quite a while to complete, I thought that I would make a bit of a step-by-step of how I created them. Please don't take this as a guide to sew your own though, since I'm not focusing on historical accuracy. I just want a mostly accurate shape and a pretty garment at the end of this. 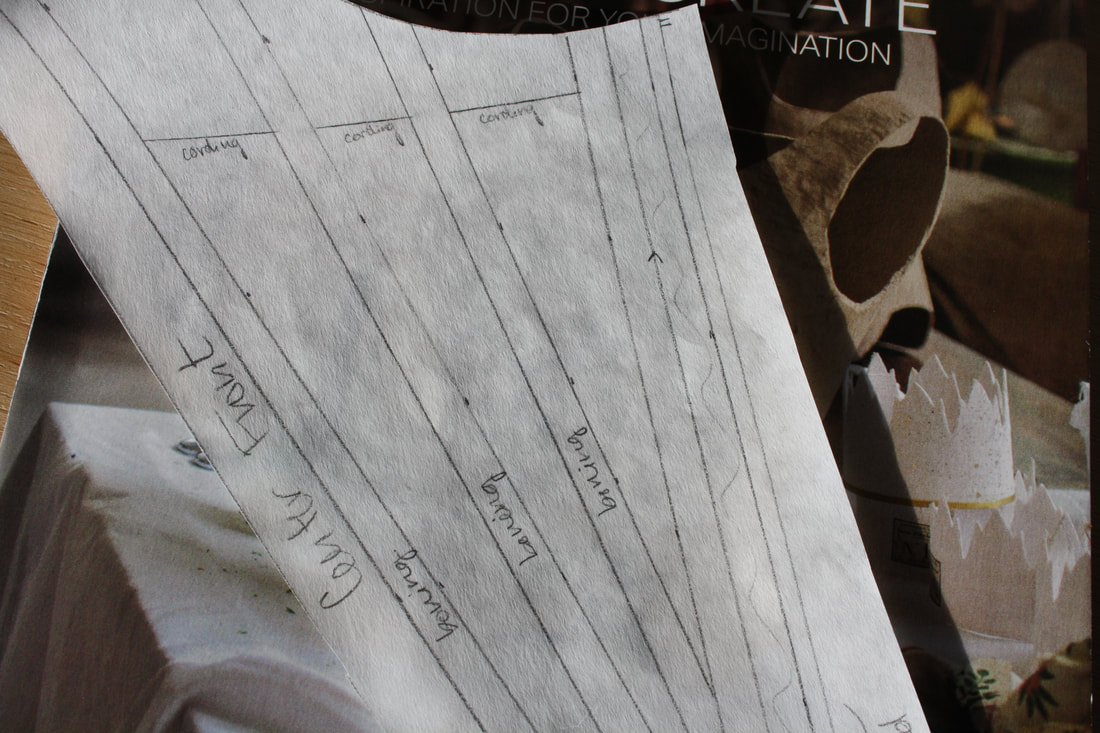 A look at the paper pattern piece of the center front panel  The two back panels of the stays After drafting the pattern on paper and adjusting it a million times to get a better fit (okay, it wasn't a million, but it sure felt like it), I cut out each section for three layers: two inside layers (where the boning will be sandwiched between) and the top silk layer. I then copied my boning pattern onto the inside layer so that I can follow that with my stitching. The boning pattern took me nearly as long as actually drafting the shape of the stays, just because I wanted to make sure that it was both comfortable and efficient. I also wanted to follow a historical example, since seamstresses through history always knew best. It can be pretty difficult to find clear photos of extant stays, but I used this one from the V&A as inspiration, since it doesn't have a front and back lacing. I cut out my front panel as just one piece, so it won't have the option of front lacing. 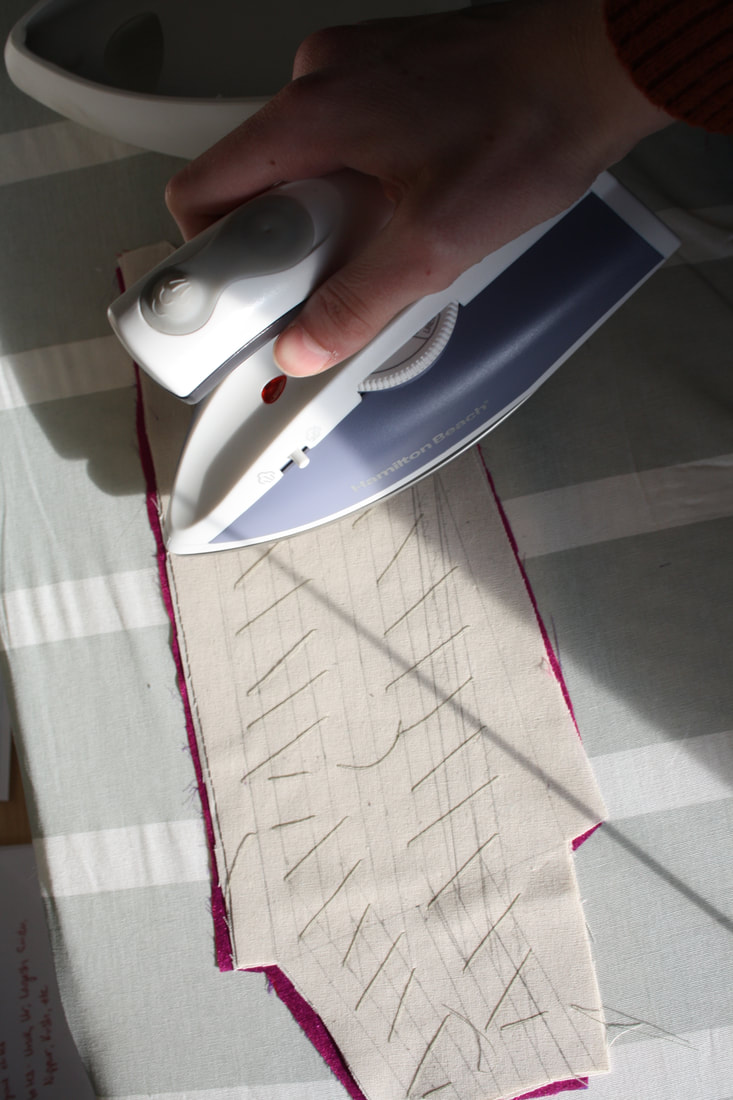 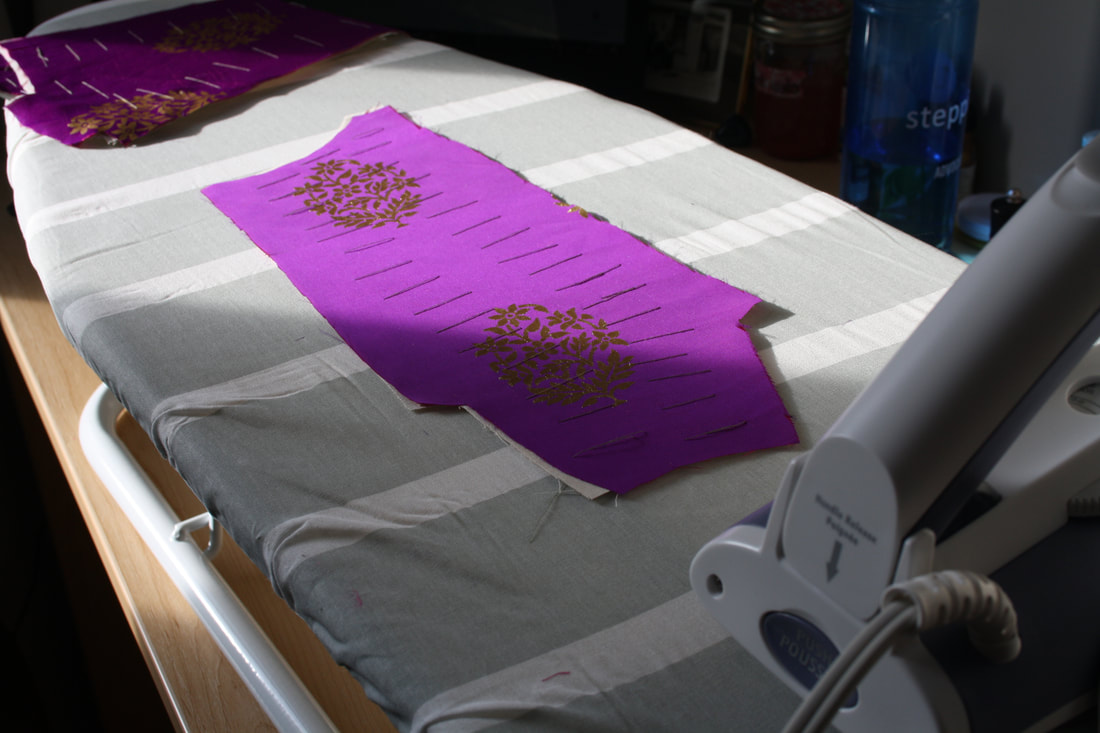 After all of the boning channels are drawn onto one of the inside layers, I pad stitched the layers together. Pad stitching is a type of tailors stitch that bastes two layers together (this is how you attach a non-fusible interfacing). I did this quickly and a bit sloppily, since I just need it to make sure that the layers don't slip while I'm stitching the channels. The sections especially needed it because of how slippery the silk is. I then ironed everything before I started any of the real stitching. 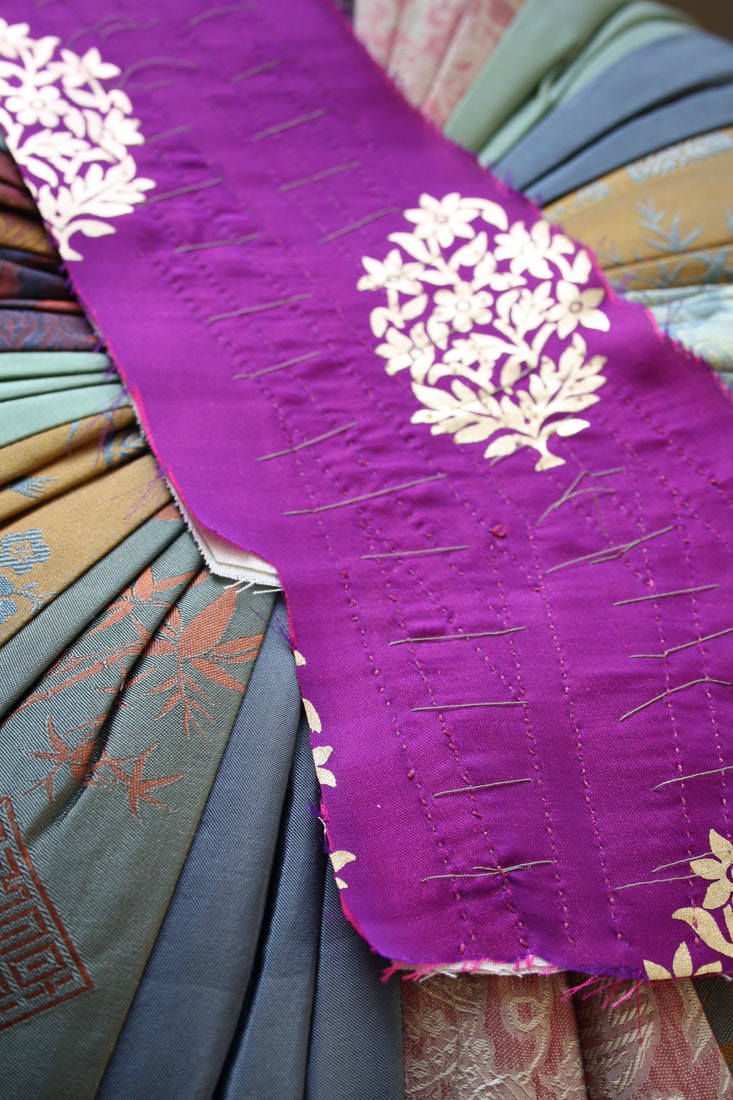 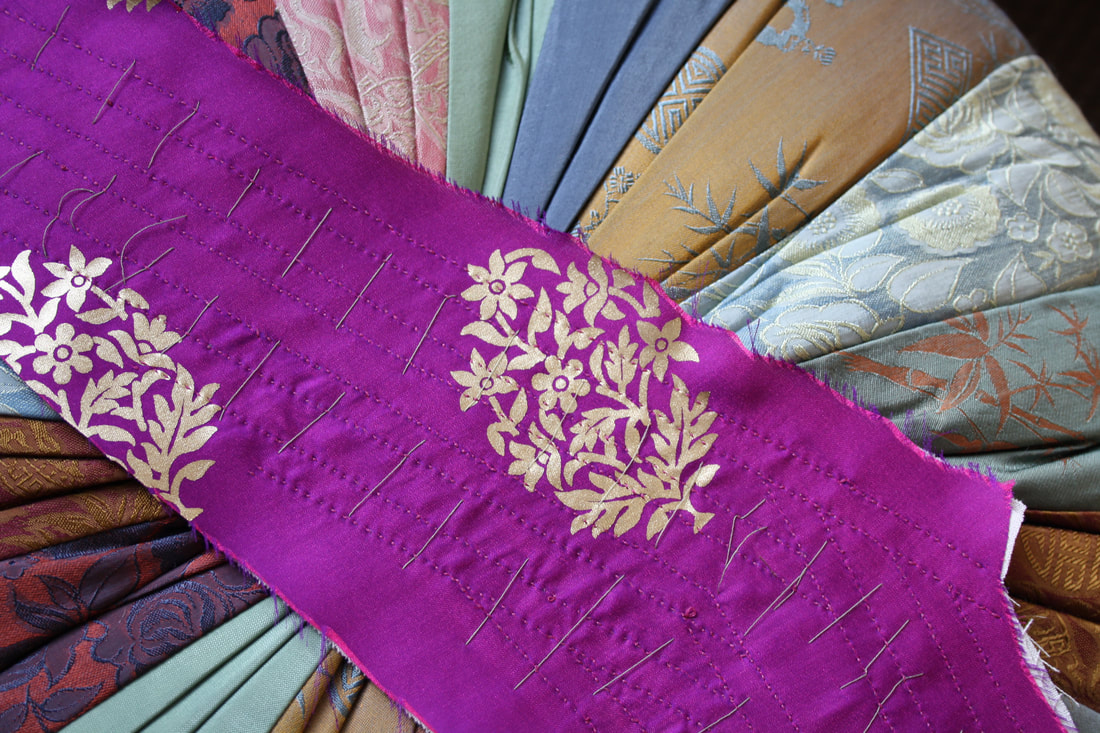 The boning channels in one panel entirely sewn up, but with the pad stitching still in. I will be removing that in a while. Now it is finally time to start on the boning channels! This could be a very tedious process since it is just a running stitch down all of the lines you drew for your boning channels, but I actually really enjoy the process. So far I've watched Crimson Peak, some Ripper Street, and Marie Antoinette while working on my sewing! 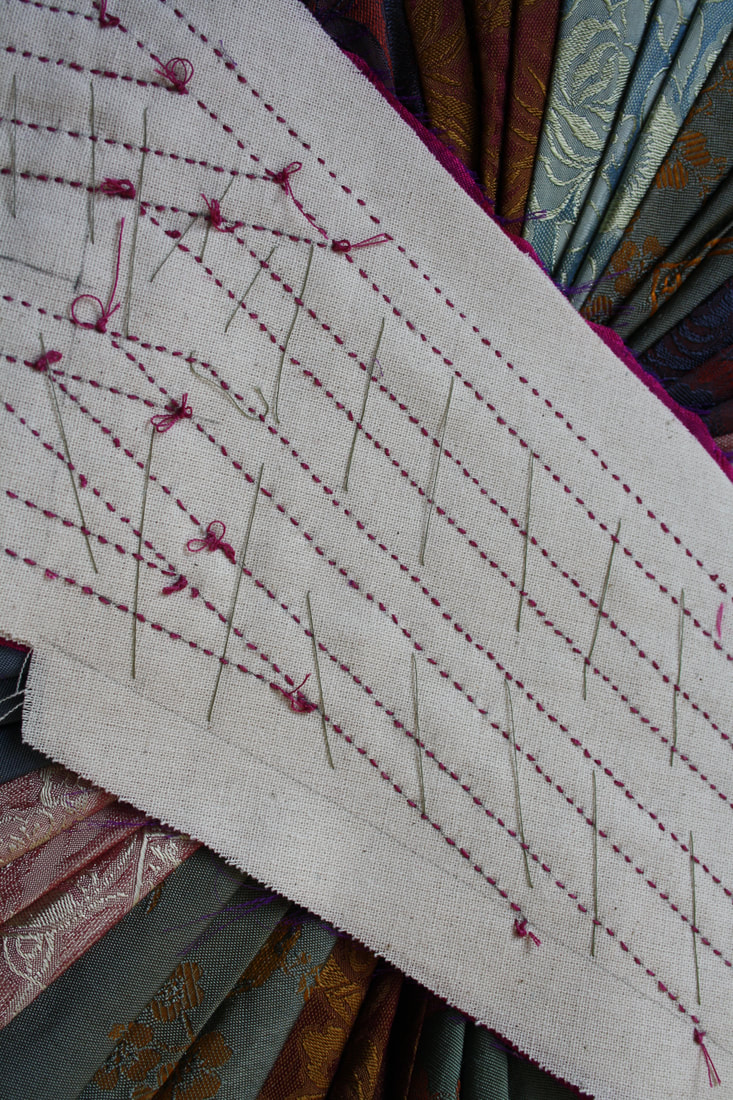 The finished panel from the inside (this will be covered with lining near the end of construction) Before I sign off, I thought that I would talk through a bit of my thought process behind the decisions I've made so far in the process. To begin with, I am including the top layer while sewing the boning channels because I want to see the stitching from the front. I have seen some more decorative stays where the top layer was sewn separately and then attached after the bones were put in, but I love the texture of the stitches and want to be able to see that once the stays are done. Another thing that I would like to mention is my choice of silk that makes up the top layer. I am very aware that it isn't historically accurate (though it does have a vintage flair to it). I decided on this one for a few reasons: one is that I only had a meter of it, so it was the perfect amount for a project like this. Second, I want the final piece to have a bit of a modern Marie Antoinette style, and I thought that this would be a great way to achieve that. Thirdly, I just really like the colour and how it looks! ~K
0 Comments
 Figuring out a way to sew at school while still having time to do other things that don't involve sitting around has been difficult, but I have found that my passion and desire to make things has been revived! This is fantastic... other than the fact that I still need to do my school work. I have, however, found a way to get both done. Basically, it means that my future projects will include a great deal of hand sewing. Hand sewing has always been something that I enjoyed doing. When I first learnt to sew, it was not on a machine, and I've always found it a bit meditative. There is also the added benefit that I can watch something while doing it, which makes the task go much faster. The greatest draw back is pretty much only how time consuming it is, which is why I haven't had any new projects to post about lately. But do not fear! I have been hard at work both sewing and coming up with new ideas (as I mentioned in my last post), and I am hoping to have new photos coming up somewhat soon. While we wait, I thought that I would share my fabric haul for the projects that I spoke about in my last post. 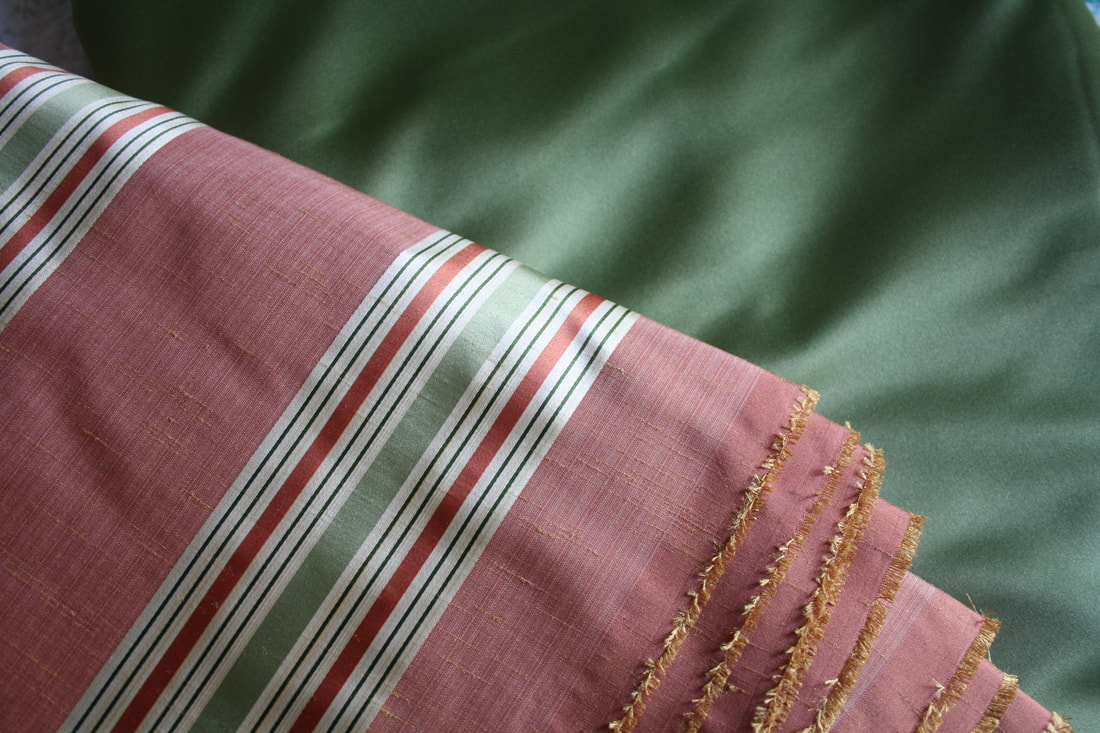 To start off with: the fabrics for my Robe a la Francaise. I have been wanting to make one of these since I first started sewing, and my love for these ridiculous, poofy dresses has not abated in all this time. Although having a fabric with a pattern makes this already difficult to construct gown even worse to drape, I couldn't help myself but pick up this lovely coral, cream, and green striped silk. I thought that these colours looked perfect for the era, and the coral is different from what I usually pick. Plus, I have seen so many stunning striped Robe a la Francaise's that I thought if I could be patient enough, it could turn out to be really beautiful. The green silk is for the petticoat that will go underneath the gown, which will be seen in the split at the front. If I have enough, I would also like to make some ruffles from the plain green to go on the gown and the stomacher. I am so excited to make this ensemble, but before I even start on it I will have to make myself a new pair of stays (the precursor to the corset which gives the wearer a sort of conical shape). My last ones, which I made for my school project a few years ago do not fit properly, and I would like to make a prettier pair this time. I also feel like I have learnt enough in the past few years about both fitting and construction methods that I could really improve the shape. 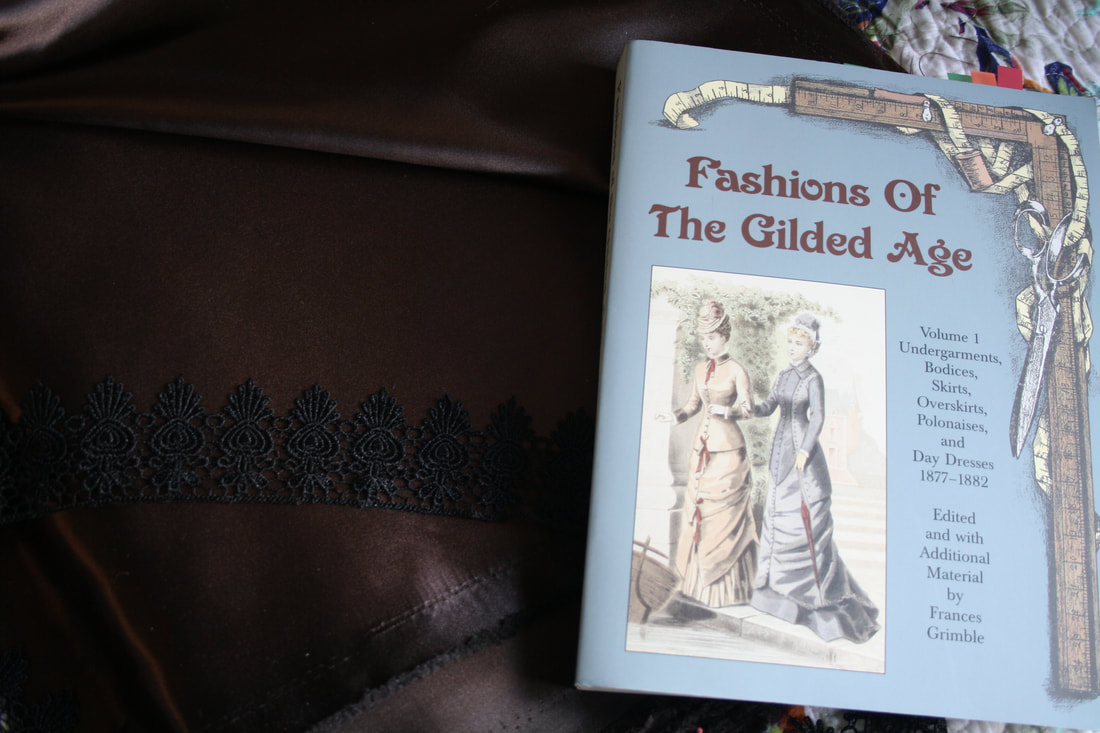 It took me quite a long time to decide on the colour for the Crimson Peak inspired gown, but I finally settled on this chocolate brown silk. I knew that I wanted a rich jewel tone, but I also didn't want to copy exactly one of the dresses from the movie. This isn't a cosplay, it's just inspired by the lovely natural form era styles and slightly morbid undertones. I also found a black lace to go with it, though I haven't decided where that lace will go yet since I haven't fully figured out the design. I would like something that comes across like an evening gown, but I also want long sleeves (like Lucille wears in the movie). During that era, evening gowns would not have long sleeves, so I either have to play with history or change the main idea. 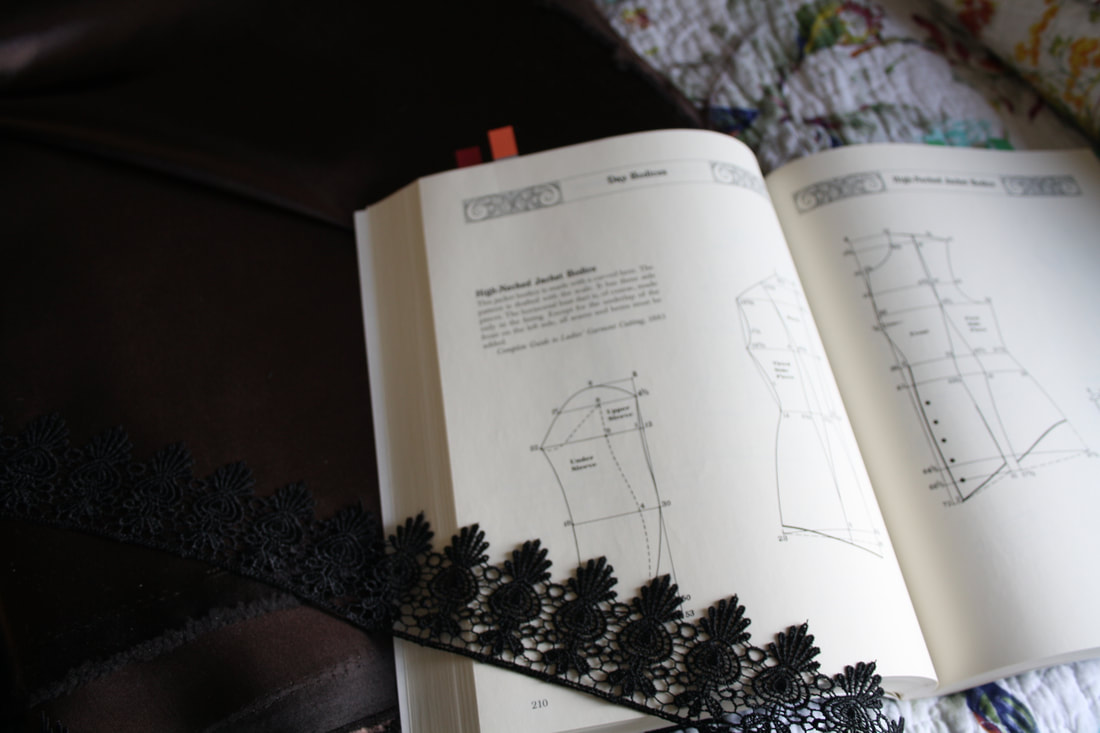 I am also very excited for this project because I finally get to use a book that I have been drooling over for months now. I will be using patterns (with some alterations, like I always do) from the book Fashions of the Guilded Age: Volume One by Frances Grimble. This book is filled with patterns from the late 1870s and excerpts from fashion magazines of the era. Since I can't seem to make it easy for myself, I will need new undergarments for this dress as well. Along with a petticoat (with a train, to keep the train of the dress clean), I will need to make another corset. I haven't really touched this era yet, so I can't wait to play around with it. 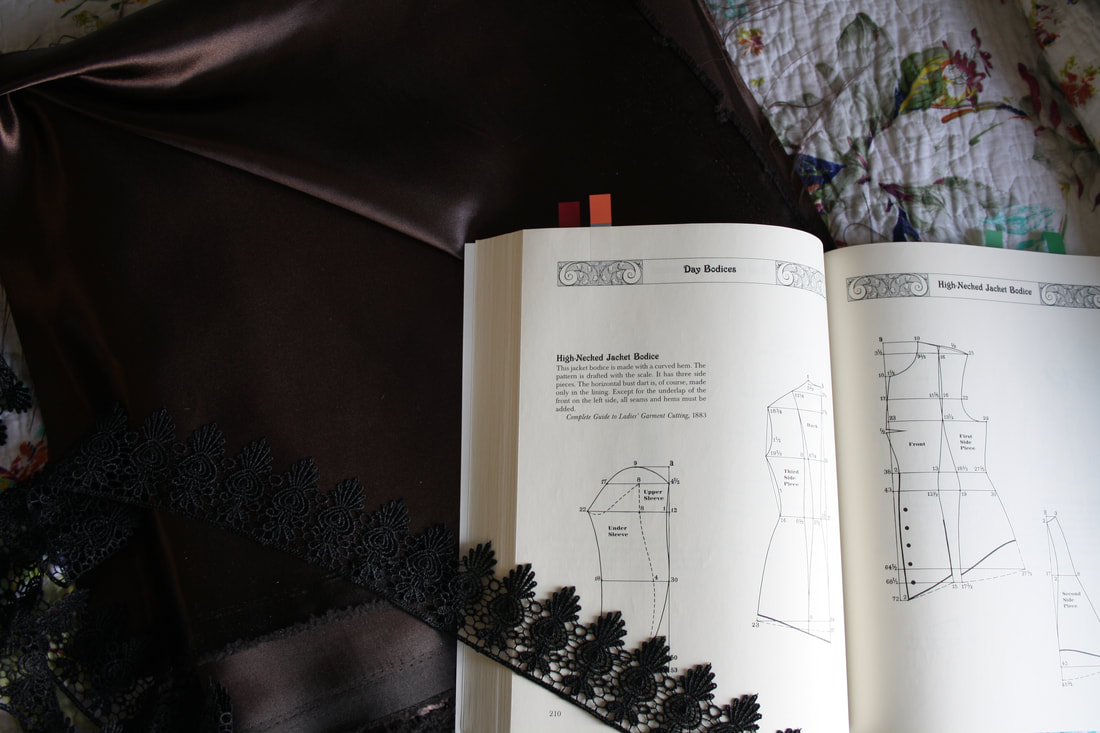 Hopefully my progress isn't too slow over the next few months, and that you are as excited for these projects as I am!
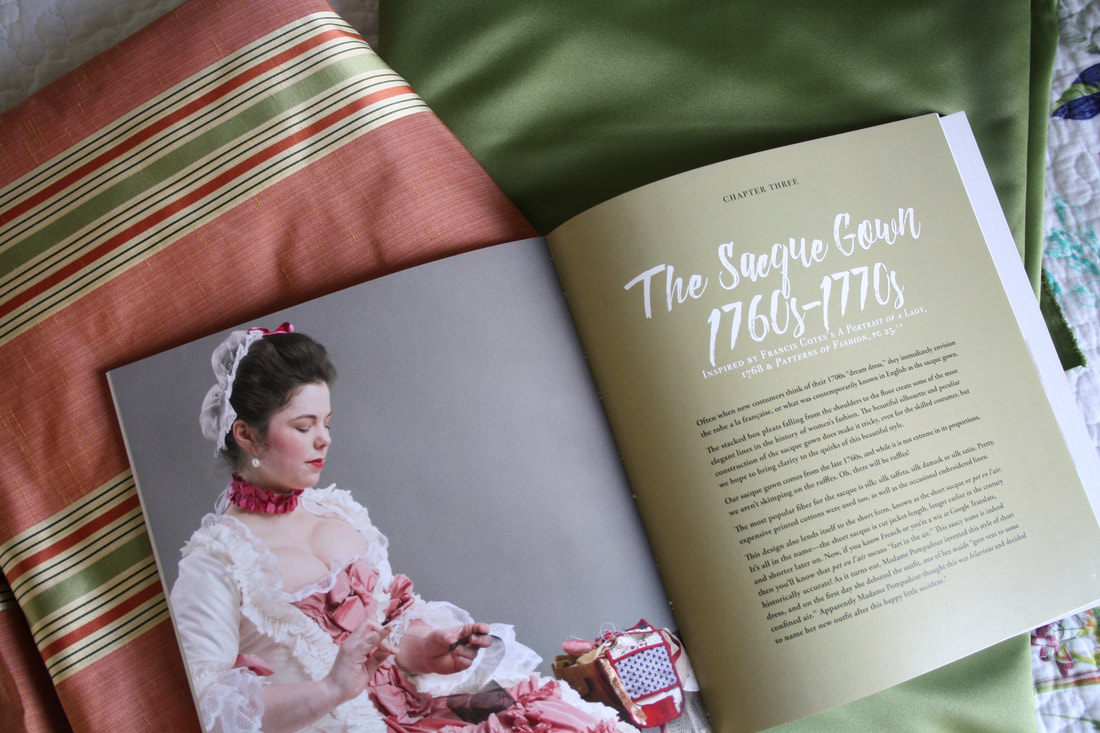
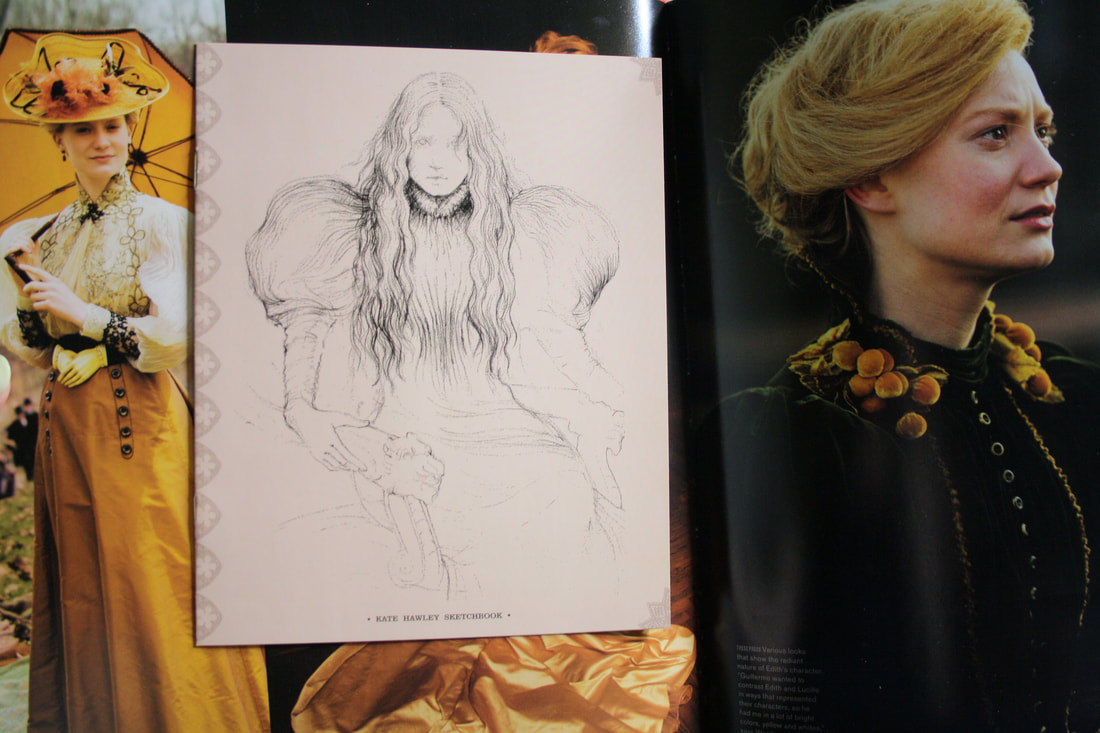
~K  Pattern making at the end of summer Since starting at a new university in September, I have been very busy and slightly neglecting my sewing. However, it has still been in my thoughts, and I haven't abandoned it completely! The last 10 days of September were a whirlwind of excitement since I had my small collections from the Future Oceans fashion show in a pop up boutique. It was so fun to see my garments being displayed in a storefront, and the area that we were given to show our clothes was absolutely stunning. I am still so grateful that I was able to be a part of that, even just to see what it looks like to have my eco couture for sale in a mall (it was a pinch me moment). I also did sell a few pieces through the 10 days, so the past few weeks I have been altering my patterns to fit the customers measurements, printing custom fabrics, and sewing the dresses. Luckily, my university has a maker space with an industrial sewing machine, so that part was easier than I thought that it would be. 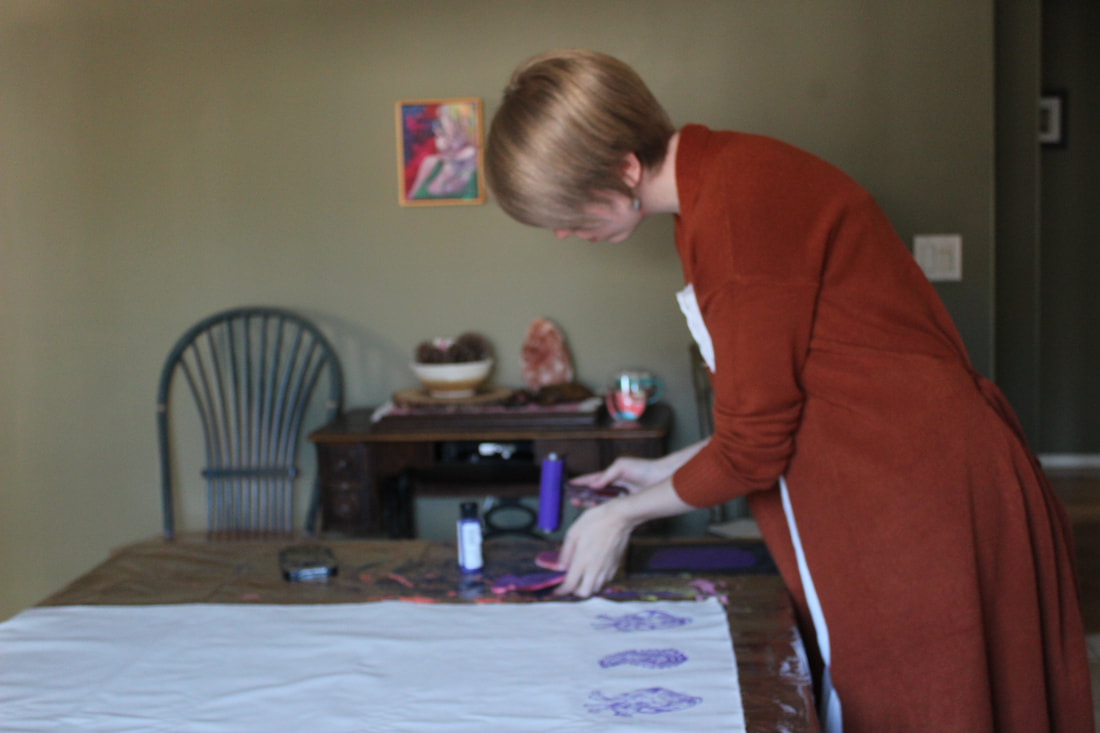 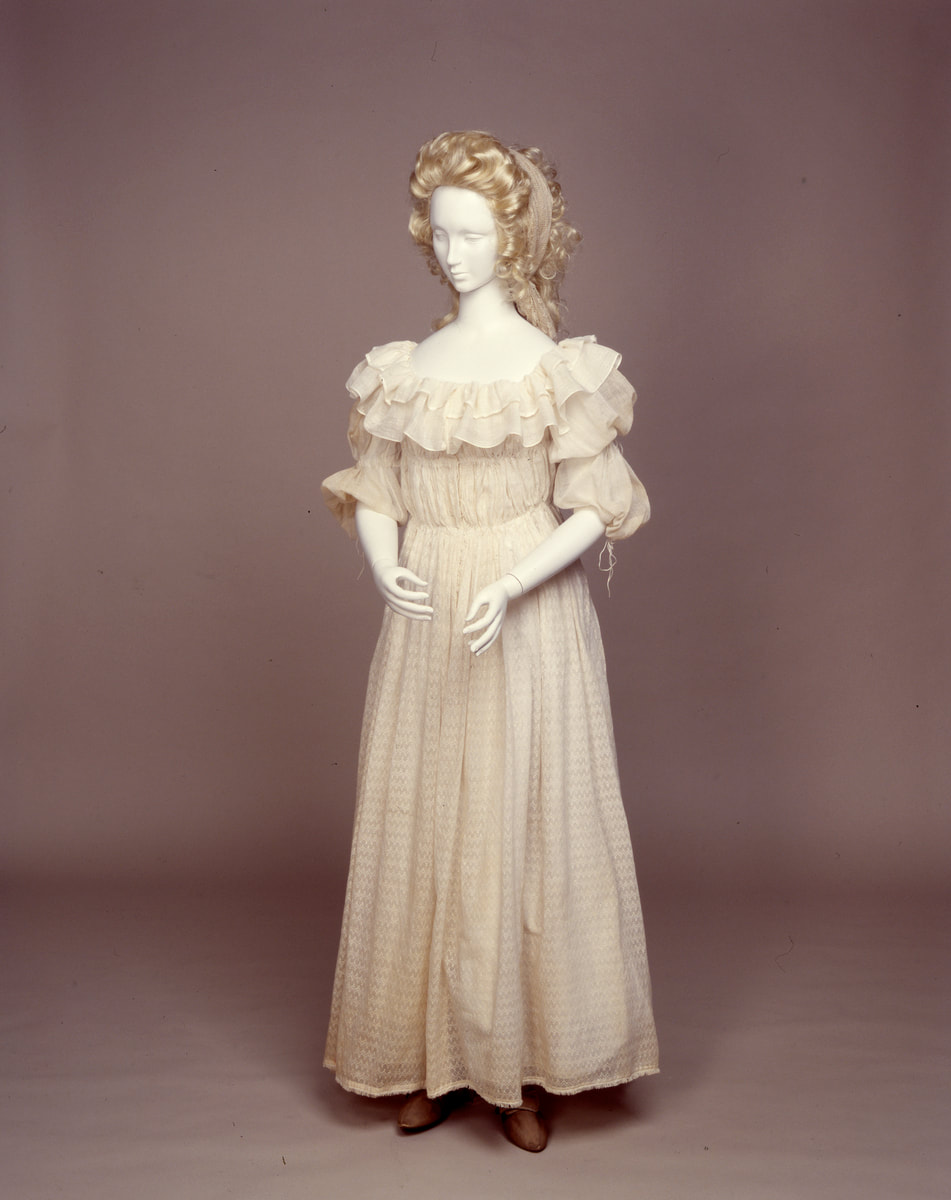 Example of a Chemise a la Reine. This one is housed at the Manchester Art Gallery Since making the orders for my Future Oceans dresses, I have been hit with inspiration. This is also thanks to my classes, since I am writing a research paper about the Chemise a la Reine (which I'm sure I will make a version some day, since I've been fascinated with them for ages). Doing the research on clothing in the late 18th century has been giving me so many ideas. I thought that I would talk about some of those tentative ideas here. 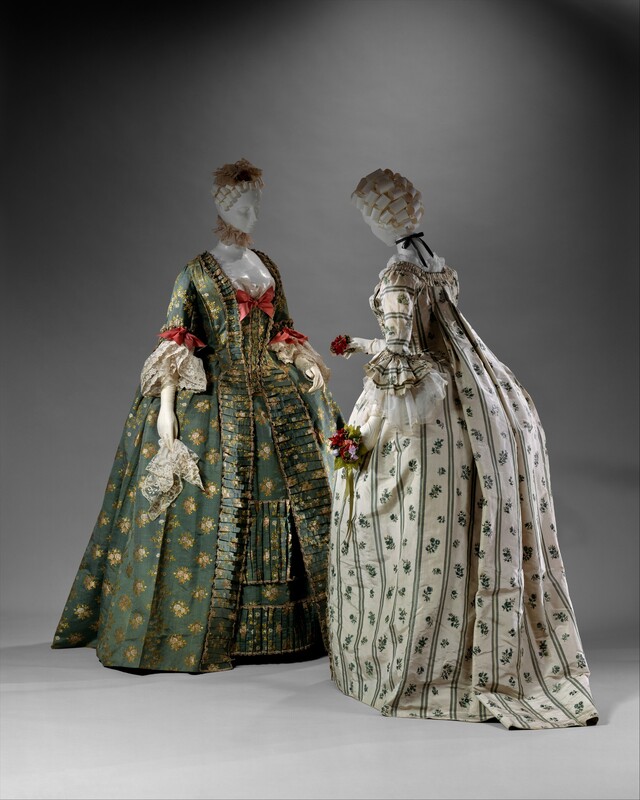 An example of a Robe a la Francais/Sacque Back Gown. These ones are from the MET Up first: a Robe a la Francais, also known as a Sacque Back Gown. I have been in love with these gowns since middle school, when I saw a photo of one on pinterest. These gowns have such a unique construction method, and if they done properly they are absolutely stunning (at least in my opinion). It would be so much fun to chose the decoration for this type of dress as well, which makes my decision to make one even easier. I am planning on draping it myself using the instructions from the American Duchess Guide to 18th Century Dressmaking. 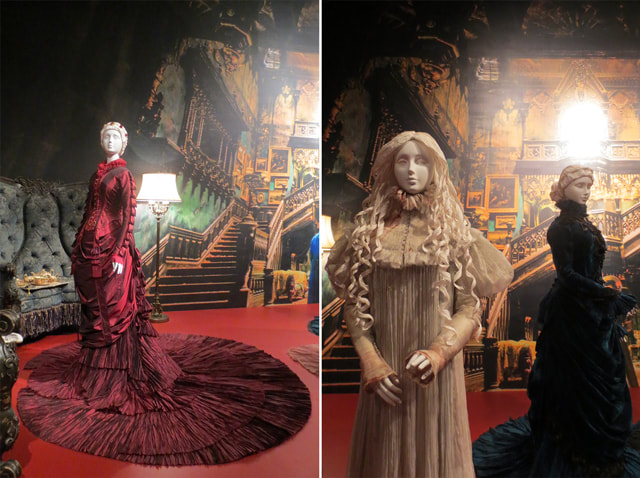 Costumes for Guillermo del Toro's Crimson Peak by Kate Hawley. These photos are from the exhibit at the Toronto Art Gallery (called Guillermo del Toro: At Home with Monsters that was shown in 2018) Another gown that I have been desperate to make for a few years now is something inspired by Crimson Peak. I loved Lucille Sharpe's costumes throughout the movie (the red and navy dresses in the above photos) since I love the natural form era (late 1800s). I am also a sucker for beautiful yet morbid things, so these costumes are right up my alley. I don't want to copy any of the dresses from the movie, but I would like to make something inspired by them. Other than that, I have other ideas swirling around in my head but I'm not sure how much time I will have for sewing, and since both of these ideas are pretty big (I would need to also make specialized undergarments to go under them, so that will add quite a bit of work) I think that they will take a pretty long time.
Thanks for reading! ~K 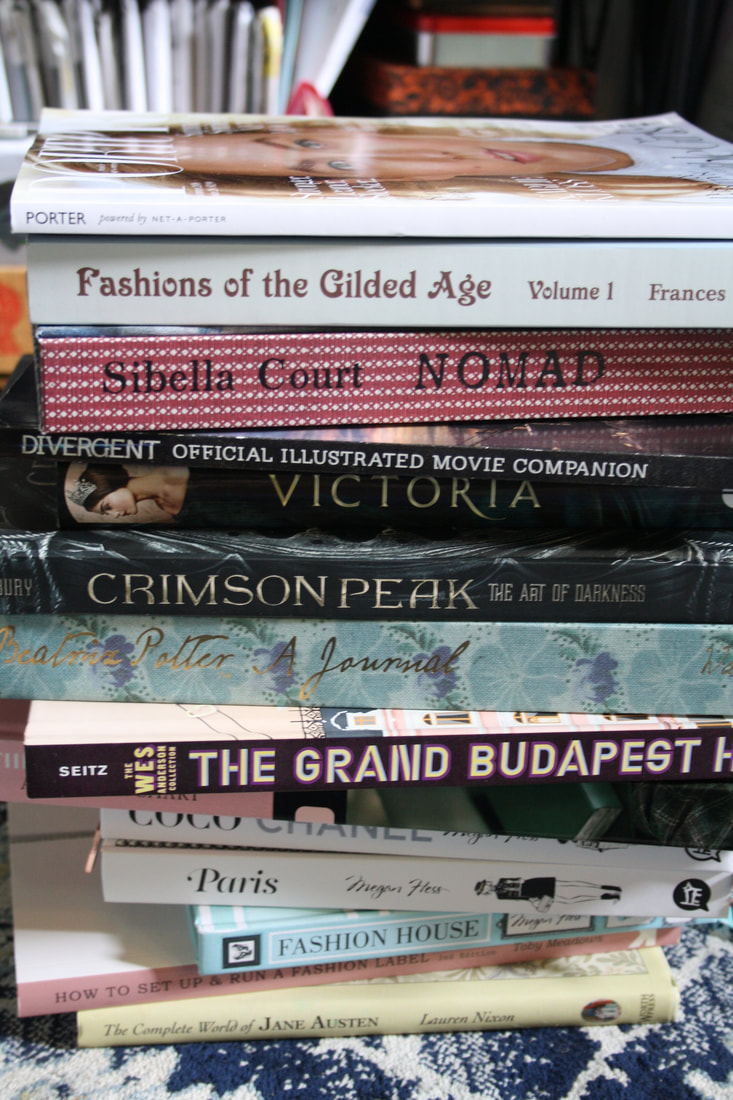 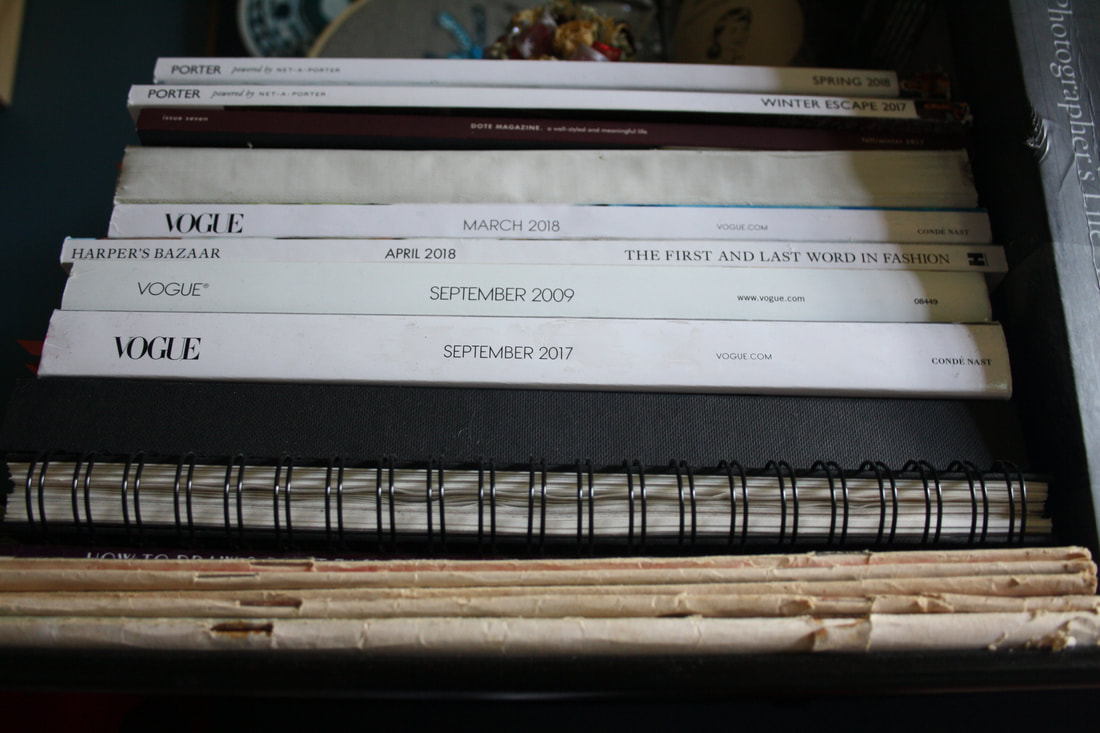
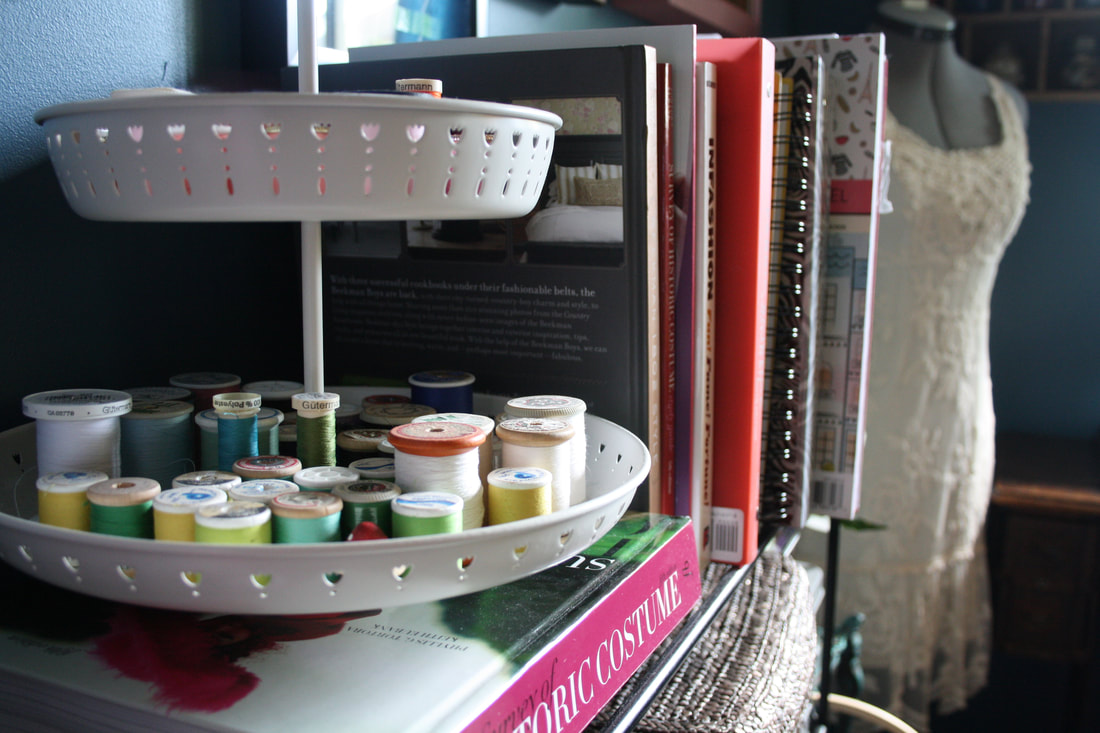
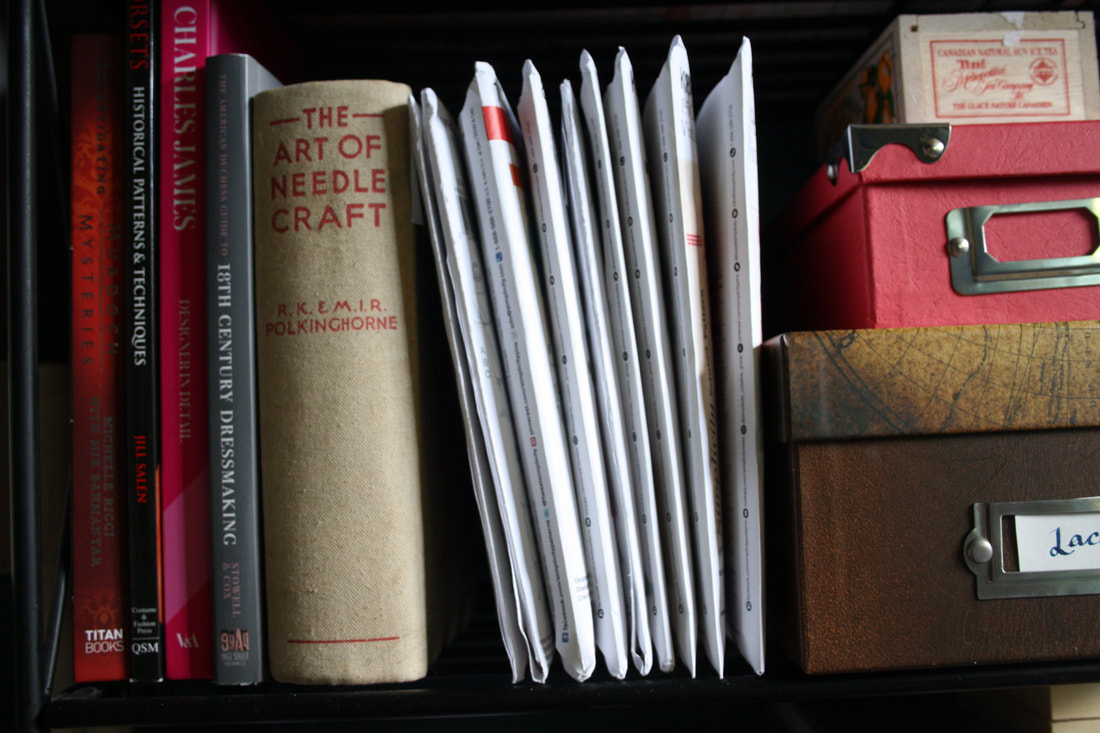 When it comes to the books in my collection, I have been extremely lucky. I have been given so many books by family friends and other people who have already gone through a costuming or fashion program.
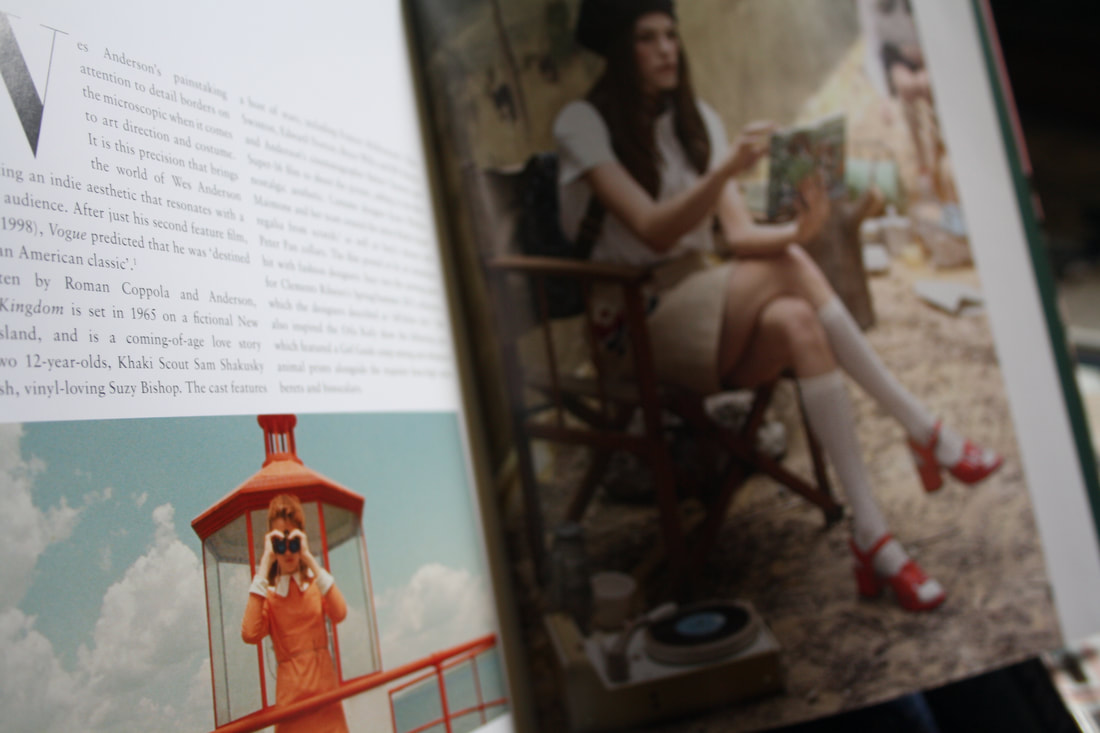
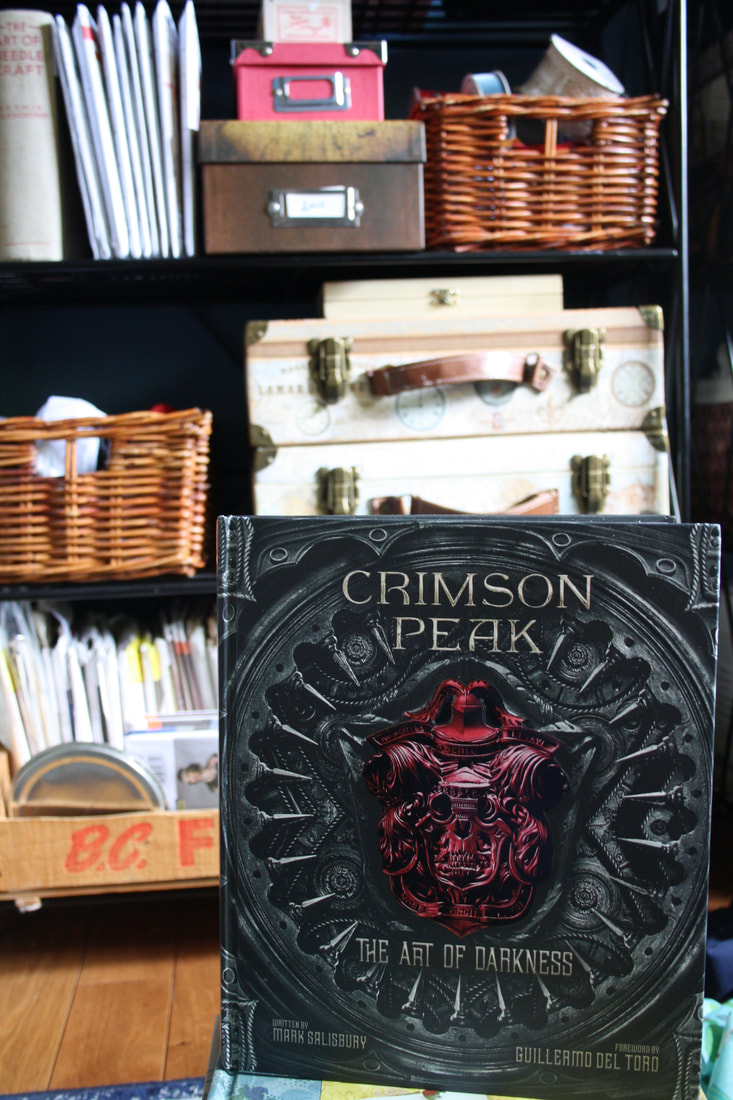
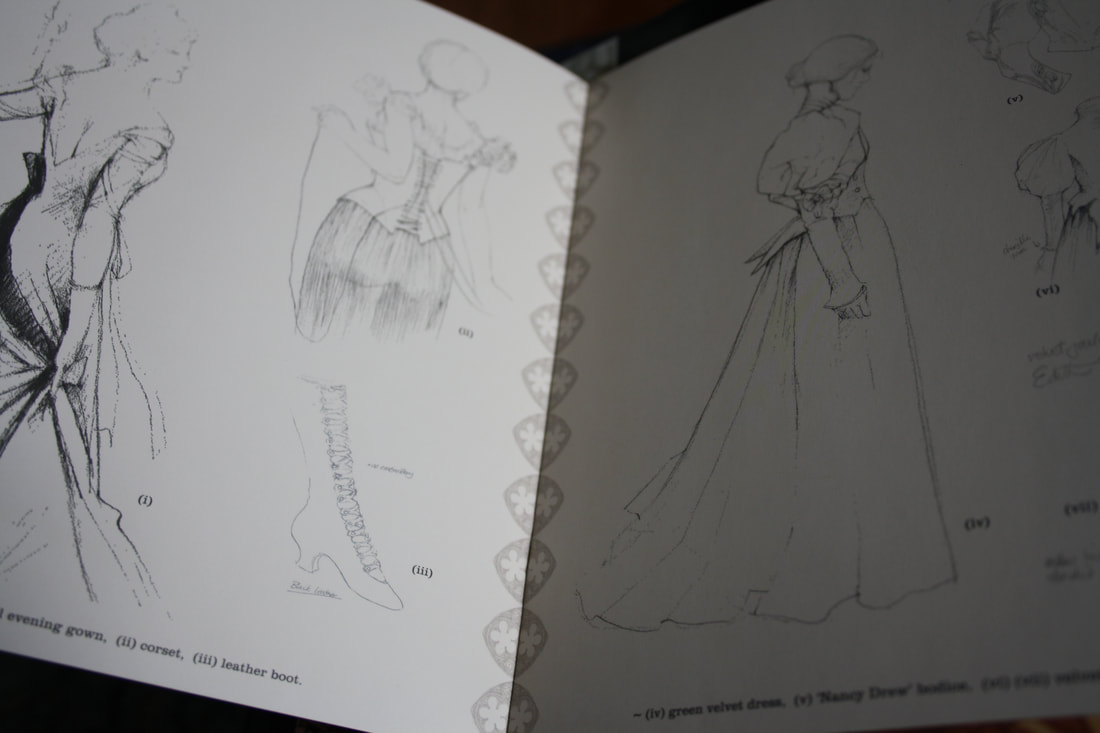
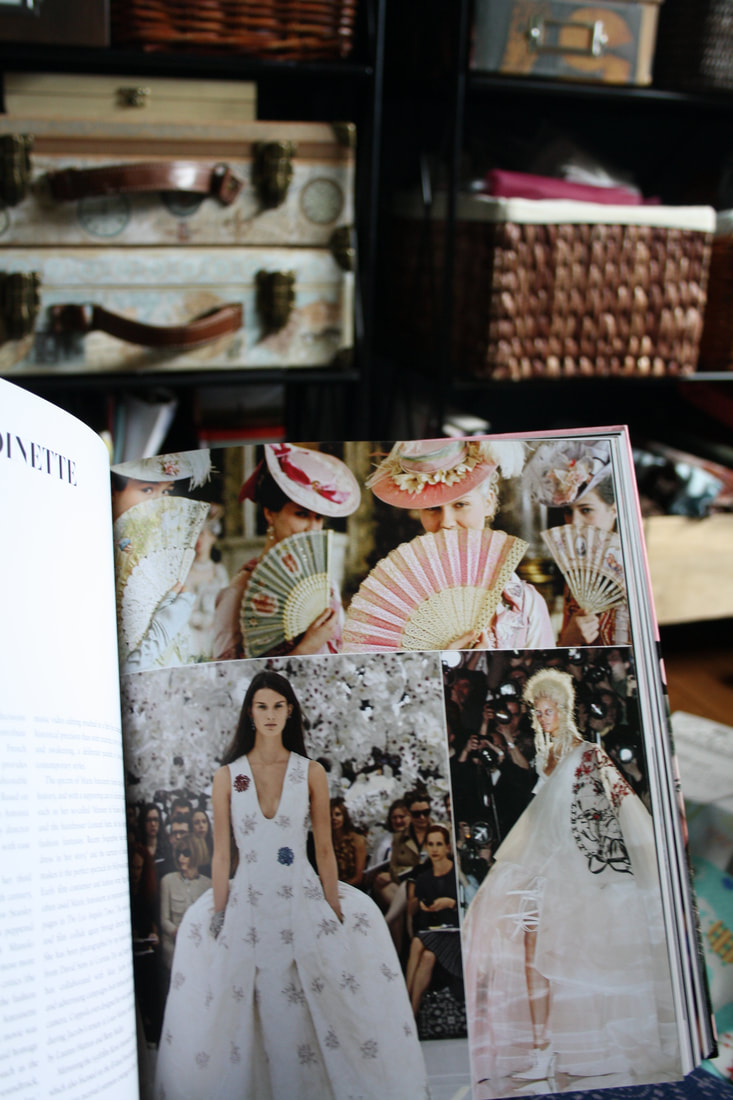
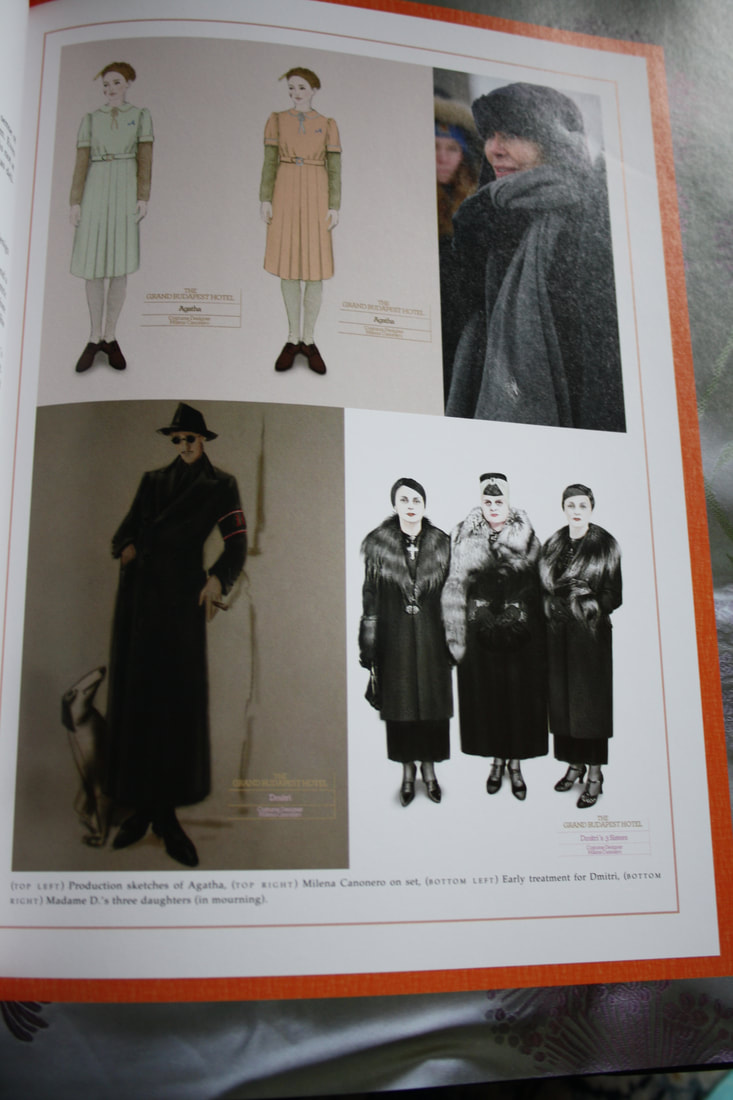
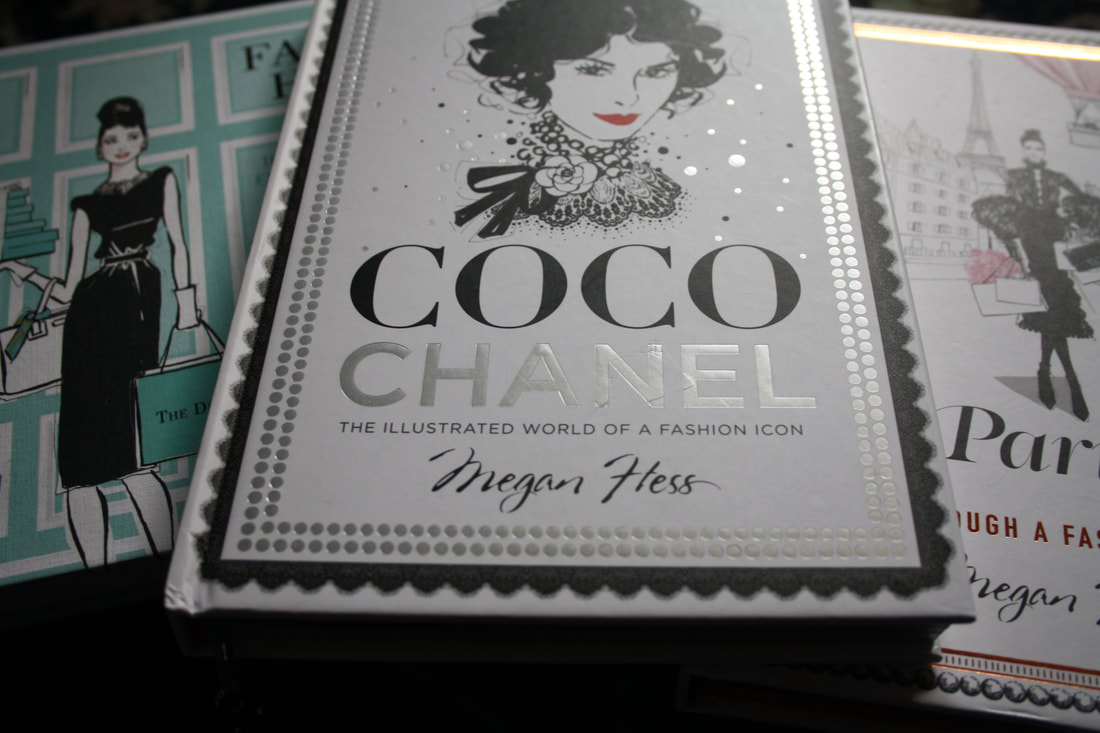
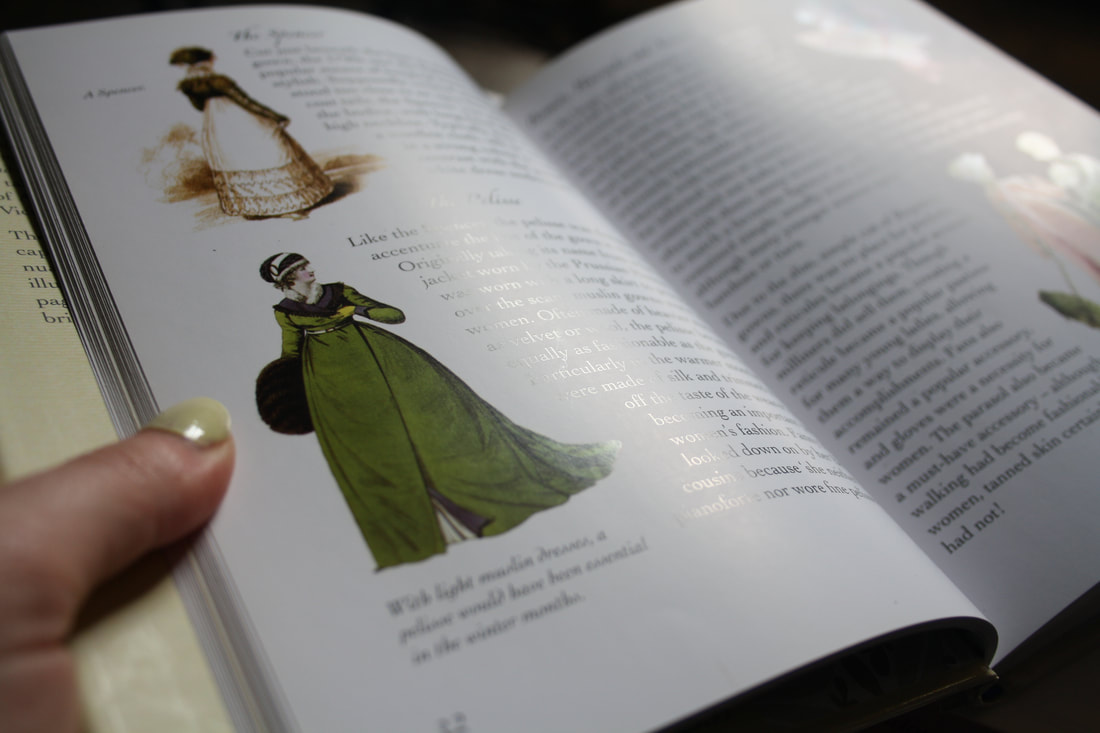
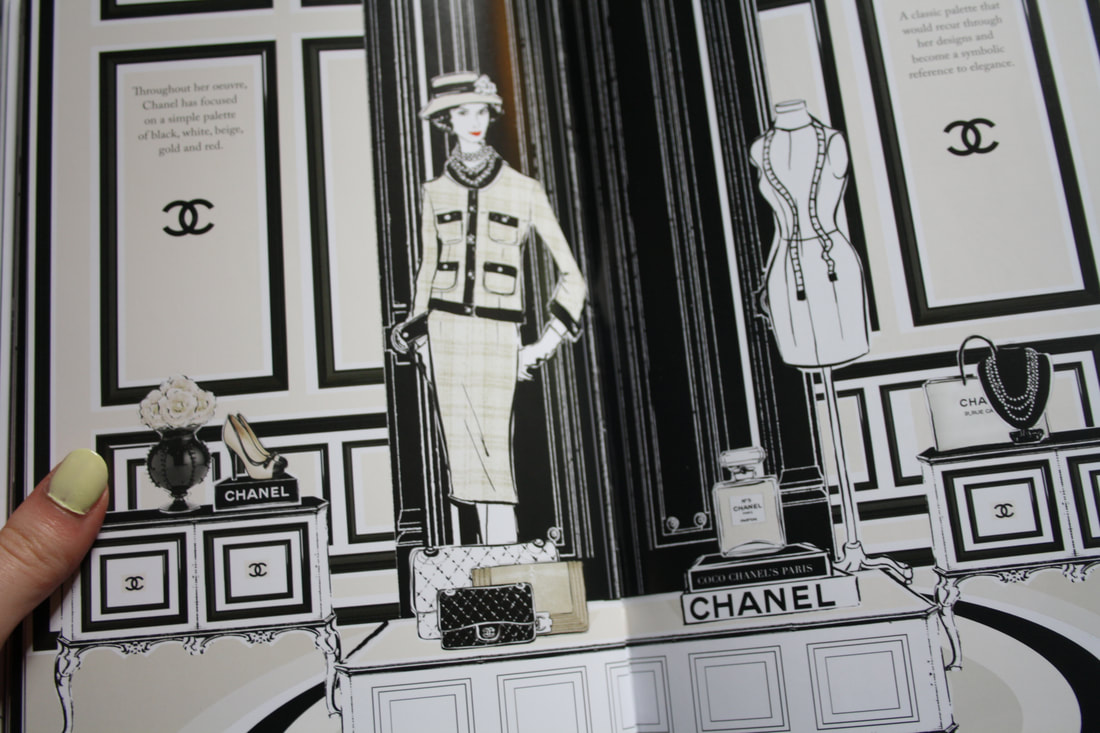
Out of all of my books (I have quite a few...), these are some of my favourites. There are so many more that I would like to eventually collect (Norah Waugh and Janet Arnold being some of the authors that I have seen are necessary in a costuming library), but I am so pleased with what I have so far. The books that I use for inspiration and help fall into a few categories. First are the books that are specifically for sewing. Of those, my favourites have to be the American Duchess Guide to 18th Century Dressmaking, Corsets, as well as The Art of Needle Craft. The Art of Needle Craft was published in the 1930s, and a beautiful little textbook! It shows different stitch types, and has helped me with my embroidery products. The American Duchess book has been so popular among historical costumers, and it has so much invaluable information! I wish it would have been out when I made my first costume, since it was an 18th century era dress. Corsets is a book about historical corsets, and how they were made. I haven't so far used any of the patterns, but I am definitely planning to use them, and I love looking through the book for inspiration. The second category would be the books about history. I have tons and tons of history books, since that is something that I am fascinated by and love to learn about. I narrowed down my favourites to the ones that are more about clothing through the eras. One of my first books about this, and still one of my favourites is The Survey of Historic Costume. This books is massive, and has at least a few pages for pretty much every era. It also shows modern designs that are inspired by history. Another favourite of mine, which is much newer, is my Charles James book. I have many, many favourite designers (Coco Chanel, Dior, Zac Posen, Alexander McQueen, and so many more), but right at the top of the list is Charles James. He had very sculptural designs, and the best thing about the book is that it gives a glimpse into what goes underneath the dress. I also have a great little book about the Regency era. Unfortunately it only has a few pages about the clothing, but the book does talk a little about everything. The next few books could belong in a few categories, but I decided to put it into this one because they do have great bits of information in them. I love the books by Megan Hess, especially Coco Chanel. Along with the information, it has beautiful pictures throughout. Another category is all of the inspiration books that are just pretty coffee table books. Some of these do have costume photos in (I have tons of movie books because I love movies so much), and others have nothing to do with clothing. Out of all of them pictured, I have a few that I look through a little more often than others. One favourite is the Grand Budapest Hotel coffee table book.It has costume sketches from Milena Canonero, one of my favourite costume designers. I also love Amber Butchart's book on how movie costumes have influenced the fashion world. It includes Marie Antoinette, In the Mood for Love, Moonrise Kingdom, and many other favourite movies of mine. I also am often inspired by interior design books, such as Sibella Court books (Nomad is my personal favourite to look through). Her books are fantastic to look through since her designs are inspired by different countries. I have always been fascinated with places like India and Mexico City, and I love seeing little objects from these places. The last movie book that I look through constantly is the one for Crimson Peak. The last category is magazines. I love sewing magazines (the ones that come with free patterns are the best), but I also read Porter and Vogue obsessively. Where you do you get your inspiration? ~K This year was a really huge one for me, especially when it comes to my sewing. I started this blog just a little over a year ago with my Special Project in school, and it has grown very quickly with all of the projects that I have been working on. I also started a makeup and skincare part of the blog (and an instagram here) after I started working at a beauty counter to share about some of the things I have learned through training sessions. When it comes to my sewing, I have grown quite a bit in the past year! I started the year with finishing my Special Project, which took me a semester to make. Not long after that, I started working with MakeFashion. I started out just helping, and ended up making a dress with the help of an engineer! It was hectic and crazy and I loved every minute of it. I also got to go to Mexico with my family this year, celebrated a one year anniversary with my boyfriend, graduated from high school, got accepted into Olds College Fashion Program, got a job, made a dress for a televison pilot, and finished 16 projects (some of which I haven't blogged about yet). I would say that was a pretty successful year! Here is my year in photos: 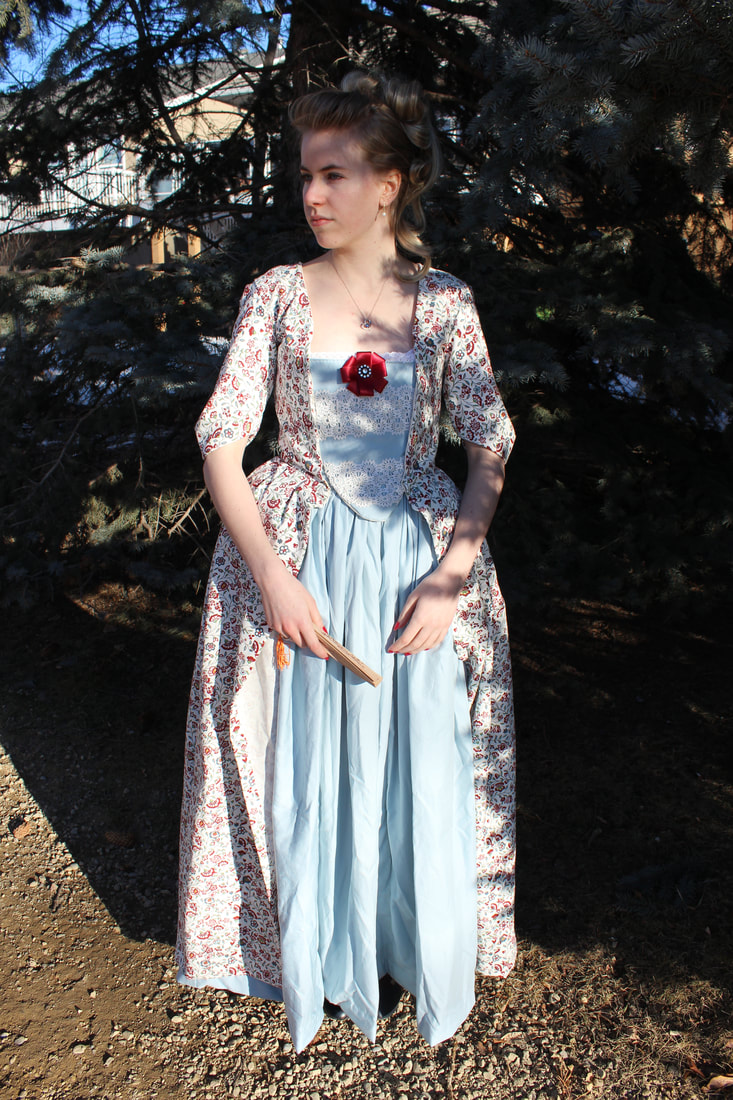 The finished Special Project  The Dream Dress that I made for MakeFashion with the help of the team lead, Catherine Larose, and an amazing engineer. This photo was taken before the lights were programmed 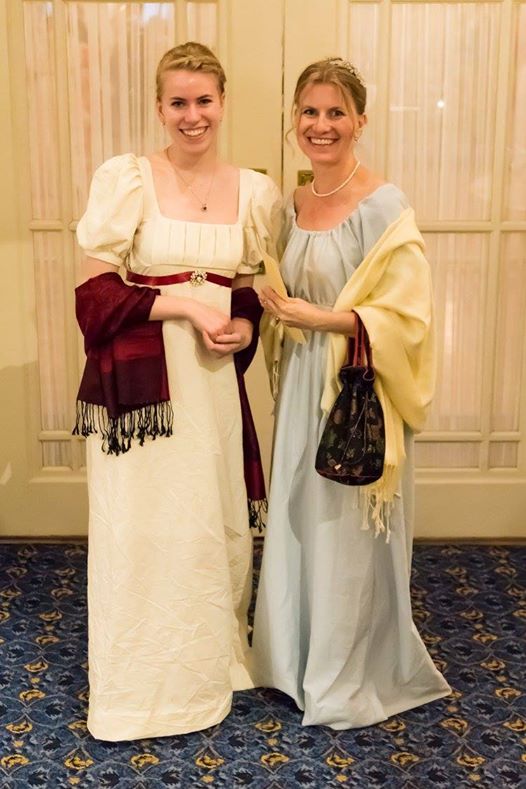 My mom and I at the Pride and Prejudice ball in my first ever Regency era gowns   The dress that I made for a TV pilot  My favourite project that I finished this year   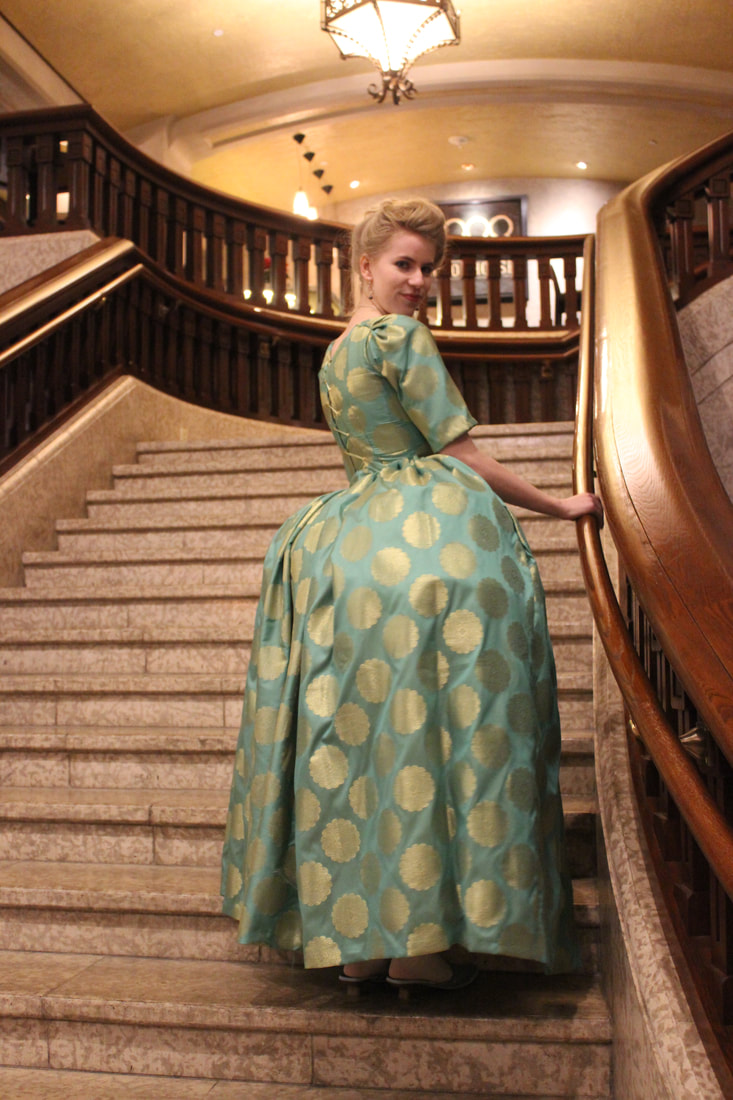 And a quick sneak peak of a project that I haven't posted about yet: 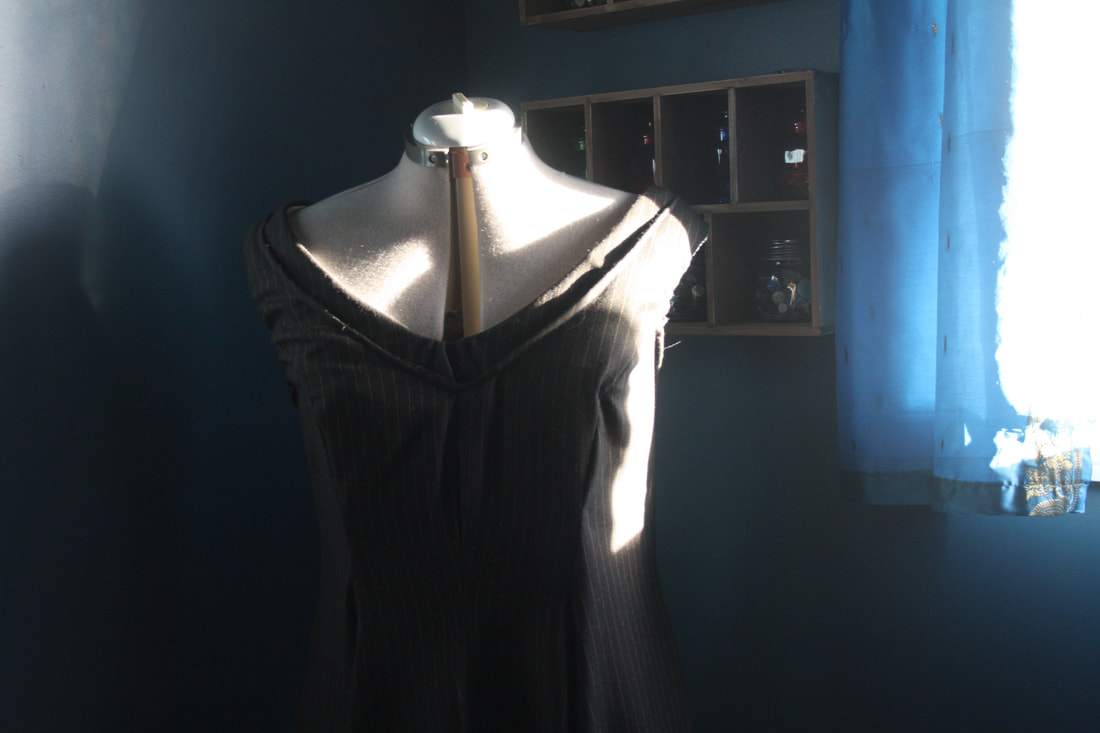 Heres to another great and productive year! I can't wait to see whats in store for me
~K  I finally got around to using my beautiful Simplicity pattern by American Duchess. The pattern was based off of the red dress in season two of Outlander. I didn't want mine to look too similar to the Outlander dress other than the shape, so I chose a mint green silk with patterns on it. I also used lace in the slit in the top of the bodice to make it feel a little more historical. 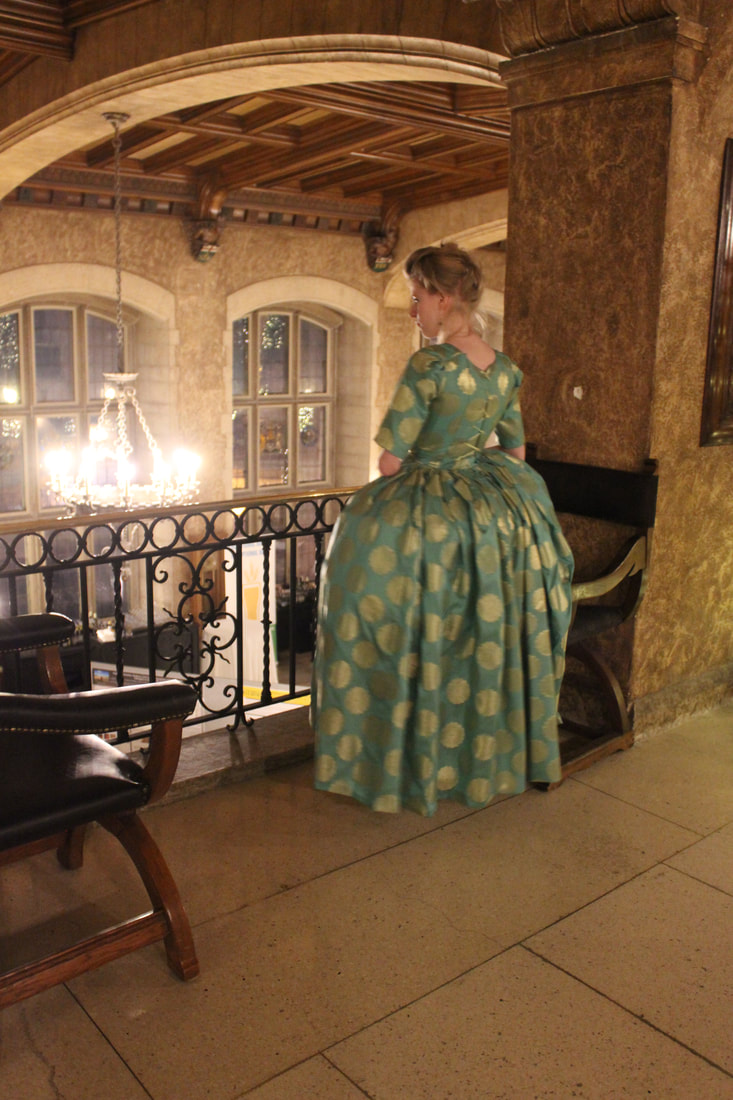 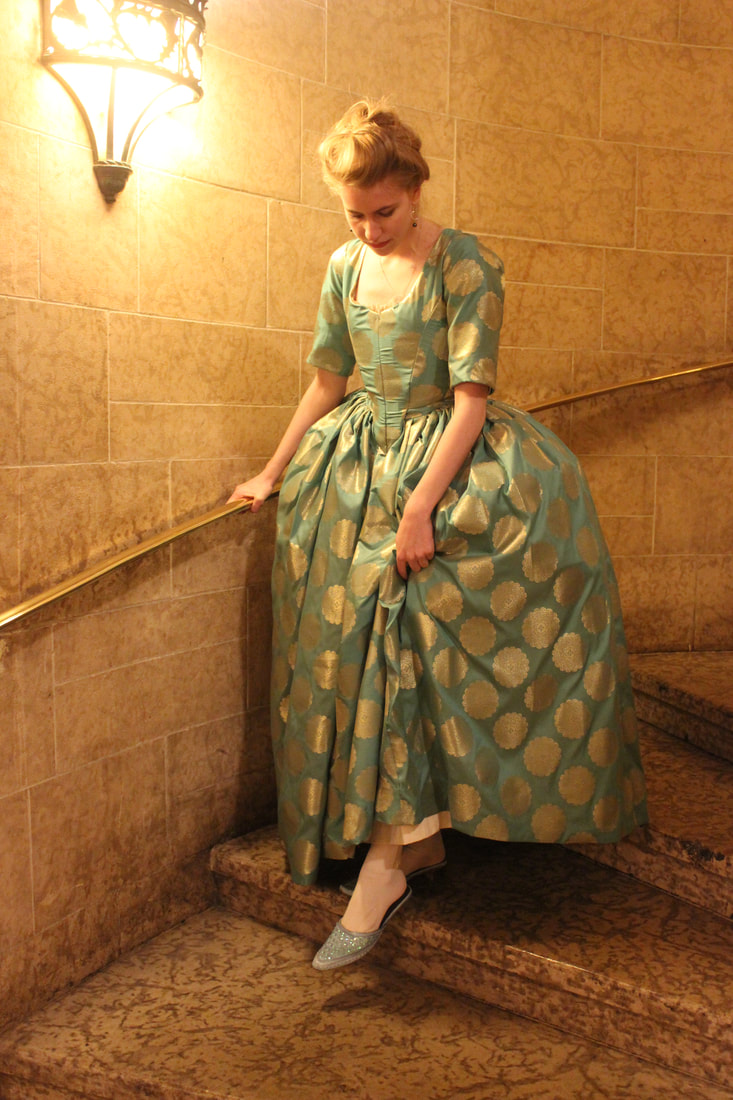 My shoes are from Bhatia Cloth House, as is the silk for the dress I ended up having quite a few days off of work in a row, and we (my mom and I) decided to make a trip up to Banff to get photos. We live pretty close, so it was easy to drive down for the night. I got two photo shoots done- one for the Green Dress, and one for my In the Mood for Love inspired dress (I will have the photos for that one up next week, as well as a video). 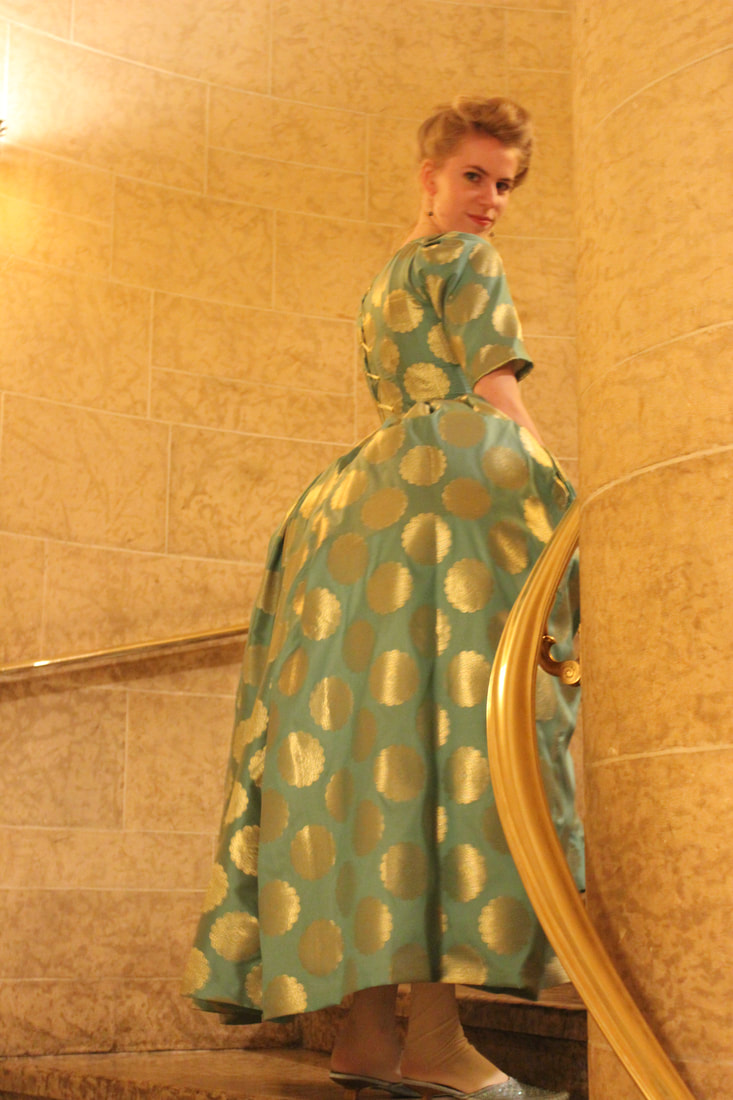 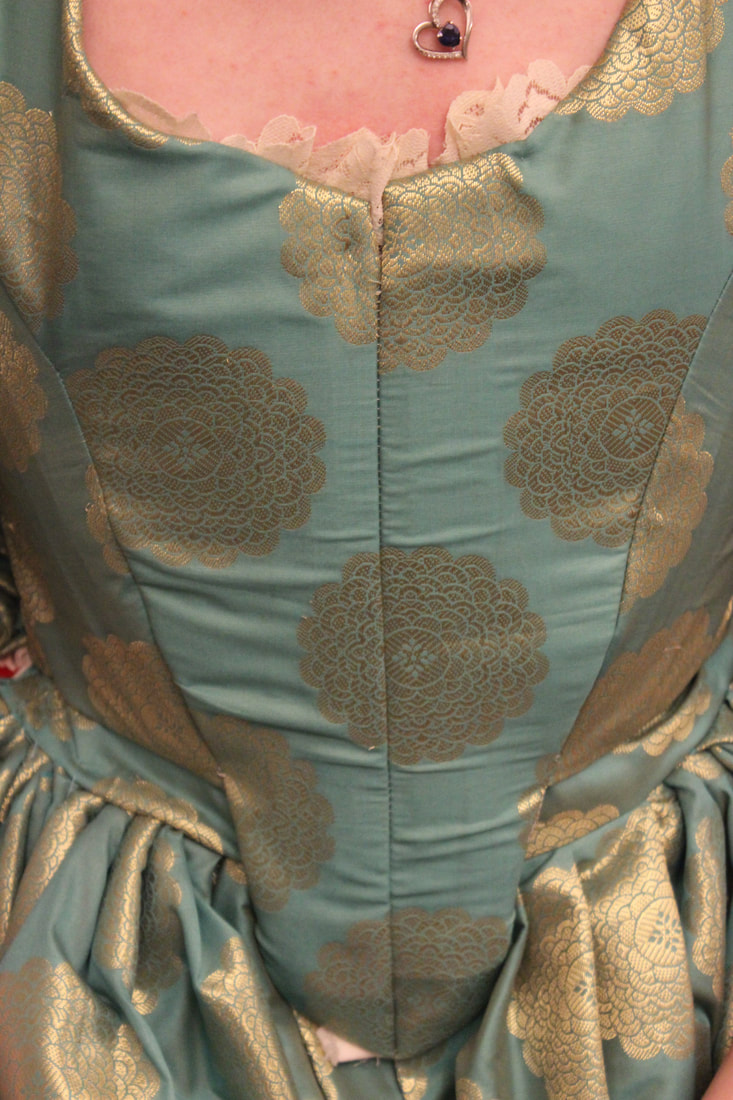 When we decided to go to Banff, I still hadn't even started the dress yet. It ended up taking me 3 days from cutting out the fabric to finishing it- pretty fast compared to some of my projects! During those 3 days I also had to finish the other dress that we were going to take photos of, so it was pretty hectic at the beginning of the week! 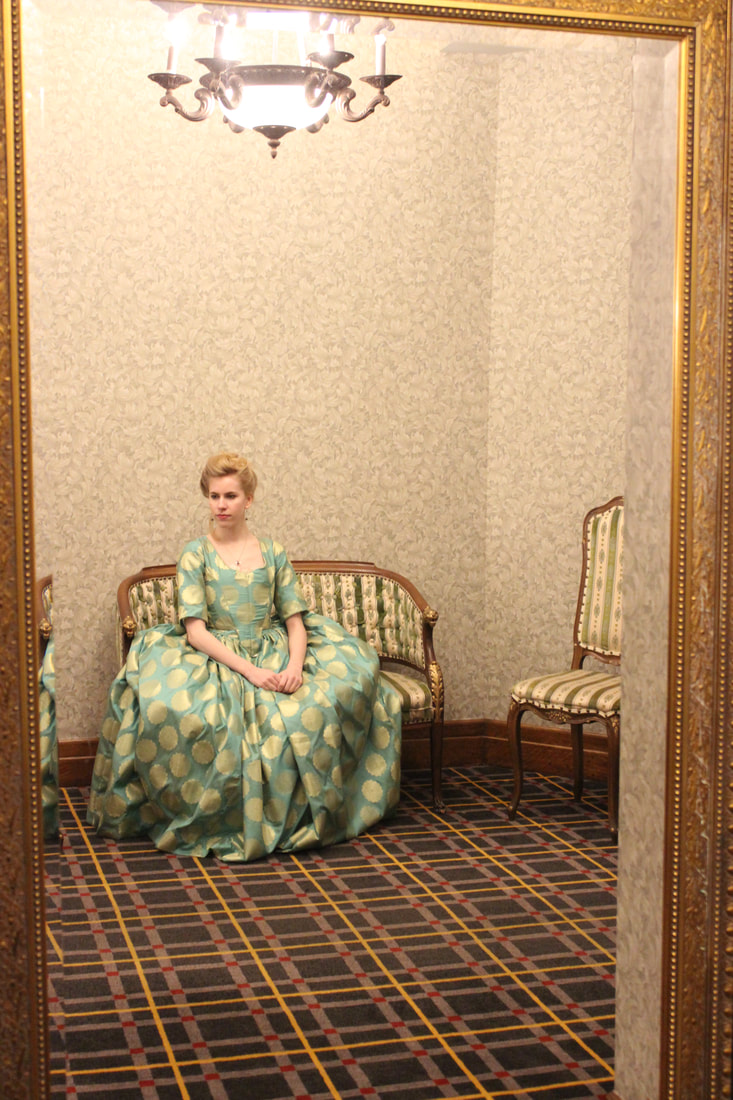 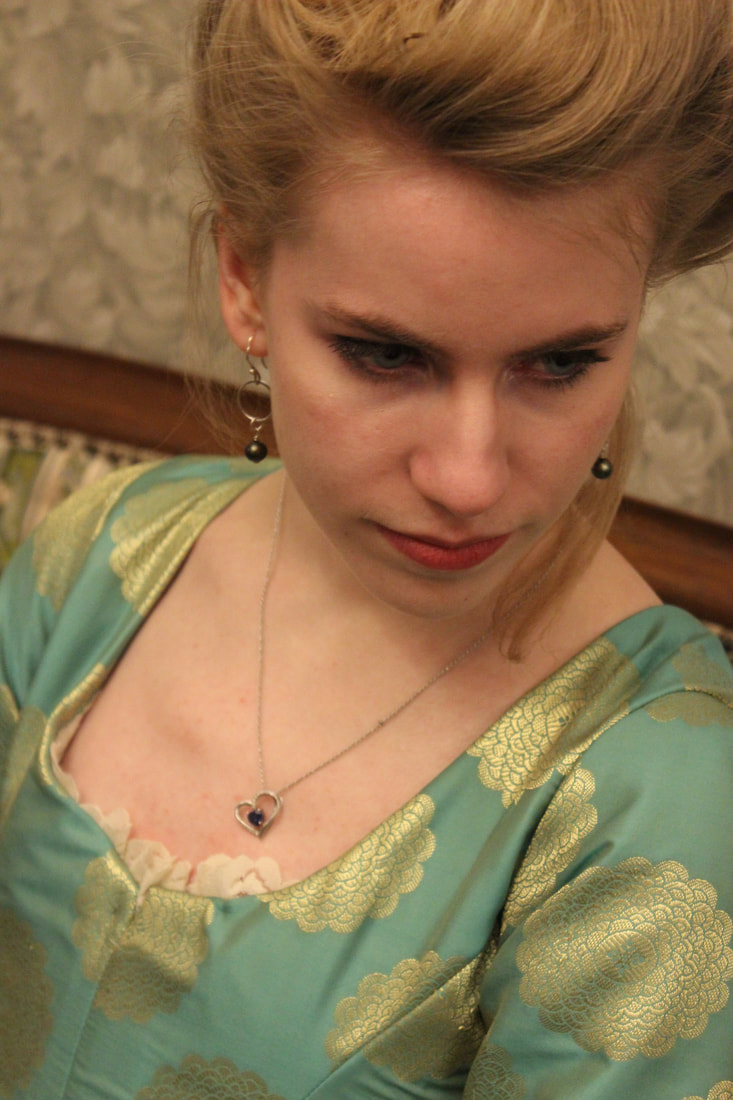 I cut the pattern out in a size 6, and that worked pretty well, although it is a bit big in the bust (as you can see with the lacing). That could have been fixed easily if I had made a mockup, but I didn't... But I think it turned out well anyway! The skirt is cartridge pleated through the back, and pleated in the front. I wore it over my shift, bum pad, panniers (what makes the shape so dramatic at the hips), and a petticoat. I will do a post on the panniers in a few weeks or so. The panniers were also from the American Duchess pattern, and they came together very easily and quickly! I am very pleased with how they turned out. 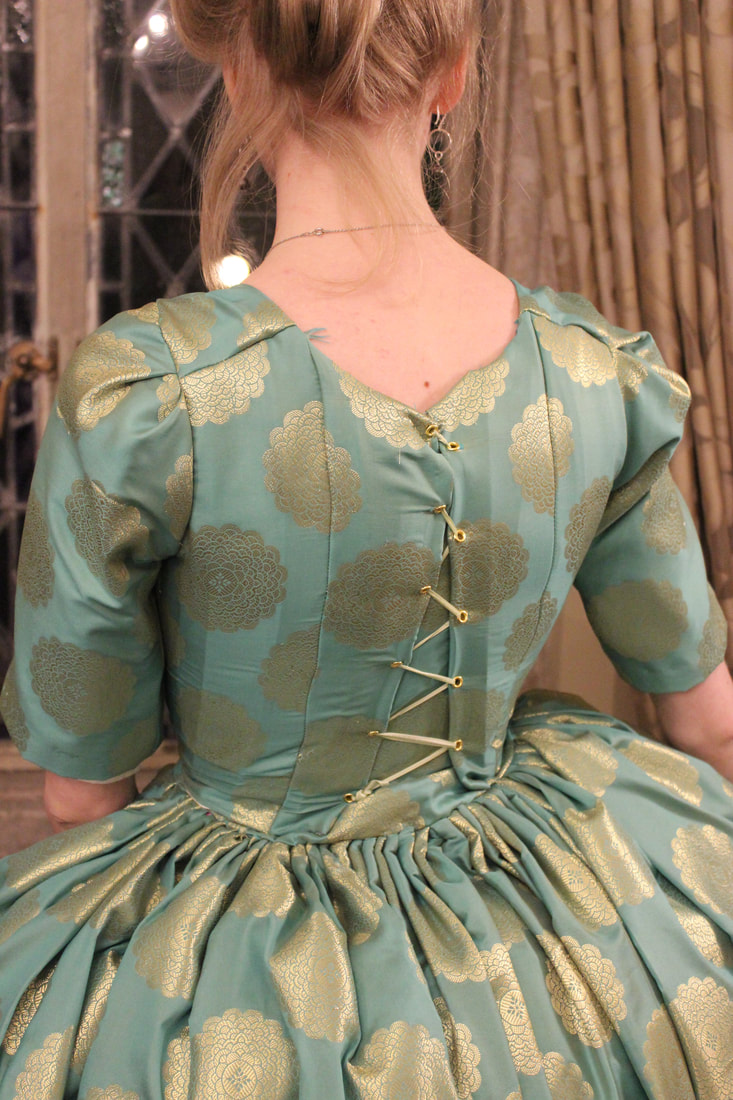 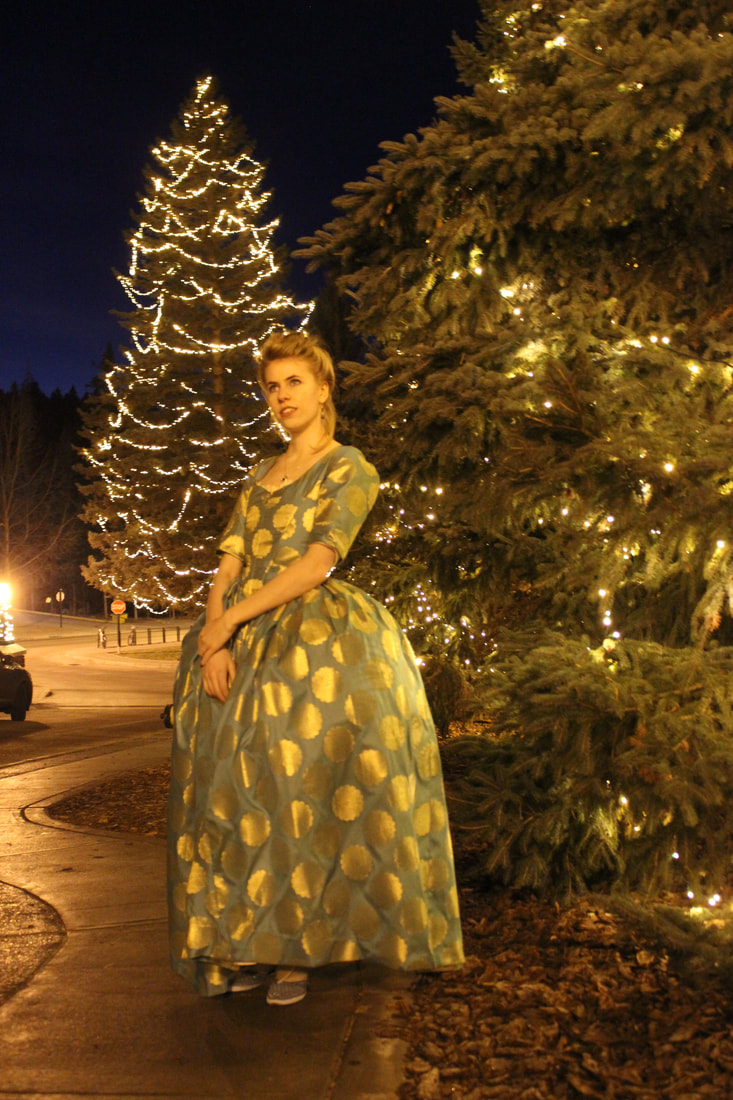 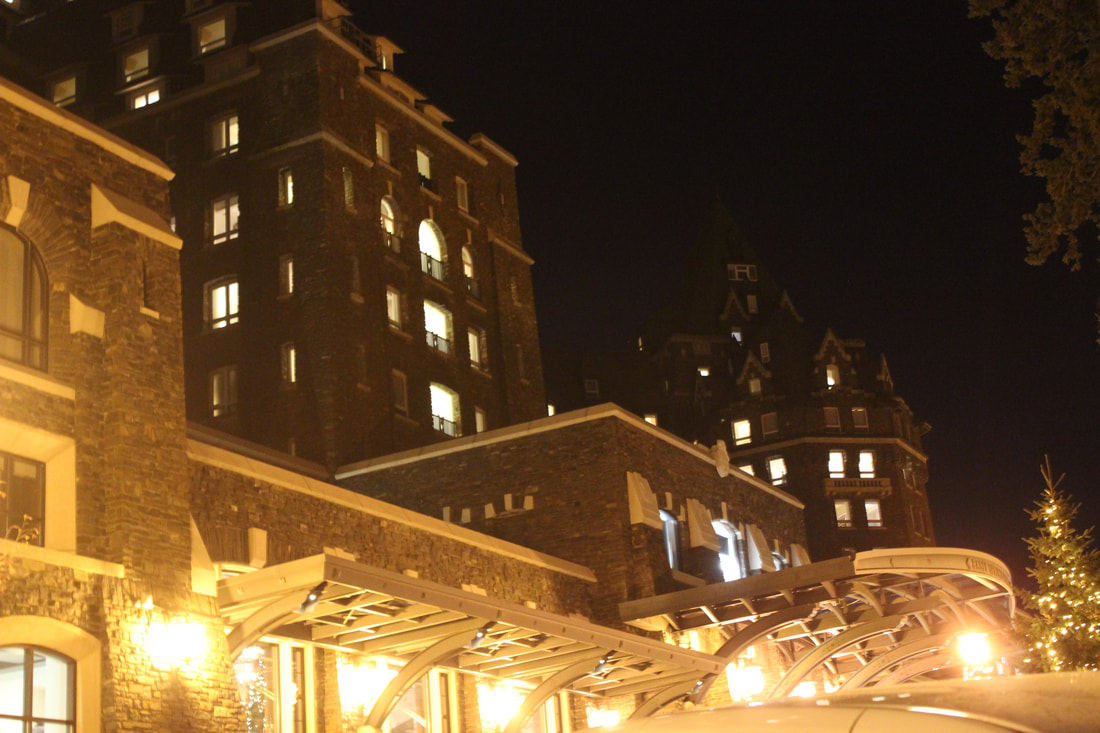 These photos were taken at the Fairmont Banff Springs Hotel, which was opened in 1888. The hotel is beautiful, and even though it isn't the same era as the dress, I thought it was a beautiful backdrop. 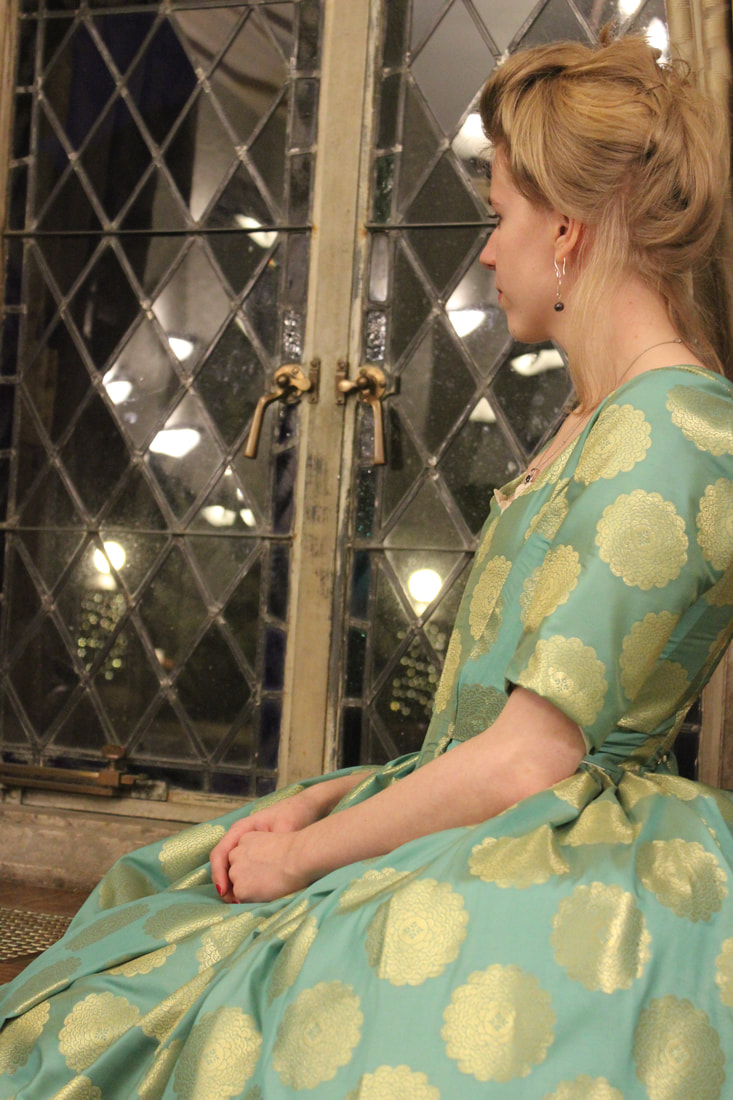 ~K
I recently made my way to Bhatia Cloth House with some projects in mind, and I am so excited with what I came out with! Let me know how you like this type of video!
~K A few weeks ago I picked up a few things for new projects. I have had a gift card from my boyfriend and his family to Fabricland for months now, so I finally got to use it! The first thing that I grabbed, which I was originally planning for, was a wool blend for a 1940's pattern that I have been wanting to make since the beginning of the year. 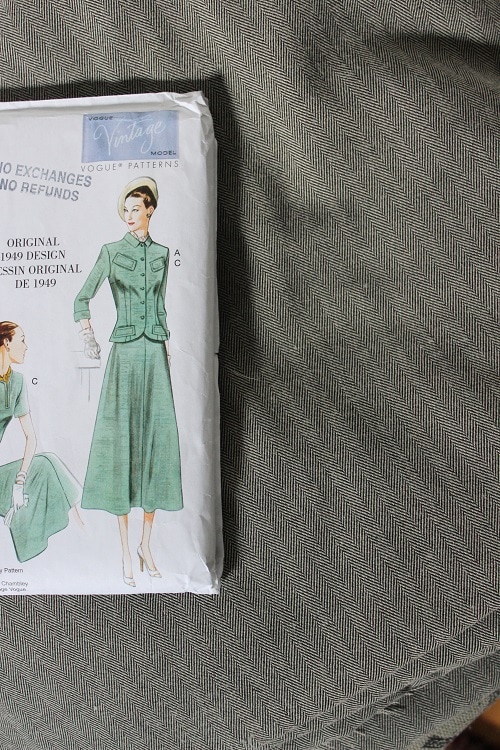 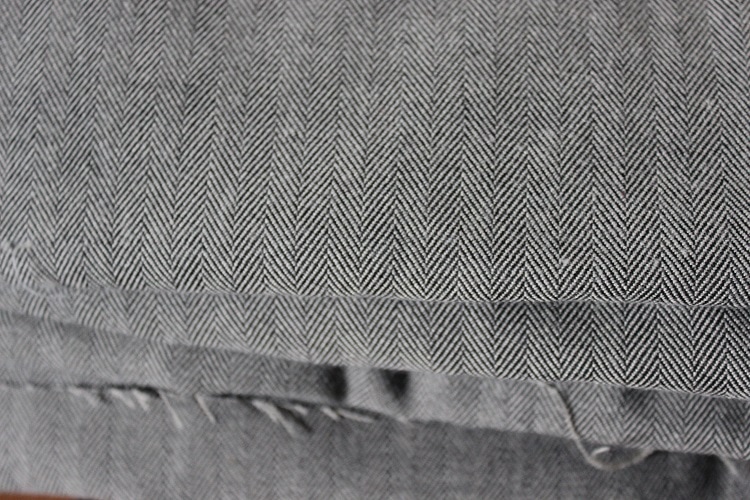 I am thrilled with the fabric that we found, so I will be making both the dress and the matching blazer with it some time in the near future. I also picked up all of the things that I will need to finish the dress: a zipper, belt buckle, and some buttons. 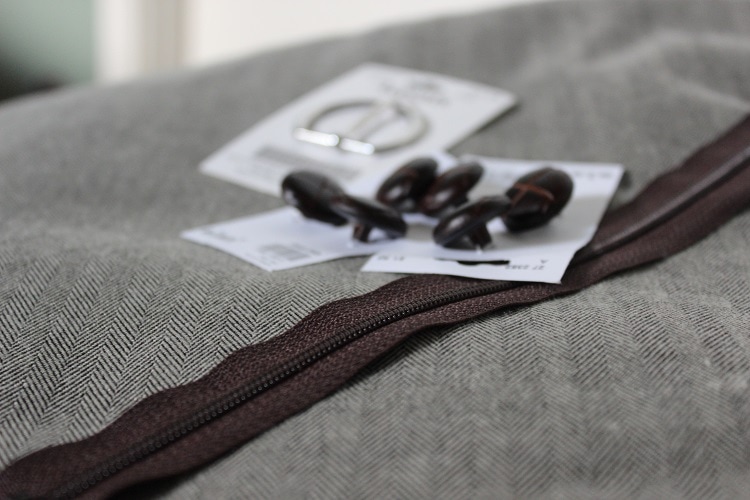 The next thing that I picked up I am very excited about! American Duchess just released their new pattern, inspired by the Red Dress from Outlander. I was impressed by their last patterns, so I didn't hesitate to grab this one.  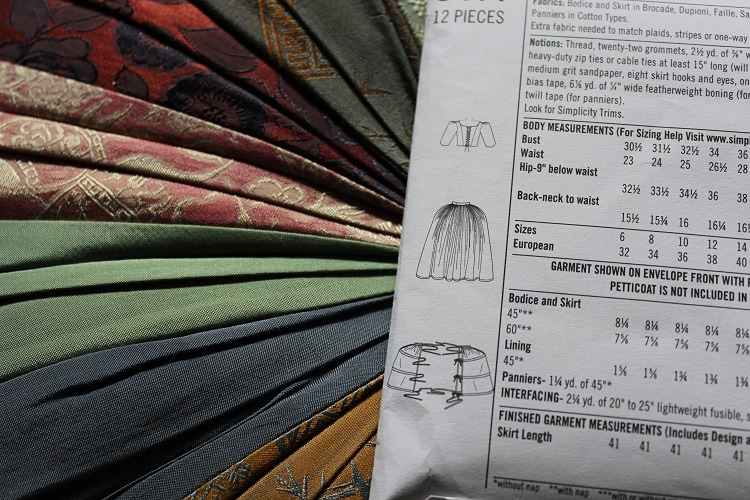 It comes with patterns for a separate top and skirt, along with a pannier pattern, which I will be putting to good use! Another thing that I am thrilled to have picked up was a dress form! I have wanted a dress form for ages, so I ended up choosing that for my grad gift. 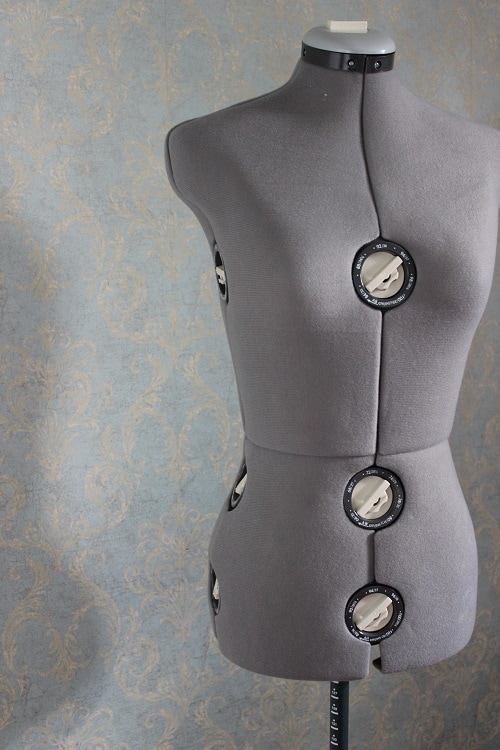 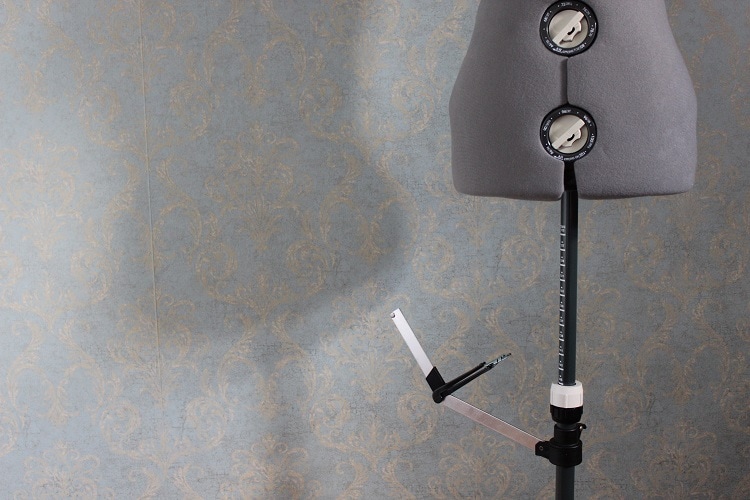 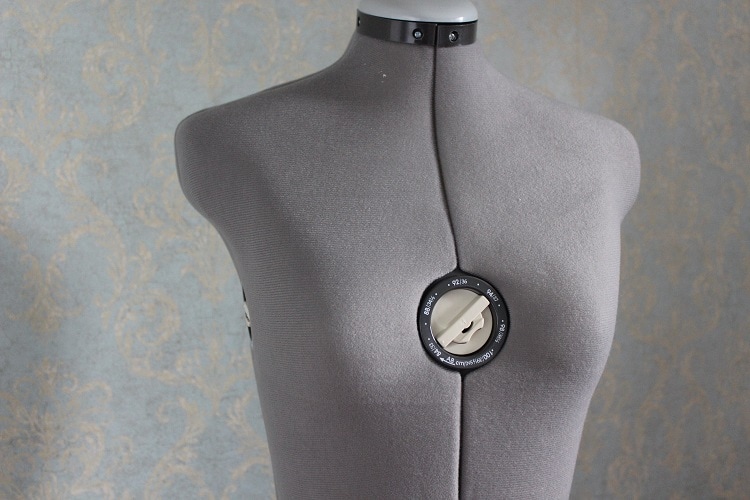 The last thing that I got was actually a gift. This is one of the most amazing gifts that I have gotten, and I love how it looks in my little sewing room. 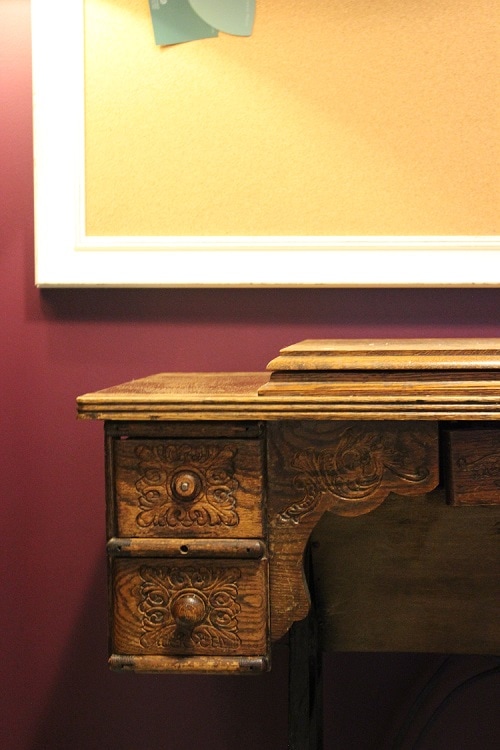  A family friend was getting rid of a few things, and she gave me this beautiful sewing machine! Since it came with all of its extra parts, I am hoping to be able to get it working so that I can sew with it.
I have been working on a few things to get ready for grad lately, but once grad is over, I will start working on some new projects that I have been planning. Also, we went to the Jane Austen ball last weekend, so stay tuned to see some photos from it! ~Kate 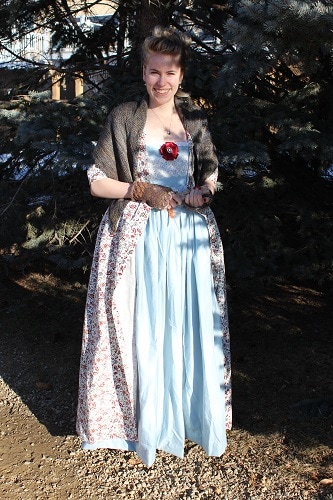 After a ton of work, and many learning curves, I have finally finished the whole project, including a chemise, a pair of stays, a bumpad, two petticoats, a gown, and a stomacher. Although there are things that I could adjust, or would do differently if I did it again, I am still proud of how it came out. The patterns that I used for this, the American Duchess patterns, were very good, but there were a few things that I wasn't thrilled with. I ended up drafting my own chemise pattern, since theirs was not very historically accurate. The patterns were easy to follow and understand, which was very important for such a large project. The instructions were simple and to the point, and I was never thrown for a loop about what to do. I loved the bodice pattern, and it looks very historically accurate to me according to dresses from the 1740s. If I made this pattern again, I would probably adjust the sleeves a bit. They were slightly more loose than I would have liked, and the darts were up quite high. The dart at the bottom of the sleeve is to fit the sleeve to your elbow, however they don't go down to my elbow, as you can see in some of the pictures. I also adjusted the stays quite a bit, but I was expecting to do that, since stays can be very tricky to get the fit right, and I was using cording and not boning, so I was not surprised when there were a few slight fit issues. Other than these unimportant little complaints, I loved the patterns and I would definitely use them again, just with a few 'improvements'. 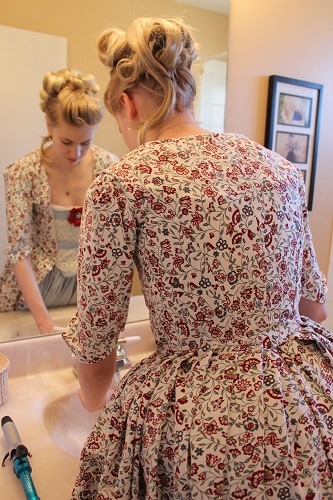 This ensemble took me about four months, starting in late September, and finishing just a few days ago. I used Ikea fabric for the undergarments and gown (a muslin and a thick cotton), and a cotton sateen sheet for the over petticoat and stomacher. The lace on the stomacher is a gorgeous vintage lace that was given to me as a gift. The stomacher was finished off with a ribbon 'flower' that I made, and some hand crocheted lace at the top that I have had for a long time. I had an incredible time creating this, and I feel like my sewing skills have improved from before the project to now. 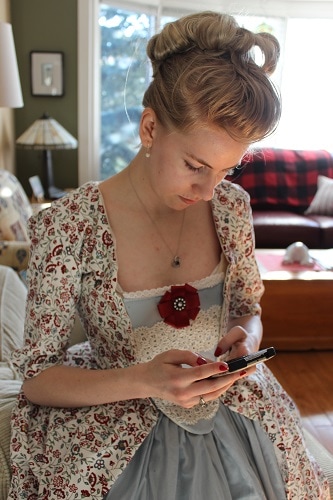 ~K
After a long slog, I have finally completed the the base of the project. This was the toughest part of the project, since it included many difficult pieces. The hardest part of the whole costume so far has been the stays. I am already pretty far in the process of creating the actual gown, and it has been much easier and quicker to put together than the parts that I have finished, mainly because I don't have to do any boning or boning channels. The cording on the stays was very difficult, since I have never done that much cording on something before, but I am pretty pleased with the final result. 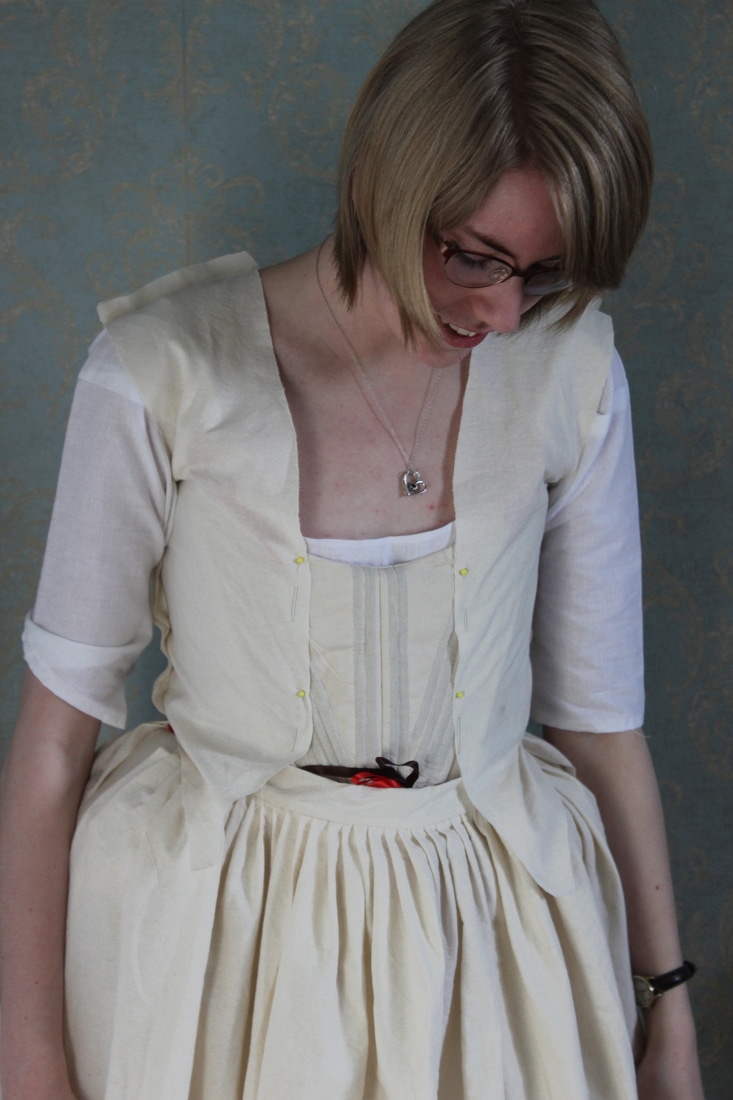 My apologies for the crooked pinning, and the visible ribbons. I wasn't planning on taking pictures at that time. 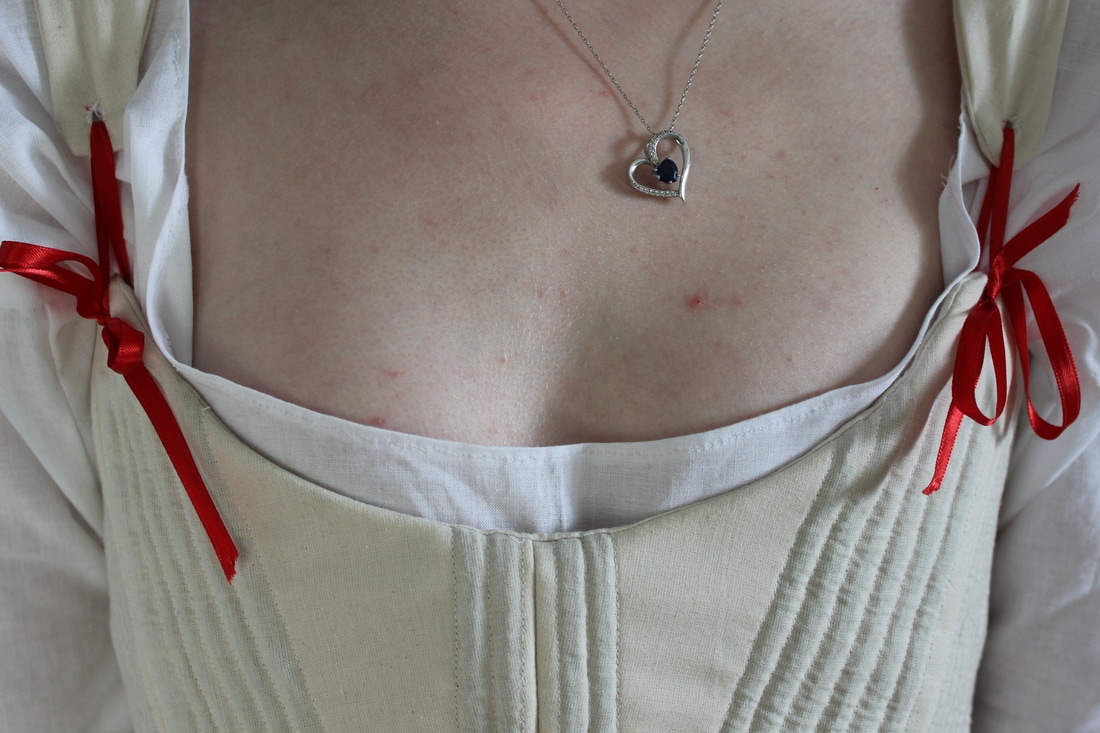 Here you can see the neckline of the chemise and how the straps are tied to the stays with ribbon. I didn't finish the chemise until after the stays, since I wanted to use them as a way to measure where to cut the neckline of the chemise. I wanted to make sure that the chemise was low enough that it wouldn't be visible from underneath the dress, but I also didn't want it to be too low and wide that it would slip off my shoulders. The neckline is a bit wider than I would have liked, but it works perfectly with the stays. 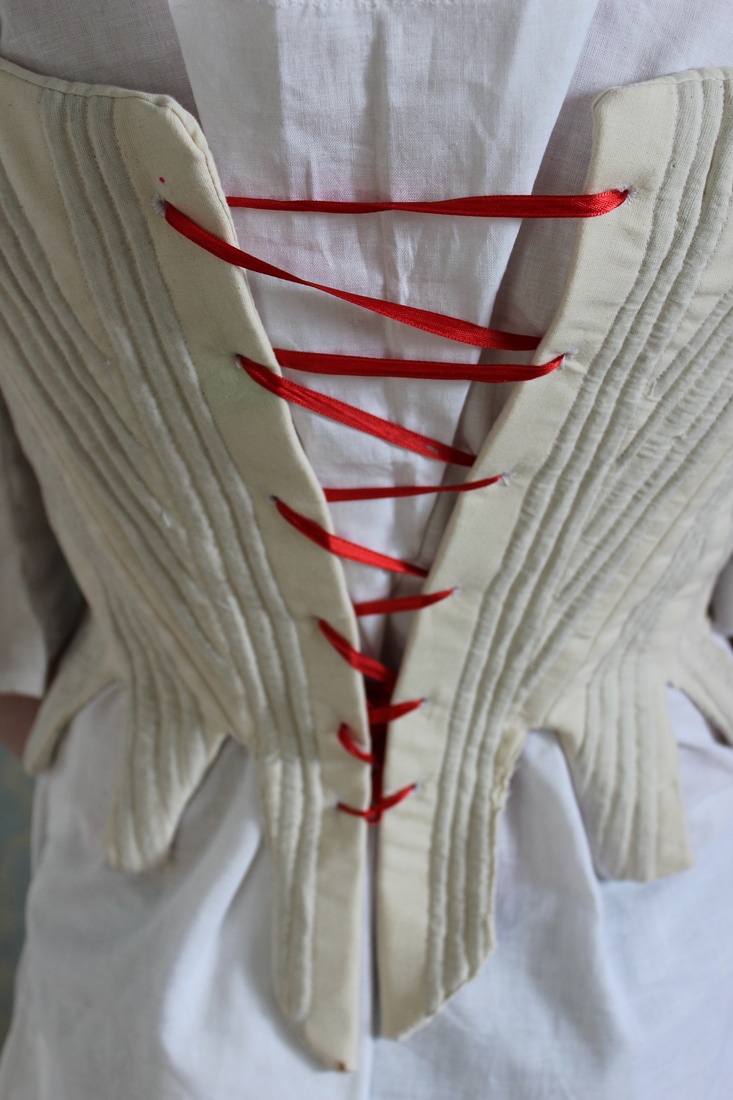 As I have mentioned before, I did not make the stays exactly as they would have been made in the 18th century. I made some adjustments to make it a bit easier for myself, since I have never made anything like this before. First of all, I used cording instead of boning. This made the garment less stiff, so it is much easier for me to get used to it. Wearing fully boned stays take a long time to get accustomed to, and I wanted to not only make it a bit easier for me to sew, but also easier for me to actually wear. 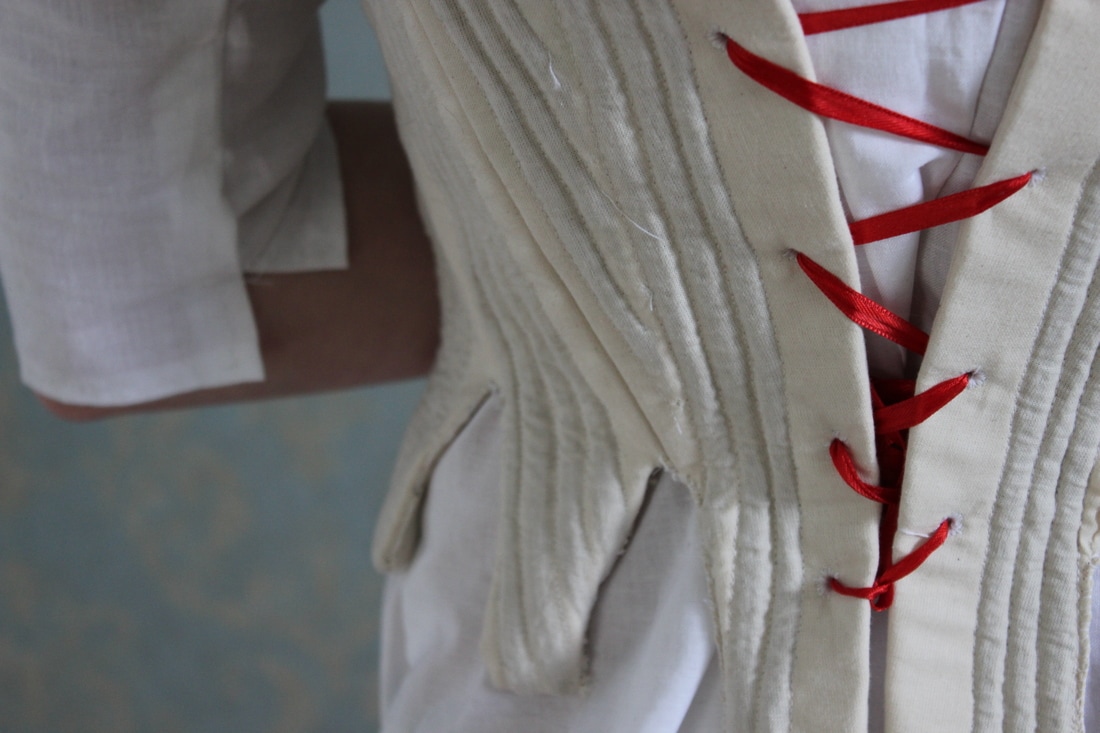 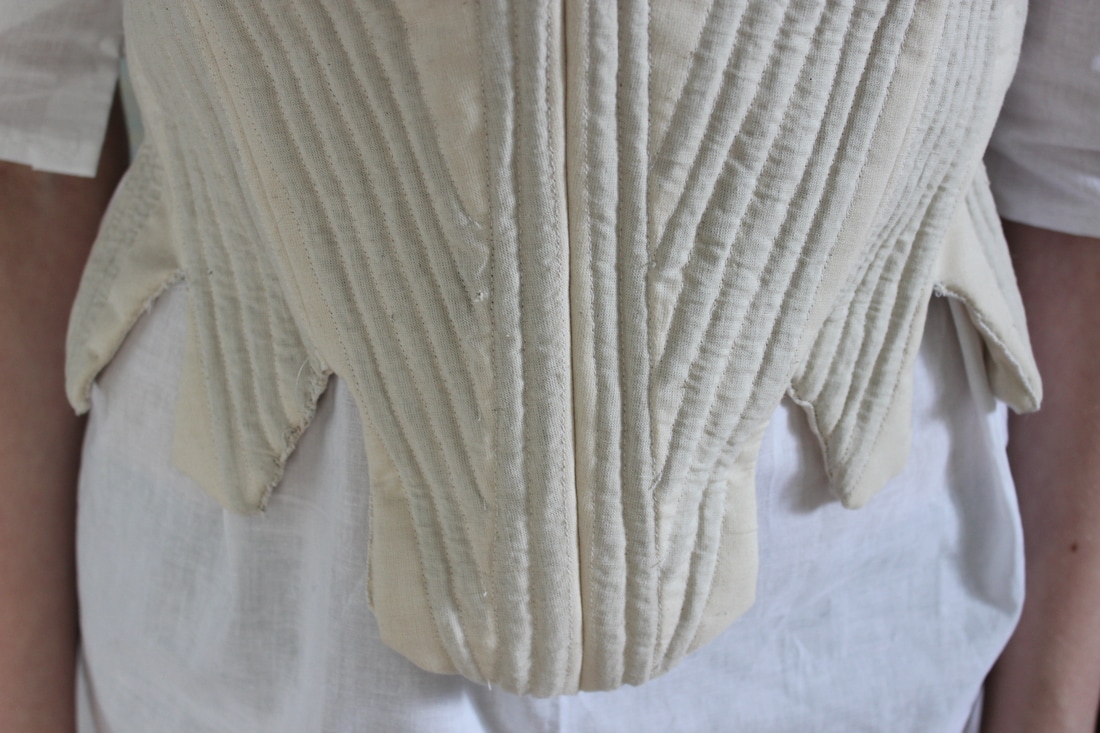 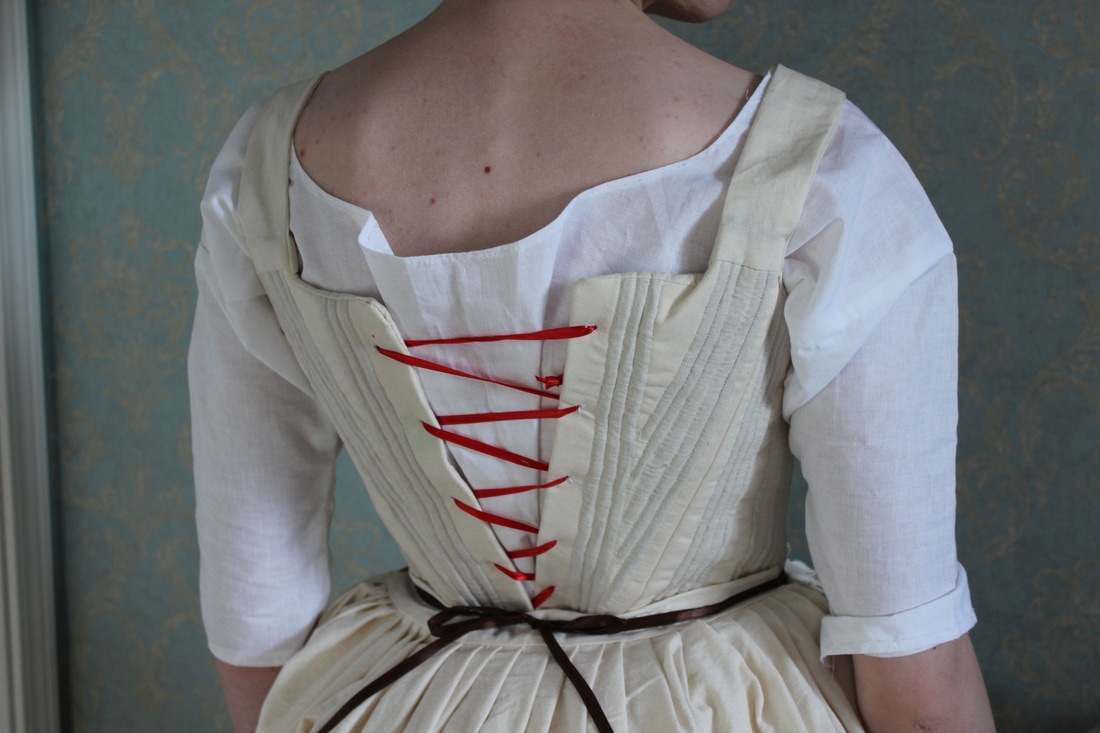 The petticoat is 8 pieces, overall. The front and back are just pleated on to the waistband. The top petticoat will be made the same way, just in a blue cotton. The skirt is made so that there are two slits in the side so that if I make pockets for myself, I can reach them. The gown and top petticoat will also have these slits, to make sure that I could easily reach anything in my pockets. I will not be making pockets for this project, but I may later on, and I would like to keep that option open. 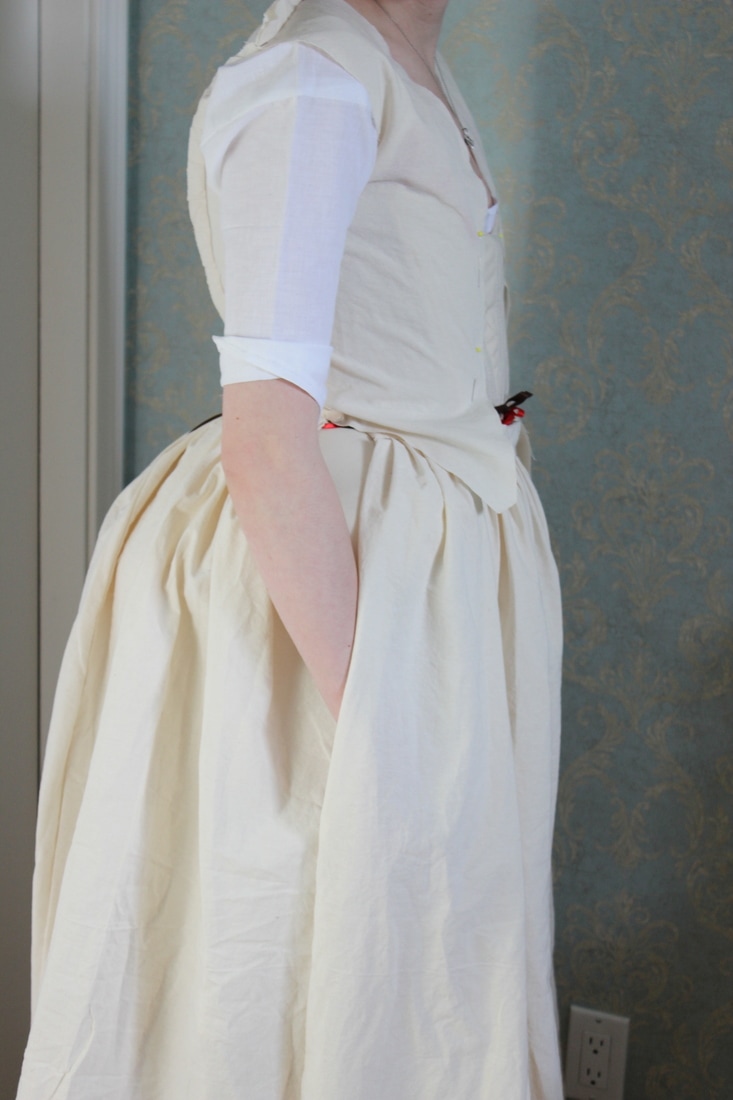 Next post I will show the details of the mock-up, and the finished bodice.
~K I have finished the under garments of my project, and am well on my way to being finished the bodice of the dress. Before I show you the final products that will be worn underneath the gown, here's the petticoat in progress.  The pattern pieces for the skirt and bodice.  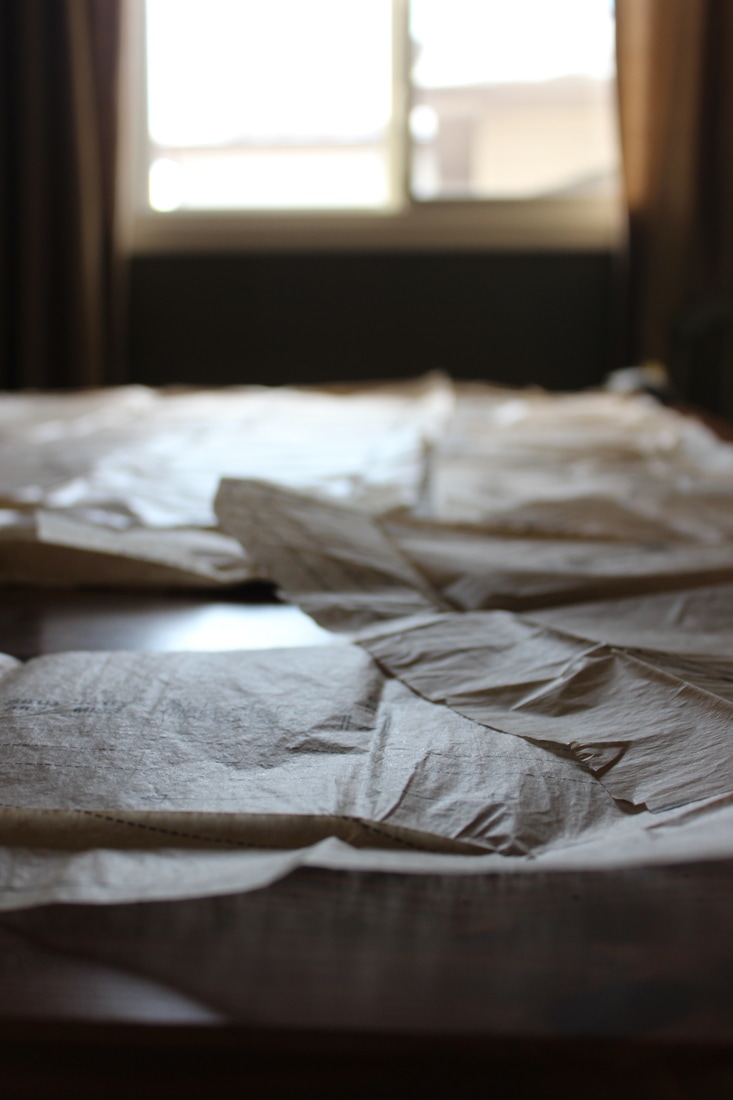 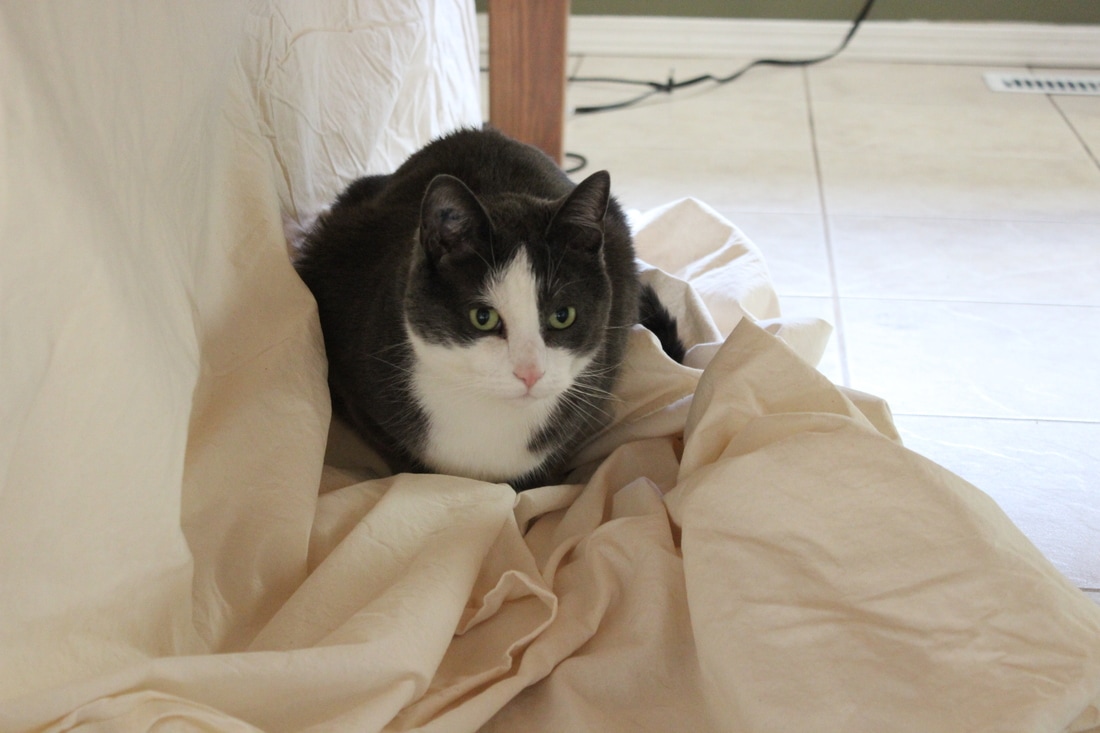 And my very helpful sewing room kitten And here is a sneak peak of all the undergarments on. This was taken before the skirt was hemmed. I am also wearing the mock-up of the bodice in this photo.  In this photo, I am wearing the completed shift, stays, and bumpad. On top I am wearing the un-hemmed petticoat and the mock-up of the bodice, without sleeves. I am so excited to work on the 18th century dress, but unfortunately, I have to make all of the undergarments first. All of the things that go under a period dress are just as important as the actual dress. Without the stays, bumpad, and petticoat(s), the dress would look very flat, and without the chemise, it would be very uncomfortable. Since this is the first time I have ever created a project like this, it has been a bit slow going, since I don't have anything already made. So far, I have finished the bumpad and chemise, and I am slowly but surely working on the stays. 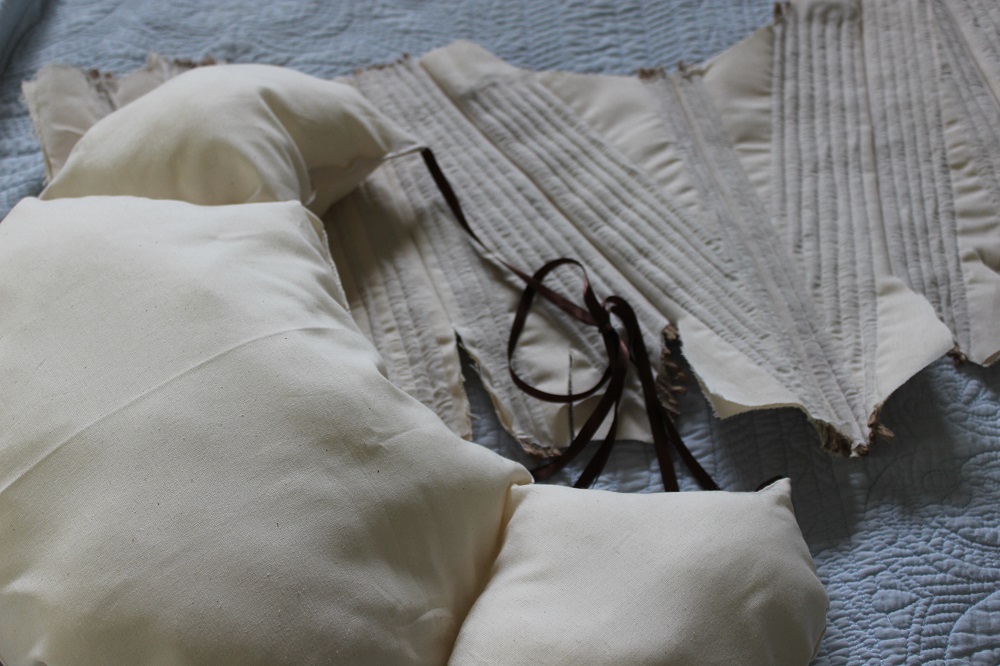 The half-finished stays and bumpad This has been a bit of a nerve-racking process, but my American Duchess* pattern has made it much easier. I was apprehensive to start on the stays since they are so different from anything I have ever made before. I decided to go with a different technique when it came to putting them together than what you would see in period garments, purely to make things a bit easier on myself. The biggest change being: I used cording rather than any type of boning. This is not accurate at all, as far as I have seen. Cording did not start in corsets or stays until the regency era. After that, it was quite popular throughout the 19th century, but before the early 1800s, I have not seen any examples of stays with cording in them in my research. 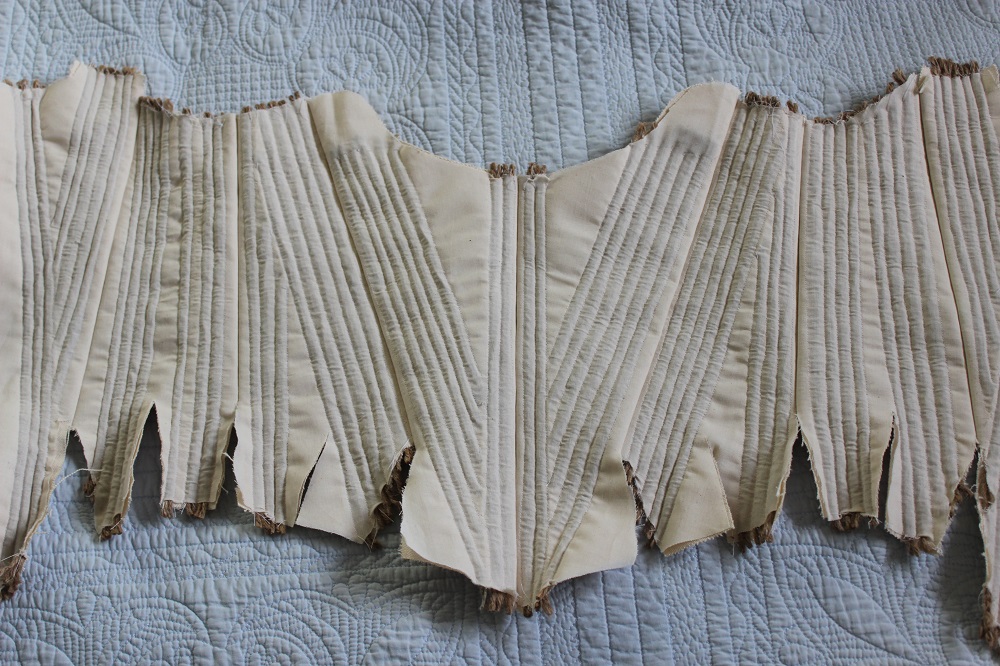 I went with cording for a few reasons. One, I have made corded garments before, so there was less chance of failing and having to start over. Also, I already had cording in the house, and I did not have to search or buy anything else. Lastly, I have never worn a corset or any heavily boned piece of clothing before, so I thought that this would be a better way of easing myself into that. Another thing that will be different and not at all period correct is that I will not be bias binding the stays. 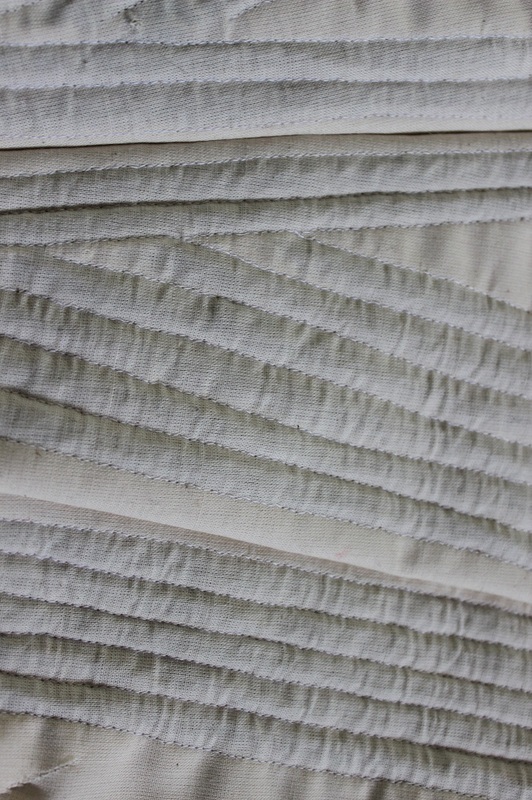 Close up of the historically inaccurate cording 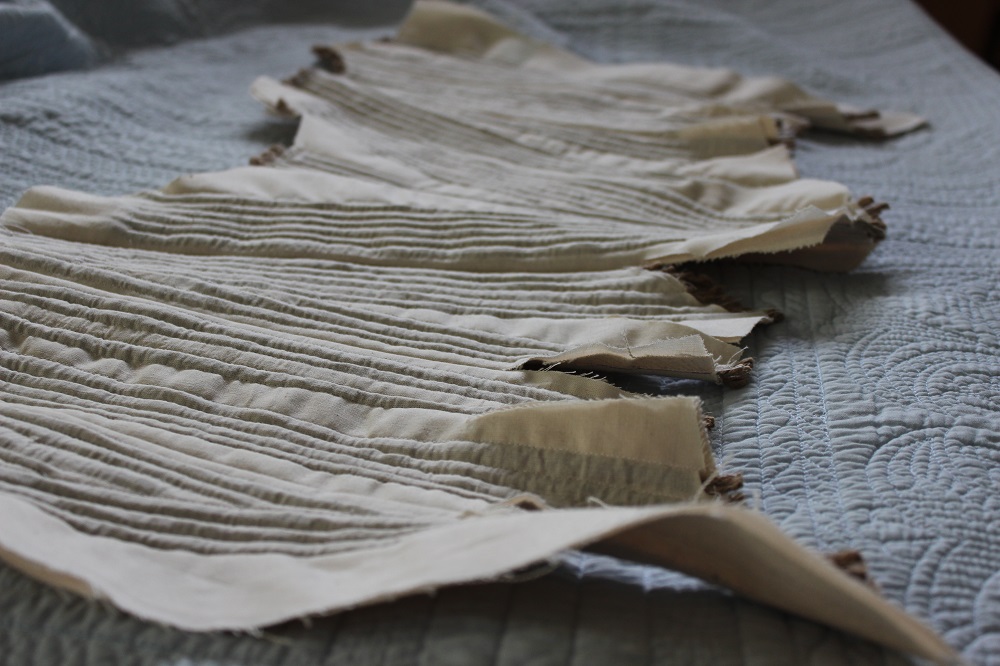 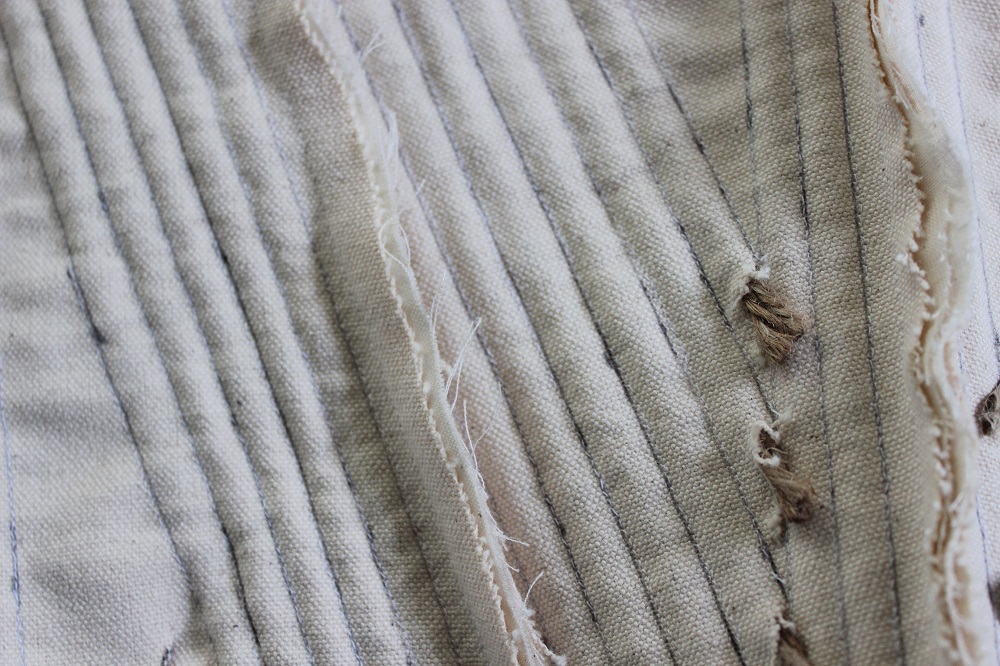 The inside of the stays. This will be covered with a lining Once the stays are finished, I just have a petticoat to make, then I'm on to the fun stuff!
~K *I am not an ambassador for American Duchess, any opinion I have about the company and their patterns are my own:) 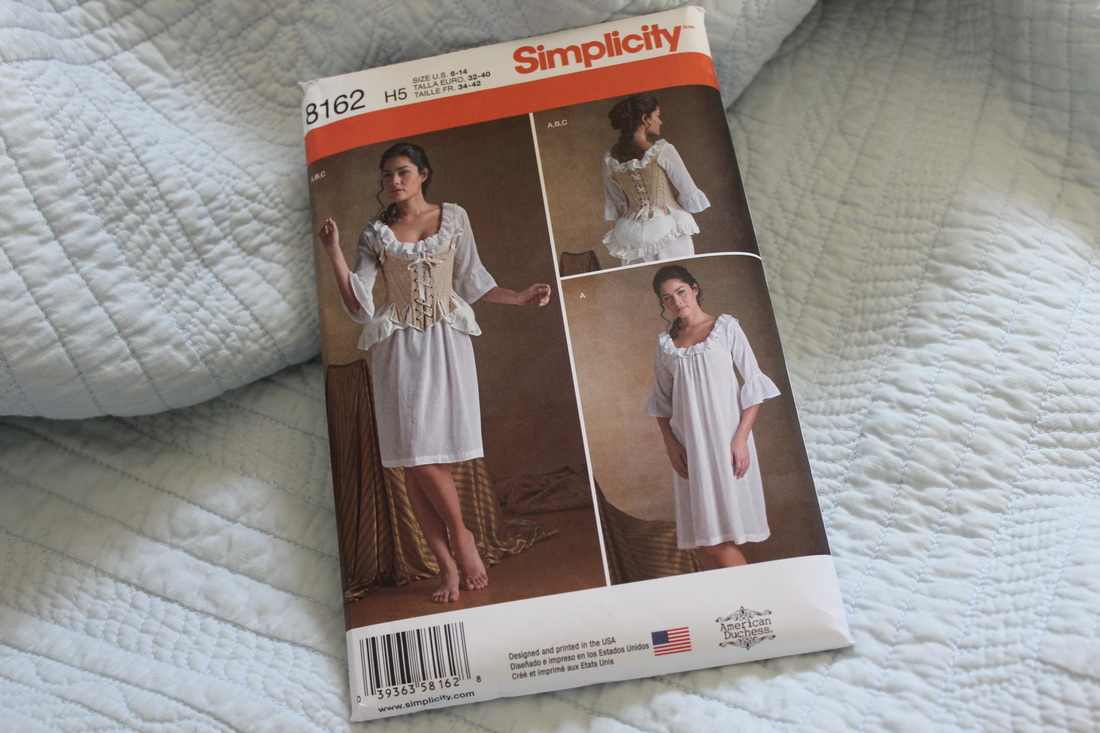 Here is the undergarments pattern. I also got the Italian Quarter-Backed gown pattern from American Duchess. 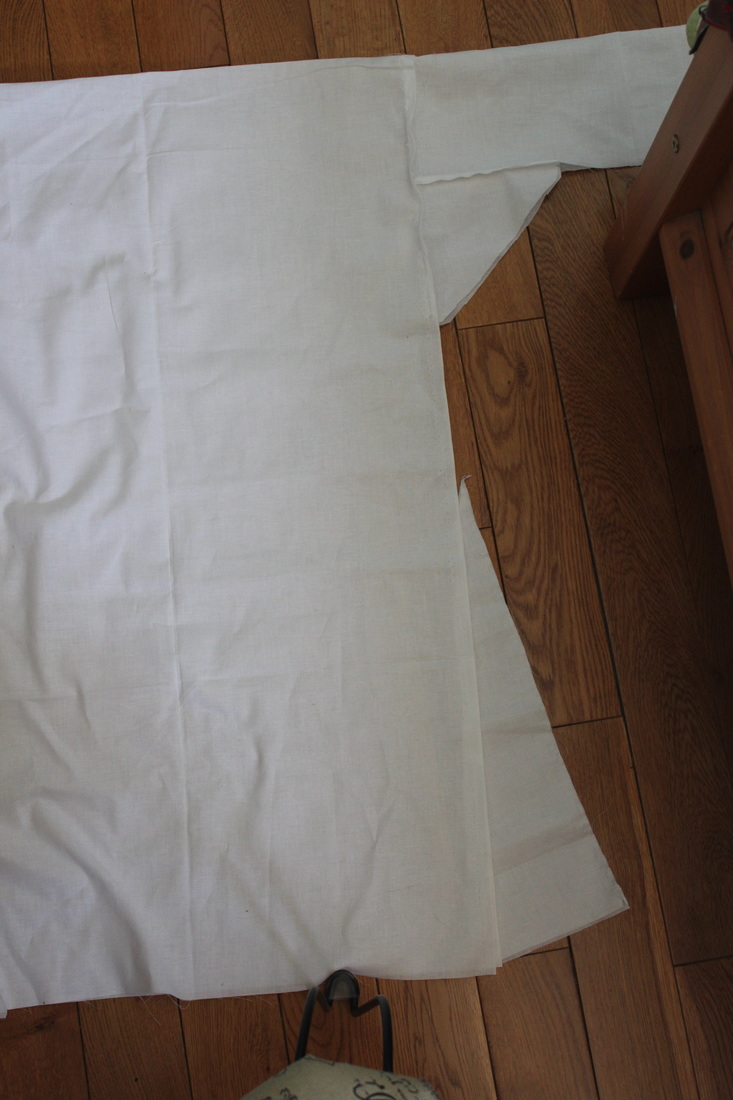 Here I have all my pieces roughly pinned together. As you can see, the main body is just a rectangle. Once everything is sewn together, I will cut the neckline. Here I have all my pieces roughly pinned together. As you can see, the main body is just a rectangle. Once everything is sewn together, I will cut the neckline. My new American Duchess patterns just recently arrived in the mail, and I am thrilled to finally be able to start my project officially. The day that I got the patterns, I started working on the chemise. I did adjust some of the pattern to make it a bit more historically accurate. Instead of using the main body pieces that were given in the pattern, I decided to just make a rectangle for the body with 2 triangular side gores, a method that was used for over a hundred years for chemises. Not including the main body for the chemise, the majority of the pattern pieces look very well done and pretty close to historically accurate. I understand the parts that are not, since the patterns were made for beginner sewers and for making costumes, not replicating the past. Another great thing about these patterns are how easy they are to follow, and it has been incredibly simple to adjust the pattern in any way that I need to for it to fit better and to look more like the examples I have seen from the 1740s. I can tell that a ton of research has been put into these patterns, and I am impressed by how well Lauren from American Duchess managed to balance simplicity and accuracy to the period. I would absolutely recommend these patterns, especially for anyone that is just beginning to create historical costumes. One thing that I would like to note, which seemed to be an issue for many people when I looked at the comments and feedback on the patterns, was the sizing. Sizes in sewing patterns versus sizing in ready made clothing are very different, and the only way to make sure that you are cutting out the correct size is by measuring constantly. I have noticed that I am much larger sizes in sewing patterns than I am in ready made clothing. I just wanted to touch on that since a few people complained that the sizes on the American Duchess patterns were too small. I would recommend you to be cautious when cutting out any sewing pattern and to measure yourself and the pattern before cutting your fabric. 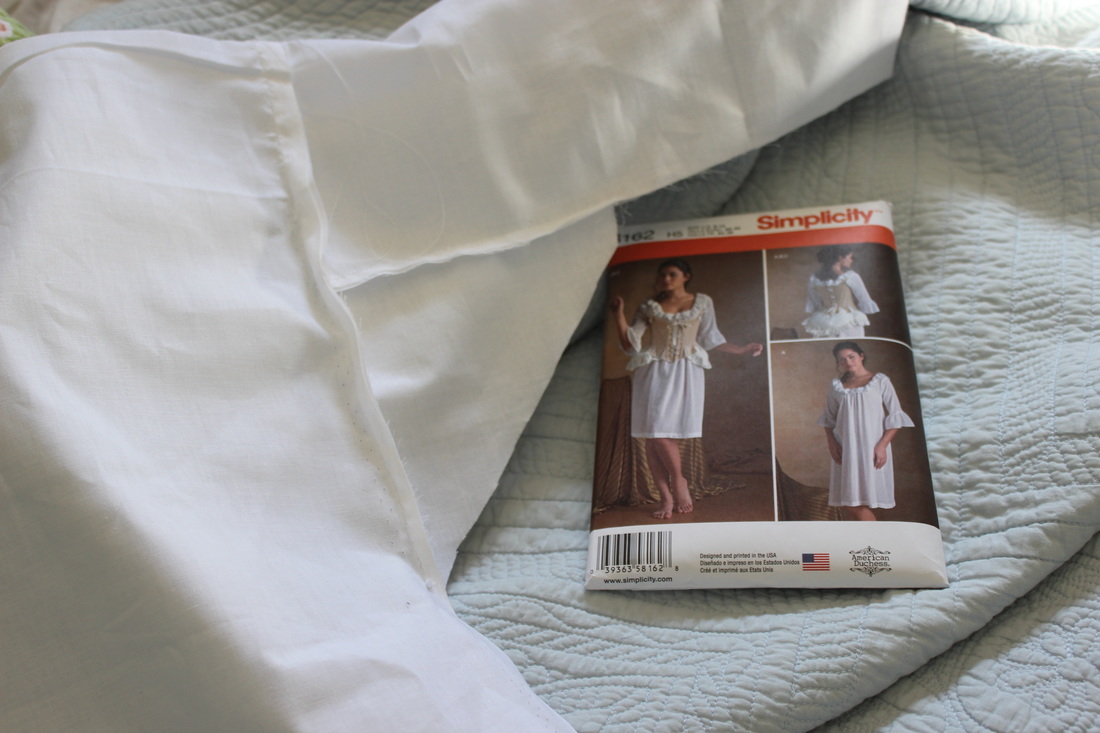 I used the pattern for the sleeves and sleeve gores, and I am very pleased with the size and how historically accurate the pieces look. Overall, it has been a pleasure working with this pattern, and I cannot wait to keep working on this project!
~K Hello all! The start to anything is always a bit daunting, isn't it? After a lot of thought, I have decided to start with a plan, and some research. The late 18th century has always interested me, so I have been researching it for years. However, it wasn't until a few years ago that costuming and historical clothing started to appeal to me. An average woman in the late 1700s would wear many layers, starting with a chemise. A chemise is the main undergarment for any clothing from the 1500s until the early 1800s, and were a basic shift that went underneath the stays (corset). Mainly made from linen because of how white it could be bleached and how easily it breathed, chemises could also be made out of cotton. Cotton is not something that would be seen in clothing from Prussia, France, and England from the mid 18th century because it was illegal (more about that in later posts...).  An example of the pieces of a simple 18th century chemise. Picture from http://www.marquise.de/en/index.html Over the chemise, a woman would wear stays, a stiff garment with boning in it to shape the body as well as support it. Stays often get a bit of a bad rap now because of the false information that is commonly believed. The amount of layers and weight of each made it so that it was more painful to not wear the stays than to wear them. After the stays come the petticoats. You can wear however many you want underneath an 18th century dress, but the more that were worn, the nicer shape one would get. On an everyday basis, a woman would wear at least two. Petticoats were just a simple linen or cotton skirt that was tied around the waist. They can be corded or quilted as well to add more fluff to the whole outfit. 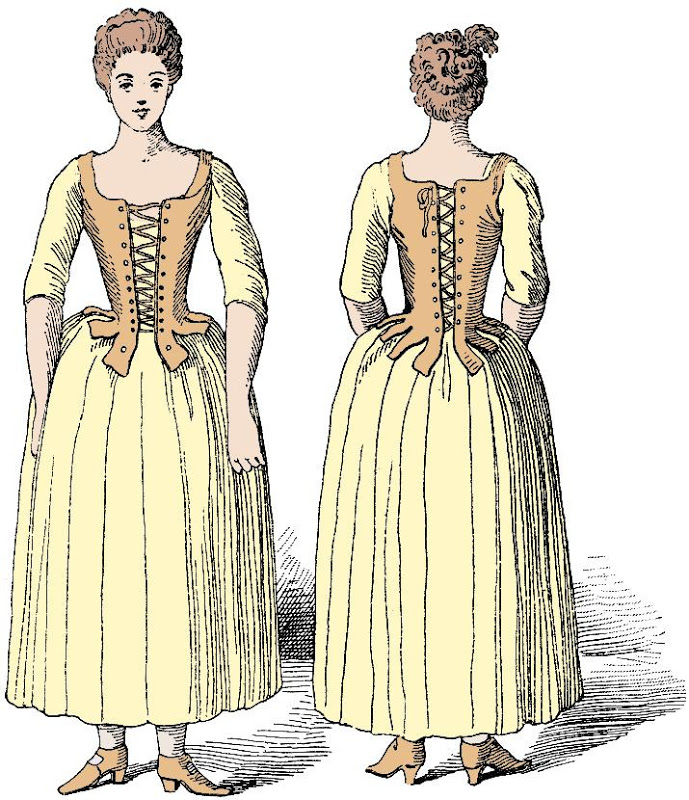 A working class woman wearing a chemise, stays, and petticoats, most likely over a stuffed bumpad. Image from Le Corset a Travers Les Ages, published in 1896. Next comes the main dress or skirt and jacket. The skirt would be made in the same way as a petticoat, just in the fabric chosen for the ensemble. A dress or jacket would normally be worn with a stomacher, a triangularly shaped piece of decorated fabric that was pinned to the front. All of the clothing worn during this time was made so that it could be worn for a very long time, meaning that it could change with your body. Stomachers allowed one to change the size of the bodice with a small amount of fabric. Skirts were tied around the waist so that they could change size easily. The outfit doesn't stop at these pieces- you need all of the accessories! This includes stockings, shoes, a carefully styled wig, a hat, gloves, fichu (a piece of fabric/lace to go around the neck), jewelry, etc. When it comes to the 18th century, the more the better. 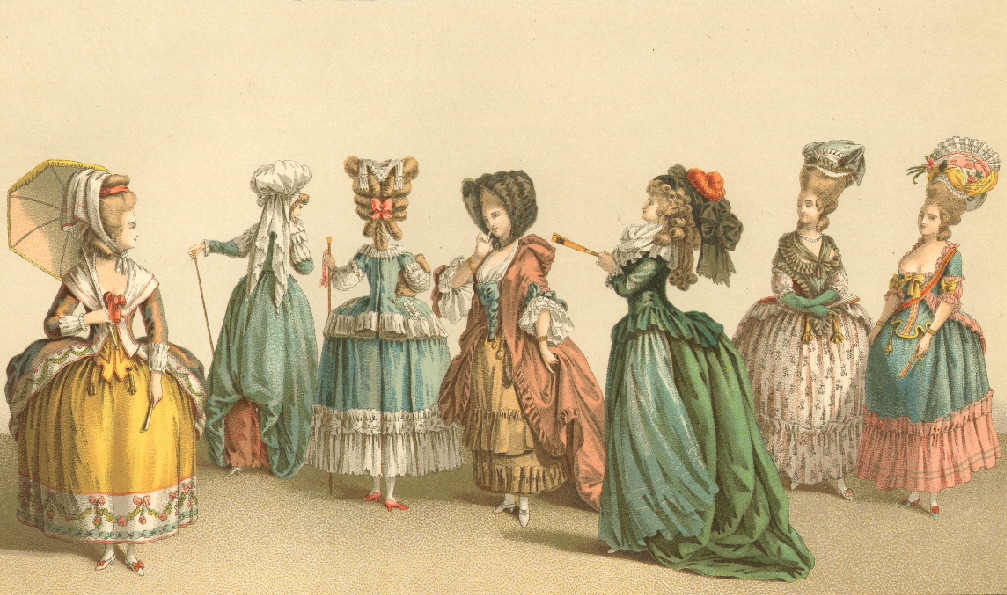 A fashion plate from Sabatier and Durin. Notice all the accessories that have been added to the main dress- cloaks, hats, fichus, gloves, and more are all a part of the oufit. After all of that information, here are my plans for this project- I will need to make: One (1) chemise One (1) pair of half-boned stays Two (2) petticoats One (1) overskirt to go with a bodice One (1) bodice with stomacher I have decided to use the American Duchess patterns from simplicity. I am thrilled to be working with these patterns, being a long time follower of the American Duchess blog. I can't wait to get started! ~K |
EtsyArchives
April 2020
Categories
All
|
 RSS Feed
