|
I have been hard at work on my bustle dress lately, I promise! Instead of taking more photos of each stage of the process, I have been filming it so I haven't had much progress to post online. 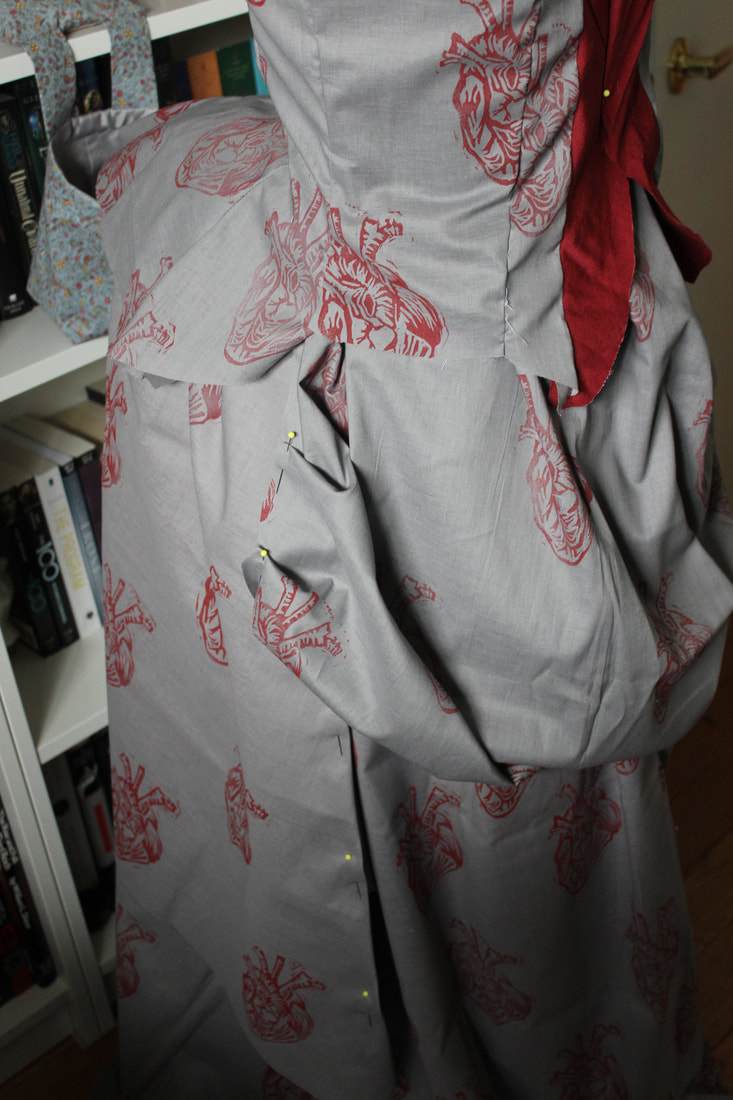 I am hoping to finish this gown in September, however I do have a pretty busy schedule at the moment, and it has been difficult to balance work, drivers ed, and my sewing. However, I still have made quite a bit of progress, so there is a slim chance that I will finish it this month! Fingers crossed... 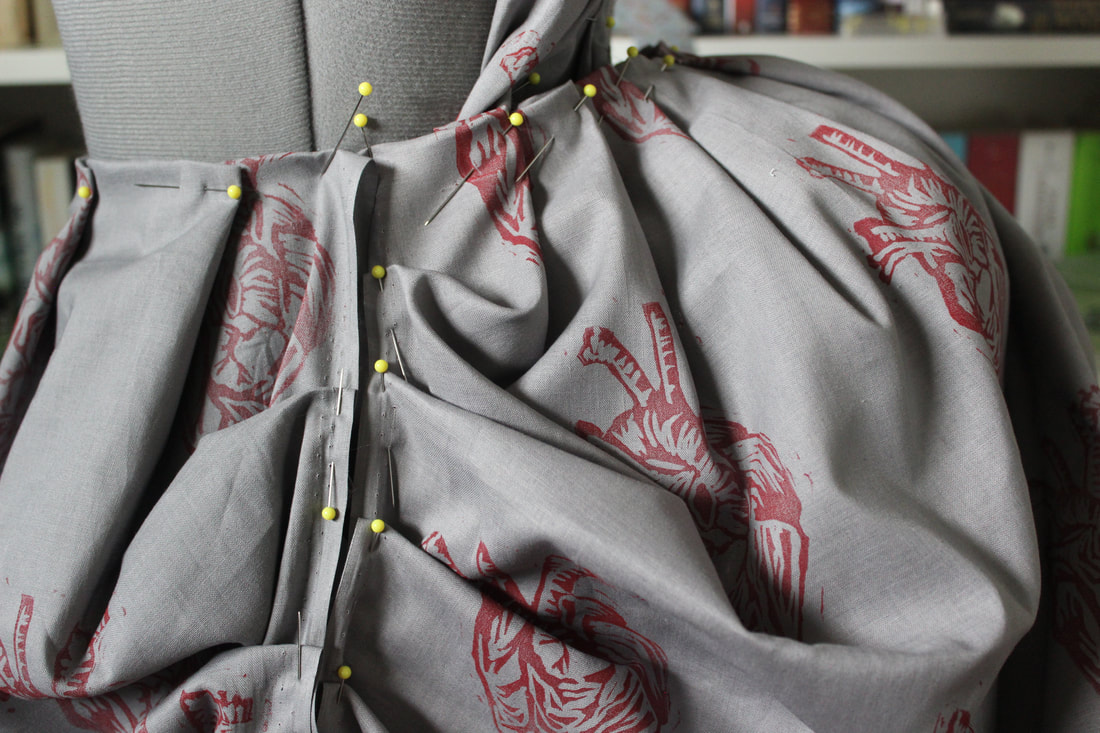 I also have a talk at a school next week about Cosplay. I am not a cosplayer, as my costumes are my own designs, but since they are inspired often by movies and such, it is a good fit! I am very excited to share some tips for making more unusual garments and for starting sewing. 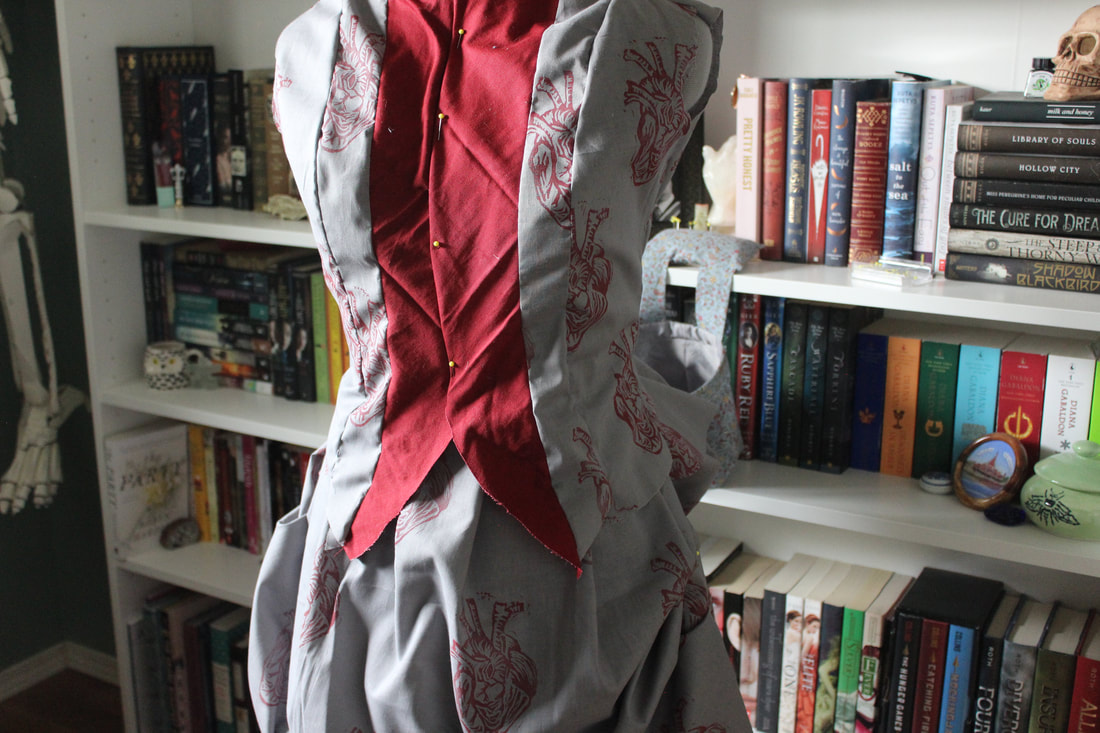 For my bustle gown, I so far am very close to finishing the bodice, and I have draped the skirt and apron. The apron is just the draped part at the front and back of the dress that is the trademark of the 1880s. 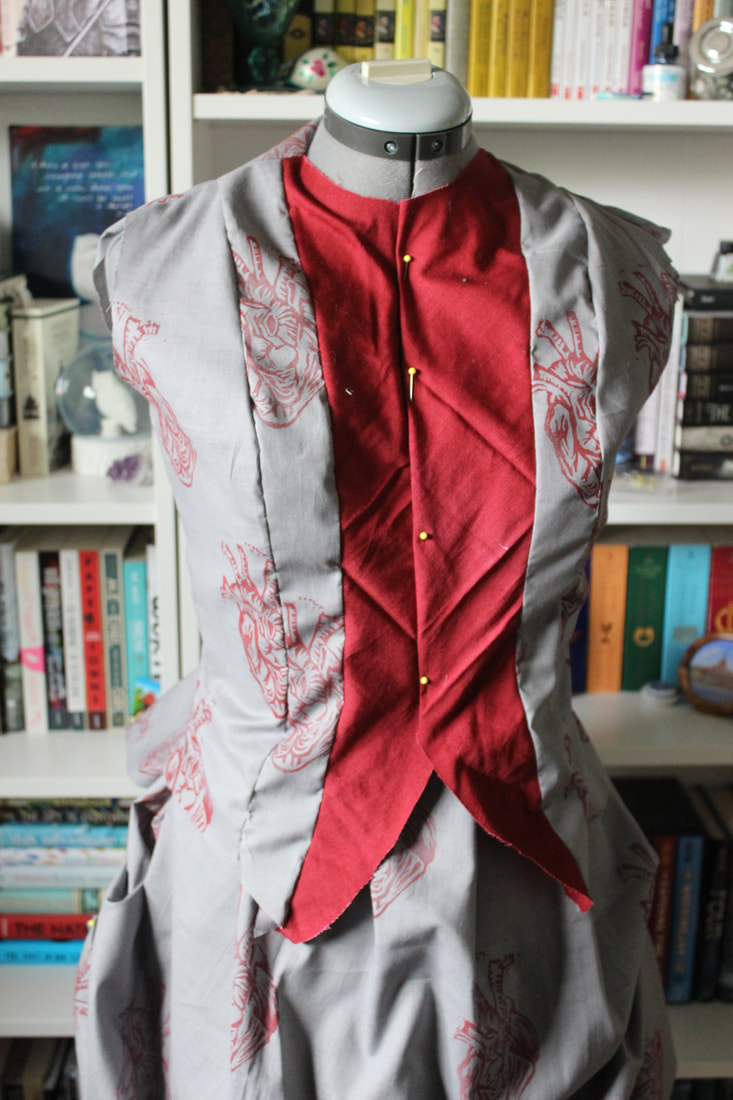 All I have left to do for the bodice is put some boning in the lower half to keep the bodice as wrinkle free as possible, and to put on the sleeves. For the skirts I need to sew the sides and add the waistband. Other than that, I just have a few other things to do to finish of the ensemble! ~K
0 Comments
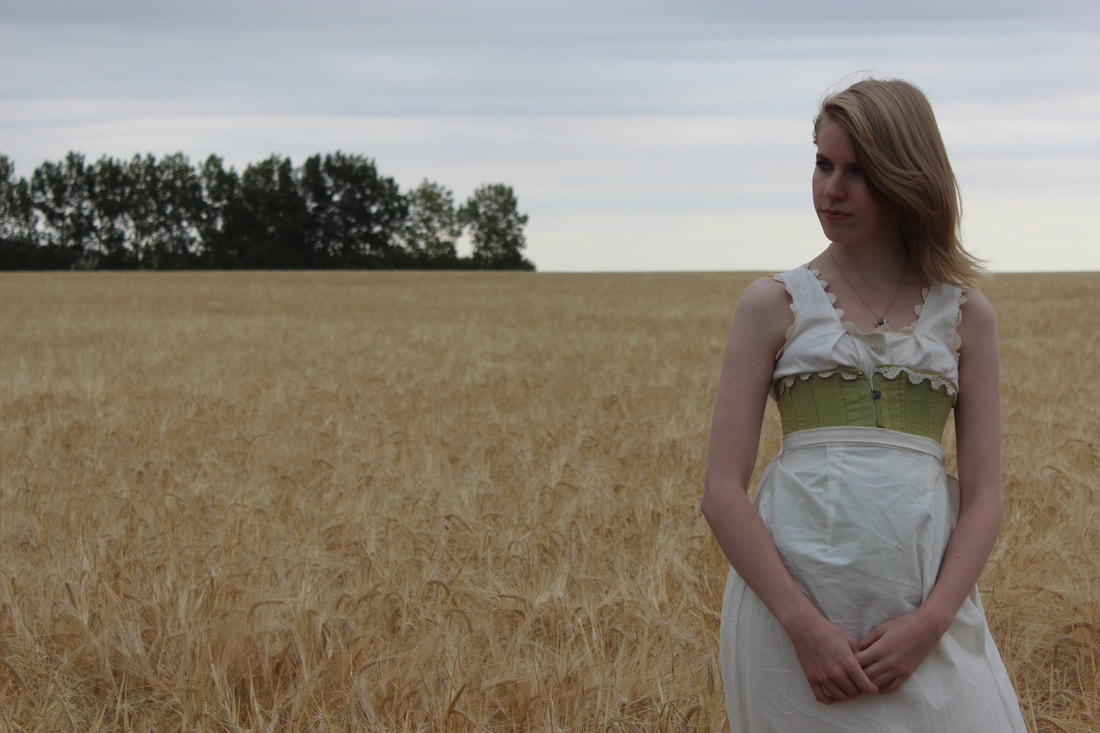 I finished the undergarments for my bustle era dress, so now I can start the main dress! Before that, I went out and took some photos of the undergarments, which include the combinations, corset, a bum-pad, and a petticoat. 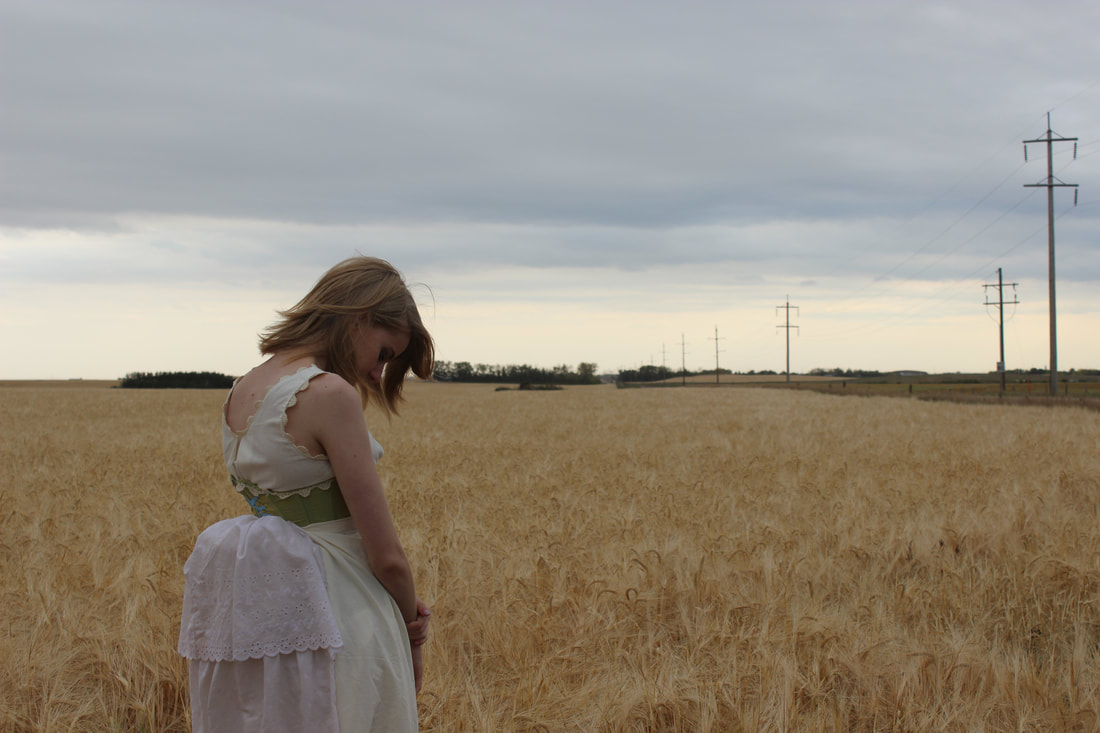 The bum-pad goes up more than out unfortunately, but I think it will look nicer once the dress weighs it down a bit. It is made of two stuffed crescent shapes, one smaller one stacked on top of a larger one. I made sure that it didn't go past my hips, since the style of the era is all volume in the back with none in the front and side. 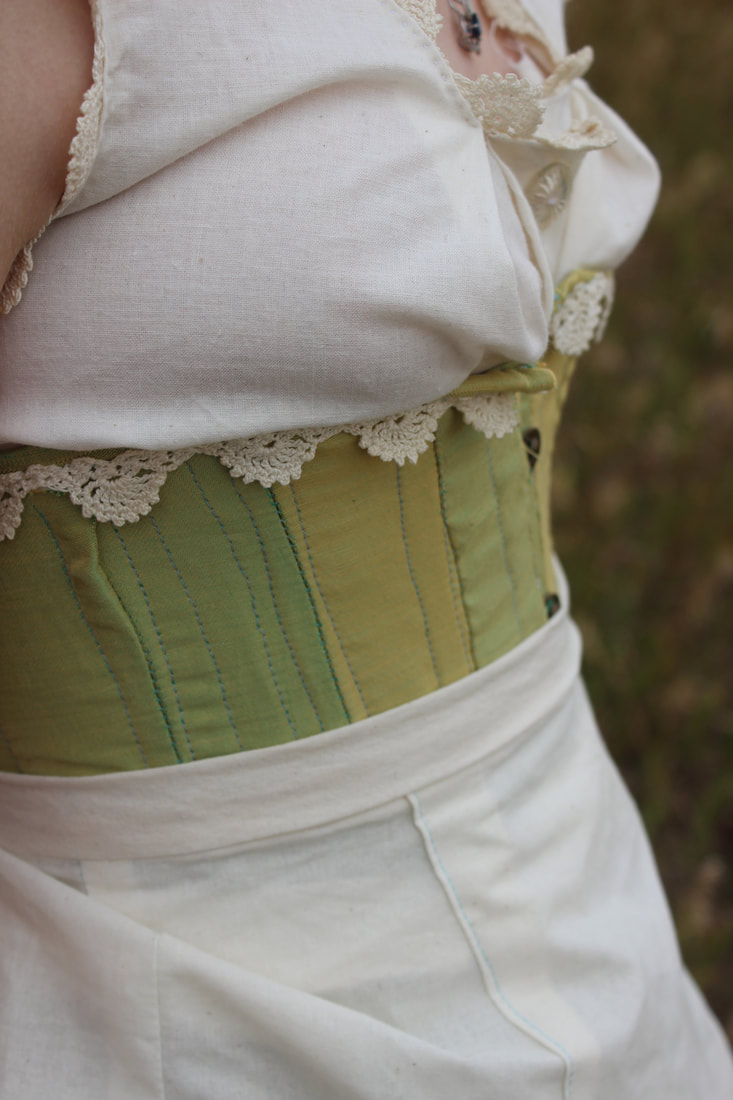 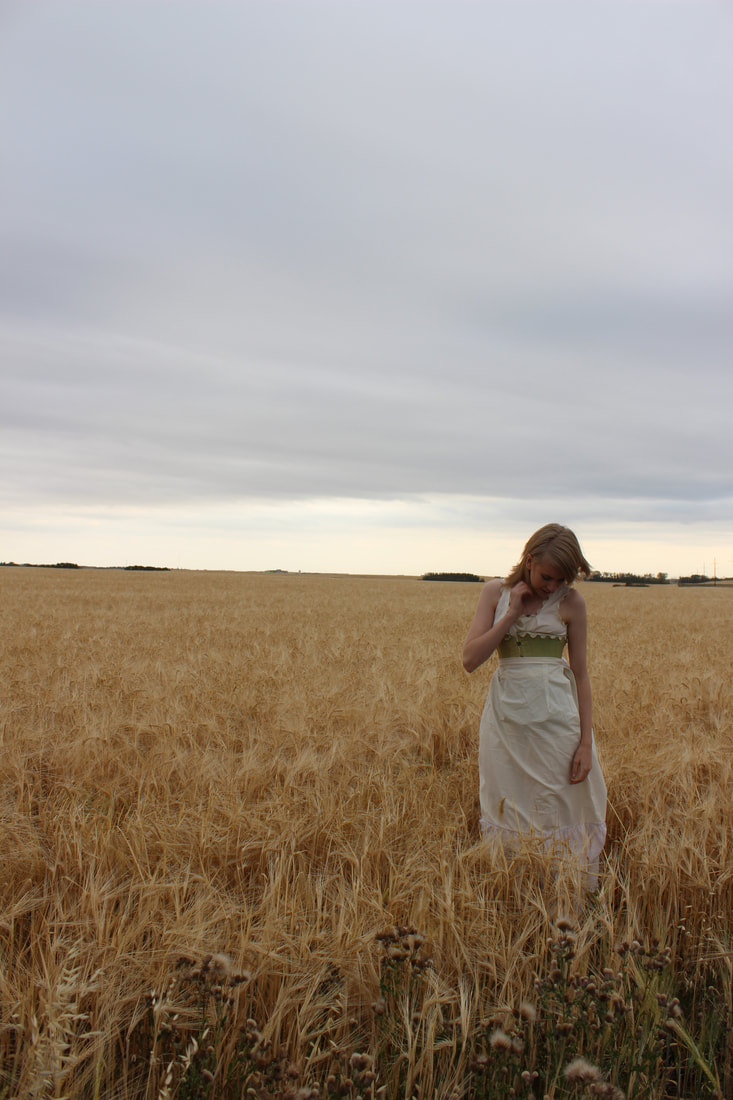 On top of the bum-pad is the petticoat. It is made of muslin (like all of the other parts, other than the corset) and eyelet lace. The lace is from an old dust ruffle that we had. I cut the lace off of the dust ruffle and tea-stained it to match the fabric as much as it could. 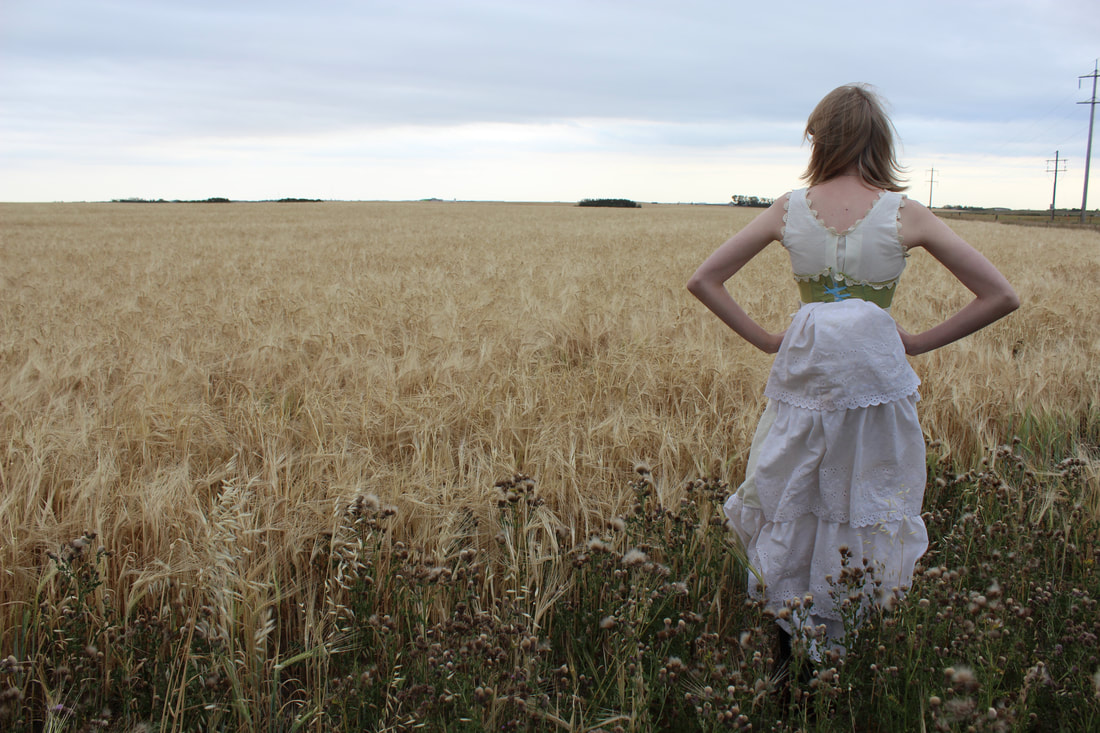 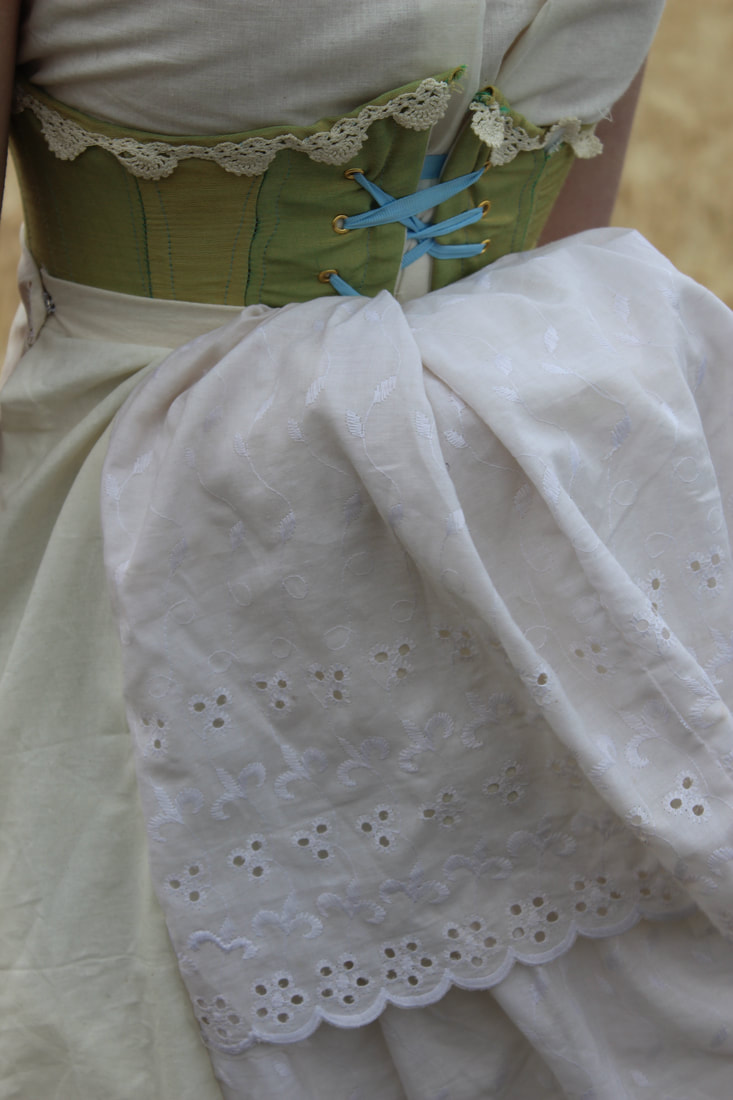 The shoes that I am wearing with this are, as always, from DSign Step, a Canadian company. I also wore a pair of knee-high black stockings to finish off the ensemble. 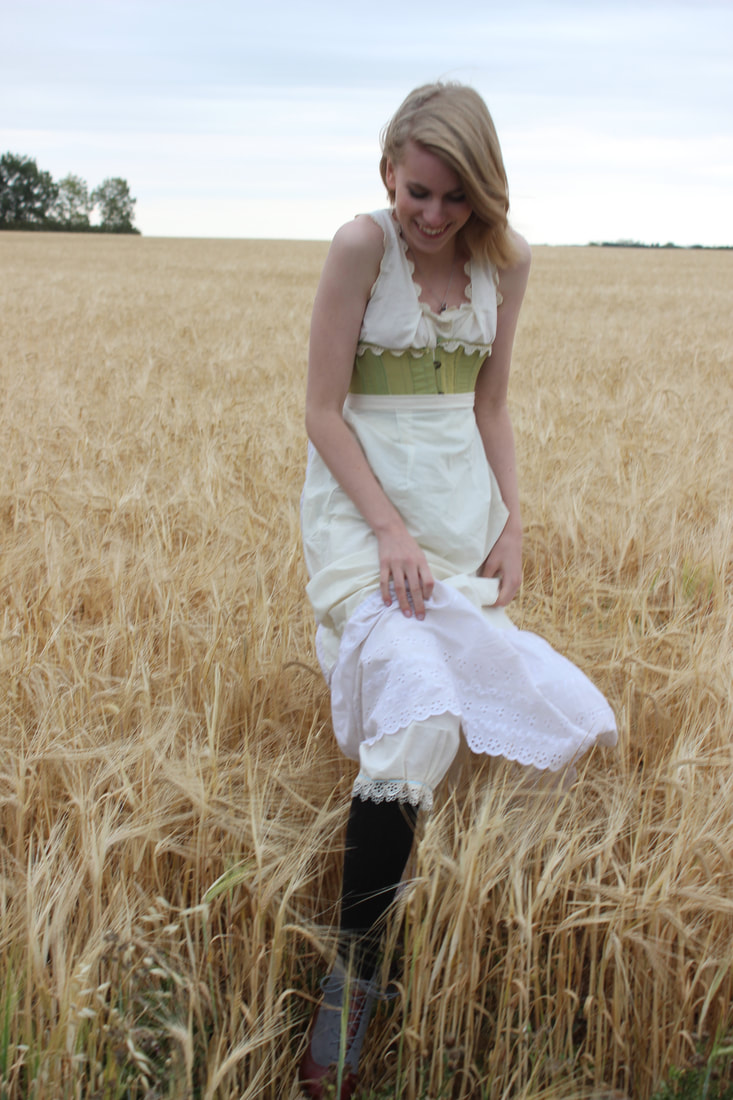 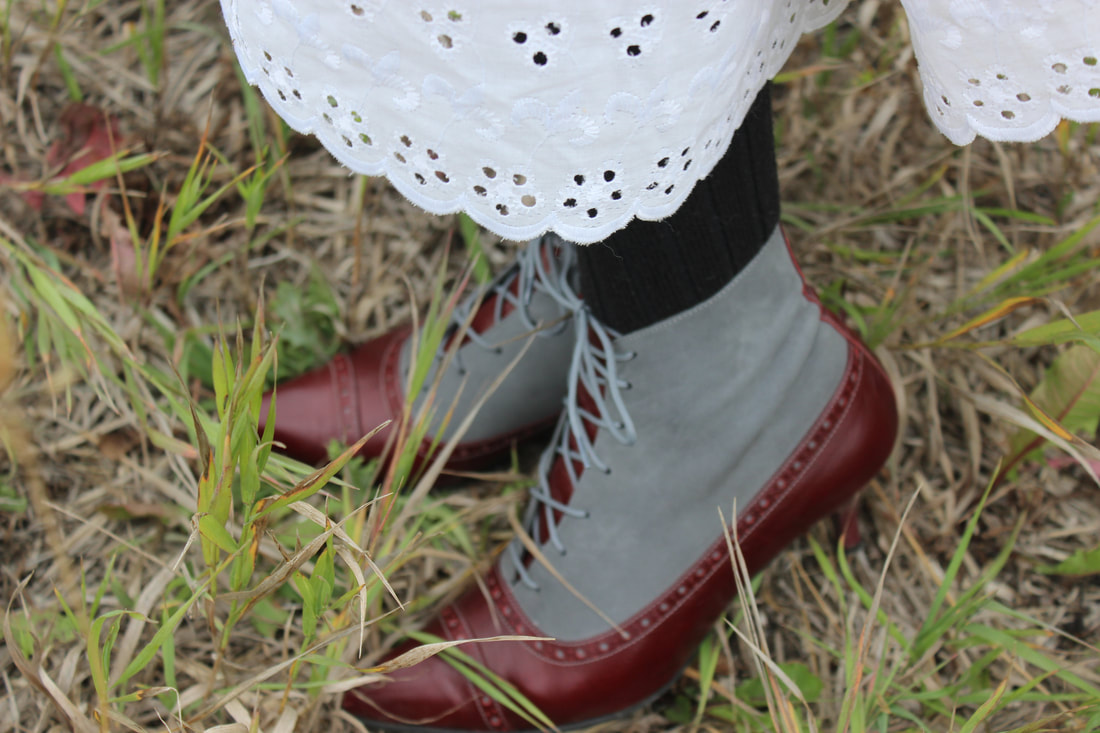 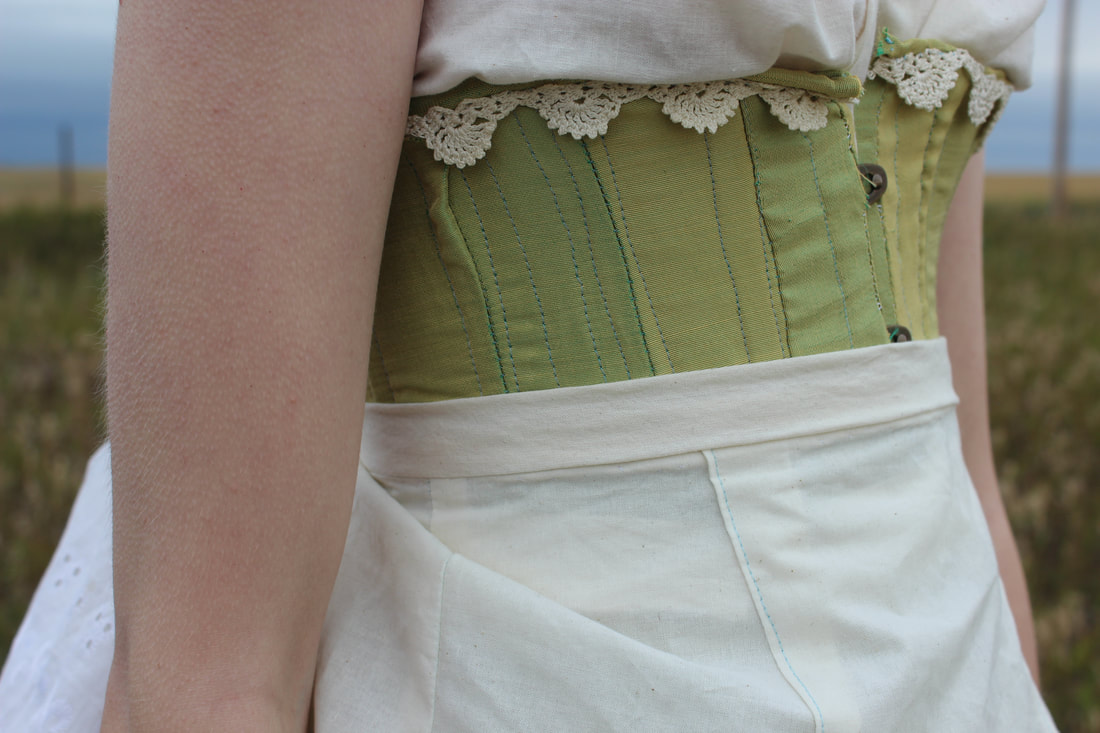 Here are a few photos of it on my dress form, when I was still working on the petticoat. 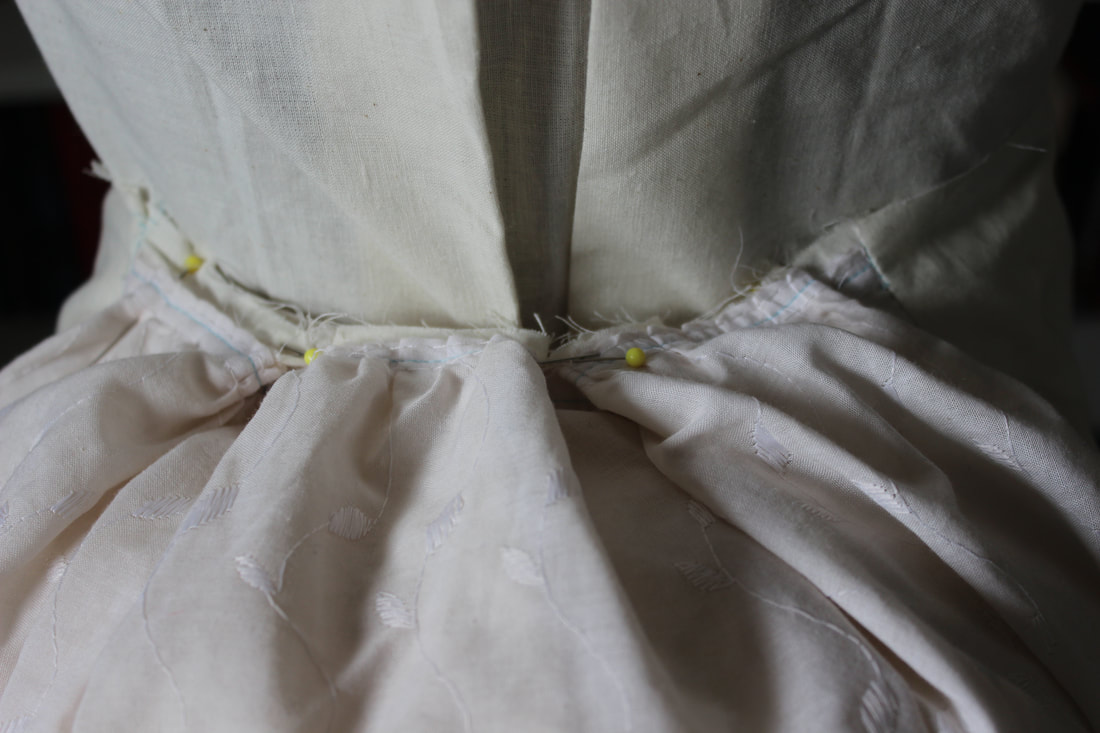 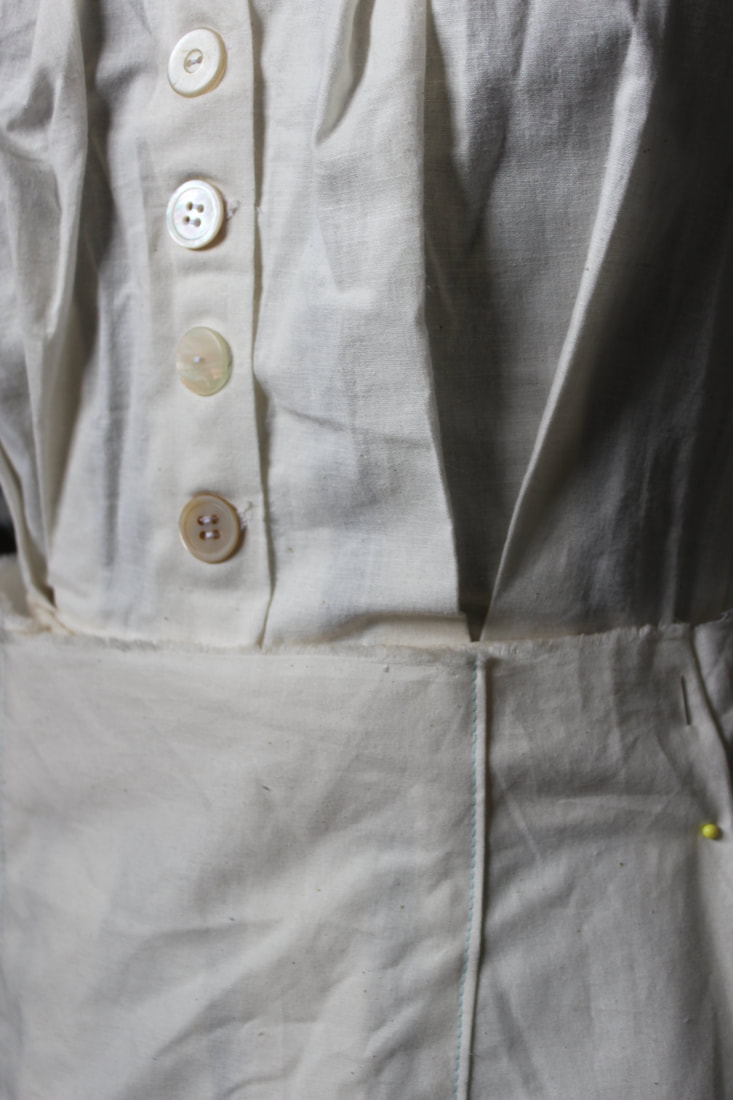 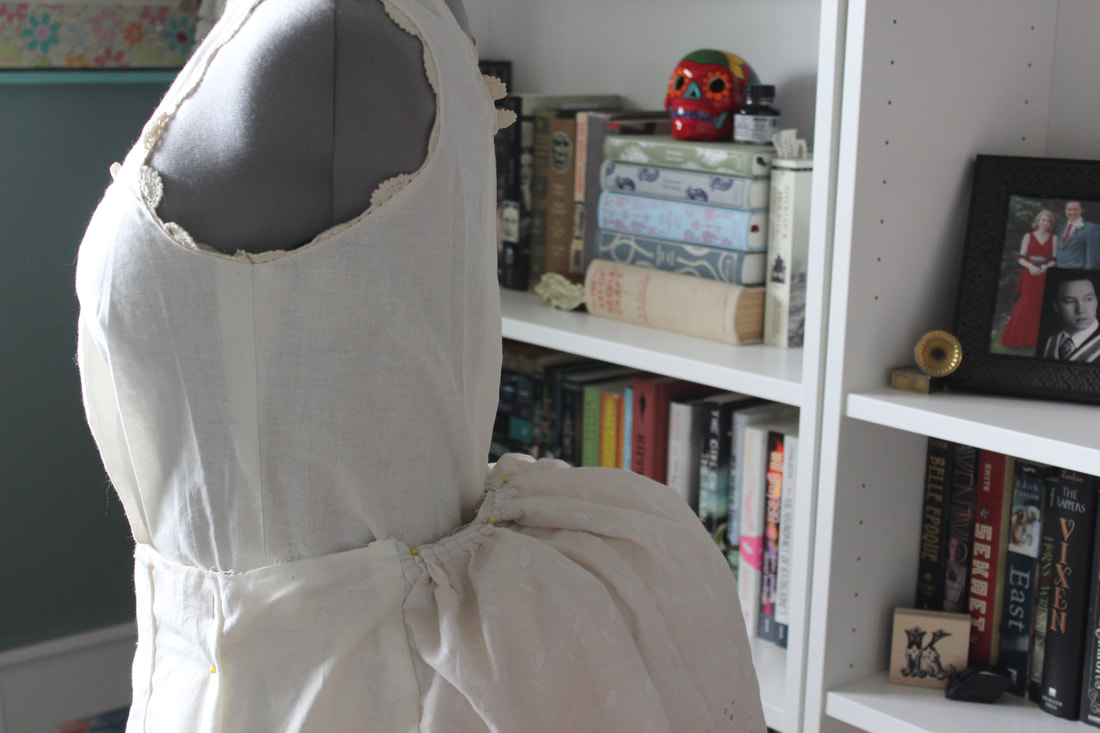 I can't wait to get started on the dress now! ~K 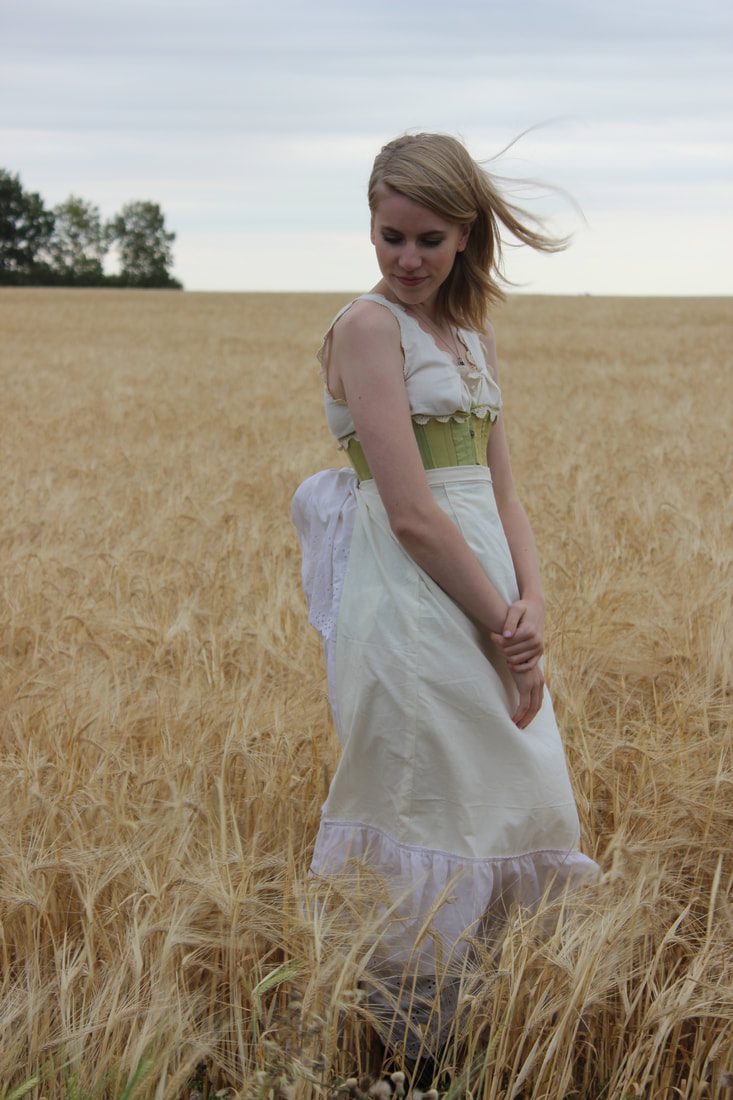 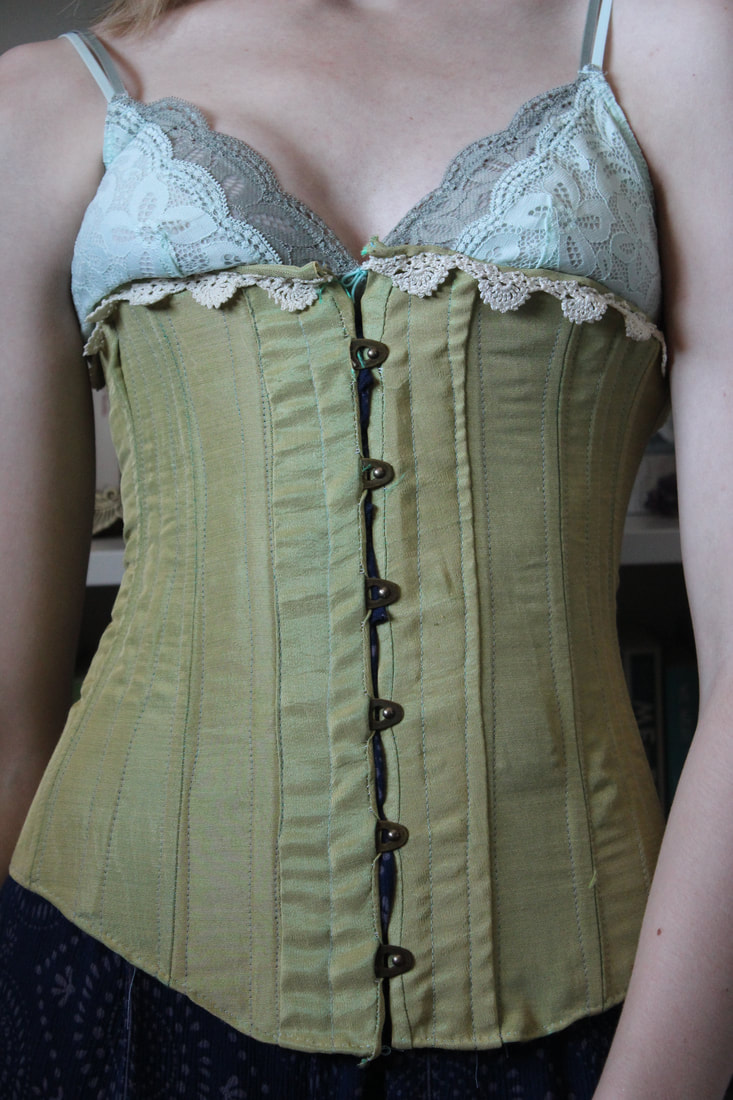 I am so thrilled because I have finished a second piece to the puzzle that is my bustle-era dress! I have been working on each section of the ensemble from closest to the skin to the outer layer- first were my combinations, now the corset, and I am currently working on the bustle and petticoat. 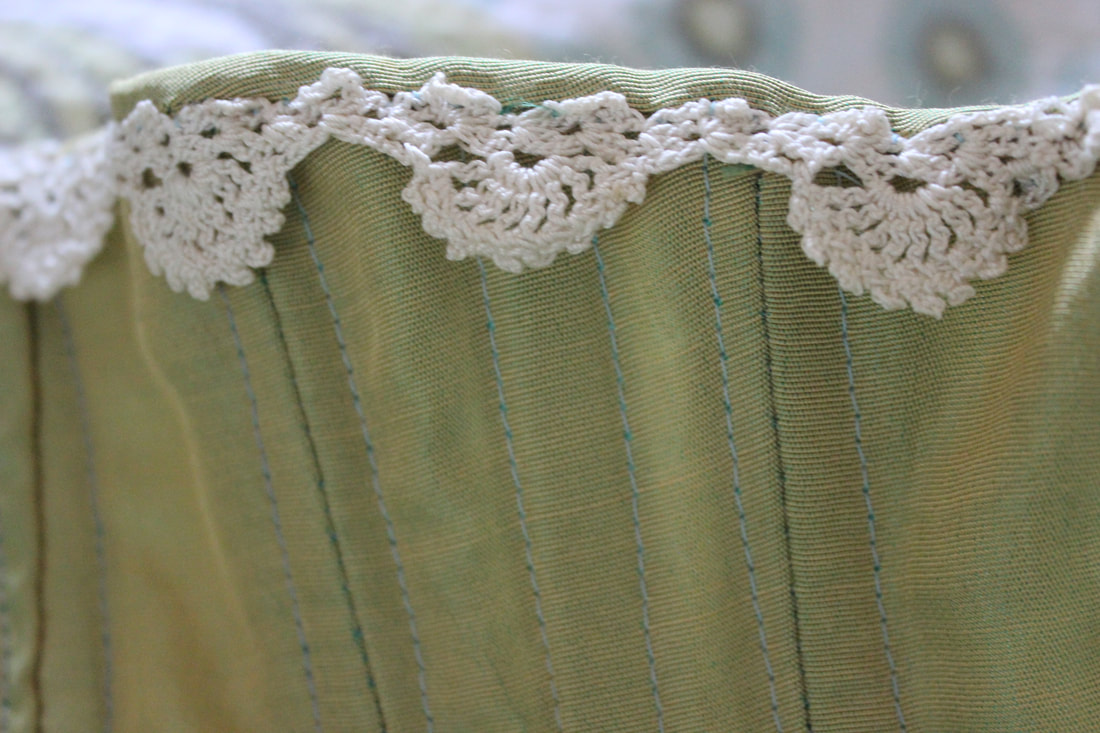 The corset was made entirely of scrap fabric. I was gifted the fabric that I used as the outer layer, and I thought it was stunning! Unfortunately there wasn't very much of it, but there was the perfect amount for this corset. The lace that I used is the same vintage lace that I used at the neckline of my combinations. 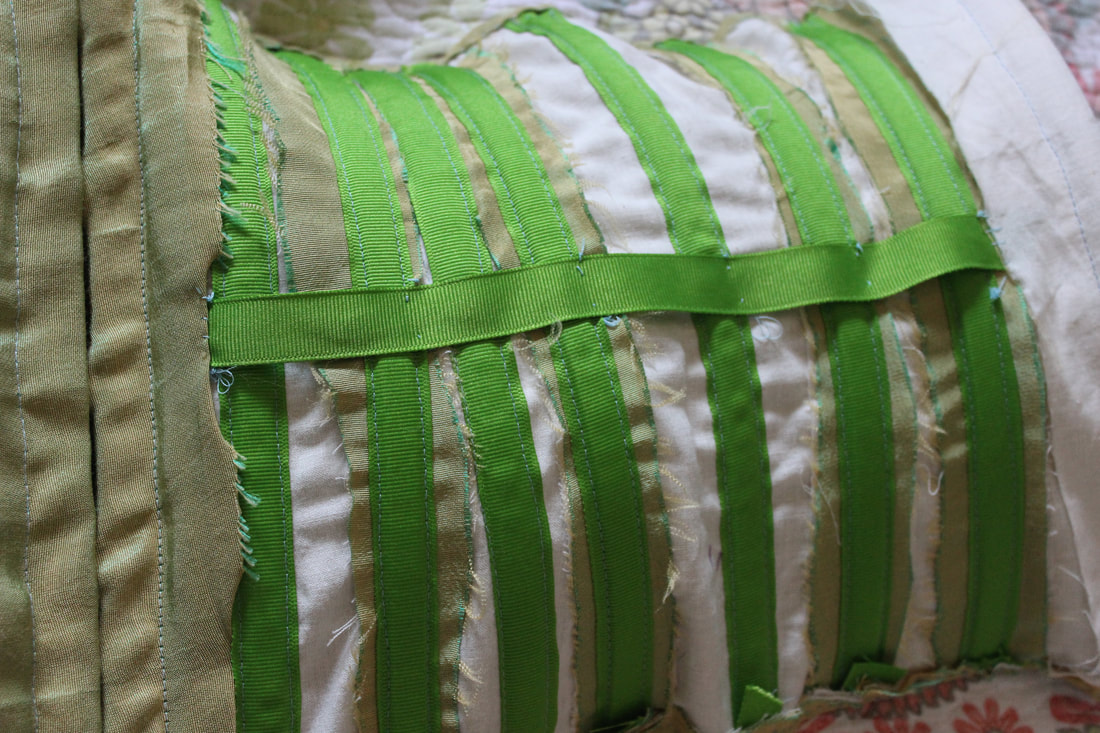 This is fully boned with heavy-duty cable ties, and I used grosgrain ribbon for the boning channels. I also used the same grosgrain ribbon as a waist stay, which is basically just a strip of tightly woven fabric that goes at the place with the most stress- the waist. It keeps the corset from stretching out too much. 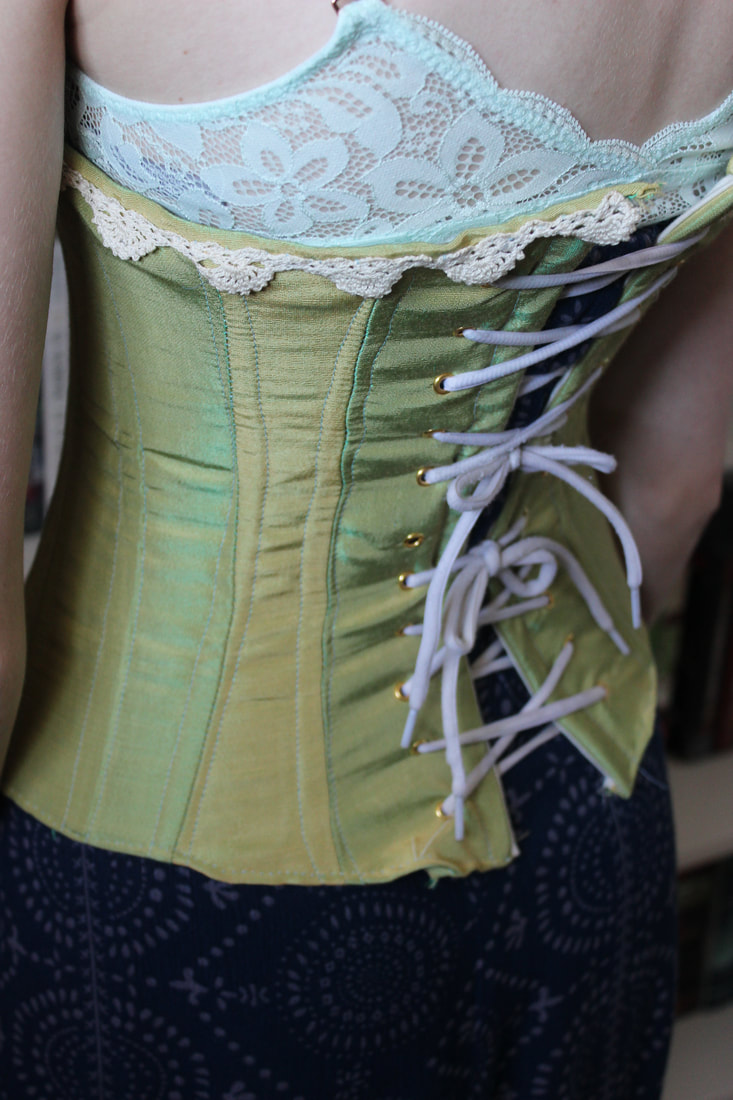 Please forgive both the terrible lacing job as well as the old laces... I was so excited about finishing the corset that I used running shoe laces while I wait to get some nicer ones Although it is not historically accurate at all, I used grommets for the laces in the back of the corset instead of hand-sewn eyelets. This was partly for strength, and partly to save some time since I am very excited to get started on the actual dress. Even though they aren't accurate to the time, I think it looks quite nice. 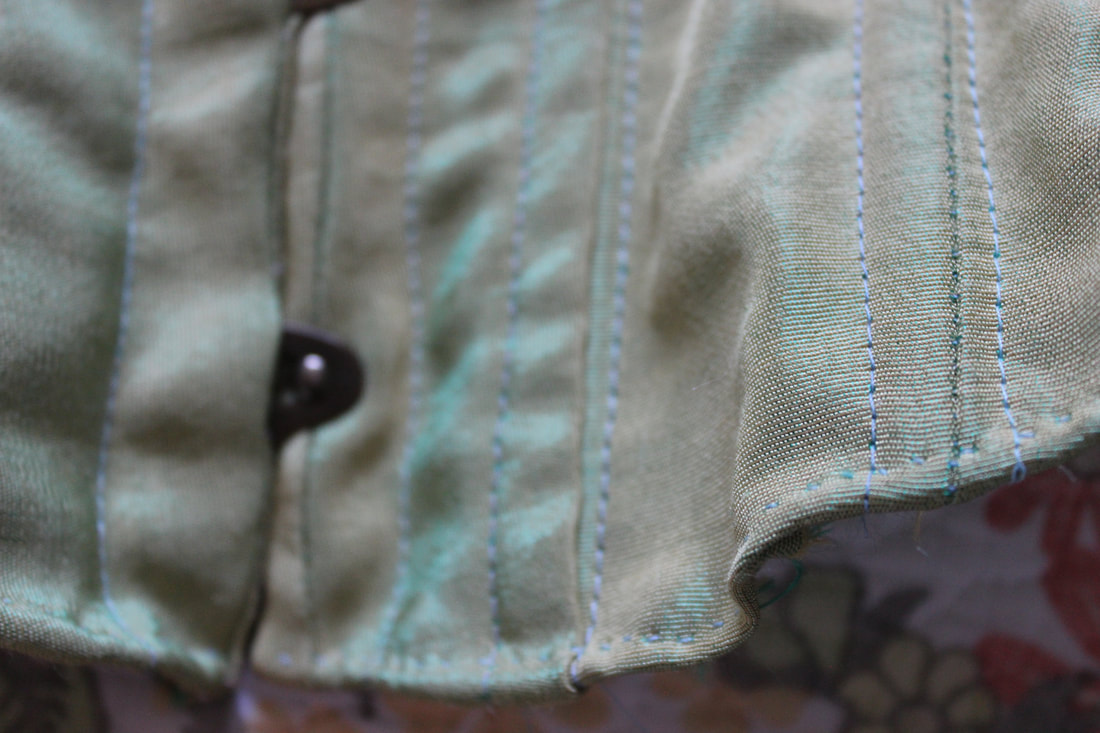 Since I had so little of the fabric left, I only bound the top of the corset. The bottom just has a narrow hem instead. 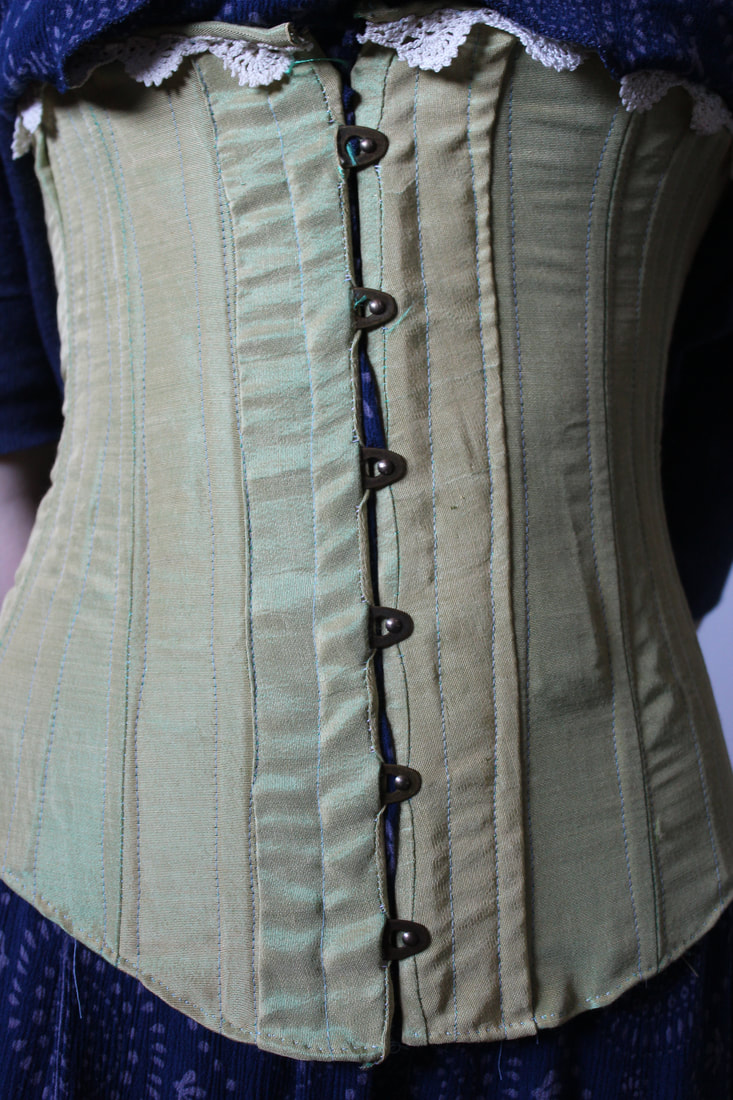 The busk is from a Canadian company called Farthingales. They sell corset and historical undergarment making supplies, as well as other things. They were so easy to work with, and my busk came very quickly! I am so pleased with the colour that I chose as well. 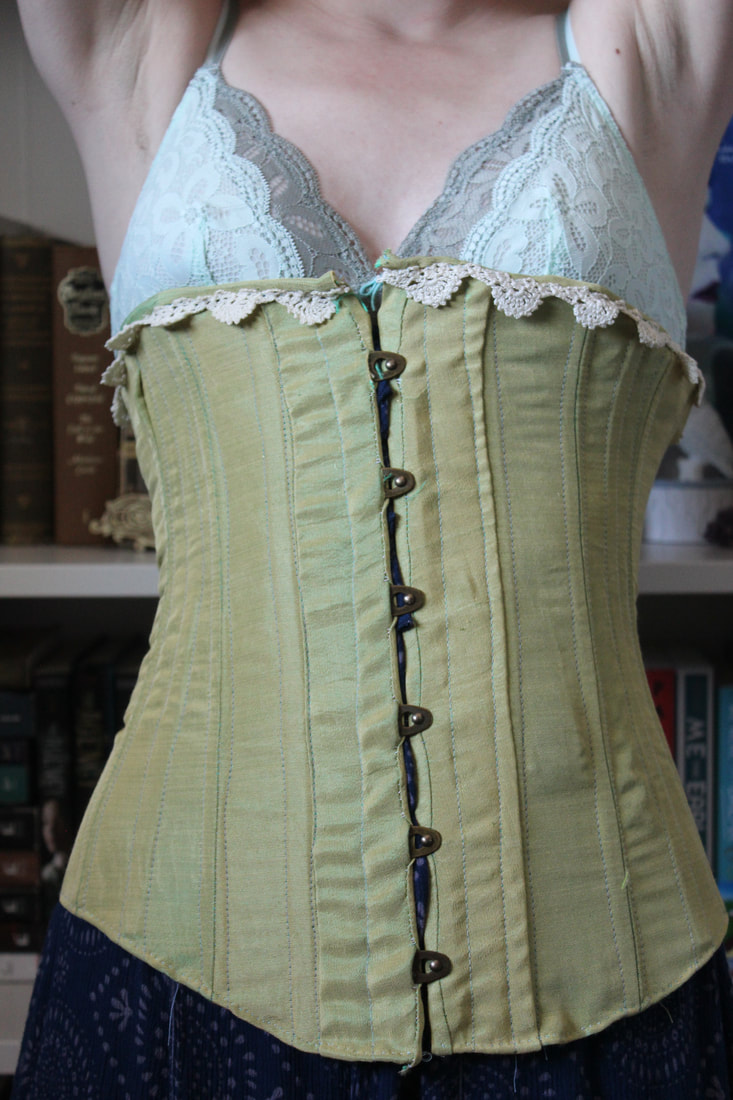 ~K
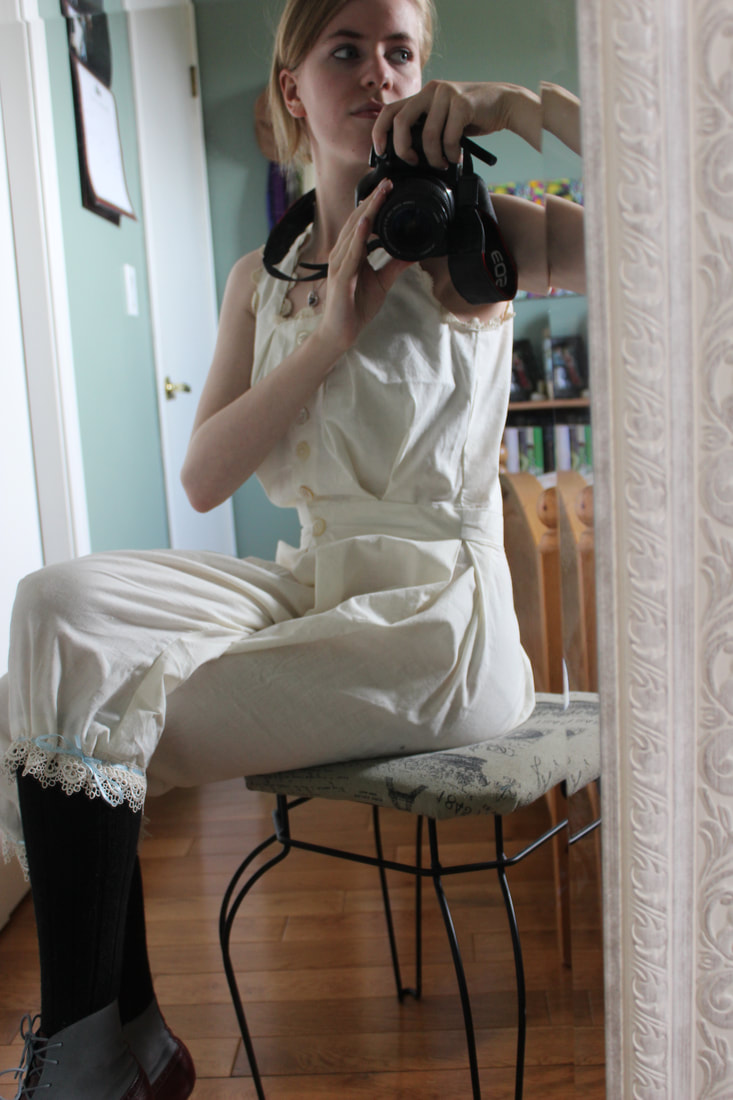 I have been hard at work on my newest project, and the first thing that I have had to make is the undergarments! I decided to make an 1880's bustle gown out of my anatomical heart printed fabric, so I have been working on the proper undergarments. The first thing that I have finished are a pair of combinations! 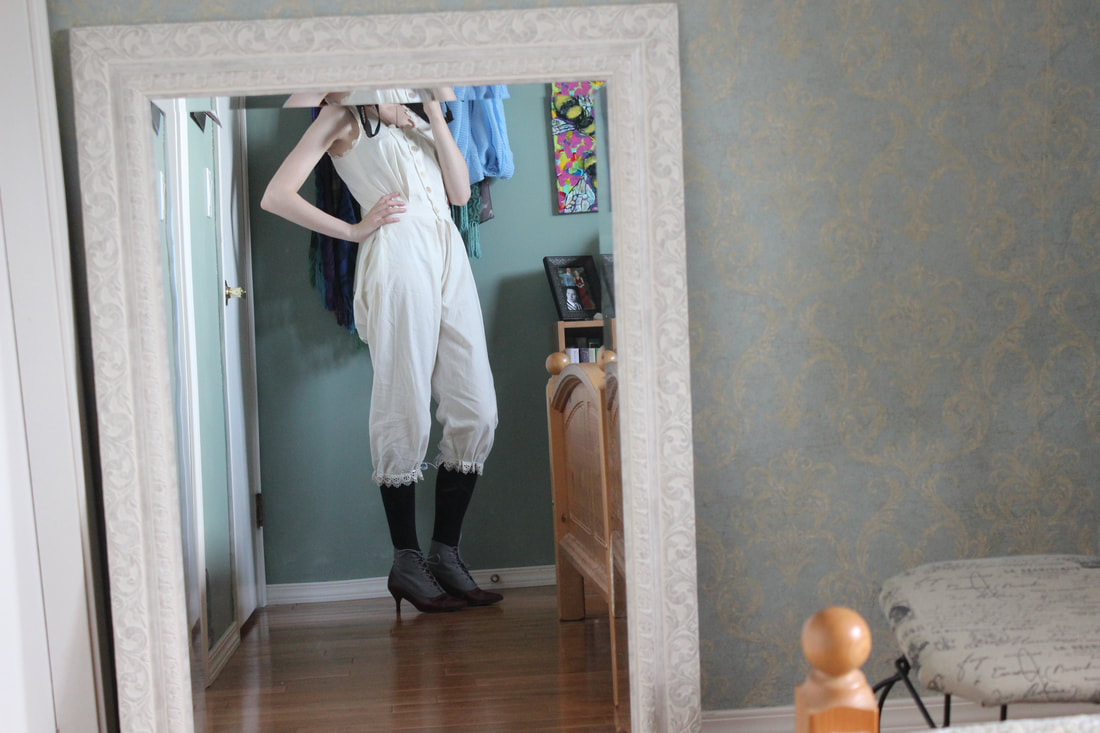 I am quite thrilled with how these turned out! I used Simplicity pattern 1139 as a base pattern (just for the bloomer part of it), and changed it quite a bit to make a pair of combinations that were inspired by ones from the 1880's. 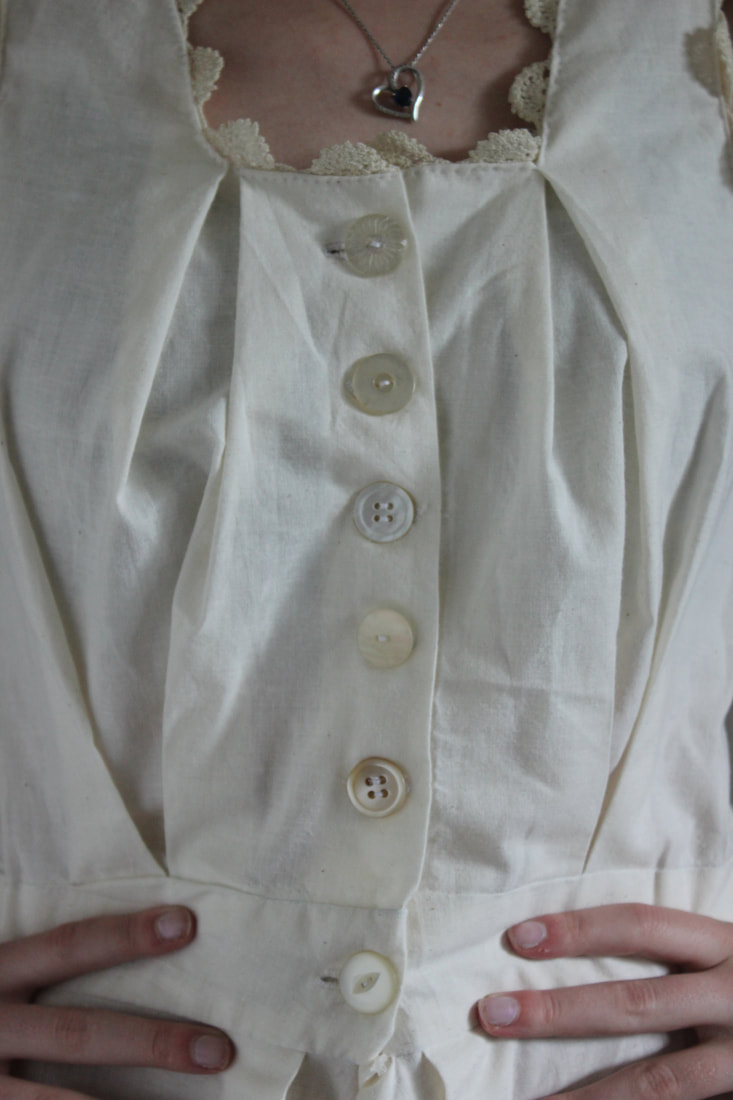 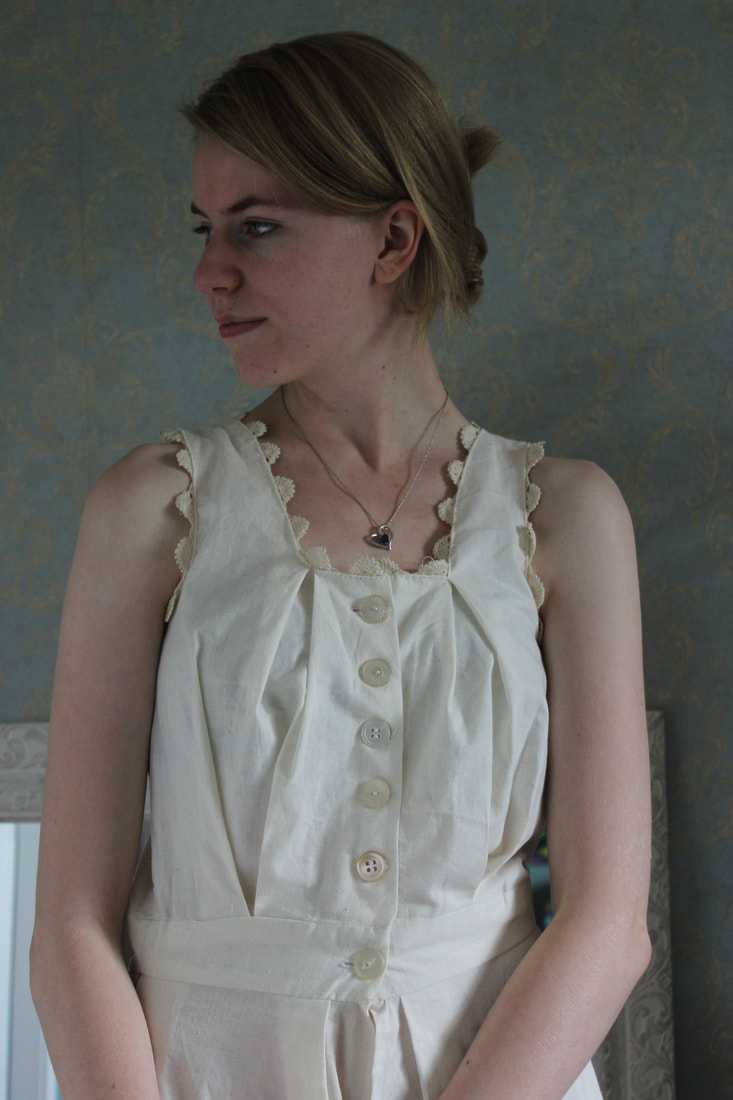 I used some muslin to create the combinations, and trimmed them with some vintage lace that I was very generously gifted a while ago. The buttons on the front are all vintage as well. I thought that it looked cute with the unmatched buttons, so I didn't even try to find matching ones. 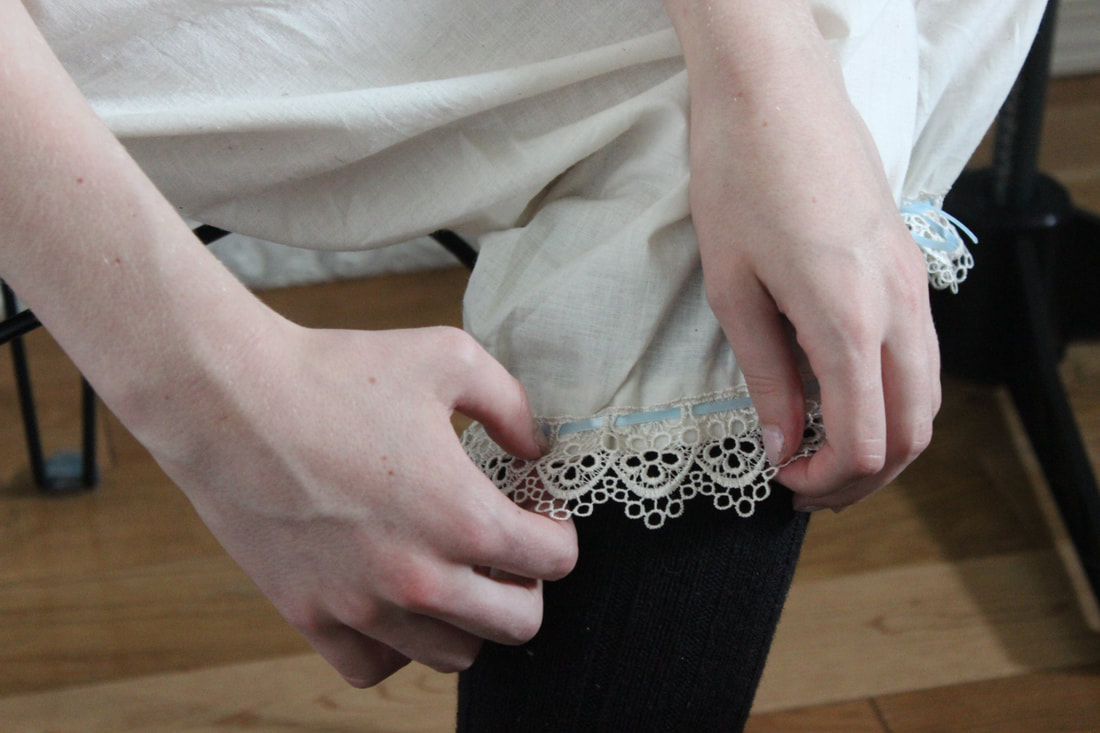 On the bottom I have a different lace that I bought at Michaels and then tea-stained for it to match the fabric. I used a light blue ribbon, also from Michaels, to tie the bottom. 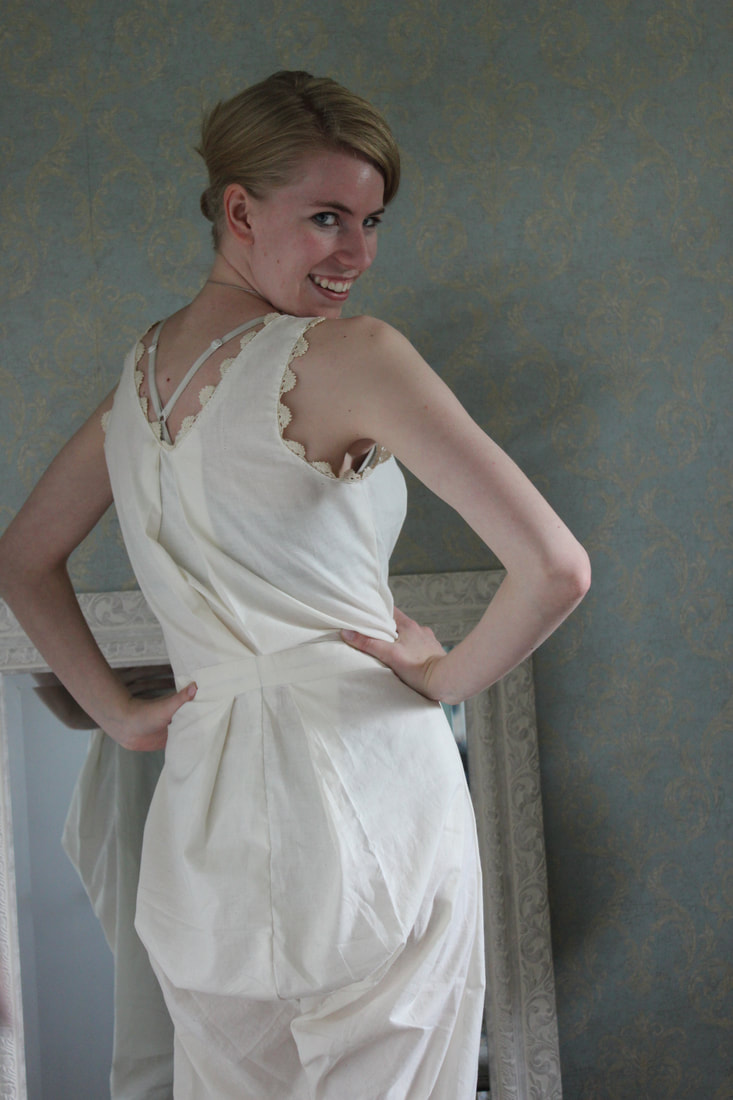 I think the extra space in the bum is hilarious- and very accurate to the time! These are split-drawers, meaning that the front seam is not sewn together. This was done through the 1800's so that the women could use the bathroom without having to take off their bloomers, and once combinations were created, this feature was especially important since the only other way to get the bloomers off would be to take off everything else on top of it! 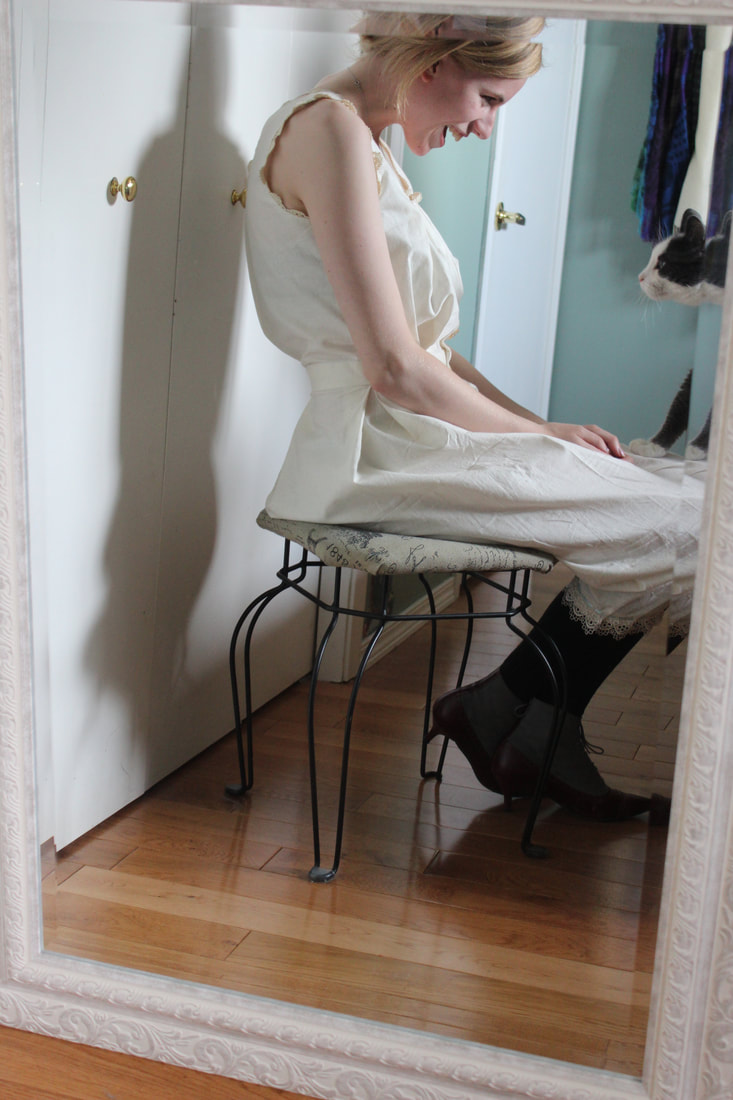 As always, the kitten came over to check out what we were doing Since finishing this, I have been working on the other undergarments that will go under my bustle dress- a corset, a bustle, as well as a petticoat. I will blog about those as soon as I finish them! I am so pleased with how this came out, and I am so excited to keep working on the other pieces of this project! To see more pictures of this and other things that I have been working on, check out my instagram 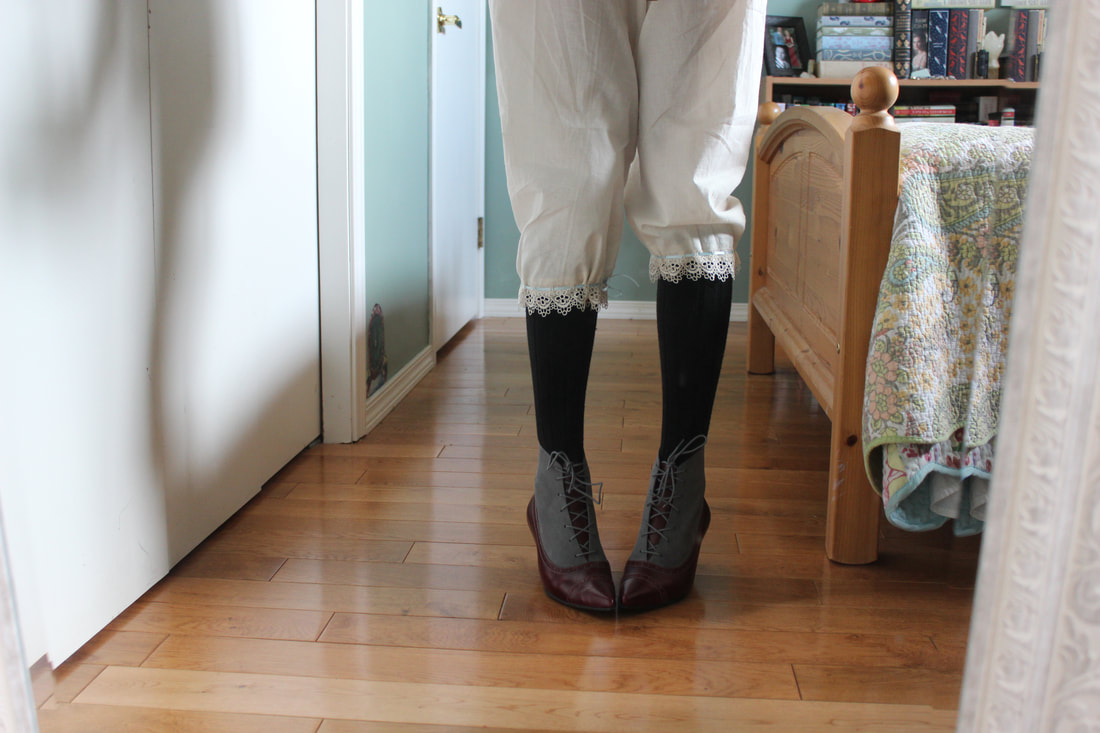 ~K
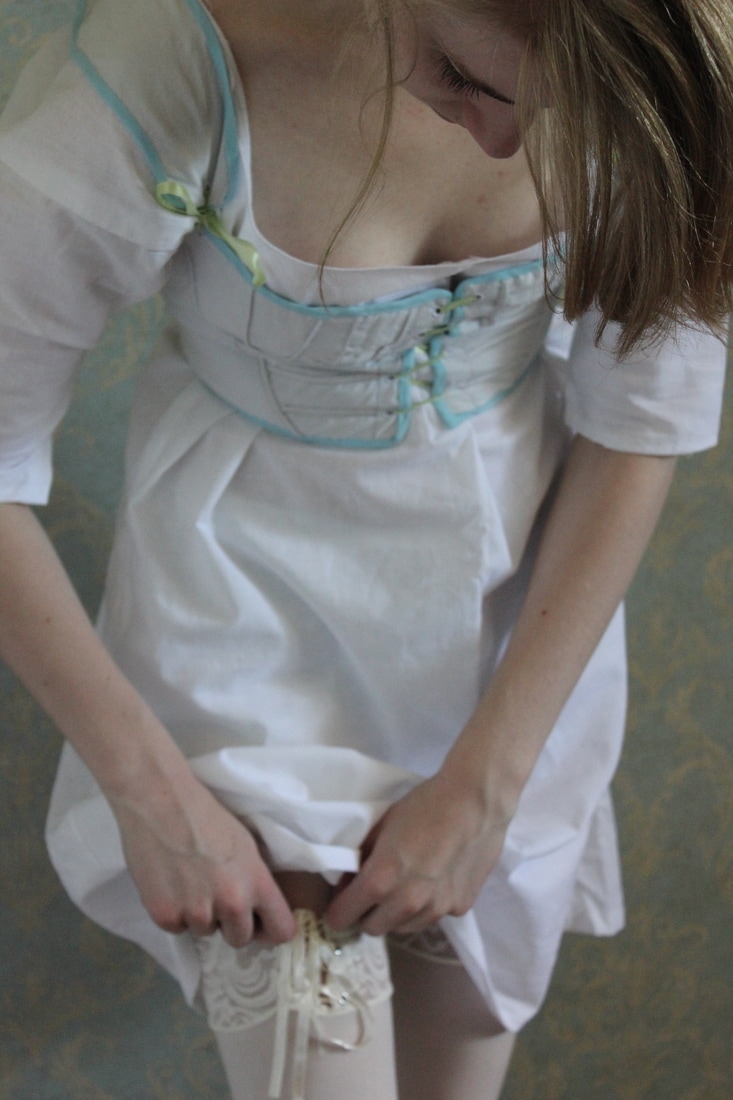 I finally took a few photos of my finished Regency stays! They are three layers of cotton with very minimal cording at the front. The entire garment is hand sewn. 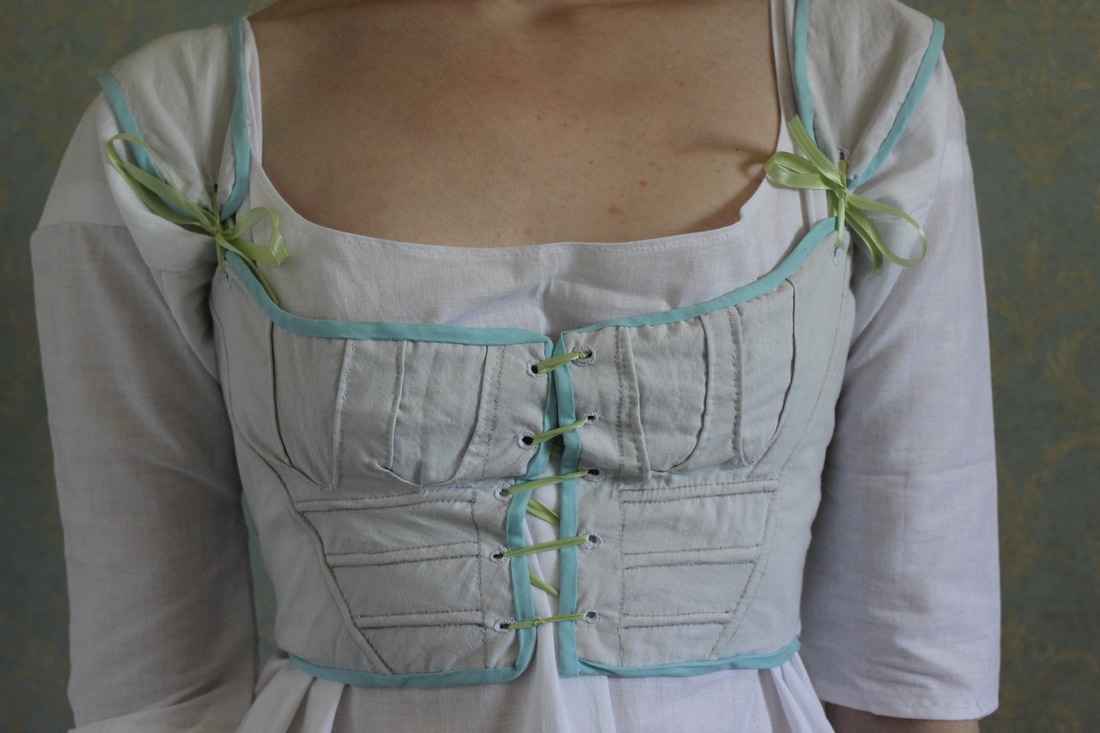 I wore it here with my 18th century chemise 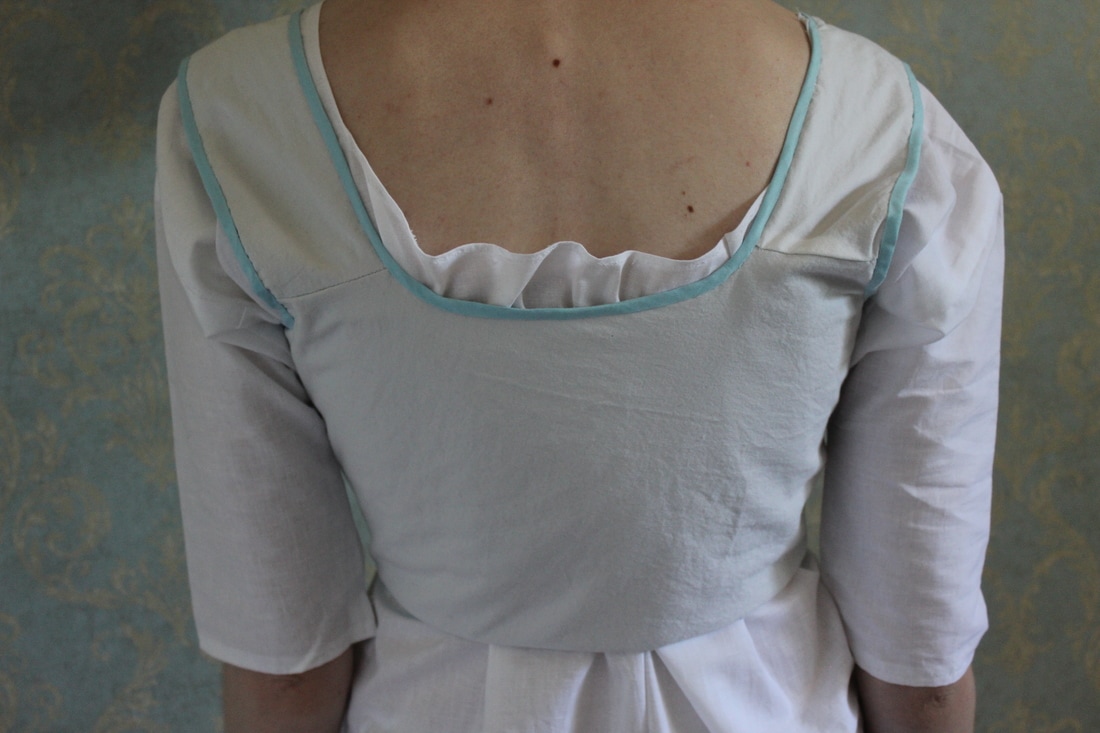 This was a bit of a stash-busting project, so everything except for the bias binding was from my stash. The stays were also drafted by me, based off of a few Pinterest photos of original stays from the 1810s. 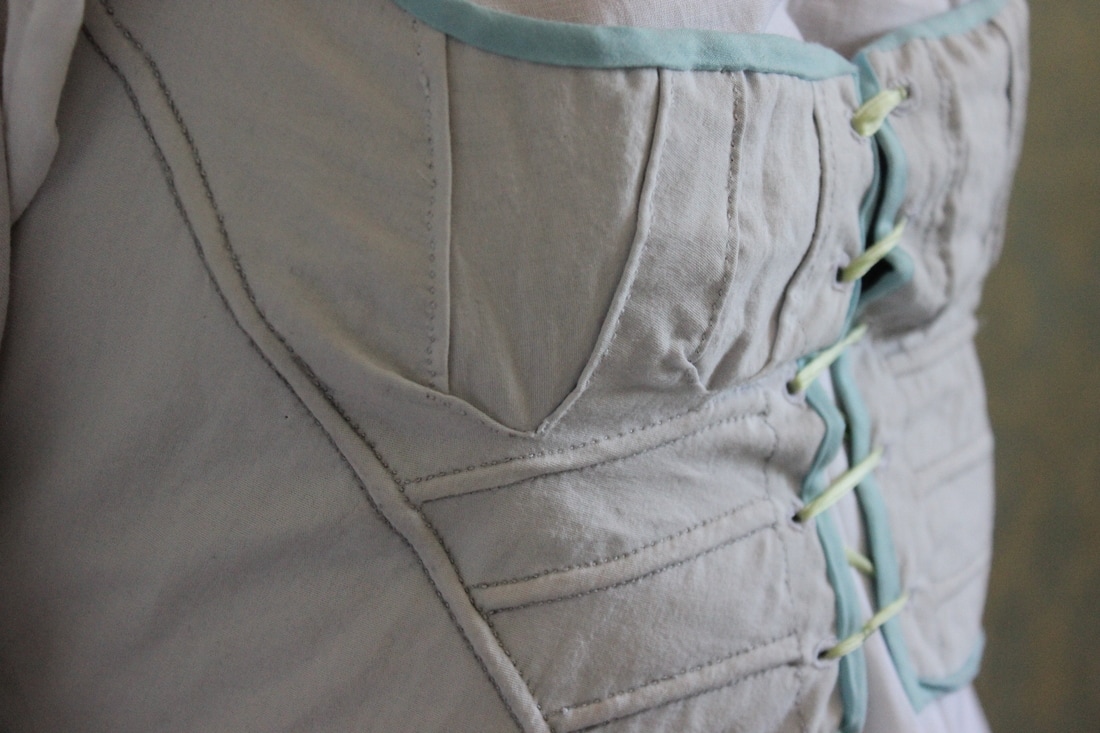 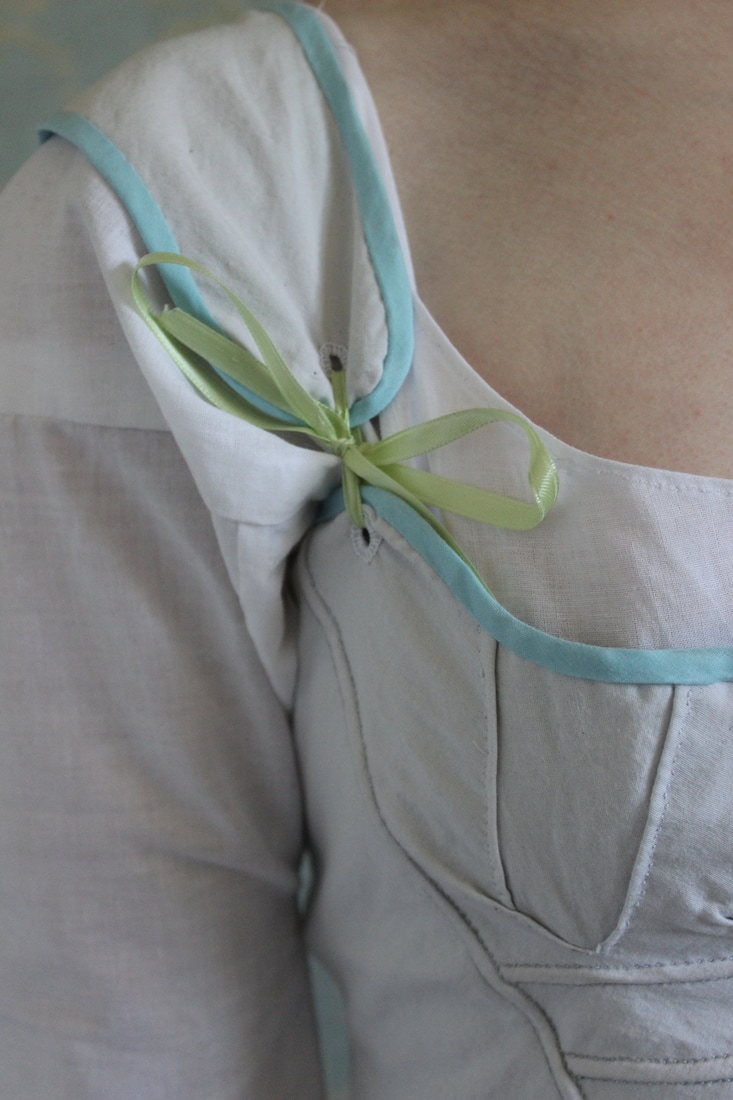 The middle and lining fabrics are a brown cotton that is from worn out sheets, so it is tough fabric. The front white fabric is a white cotton that I have had for ages. I decided to bind the stays in turquoise for fun, since binding is such a long and sometimes tedious job. 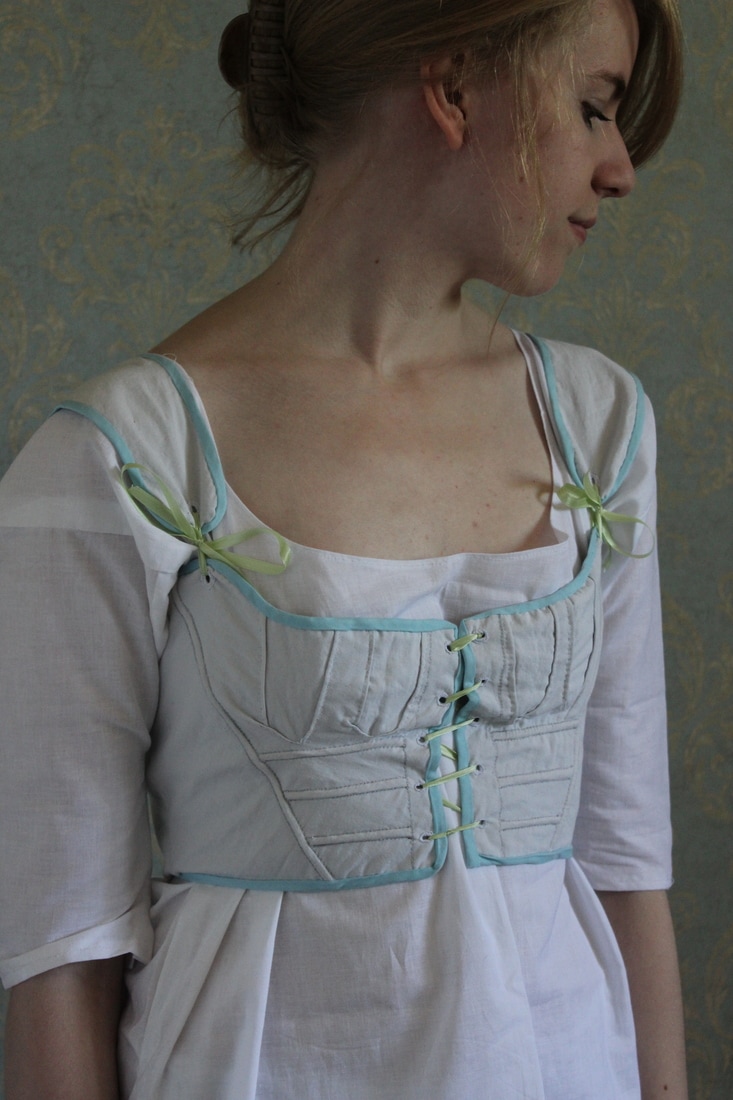 Next up in my Regency wardrobe I need to make a petticoat. This will be another stash-busting project, since I have the perfect materials for it already. I would also like to make a summer spencer (basically a short coat) out of a light blue linen that I have, and I also would like to make a few changes to my dress that I posted about here. 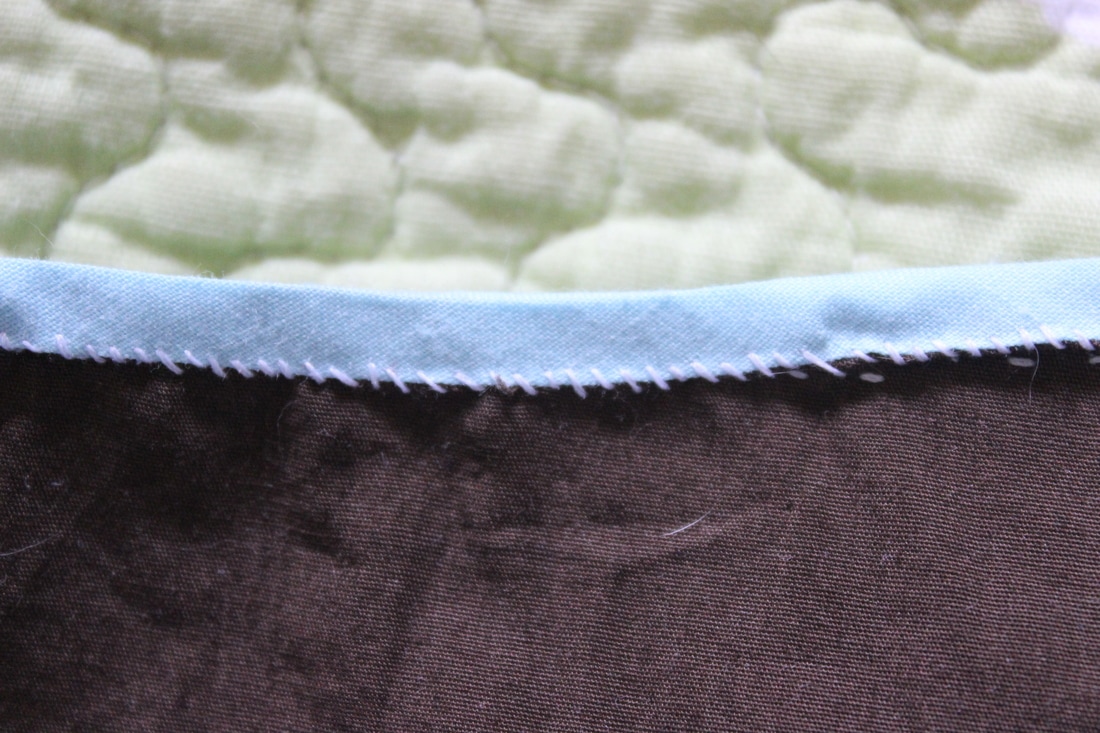 A close up of the inside of the stays 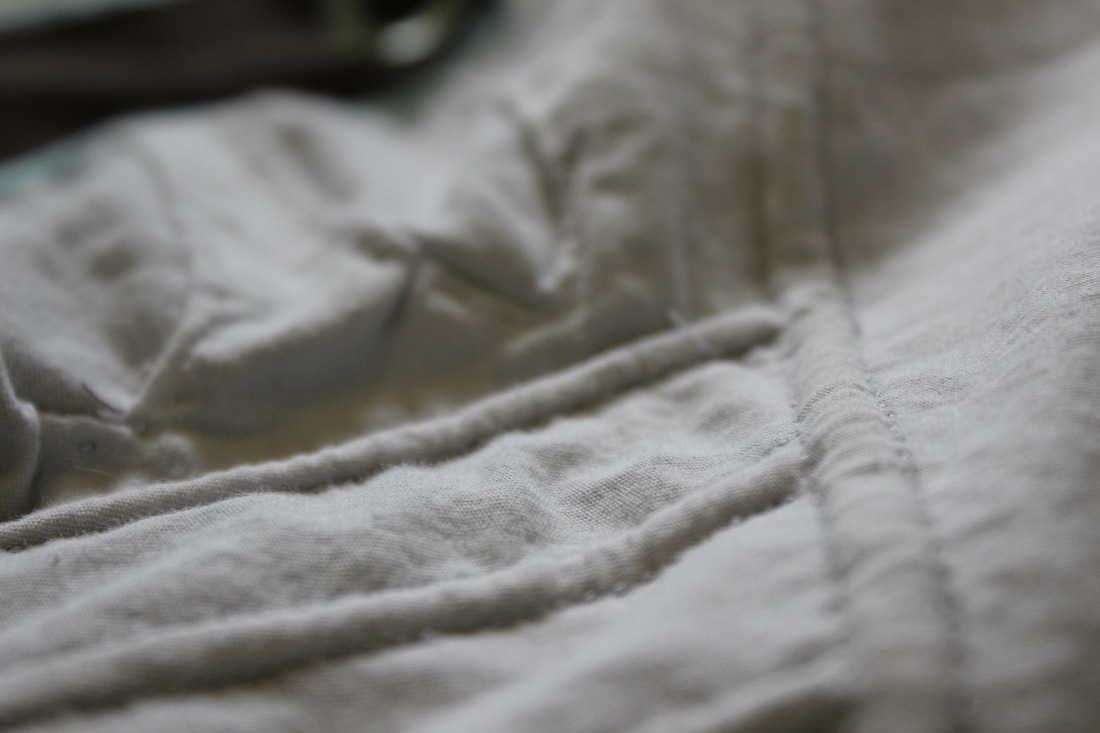 Here you can see the gussets and cording in more detail 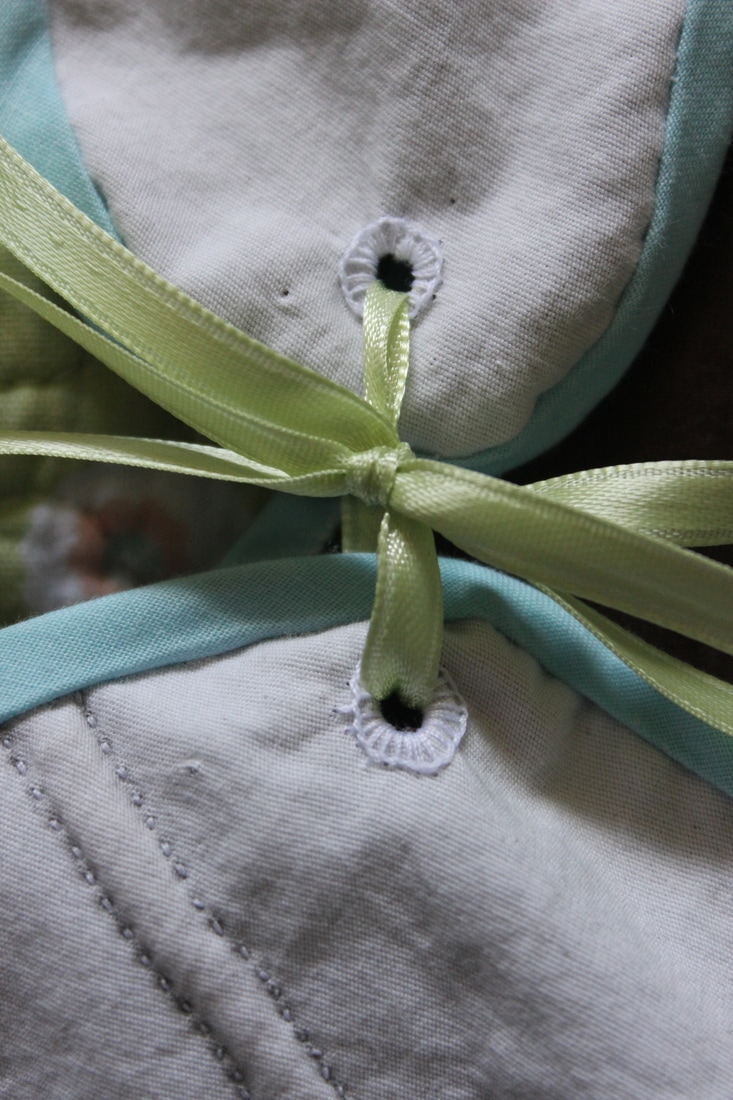 Some of the eyelets that were hand done. I am very proud of these, since I am slowly getting better at them ~K
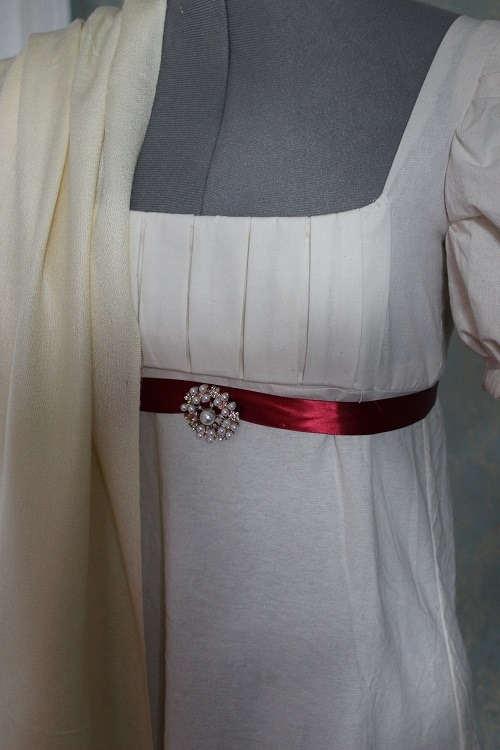 There are a few things that I would like to change on this dress, such as adjusting the fit (it is slightly too big, something I can fix pretty easily), as well as adding another band about 2/3 of the way down the sleeve to make the sleeve have a double puff. Other than that, I am pretty pleased with how it turned out!  The front of the dress features a box-pleated panel, and I added a red ribbon along with a brooch. 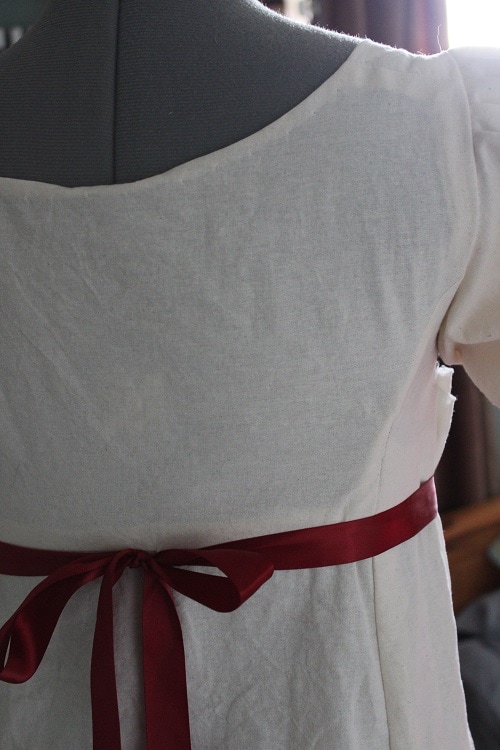 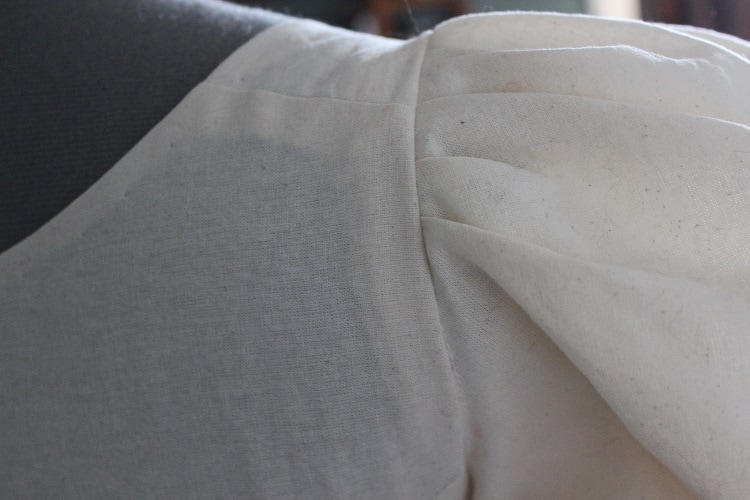  ~K
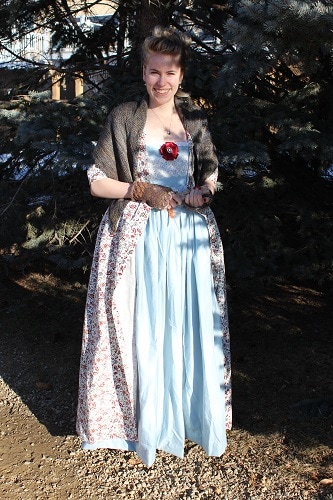
My mom and I went to the Regency at the Fairmont Palliser a few weekends ago, and it was beautiful. The hotel is old and is stunning inside, and I loved seeing all of the costumes that people were wearing. I made dresses for my mom and I, and I have to admit that I cut a bit close to the deadline when it came to making them... I ended up finishing my dress just a few hours before we had to leave. Fortunately, I did not have to finish it in the car on the way there, which I have heard of happening in the costuming world!  I used the pattern on the left for my dress, and the one on the right for my moms. Everything that I used for this project was stash, so it didn't cost me anything. 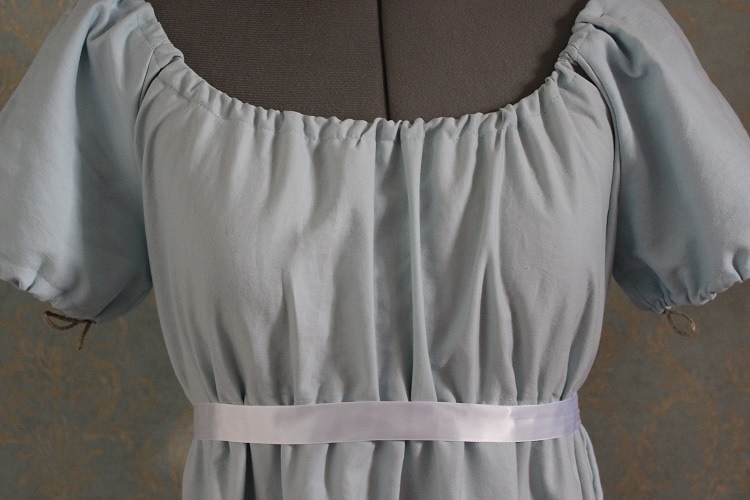 This first one was made out of a sheet. It is gathered at the sleeves, waist, and neckline with twine, which can be tightened or loosened so that different people could wear it. We accented it with a white ribbon at the waist. In some of the pictures you can see the twine at the sleeves. The twine is hidden when the dress is worn. 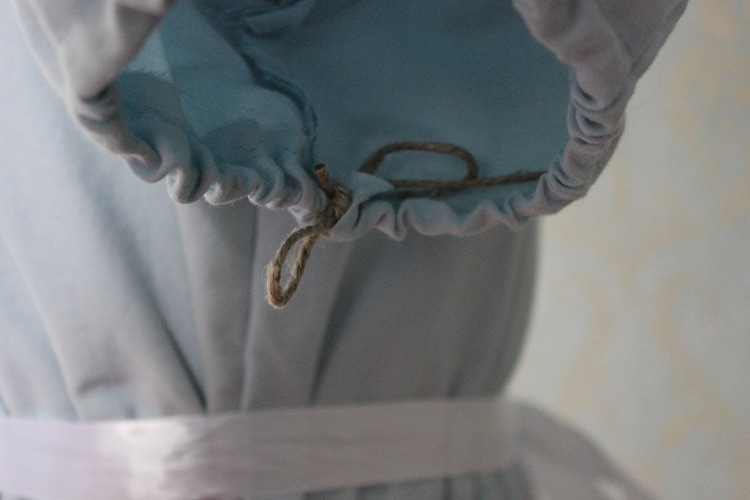 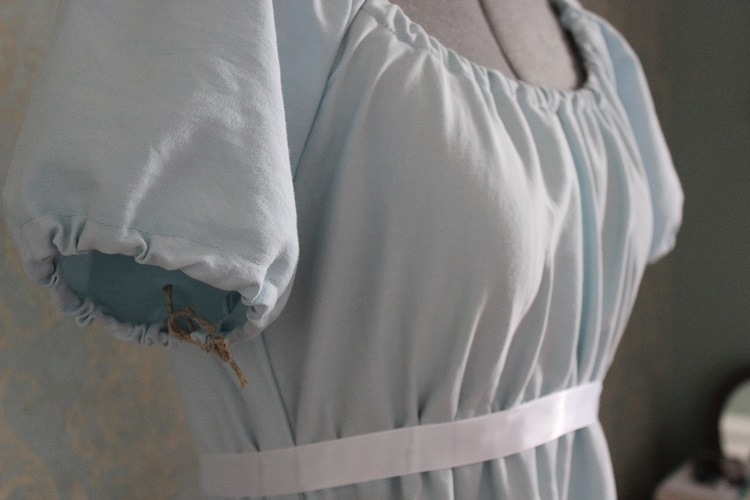 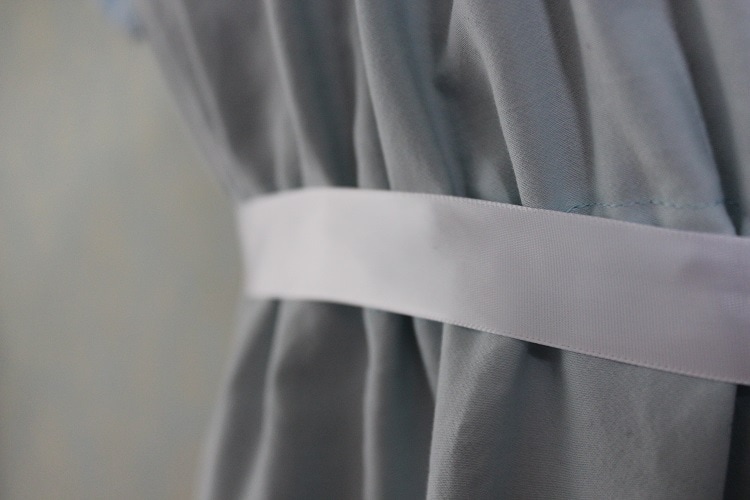 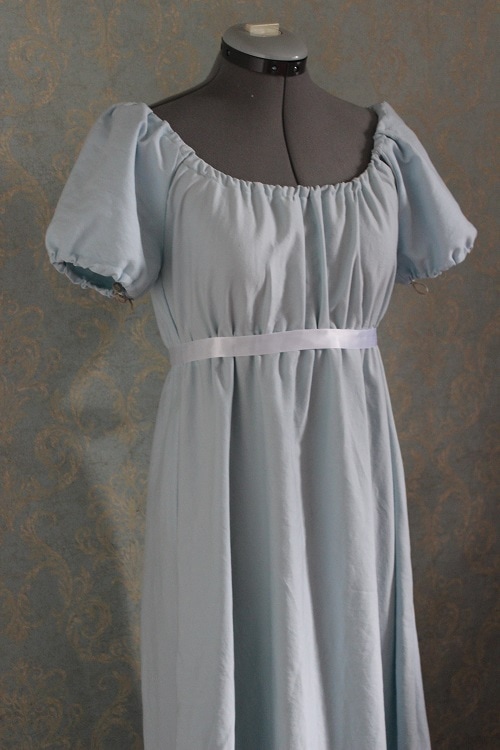 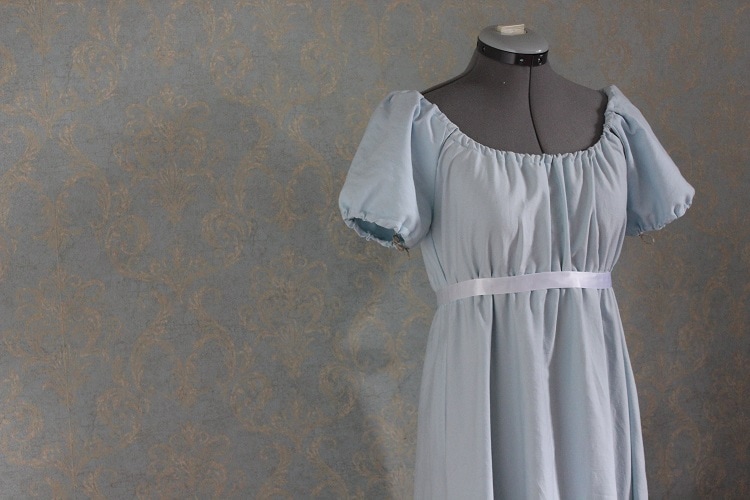 I will do another post about the dress that I wore, along with some photos from the evening at the Palliser.
~Katherine A few weeks ago I picked up a few things for new projects. I have had a gift card from my boyfriend and his family to Fabricland for months now, so I finally got to use it! The first thing that I grabbed, which I was originally planning for, was a wool blend for a 1940's pattern that I have been wanting to make since the beginning of the year. 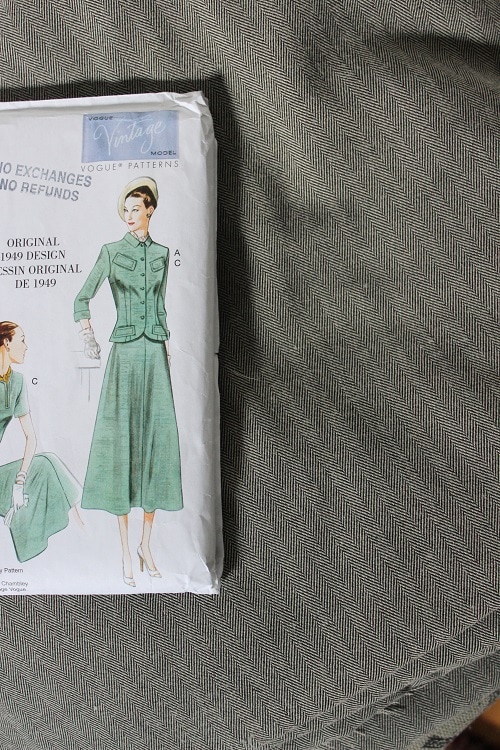 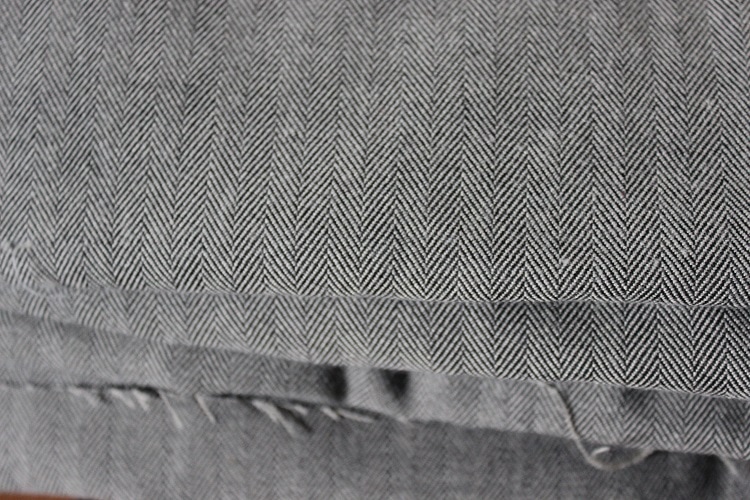 I am thrilled with the fabric that we found, so I will be making both the dress and the matching blazer with it some time in the near future. I also picked up all of the things that I will need to finish the dress: a zipper, belt buckle, and some buttons. 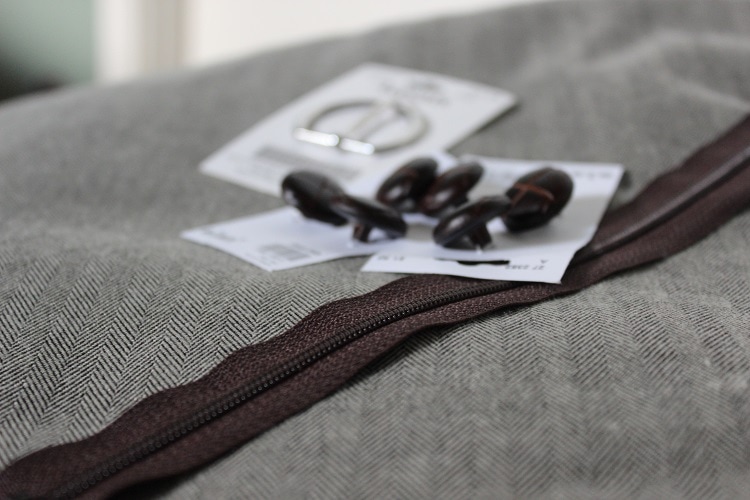 The next thing that I picked up I am very excited about! American Duchess just released their new pattern, inspired by the Red Dress from Outlander. I was impressed by their last patterns, so I didn't hesitate to grab this one.  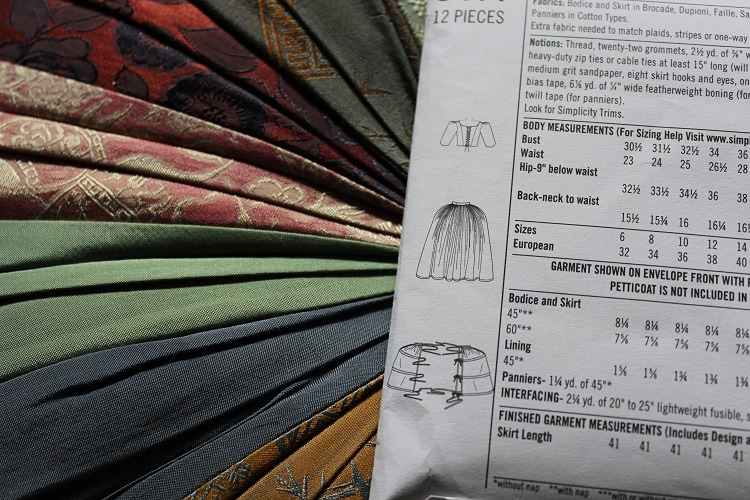 It comes with patterns for a separate top and skirt, along with a pannier pattern, which I will be putting to good use! Another thing that I am thrilled to have picked up was a dress form! I have wanted a dress form for ages, so I ended up choosing that for my grad gift. 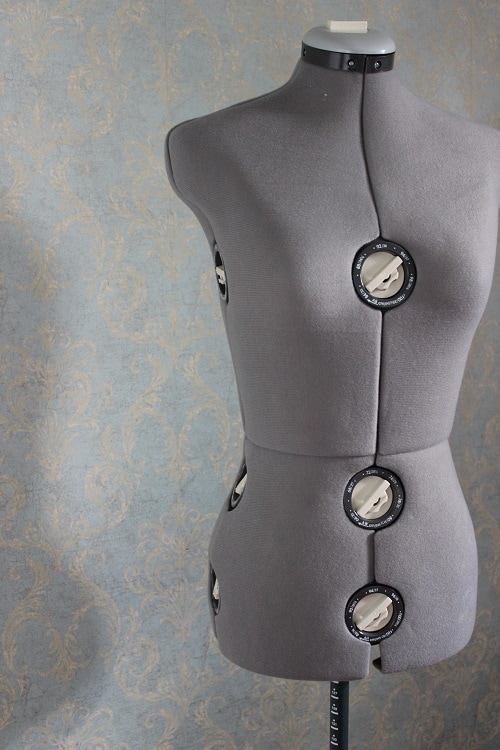 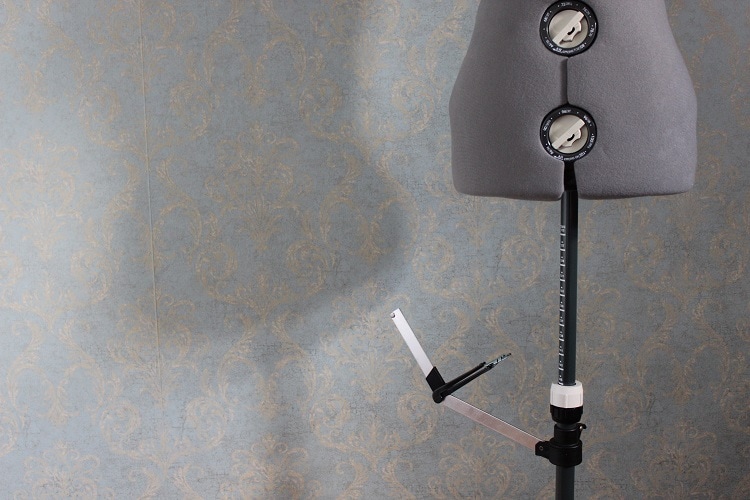 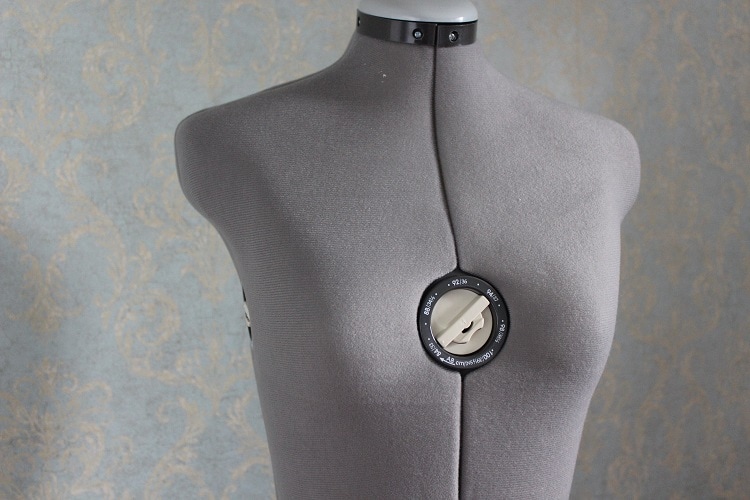 The last thing that I got was actually a gift. This is one of the most amazing gifts that I have gotten, and I love how it looks in my little sewing room. 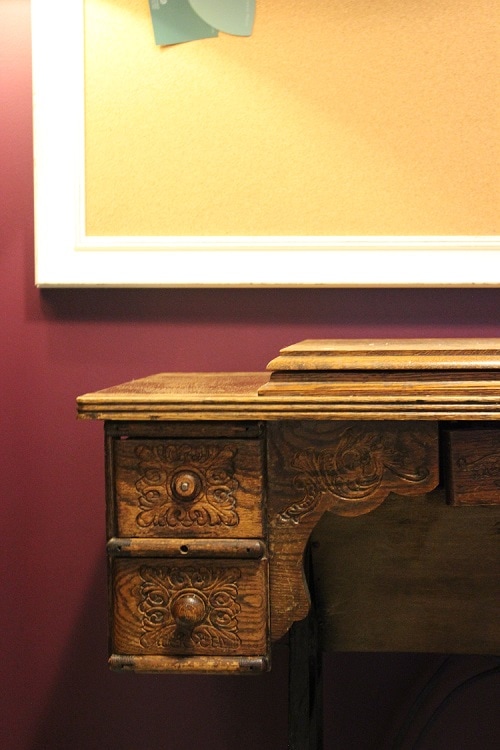 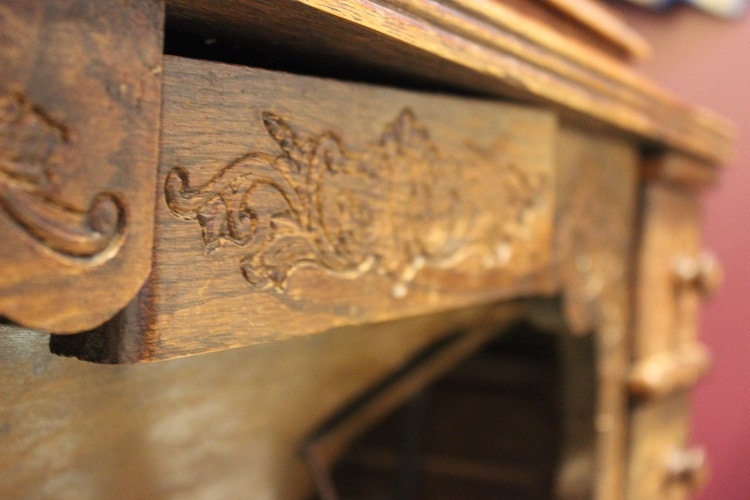 A family friend was getting rid of a few things, and she gave me this beautiful sewing machine! Since it came with all of its extra parts, I am hoping to be able to get it working so that I can sew with it.
I have been working on a few things to get ready for grad lately, but once grad is over, I will start working on some new projects that I have been planning. Also, we went to the Jane Austen ball last weekend, so stay tuned to see some photos from it! ~Kate 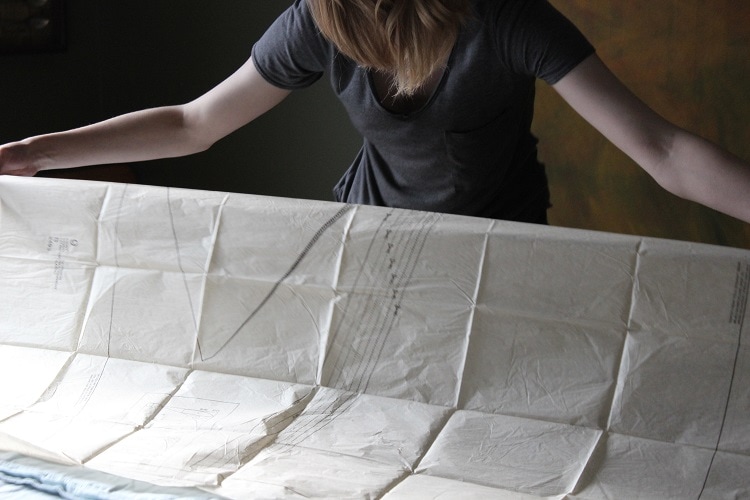 I have just started on the project that I mentioned in earlier posts- the Regency era dresses. I will be making two dresses: one will be a simple round gown in a blue cotton sateen, and the other will (hopefully) be a bib-front dress in cream muslin. Yesterday I cut out the pieces for the first dress out of a Burda pattern, one that I talked about in this post.  I will be pretty busy sewing-wise in the next few weeks. Along with this project, I will also be changing my grad dress, and this weekend I am picking up fabric and supplies for my next few projects. 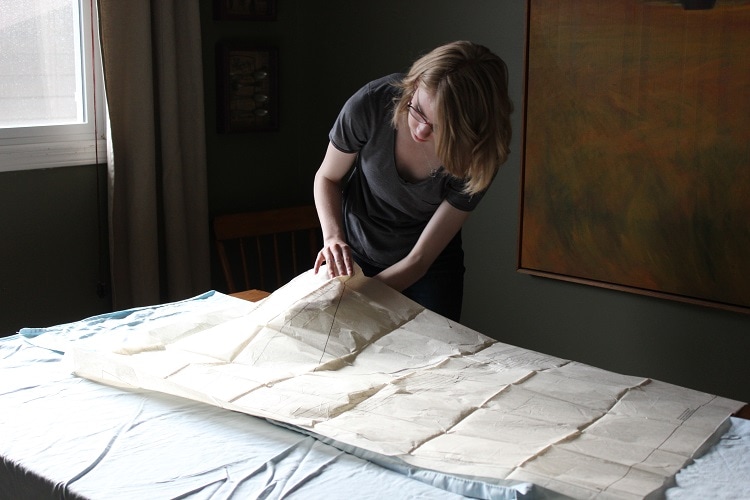 ~K
I was recently gifted a bunch of patterns for historical dresses so that I can copy them. I am so excited about these, especially the regency and civil war era styles. They have inspired me to get sewing again, after a brief break for exams. 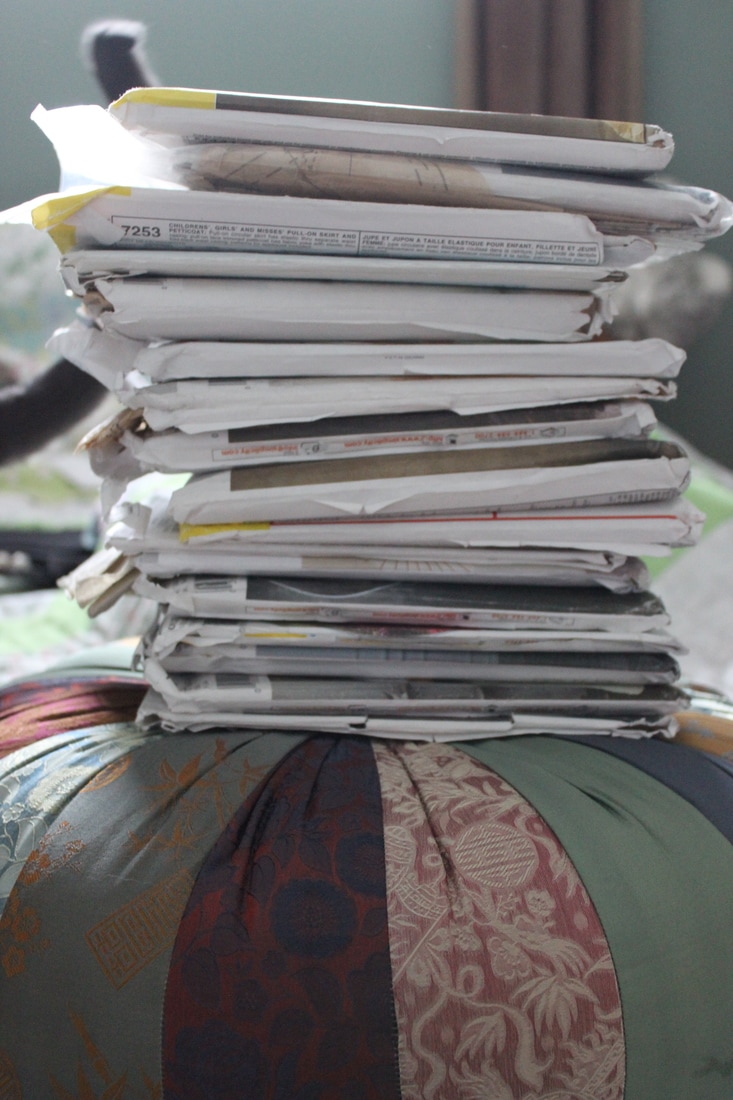 Since I got all of these, I decided to talk about some of my plans and goals for sewing this year. I would like to build up my portfolio before I apply for universities. Most of these patterns depend on fabric, since we do not have a fabric store in my town and it can be difficult to go out and get fabric. 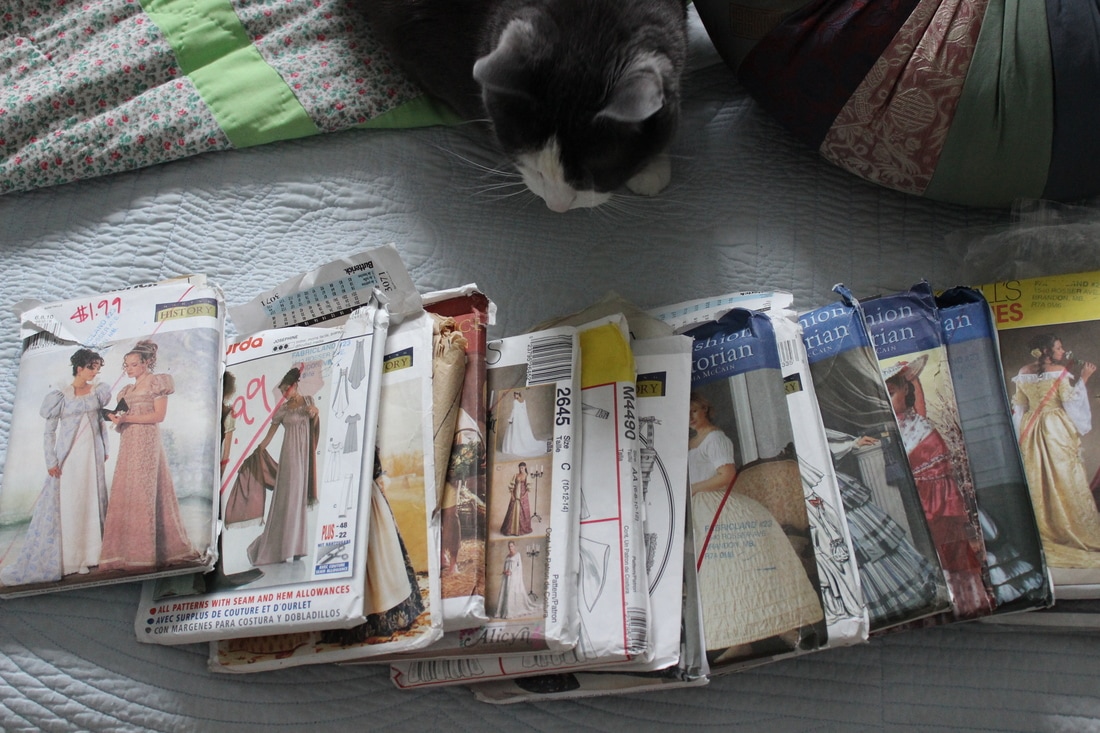 There are patterns for most eras, and many of the patterns could be easily adjusted to fit over foundation garments My first plans are for regency era gowns, which I will talk about in my next post. I have loved the regency era since I first watched Pride and Prejudice, which was at a very young age because my mom has always loved Jane Austen. I am very excited to get going on this project. 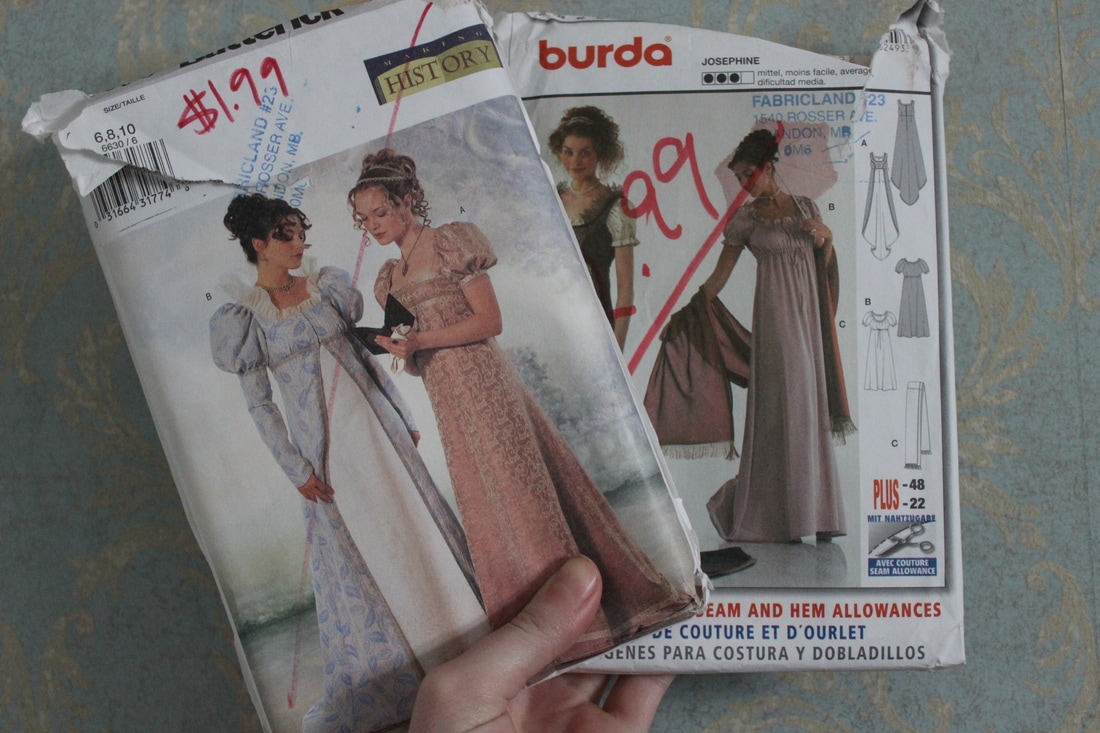 There are two regency patterns, and I am planning on using both of them soon After regency, I would like to sew a 1940s dress and matching blazer. I have had this pattern since last year, and I have been itching to start, but I have to wait to get a nice wool suiting fabric before I can start. Another era that has been catching my attention lately is the civil war era. I used to think the dresses were oddly shaped at this time, with the dropped shoulders and large skirts, but I have come to love the gowns. I am thrilled because quite a few of the patterns that I got are for the era. I have a pattern for everything except for a corset, so I have decided to have a hand at patterning one for myself. 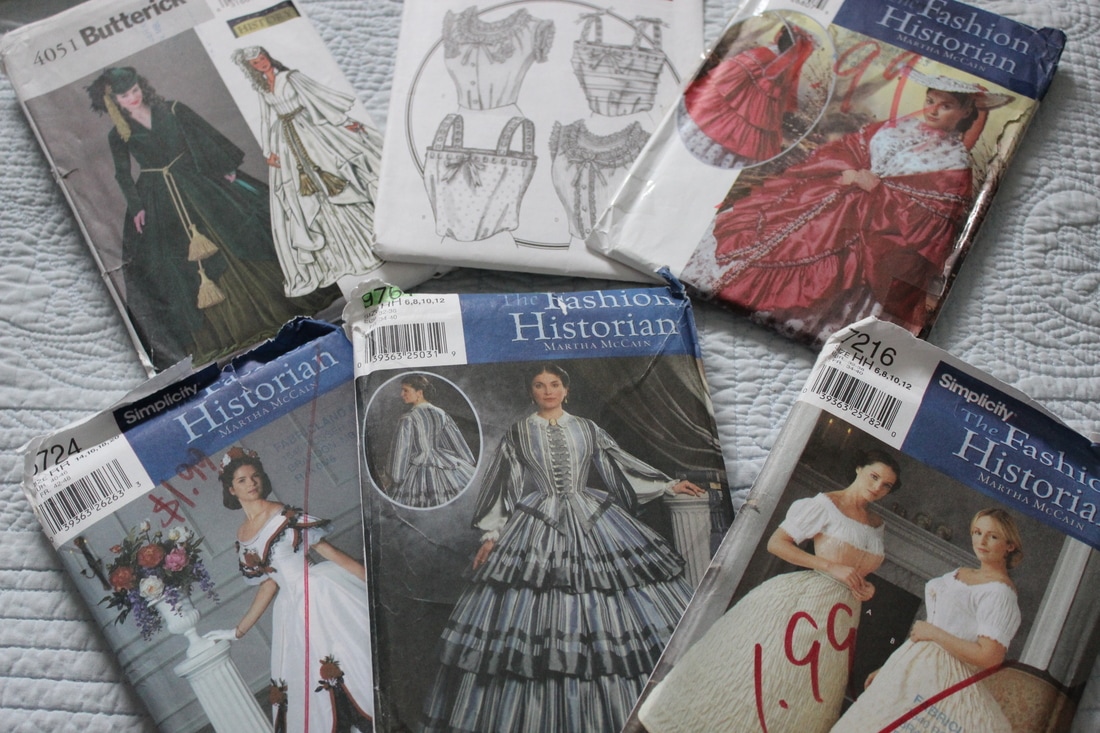 I am thrilled for these patterns, especially since I have been very interested in this era recently. I see a civil war era ball gown in my future Those are the three top projects that I have been wanting to complete for a while now, but there are many other ideas floating around in my head. I would love to research and create gowns from the Tudor era (the era that really got me interested in history when I was young), the 1200s, the late 1800s, and World War One. All of these depend on if I were able to get suitable fabric for them, so we will see what comes to fruition and what will have to wait another year. ~K
One era that has fascinated me for years is the early 1800s. I have always loved Jane Austen, so when the opportunity arose to go to a Jane Austen ball, I was thrilled. It will be in May at the Palliser. You can rent costumes, but I thought that this would be a great excuse to make my first ever regency era costumes. If everything goes to plan, I will be making two dresses for the event- one for me, and one for my mom. I was recently lent about 12 historical patterns to copy, and there are two regency ones. I have already started on making myself a pair of regency stays, which are very similar to modern day bras. 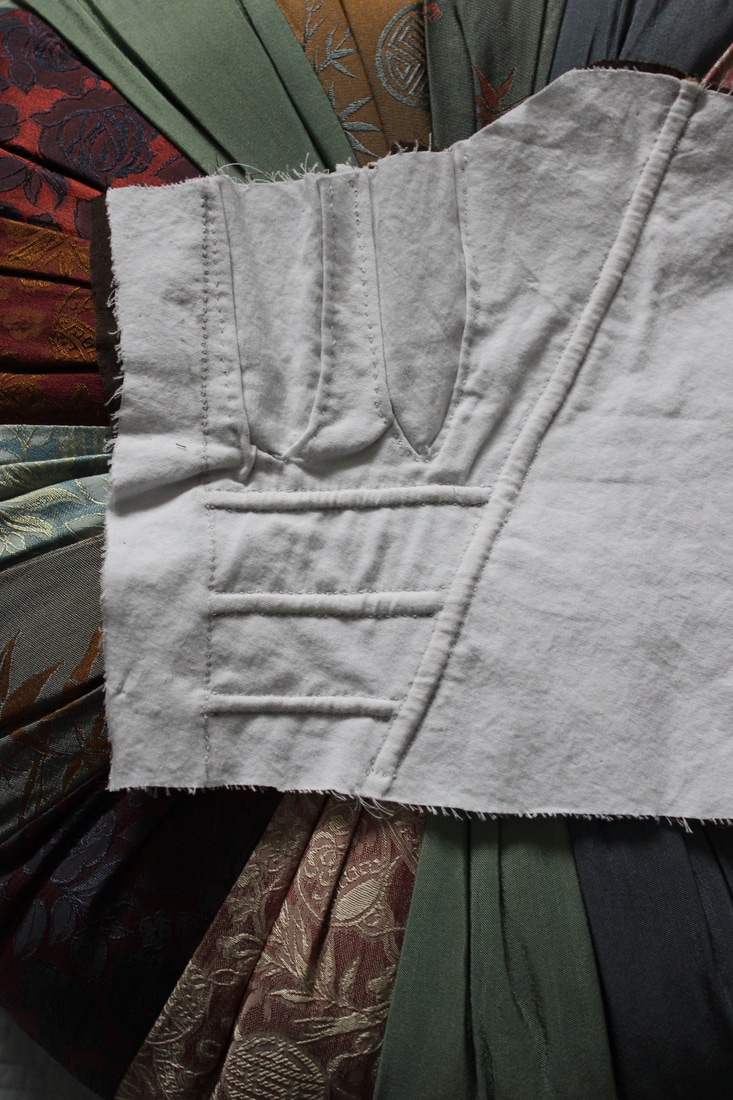 I started these stays this summer, and the ball has made me finish them up. Here you can see some of the cording on them. It is a simple pattern, but they fit very comfortably I was hoping to be able to use the chemise that I made for my 18th century costume, however if I make short sleeves, then I will have to make a new one. Other things that I am planning to make is a few petticoats and the two dresses. Here is some of my inspiration for them. 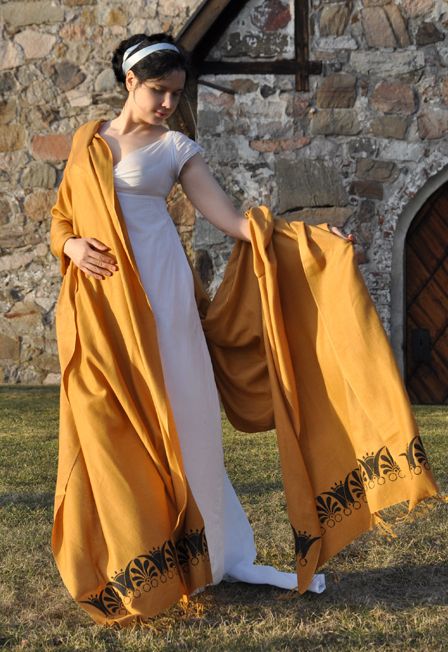 This is from the blog Before the Automobile. She makes incredible historical costumes, and I love the simplicity of this one 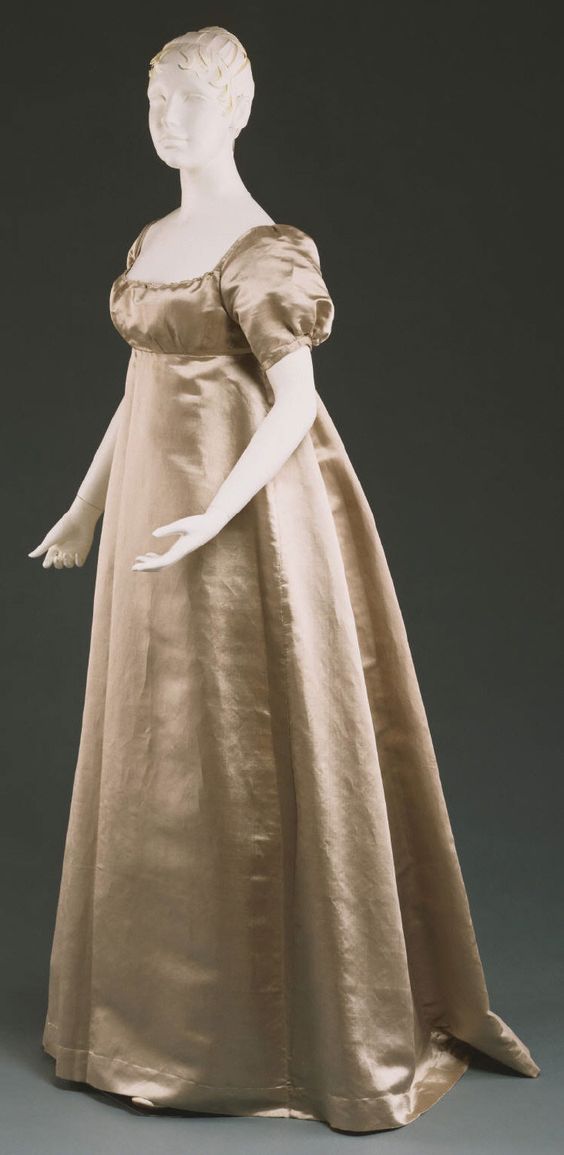 I would like to make a simple round gown like this one out of a blue cotton sateen 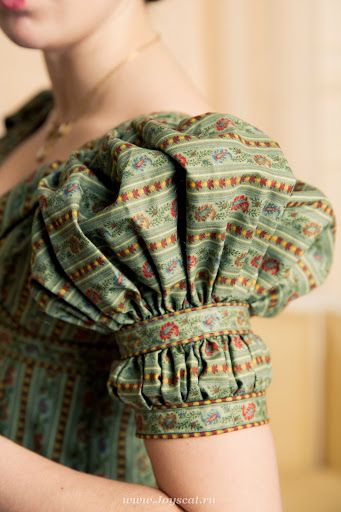 I would like to try and create sleeves like this for my gown. I love how this looks ~K
 After a ton of work, and many learning curves, I have finally finished the whole project, including a chemise, a pair of stays, a bumpad, two petticoats, a gown, and a stomacher. Although there are things that I could adjust, or would do differently if I did it again, I am still proud of how it came out. The patterns that I used for this, the American Duchess patterns, were very good, but there were a few things that I wasn't thrilled with. I ended up drafting my own chemise pattern, since theirs was not very historically accurate. The patterns were easy to follow and understand, which was very important for such a large project. The instructions were simple and to the point, and I was never thrown for a loop about what to do. I loved the bodice pattern, and it looks very historically accurate to me according to dresses from the 1740s. If I made this pattern again, I would probably adjust the sleeves a bit. They were slightly more loose than I would have liked, and the darts were up quite high. The dart at the bottom of the sleeve is to fit the sleeve to your elbow, however they don't go down to my elbow, as you can see in some of the pictures. I also adjusted the stays quite a bit, but I was expecting to do that, since stays can be very tricky to get the fit right, and I was using cording and not boning, so I was not surprised when there were a few slight fit issues. Other than these unimportant little complaints, I loved the patterns and I would definitely use them again, just with a few 'improvements'. 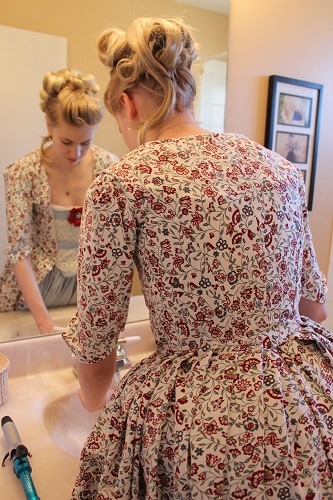 This ensemble took me about four months, starting in late September, and finishing just a few days ago. I used Ikea fabric for the undergarments and gown (a muslin and a thick cotton), and a cotton sateen sheet for the over petticoat and stomacher. The lace on the stomacher is a gorgeous vintage lace that was given to me as a gift. The stomacher was finished off with a ribbon 'flower' that I made, and some hand crocheted lace at the top that I have had for a long time. I had an incredible time creating this, and I feel like my sewing skills have improved from before the project to now. 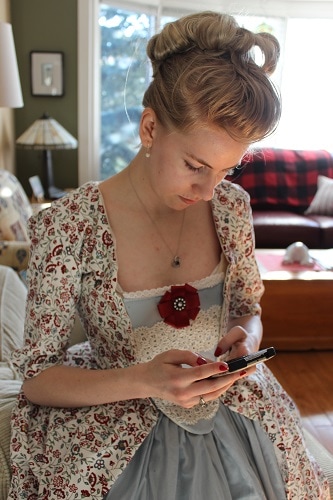 ~K
Before I show you the finished project, I must talk about what was going on in the world at the time. The 18th century is a fascinating era to look at. I love researching history, and seeing how fashion is influenced by current events. For example, during World War One, the skirts became shorter and slimmer since there was less fabric. The same thing happened in World War Two, and we can see the celebration of the end of the second world war in the 1950’s, when the New Look became popular, with the wider, longer skirts. 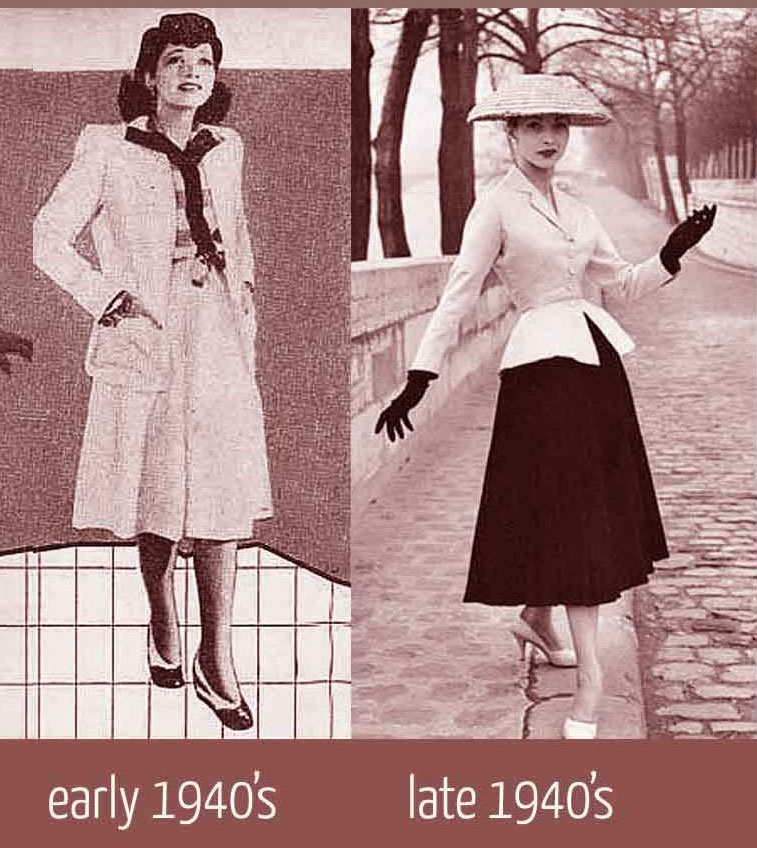 Notice the shorter skirt and more masculine look on the left versus the full, longer skirt and more feminine silhouette in the right picture The same things happened during the 18th century. First, let's talk about some of the major events of this time. The French court became a huge power in the 17th century, and it thrived under the rule of Louis XIV, The Sun King. He made France the dominant country on fashion and the arts. This power continued on into the 18th century with Louis XV, who came into power in 1715 after the death of the Sun King. With the new king, Baroque left fashion and Rococo became the style. It's delicate, feminine style is still popular to this day. The Classical style took over in the last half of the century because of international trade. Asian influences are easily seen in dress and design in the late 1700s, when the best silk made it's way from China to Europe and the new world. The boom in textile trade and the creation of new technologies in the latter part of the 18th century was the start to the Industrial Revolution. Back to the beginning of the new century- although Louis XV continued on with France's art and fashion industries, he was not successful in actually leading the country. He was passionate about hunting and women, and he didn't even try to govern France. He racked up debts by continually engaging in wars, and his efforts in lessening the people's depression were never successful. When he died in 1774, he was one of France's most hated kings. Louis XV’s grandson, Louis XVI became the next king, along with one of France's most infamous royals- Marie Antoinette. The pair were not fit for ruling a country: he was apathetic in unfit for his role, and she was frivolous and immature. They were also very young. King Louis XVI was only 20 years old when he got the throne. He was also handed a very difficult job, since the last king left debts and a country full of people who were learning to hate the monarchy. In the late 1700s, France agreed to help America revolt against Britain. This was a way for France snub Britain, but it ended up being far more costly than they thought. This pushed France down the rabbit hole and their debts grew. The American revolution also put ideas into the French soldiers heads about rebelling against the throne. The soldiers came back with these dangerous ideas in their heads and that, along with the increasingly high prices of necessities such as bread, were the beginning of the brutal and bloody French Revolution. The people of France succeeded in dethroning their King and Queen, as well as beheading them. France's turmoils did not end with the century, but instead continued on until the rise of Napoleon in 1804. 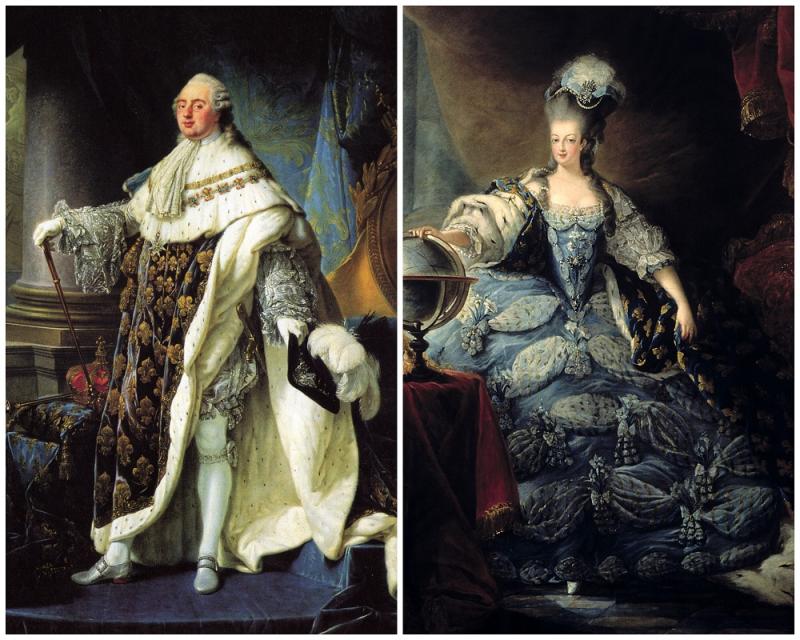 King Louis XVI and Marie Antoinette. She was a huge influence on fashion in the late 1700s, and continues to be now. France wasn’t the only country with issues during the 18th century. In fact, the UK might have actually been worse off at this point in time. Britain had many issues with power, starting with Bonnie Prince Charlie. If you read or have been watching Outlander, you would be pretty well informed of the issues that went on in Scotland during this time. During the 1740s, Scotland tried to get the ‘true king’, Charles Edward Stuart, on to the British throne. He was part of the second Jacobite rebellion. Both of the rebellions failed, and Scotland went through a horrible time of drought and brutalities. The English soldiers stormed through the country stealing and raping, and thousands of men who were suspected of being a part of the Jacobite rebellion were either imprisoned, sent to the Americas, or hanged. Many Scotts went to the Americas, and were a part of the American Revolution 40 years later. After losing the Americas after the revolution, Britain was in a pretty bad way. They suffered through debt and droughts, and taxes went sky high until the end of the century, when a war with France brought up the price of tin, copper, and many other things. This turbulent time made people become more creative when it came to what they wore, so we have some very interesting clothes that came out of this. I will talk about how all of this affected fashion in the next post.
~K After a long slog, I have finally completed the the base of the project. This was the toughest part of the project, since it included many difficult pieces. The hardest part of the whole costume so far has been the stays. I am already pretty far in the process of creating the actual gown, and it has been much easier and quicker to put together than the parts that I have finished, mainly because I don't have to do any boning or boning channels. The cording on the stays was very difficult, since I have never done that much cording on something before, but I am pretty pleased with the final result. 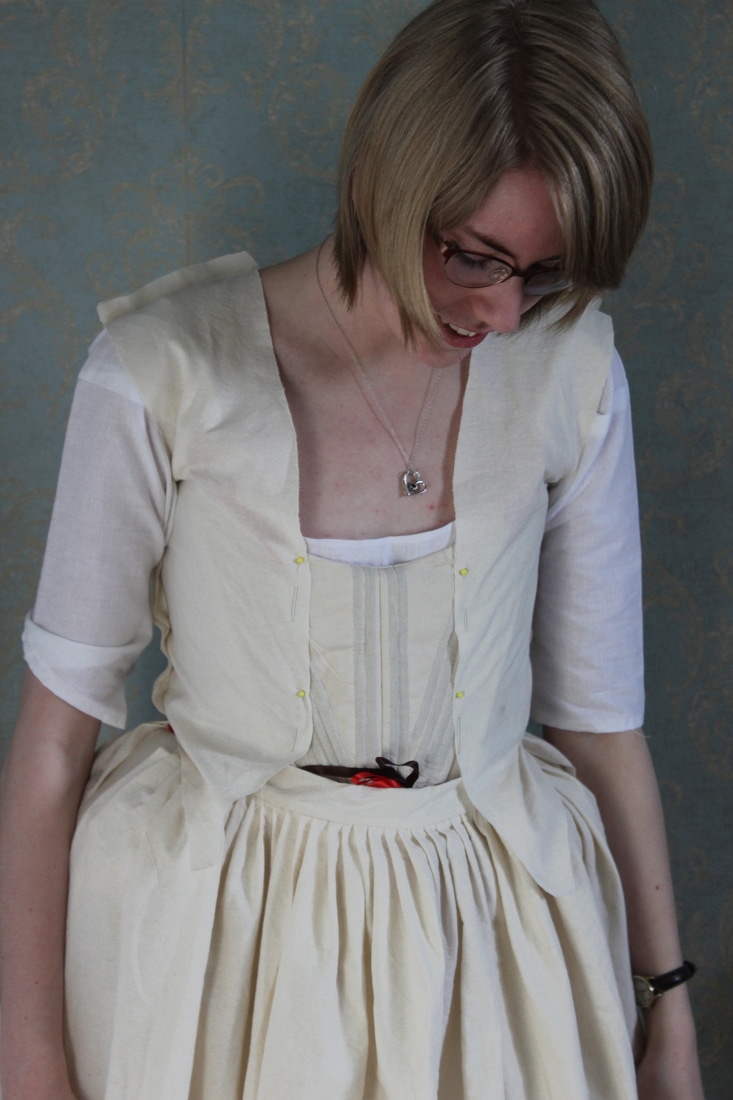 My apologies for the crooked pinning, and the visible ribbons. I wasn't planning on taking pictures at that time. 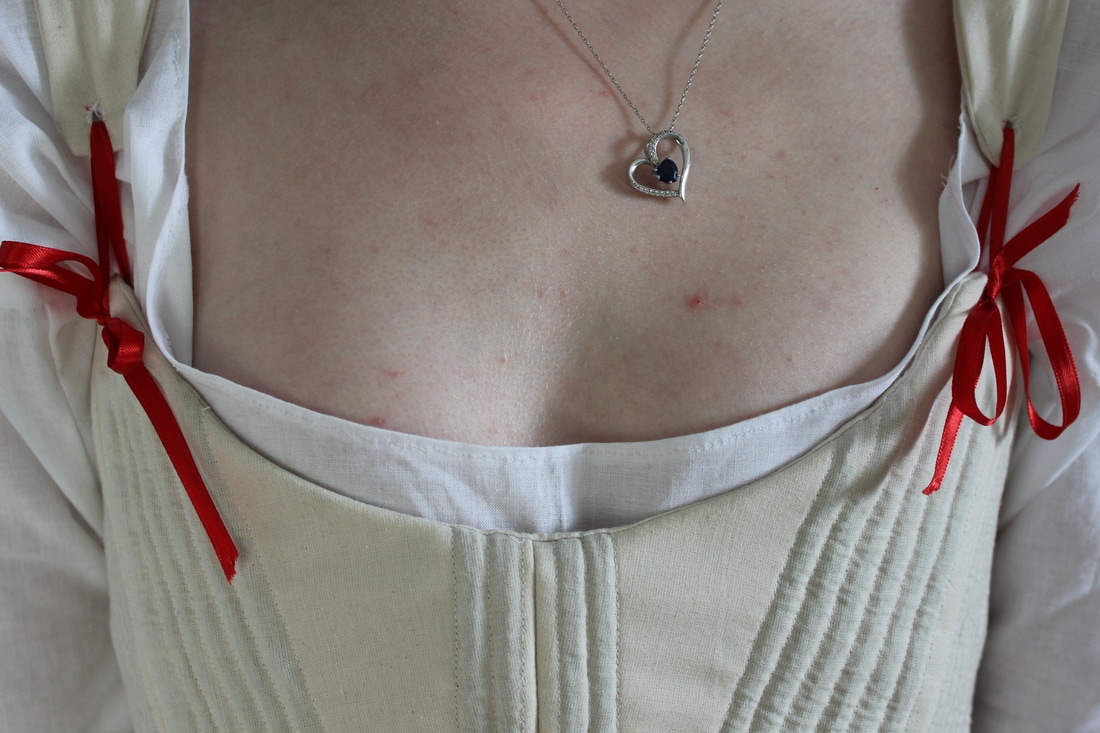 Here you can see the neckline of the chemise and how the straps are tied to the stays with ribbon. I didn't finish the chemise until after the stays, since I wanted to use them as a way to measure where to cut the neckline of the chemise. I wanted to make sure that the chemise was low enough that it wouldn't be visible from underneath the dress, but I also didn't want it to be too low and wide that it would slip off my shoulders. The neckline is a bit wider than I would have liked, but it works perfectly with the stays. 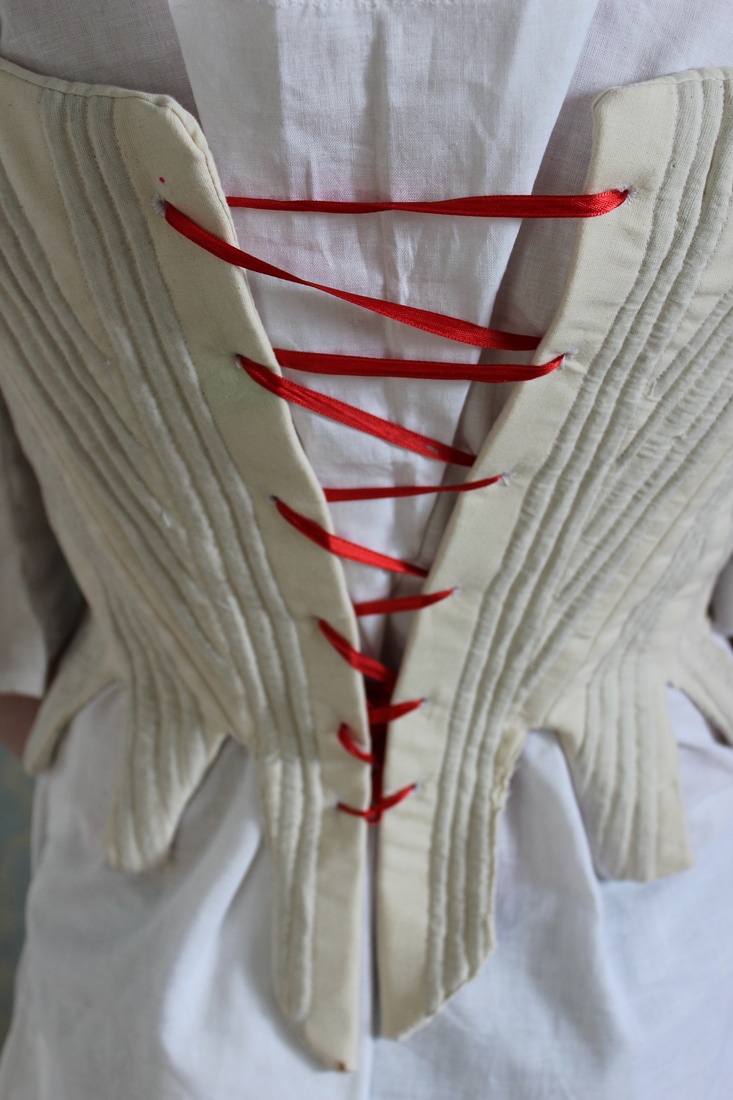 As I have mentioned before, I did not make the stays exactly as they would have been made in the 18th century. I made some adjustments to make it a bit easier for myself, since I have never made anything like this before. First of all, I used cording instead of boning. This made the garment less stiff, so it is much easier for me to get used to it. Wearing fully boned stays take a long time to get accustomed to, and I wanted to not only make it a bit easier for me to sew, but also easier for me to actually wear. 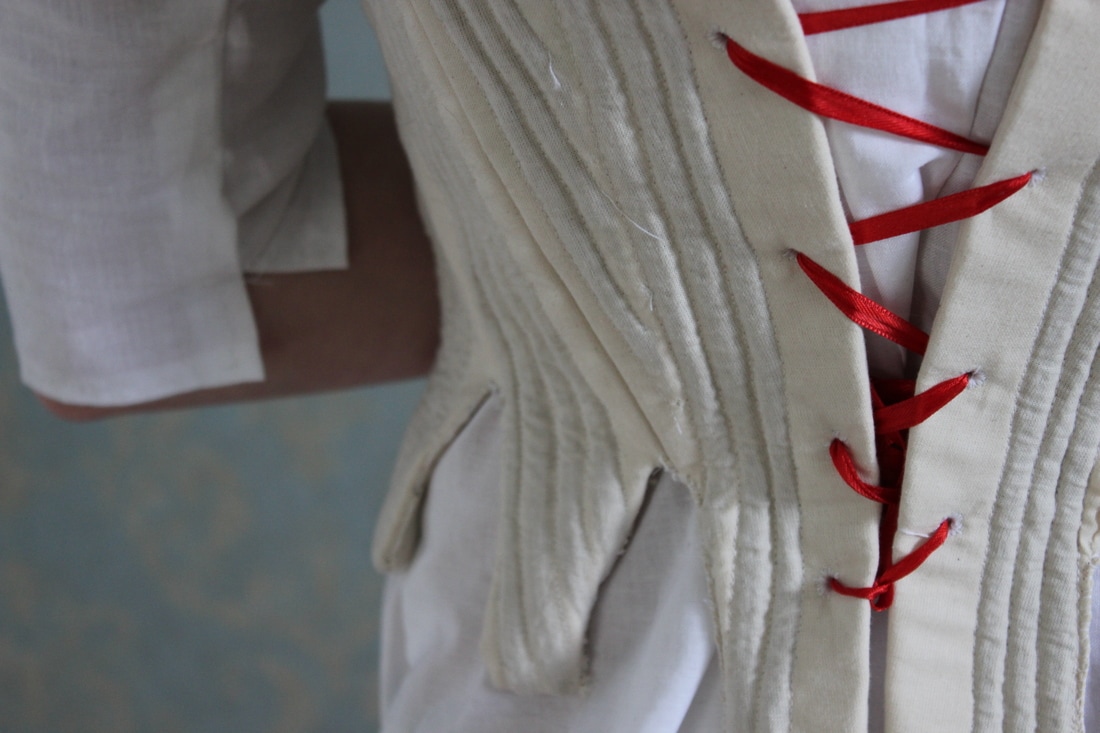 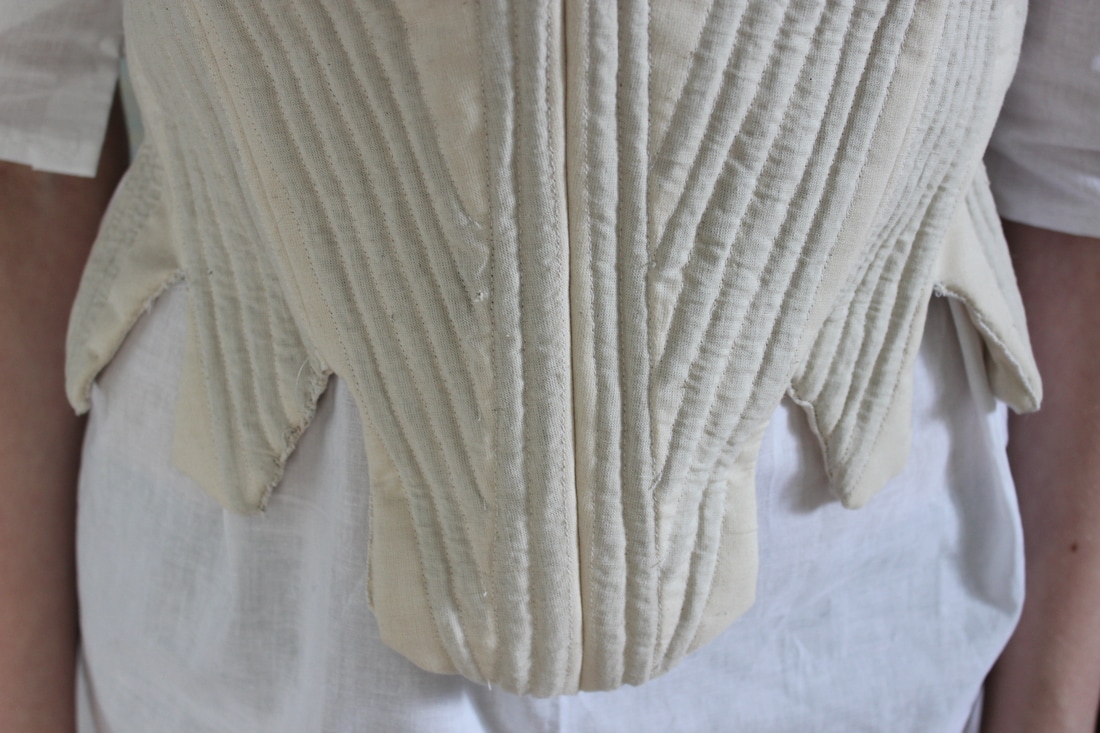 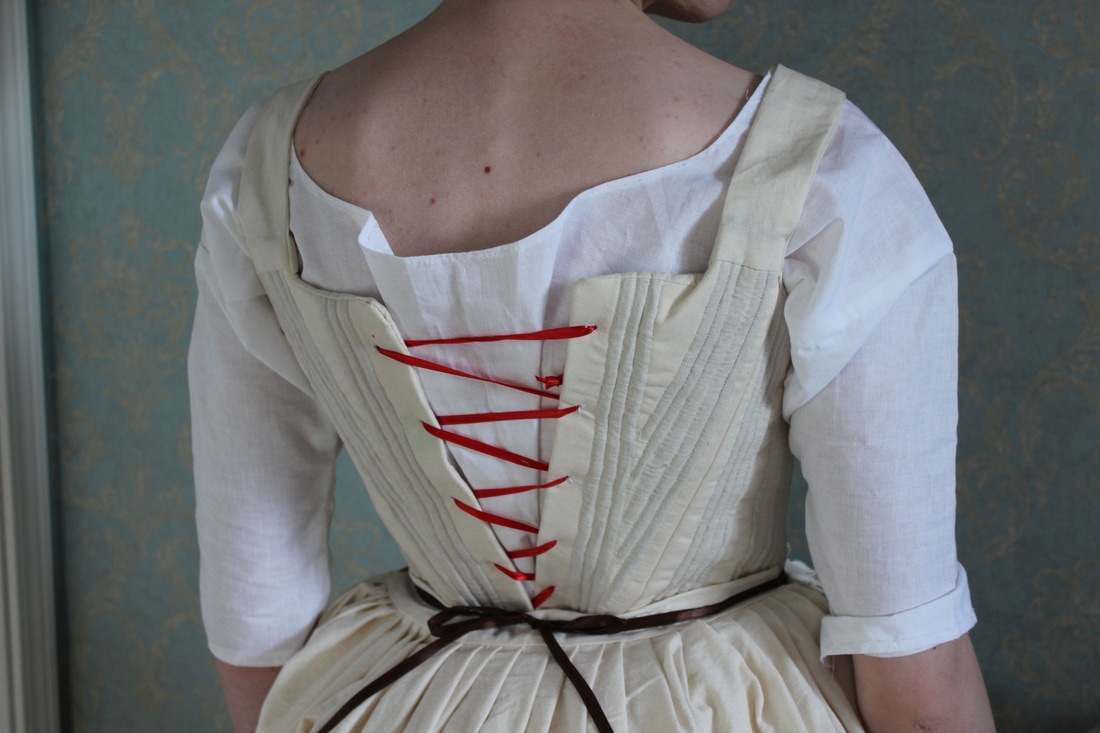 The petticoat is 8 pieces, overall. The front and back are just pleated on to the waistband. The top petticoat will be made the same way, just in a blue cotton. The skirt is made so that there are two slits in the side so that if I make pockets for myself, I can reach them. The gown and top petticoat will also have these slits, to make sure that I could easily reach anything in my pockets. I will not be making pockets for this project, but I may later on, and I would like to keep that option open. 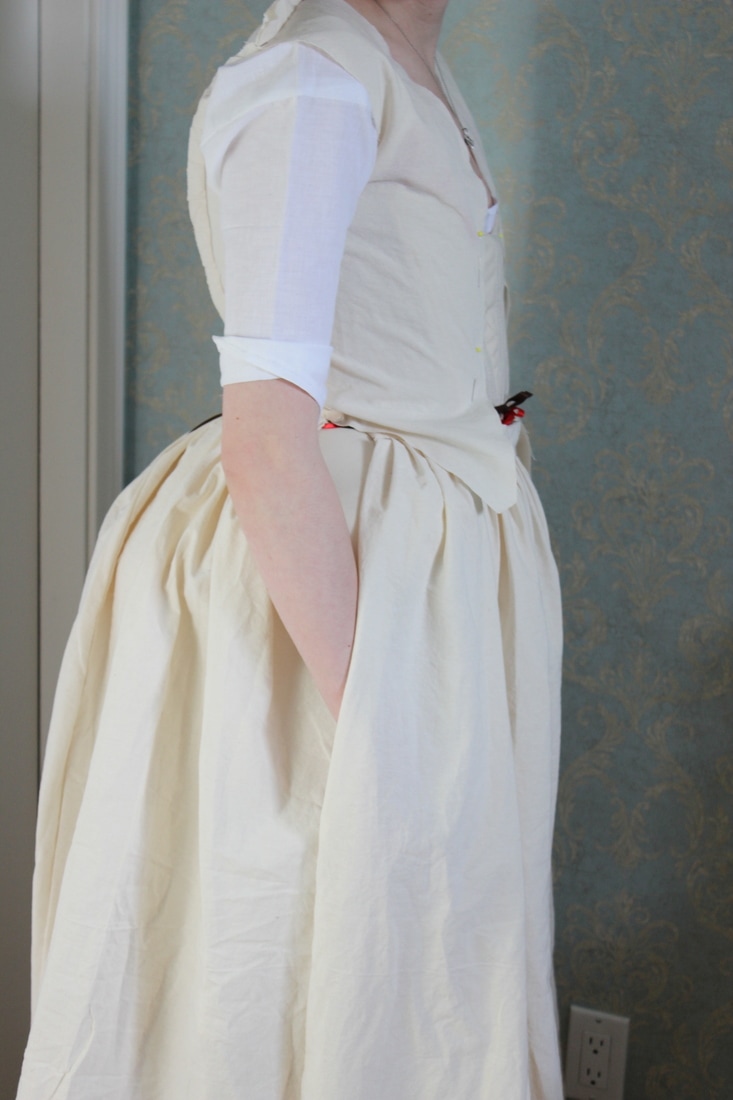 Next post I will show the details of the mock-up, and the finished bodice.
~K I have finished the under garments of my project, and am well on my way to being finished the bodice of the dress. Before I show you the final products that will be worn underneath the gown, here's the petticoat in progress.  The pattern pieces for the skirt and bodice.  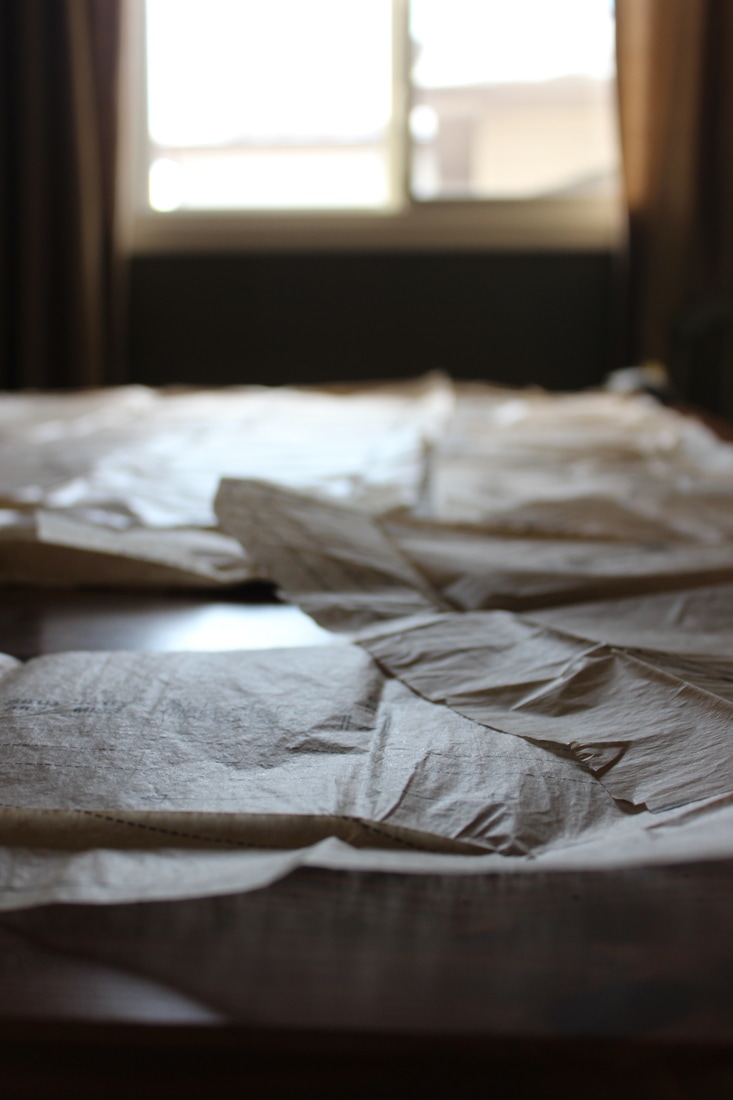 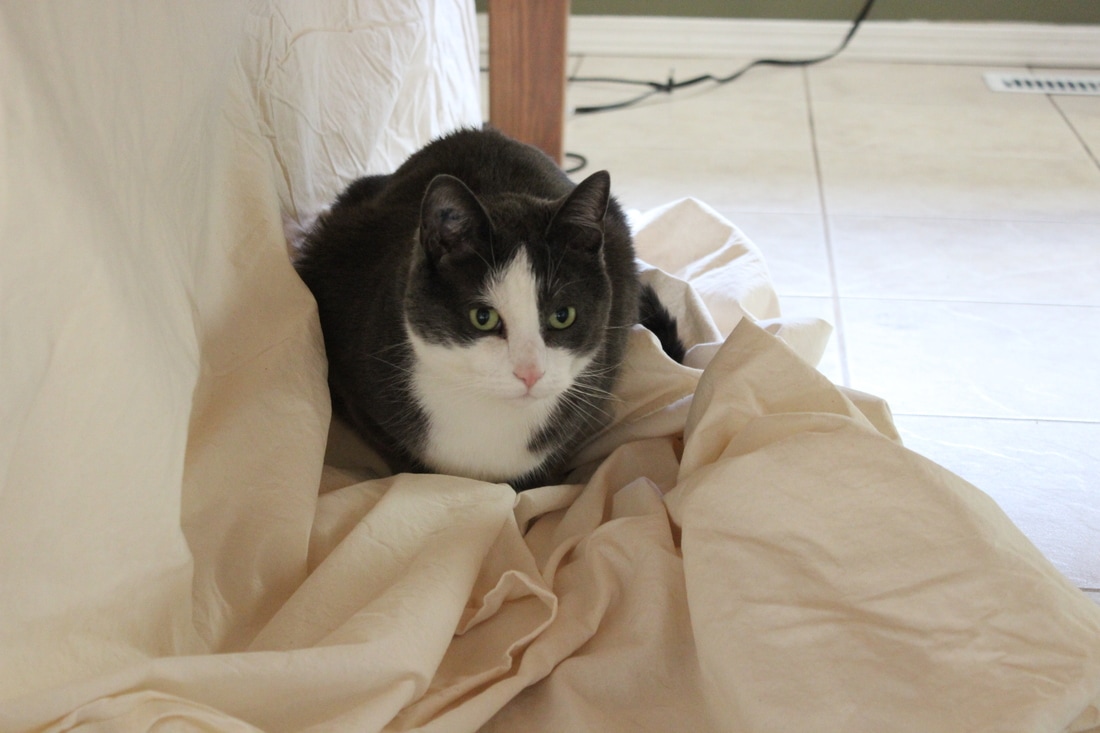 And my very helpful sewing room kitten And here is a sneak peak of all the undergarments on. This was taken before the skirt was hemmed. I am also wearing the mock-up of the bodice in this photo.  In this photo, I am wearing the completed shift, stays, and bumpad. On top I am wearing the un-hemmed petticoat and the mock-up of the bodice, without sleeves. |
EtsyArchives
April 2020
Categories
All
|
 RSS Feed
