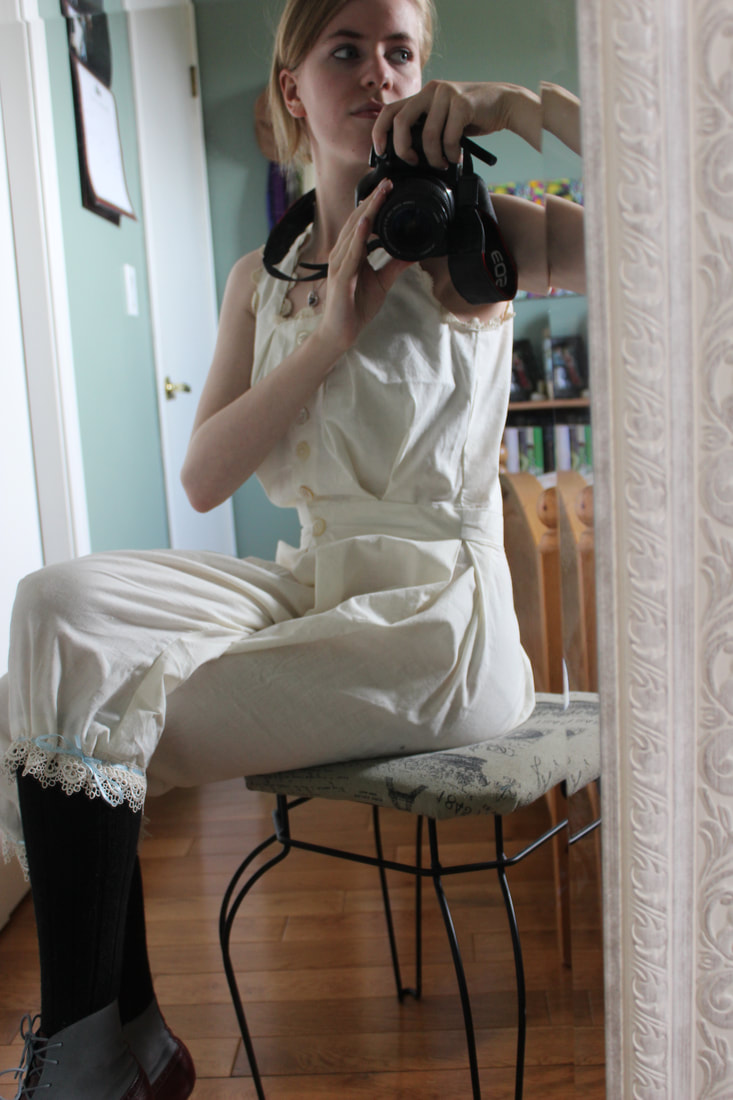
 I have been hard at work on my newest project, and the first thing that I have had to make is the undergarments! I decided to make an 1880's bustle gown out of my anatomical heart printed fabric, so I have been working on the proper undergarments. The first thing that I have finished are a pair of combinations! 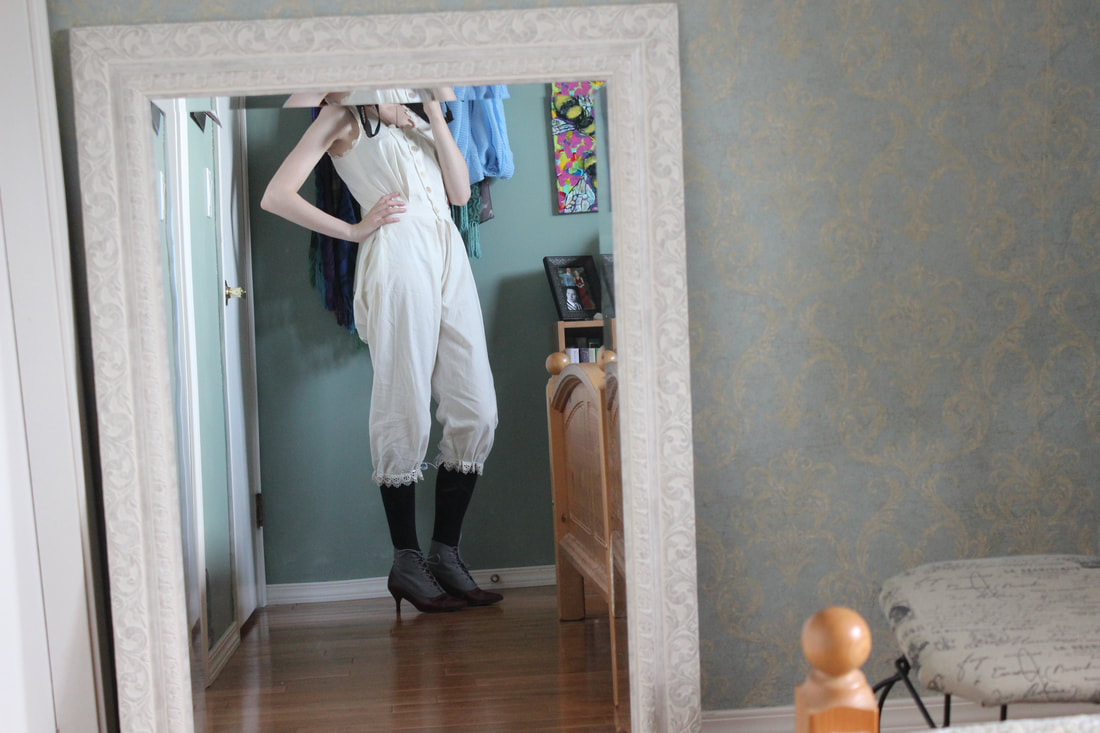 I am quite thrilled with how these turned out! I used Simplicity pattern 1139 as a base pattern (just for the bloomer part of it), and changed it quite a bit to make a pair of combinations that were inspired by ones from the 1880's. 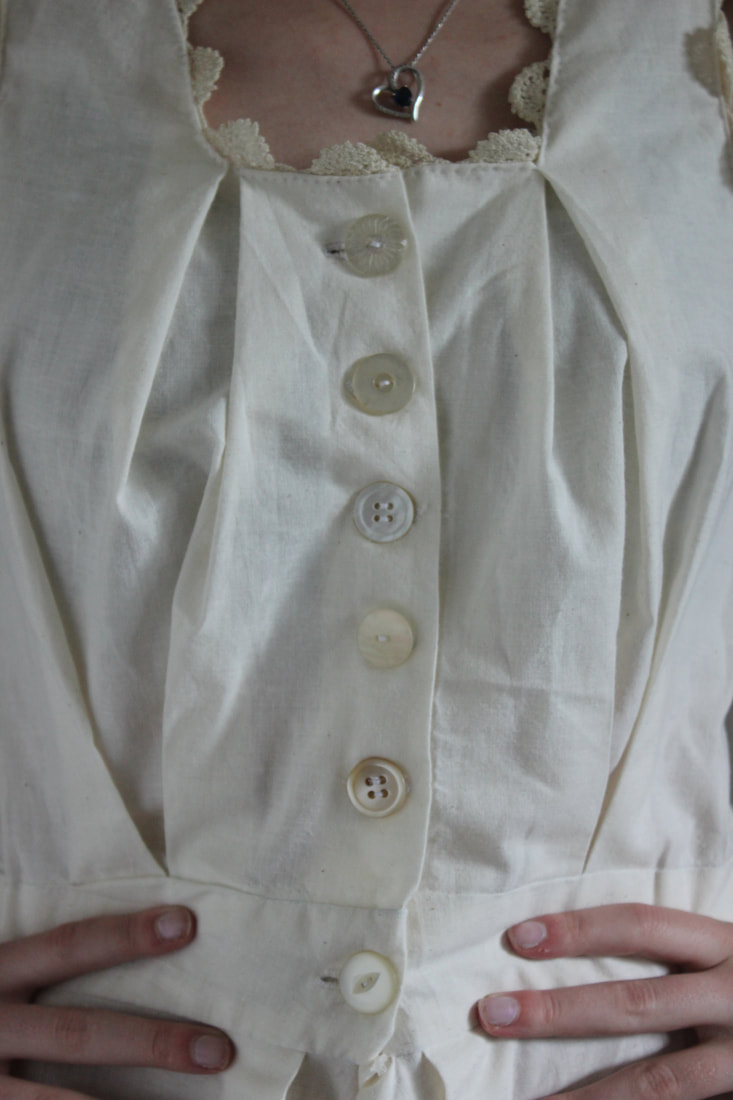 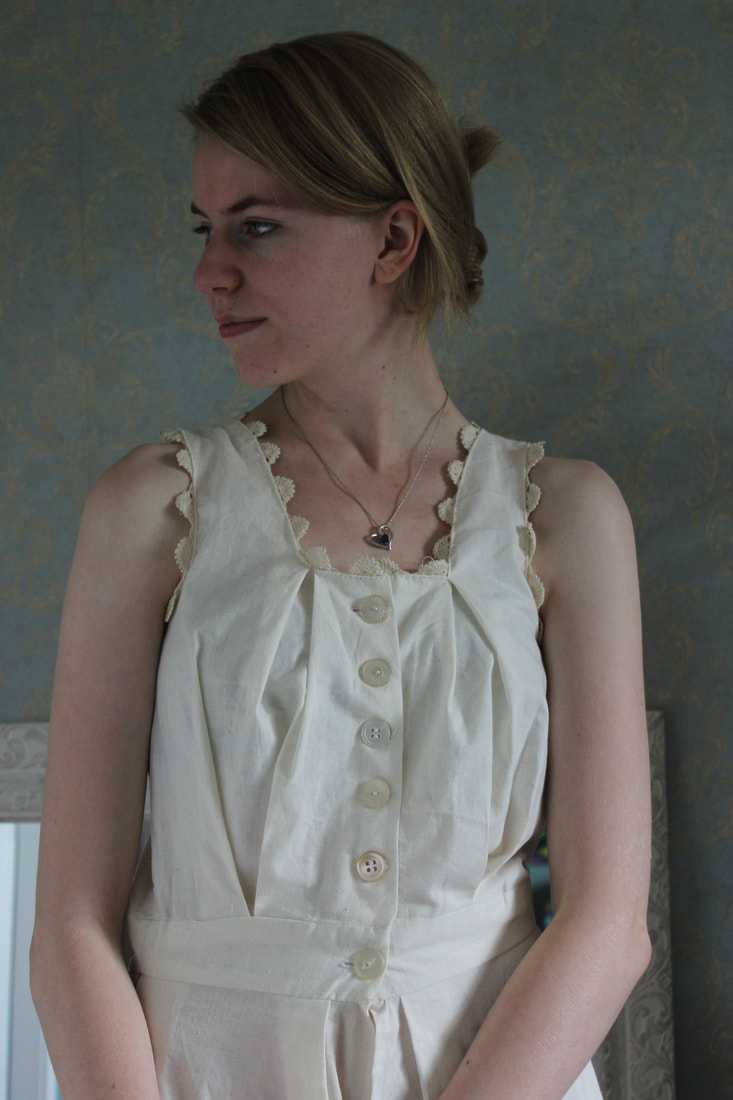 I used some muslin to create the combinations, and trimmed them with some vintage lace that I was very generously gifted a while ago. The buttons on the front are all vintage as well. I thought that it looked cute with the unmatched buttons, so I didn't even try to find matching ones. 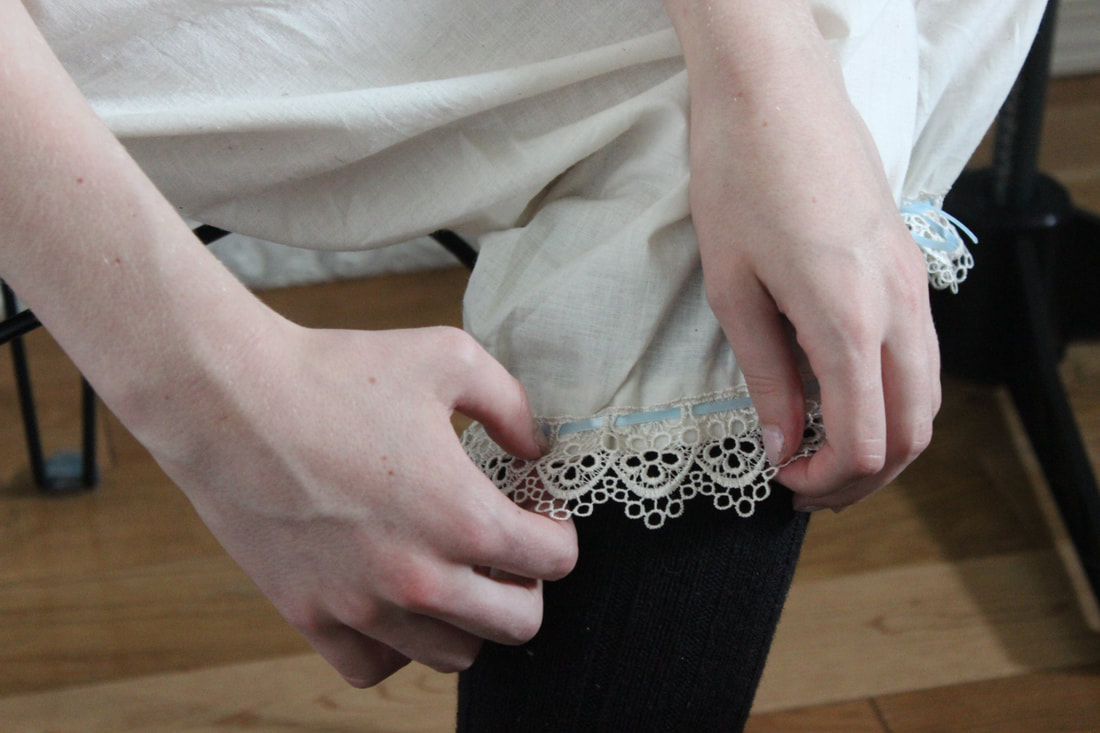 On the bottom I have a different lace that I bought at Michaels and then tea-stained for it to match the fabric. I used a light blue ribbon, also from Michaels, to tie the bottom. 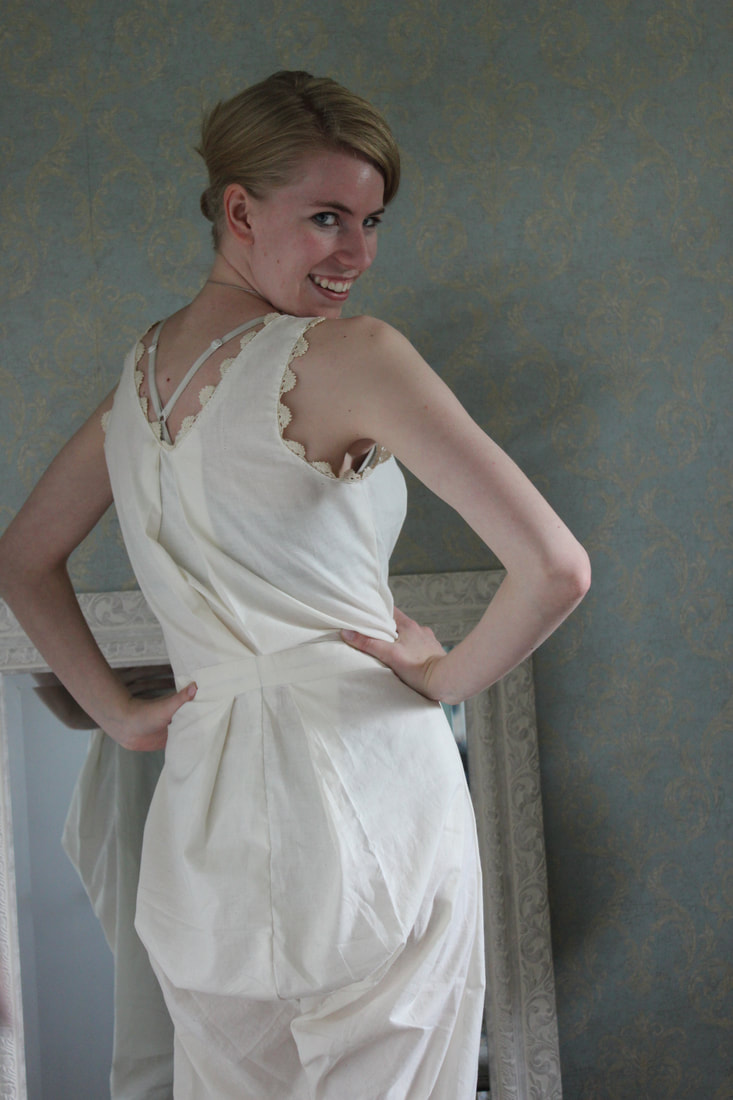 I think the extra space in the bum is hilarious- and very accurate to the time! These are split-drawers, meaning that the front seam is not sewn together. This was done through the 1800's so that the women could use the bathroom without having to take off their bloomers, and once combinations were created, this feature was especially important since the only other way to get the bloomers off would be to take off everything else on top of it! 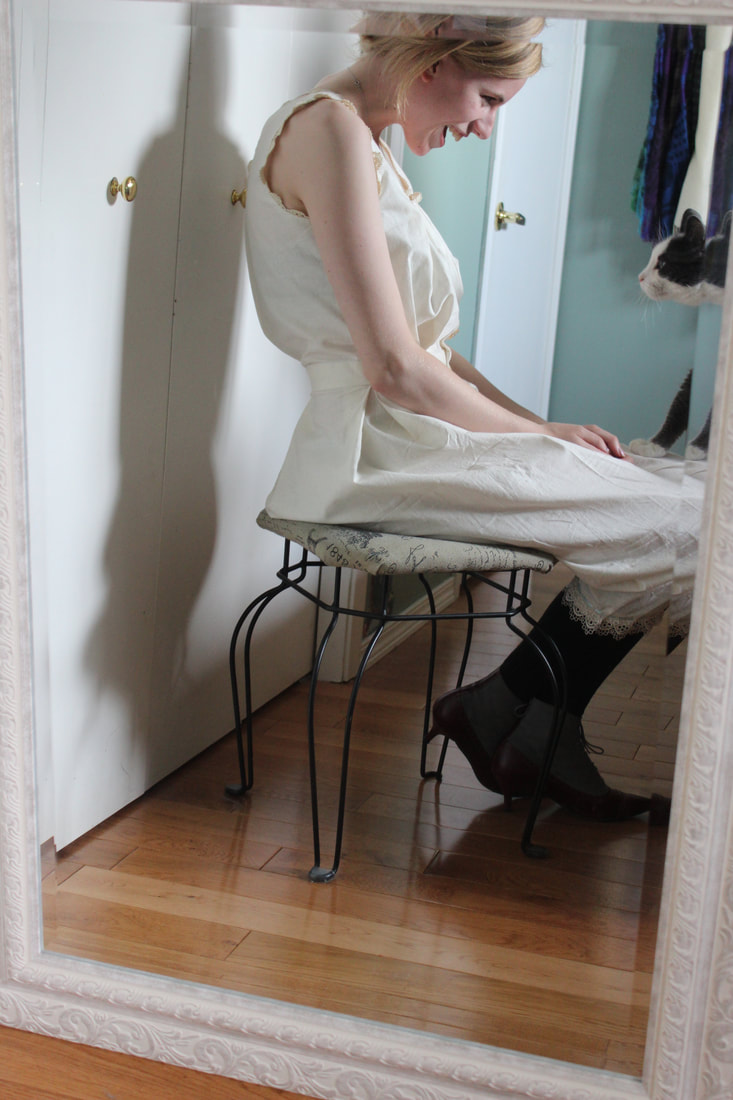 As always, the kitten came over to check out what we were doing Since finishing this, I have been working on the other undergarments that will go under my bustle dress- a corset, a bustle, as well as a petticoat. I will blog about those as soon as I finish them! I am so pleased with how this came out, and I am so excited to keep working on the other pieces of this project! To see more pictures of this and other things that I have been working on, check out my instagram 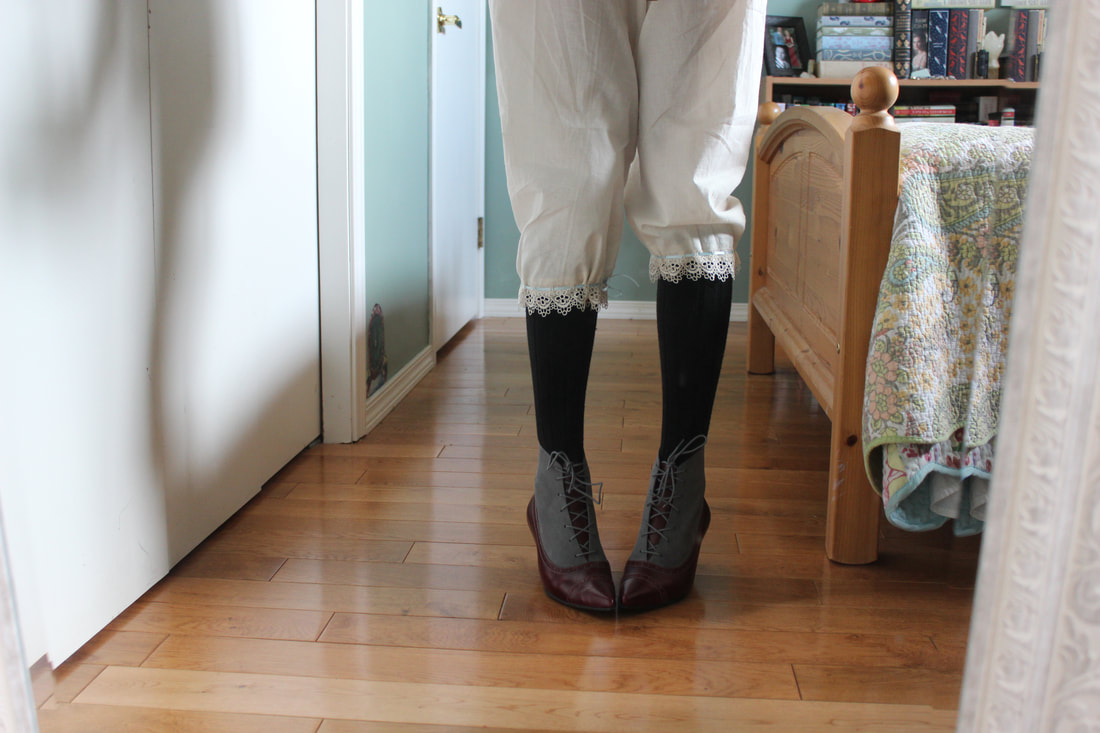 ~K
0 Comments
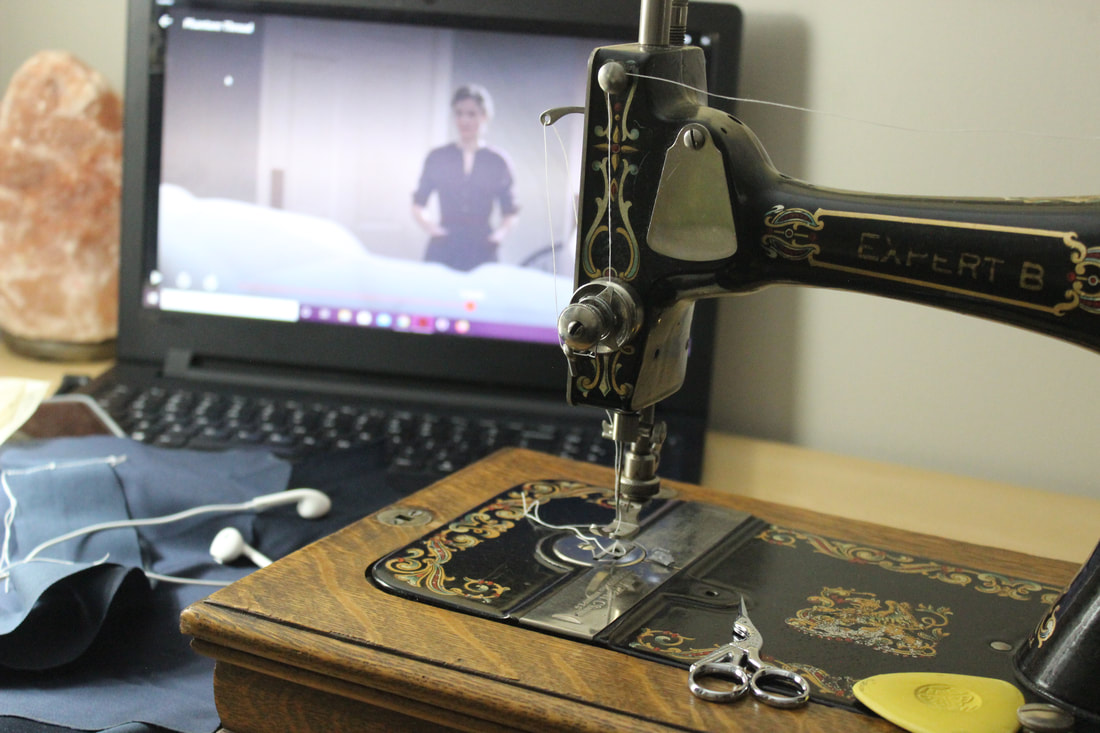
 I just recently finished an embroidery project for Voice and Vision, which is a program through my local library. The idea is that there are an equal number of writers and visual artists, and they exchange their work. Each writer will then have a piece of visual art to inspire some writing, and each artist will have some writing to inspire a piece of art. Our deadline was the beginning of August. 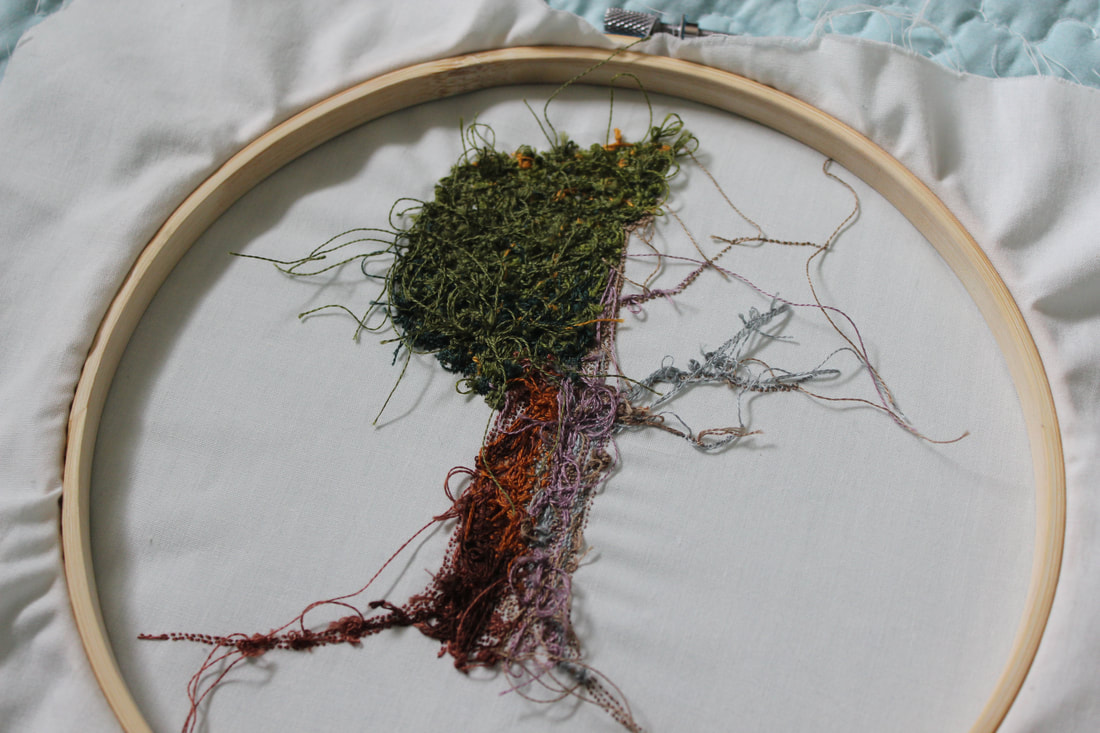 The back started off looking very neat and tidy... This is only the second time that I have done a piece of embroidery- the first time was for a school project. So this project was mostly experiments with different stitches and such. 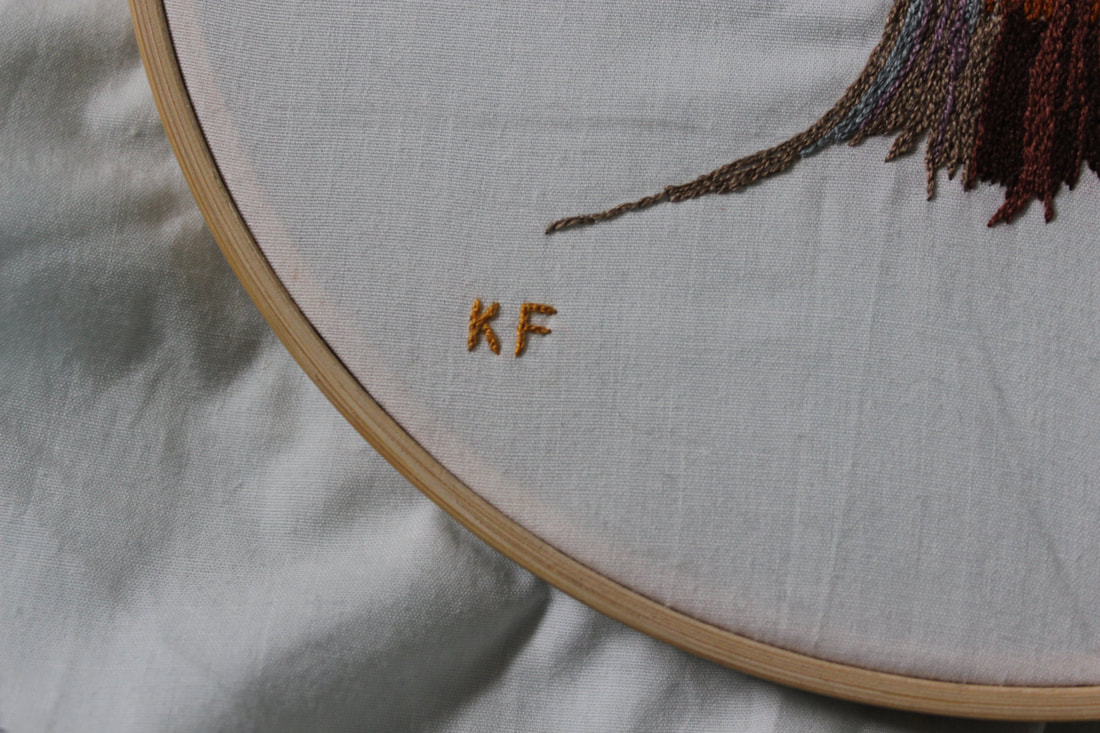 I am very pleased with how this turned out, especially since I haven't had much practice before making this. It took me about a month to do, mostly just working on it while I was watching tv (Indian Summers is amazing by the way, and a really great show to stitch to because the costumes are stunning).  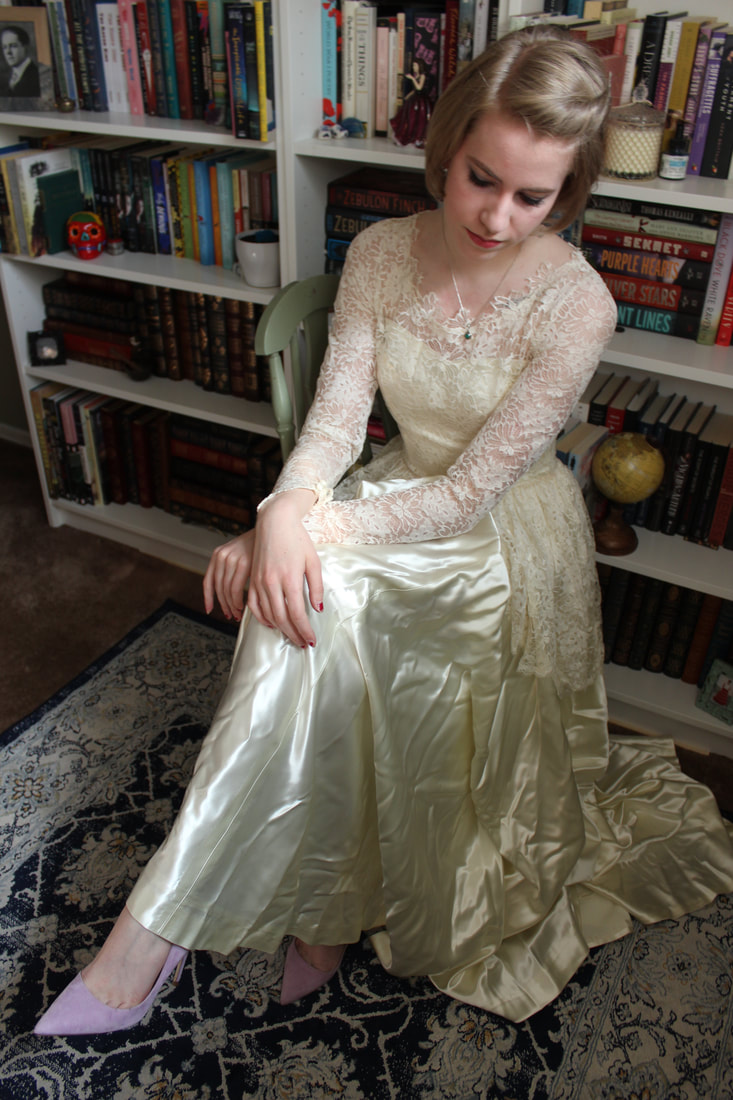 I have been busy with other things as well over the past few weeks- I have been planning and researching for new projects, getting my proposal ready for MakeFashion, and I just recently got a job as a cosmetician at a drugstore. I have also been sewing, and I am almost finished a section of my newest project. 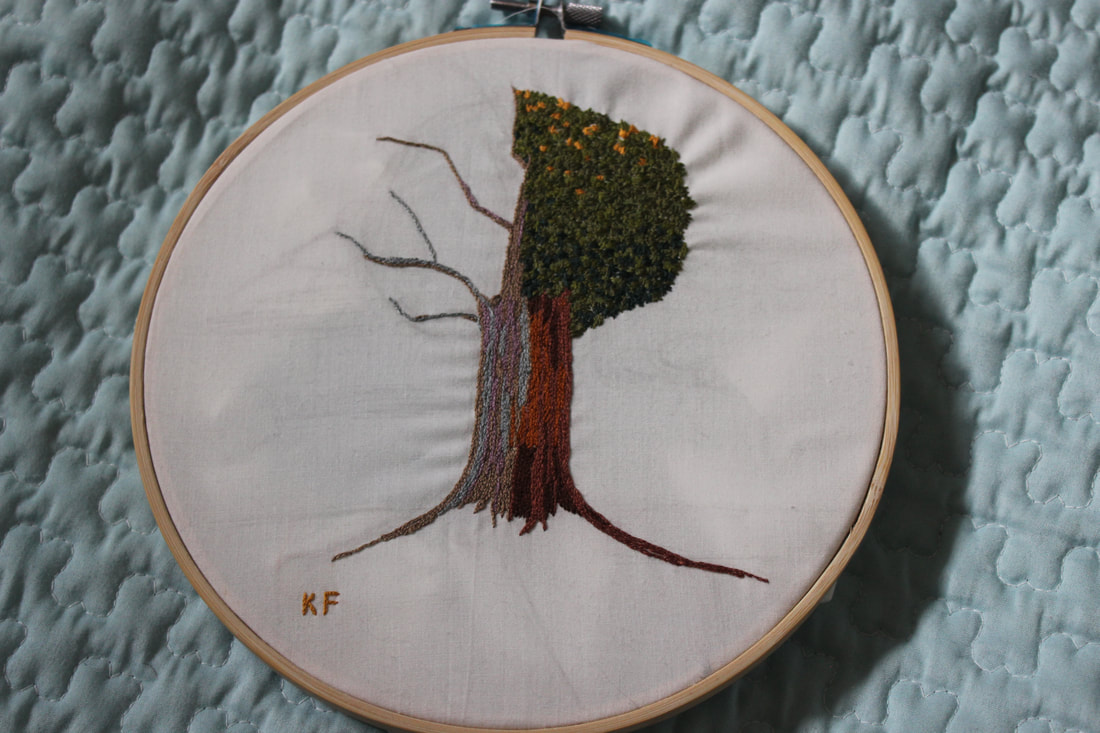 ~K
It only took me more than half a year, but I finally have everything to show you some of the behind scenes when it came to making the Dream Dress for MakeFashion! 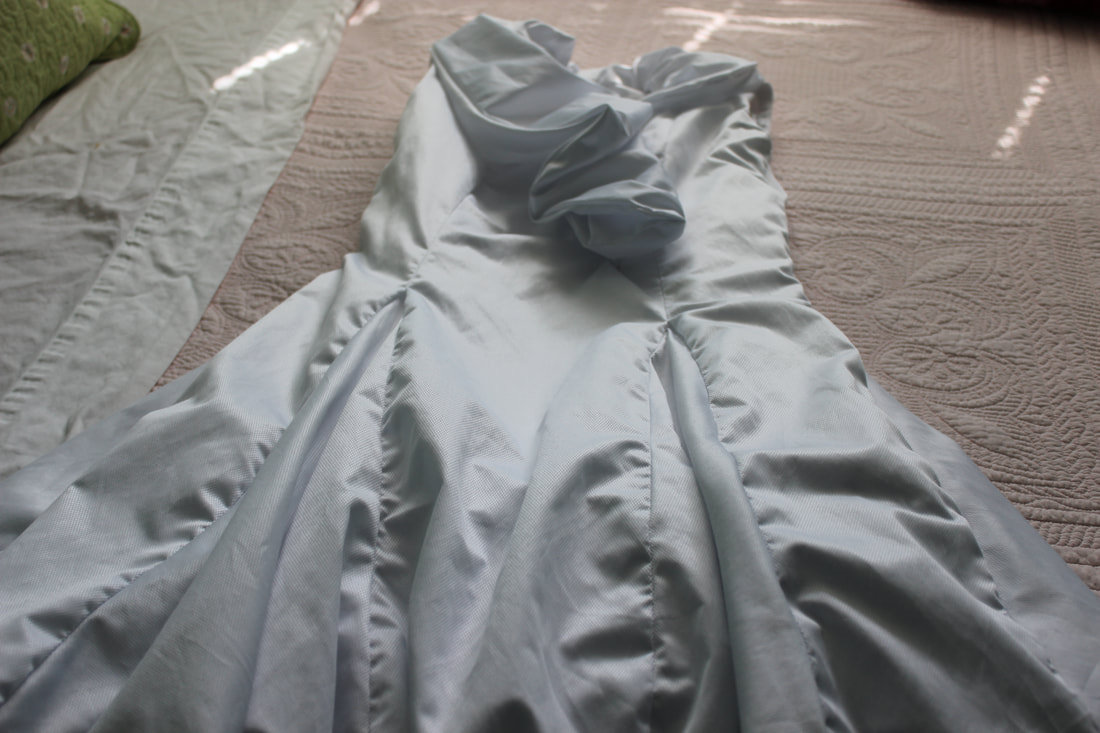 All of these pictures were taken by me, once the dress was done before the electronics were put in The reason that this post took so long to become reality is that I actually lost the photos of the dress in progress. Thankfully, I found them so I can give you a bit of an idea of what the inside of the dress looks like, since it actually has more detail on the inside than it does on the outside! 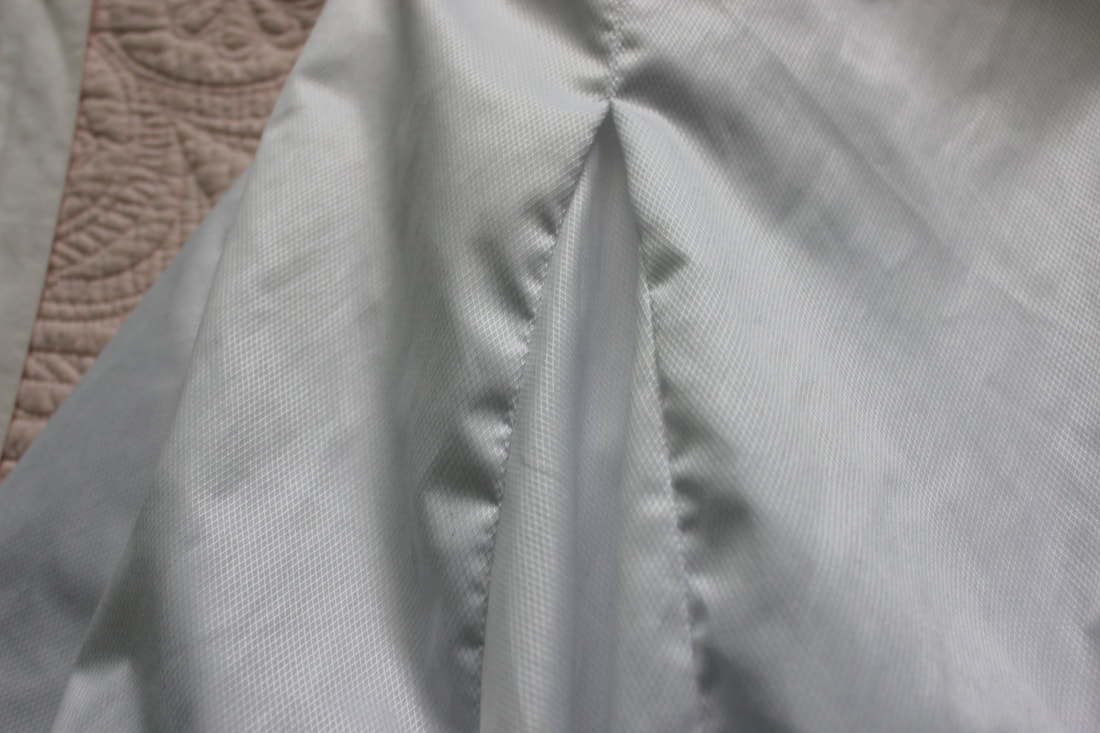 The skirt has gores in the bottom to give it some more volume 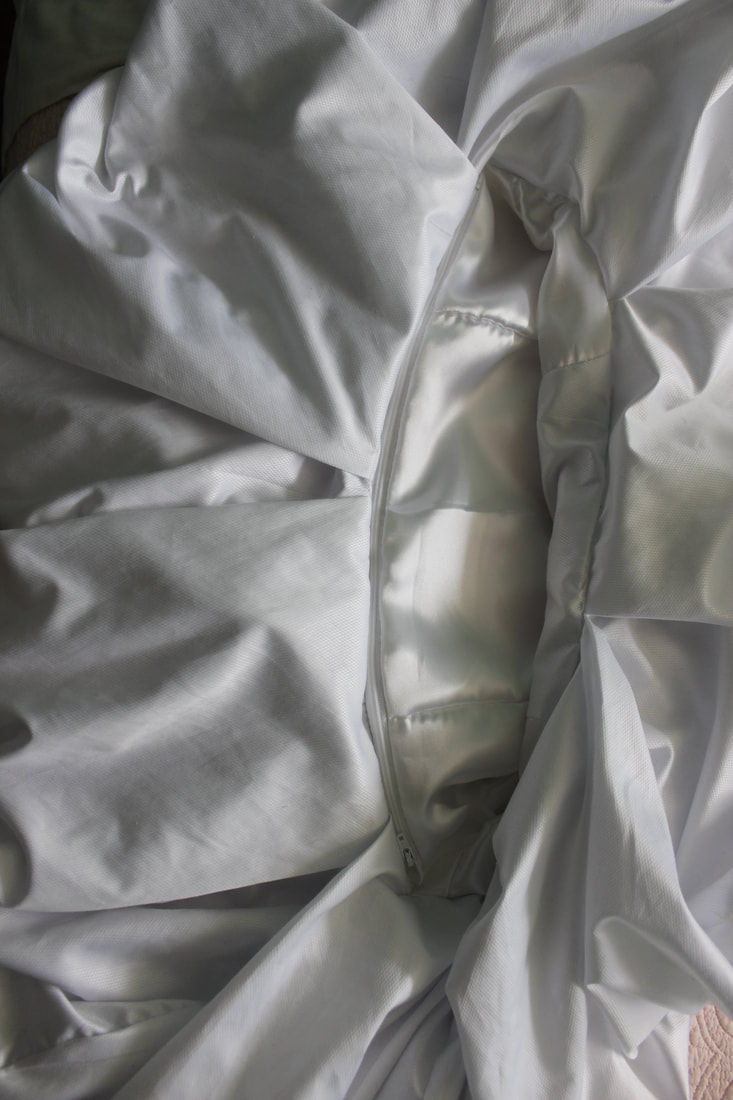 This is on the inside of the skirt. You can see how the outside is sewn onto the lining to make it into a bubble skirt, and there is a zipper between the lining and outside fabric. The zipper was sewn in to ensure that we could access the wiring on the inside and remove it for cleaning 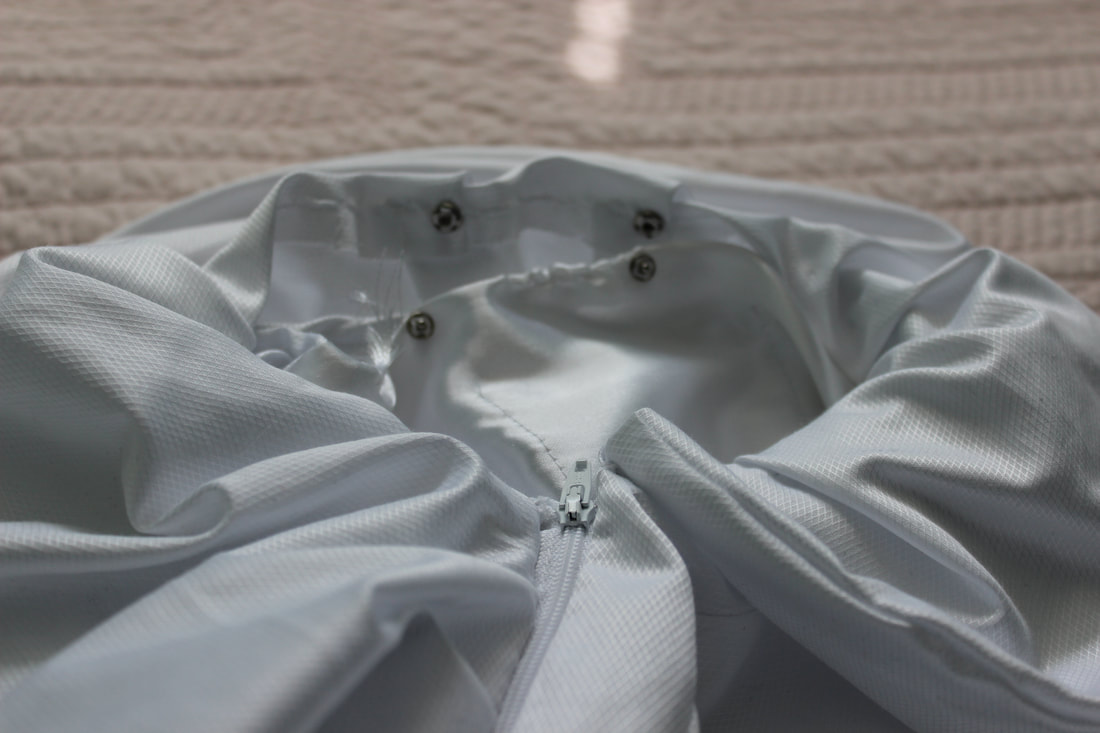 The collar also has an opening in it for wiring, but this time I put in snaps, just since I thought a zipper might make the neckline too stiff. Unfortunately, the collar did not end up working for the show, but the option is there to add in other lights if needed 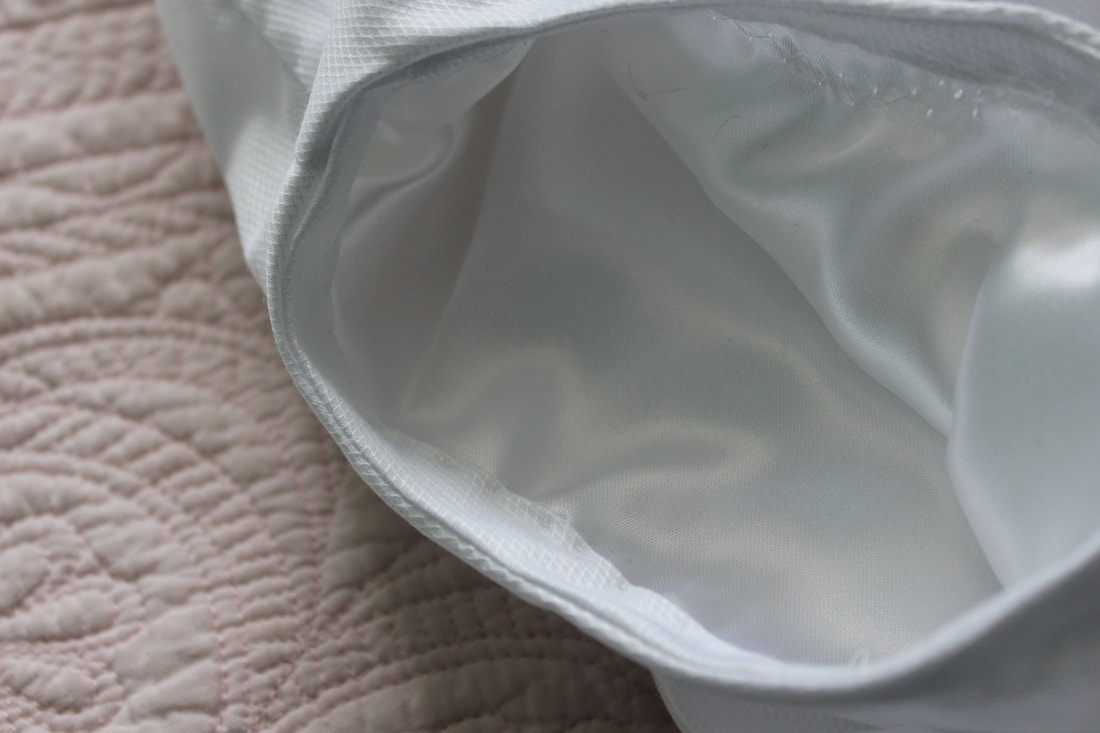 The armholes were very nicely finished with bias binding... for about three days. At the rehearsal we discovered that the arms were too small, and we had to cut into them and re-hem it. It did end up working though! 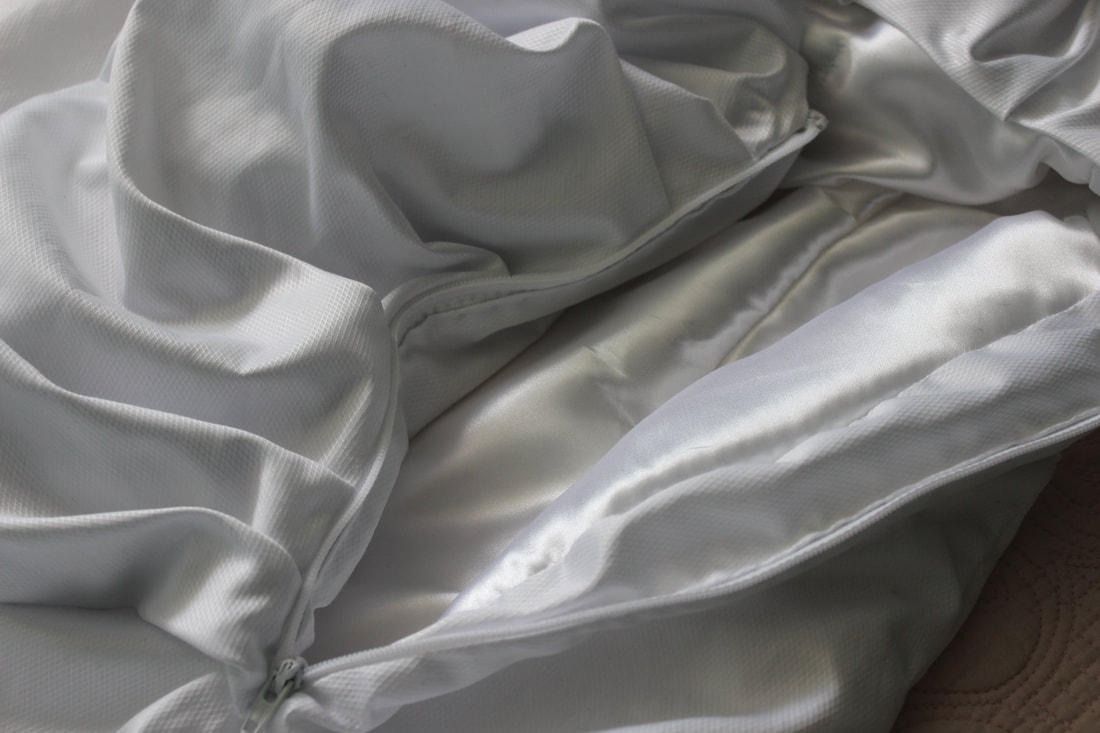 And here is the opening at the neckline! This dress had a bit of an unusual opening, with the zipper at the front instead of the back or side. It works really well though, since it ends up being hidden by the collar 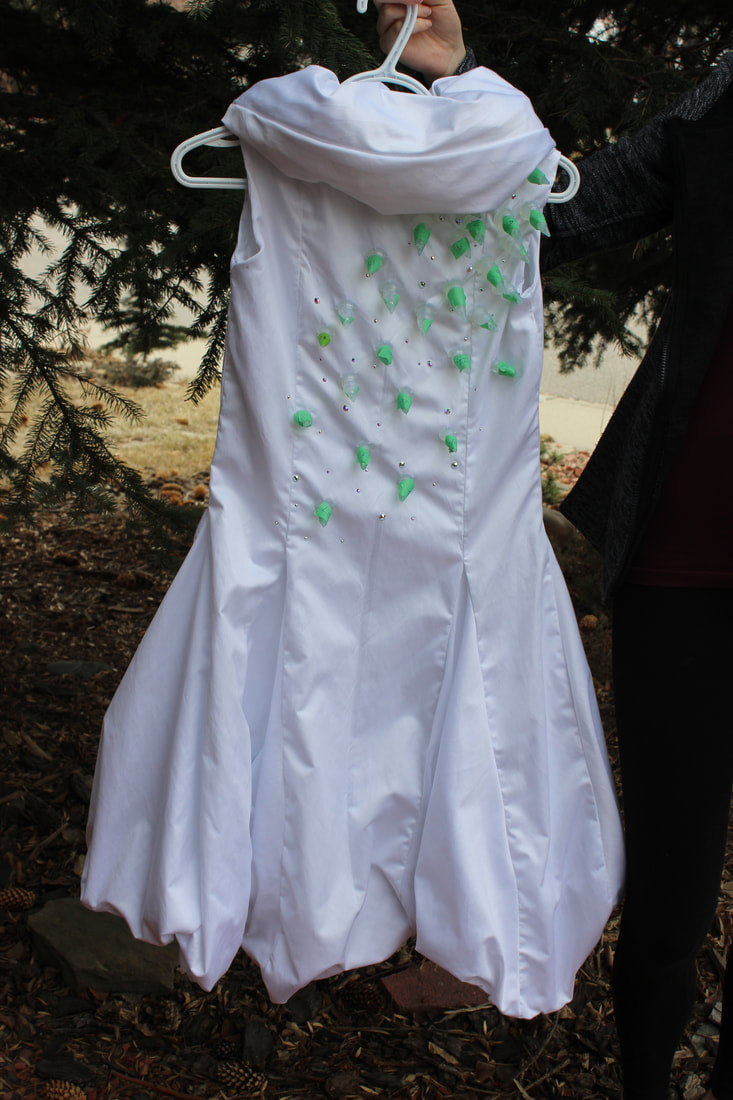 Not long after finishing up the actual construction, I put on the 3D spikes as well as the sparkles The whole process of making this dress for MakeFashion was such a great experience, and I learned so many new techniques! I am very excited to hopefully be able to work with them again.
~K If you would like to see pictures of the final project, here is a link. I filmed the whole process of making my 1940s styled dress from yesterdays post. If you have any questions about the process, or if you want to see more videos like this, let me know! To see more photos of the finished dress, click here. The music is from bensound.com ~K
  I have finally finished my wool suiting 1940s dress that I have been planning on for a while, and I am really pleased with how it turned out! 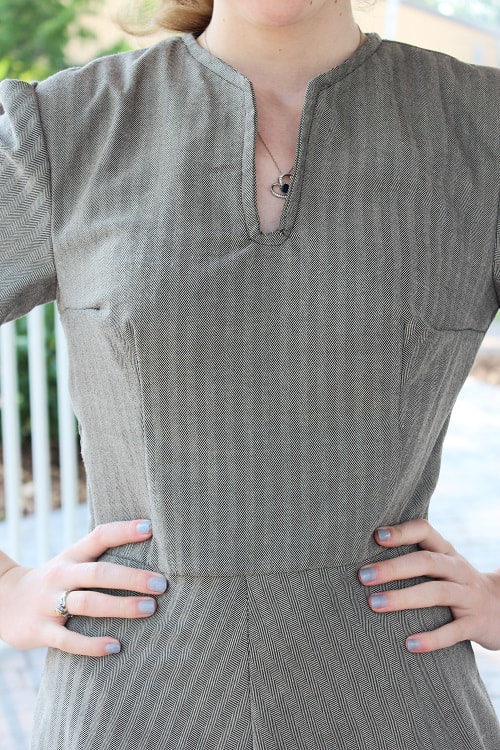 The dress pattern that I used is the Vintage Vogue pattern V9082. The whole pattern fit very well, and the only adjustments that I had to make were to the darts. That was an easy fix to ensure that it fit me perfectly, and the rest of the dress went together quickly. 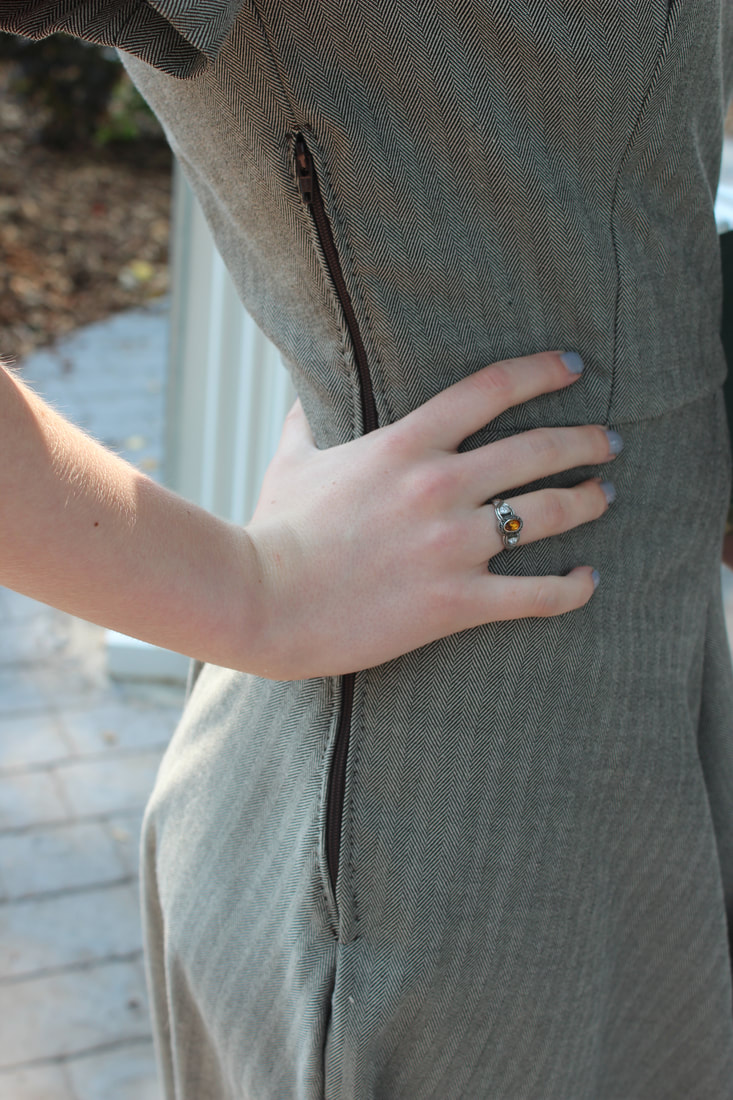 The pattern called for a hidden zipper, but I prefer to set the zipper in normally because that makes it stronger, and I have had the issue of hidden zippers getting caught. 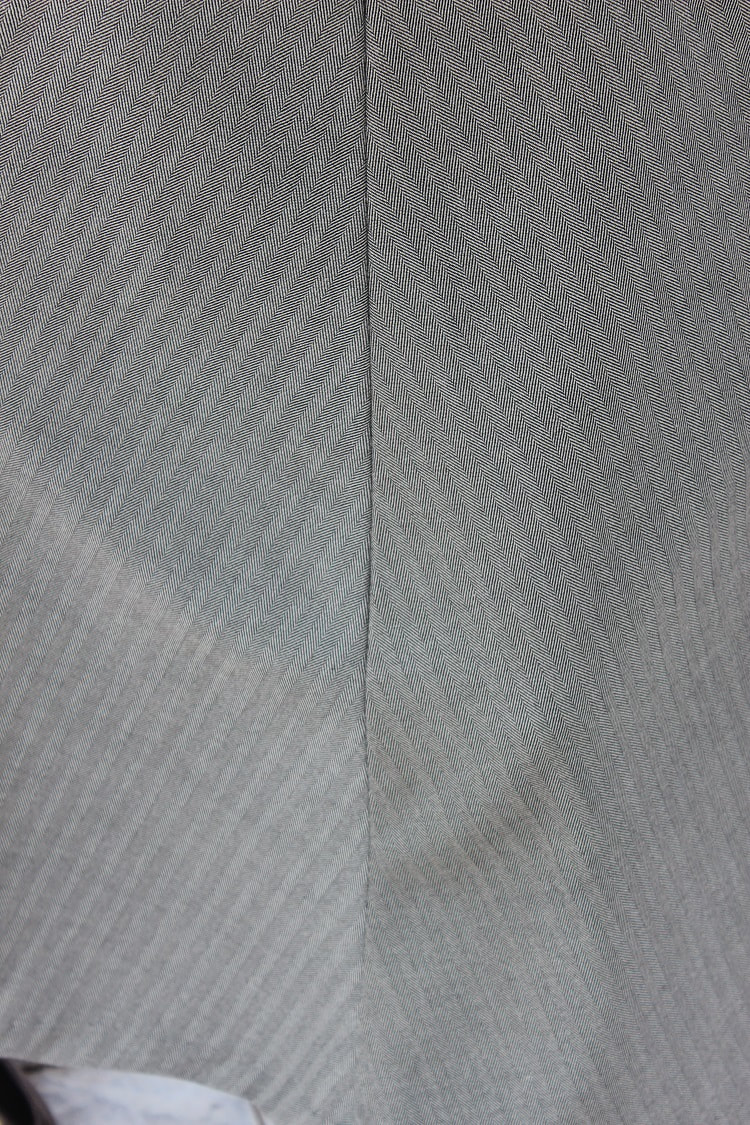 One detail that I am very proud of is the matched front panels. This happened completely by accident, and I love how it looks.  The sleeves have two pleats in them to create a 1940s silhouette without any padding. 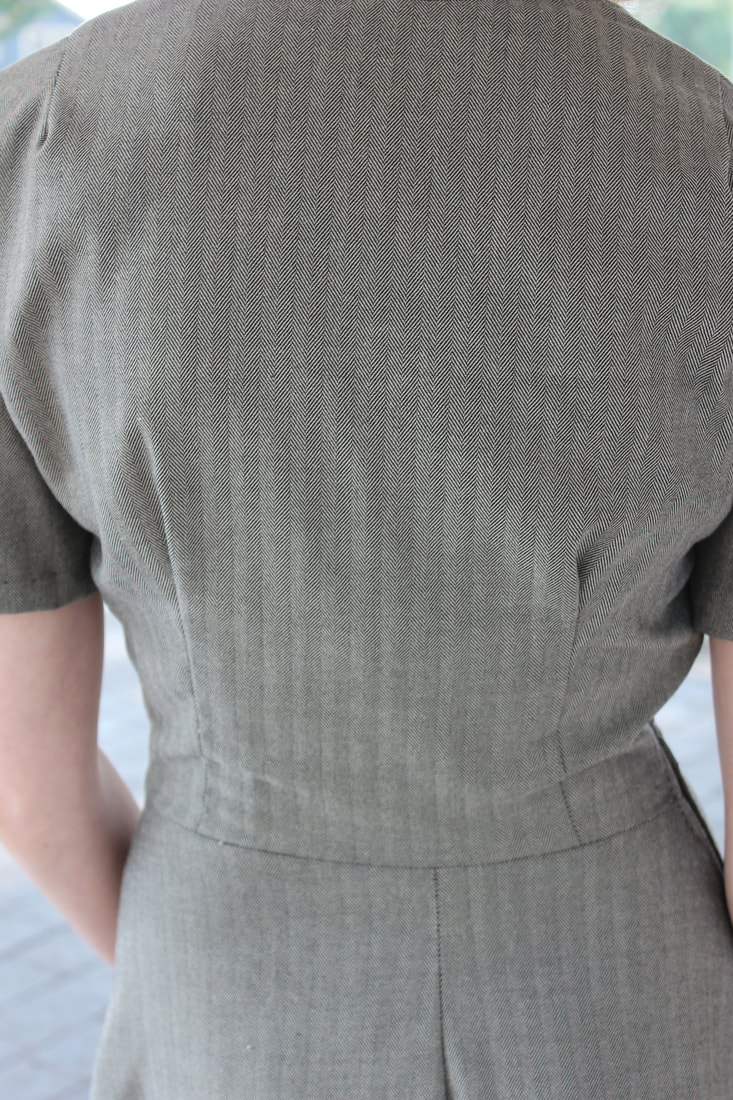 There are so many photos that I like from the photo shoot, so I will put a break and you can see more if you would like.
Also, stay tuned for a video about how I made this dress over the next few days! 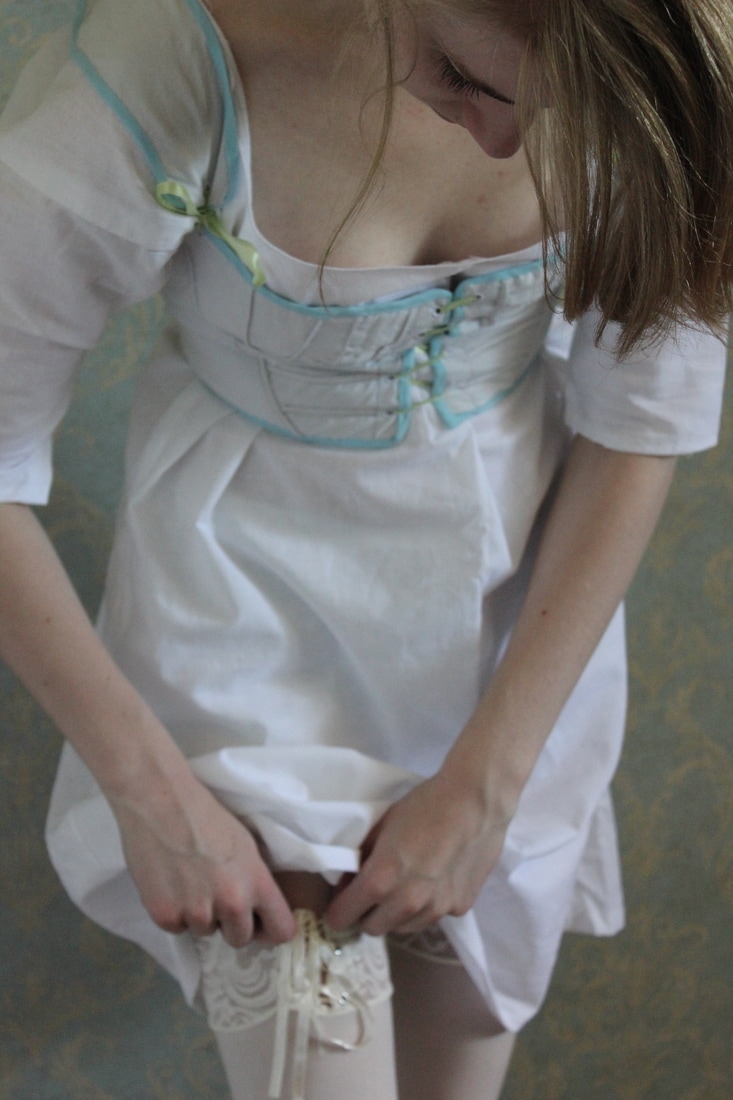 I finally took a few photos of my finished Regency stays! They are three layers of cotton with very minimal cording at the front. The entire garment is hand sewn. 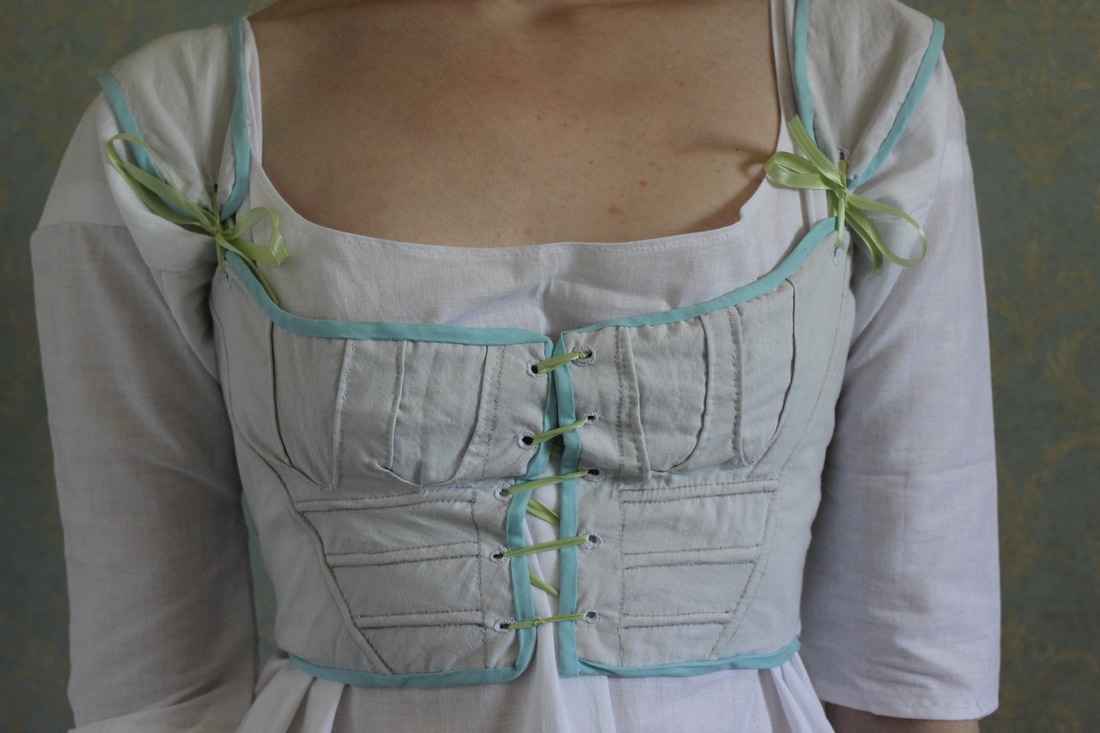 I wore it here with my 18th century chemise 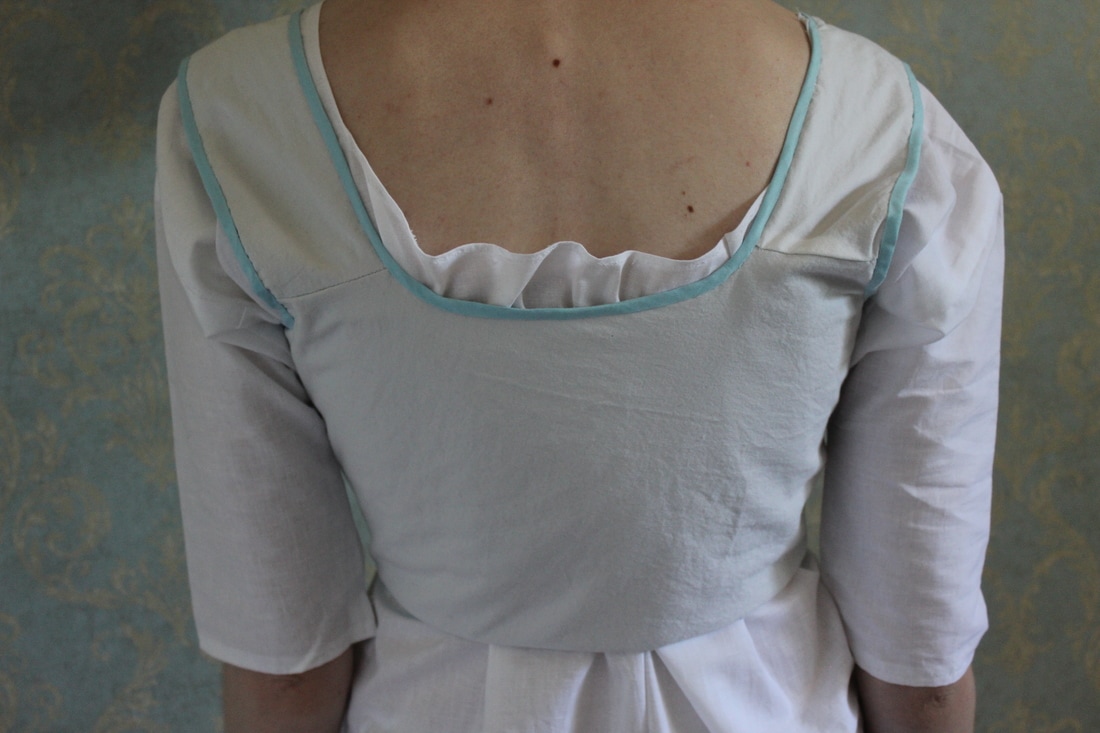 This was a bit of a stash-busting project, so everything except for the bias binding was from my stash. The stays were also drafted by me, based off of a few Pinterest photos of original stays from the 1810s. 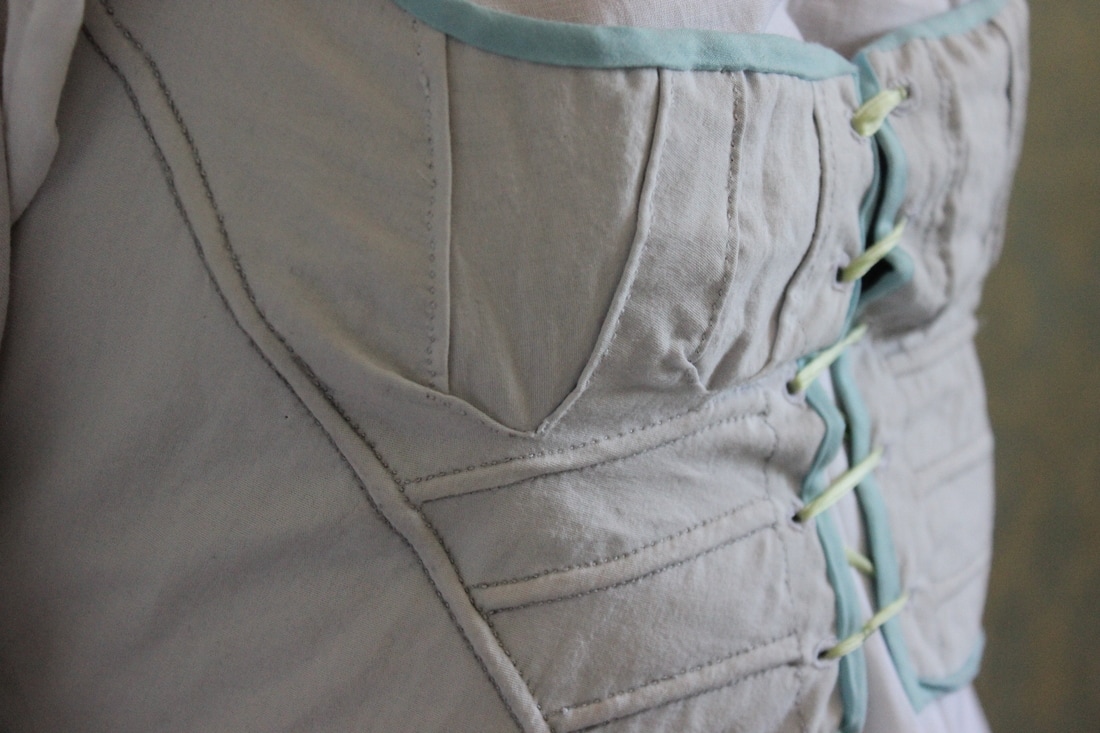 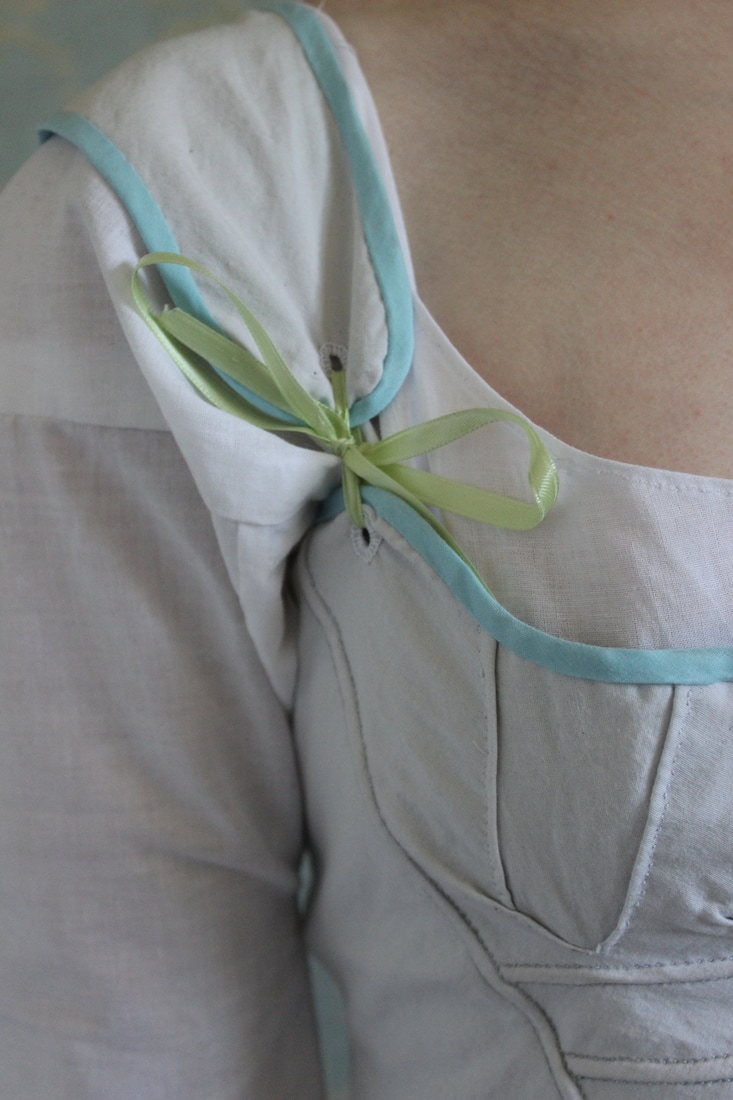 The middle and lining fabrics are a brown cotton that is from worn out sheets, so it is tough fabric. The front white fabric is a white cotton that I have had for ages. I decided to bind the stays in turquoise for fun, since binding is such a long and sometimes tedious job. 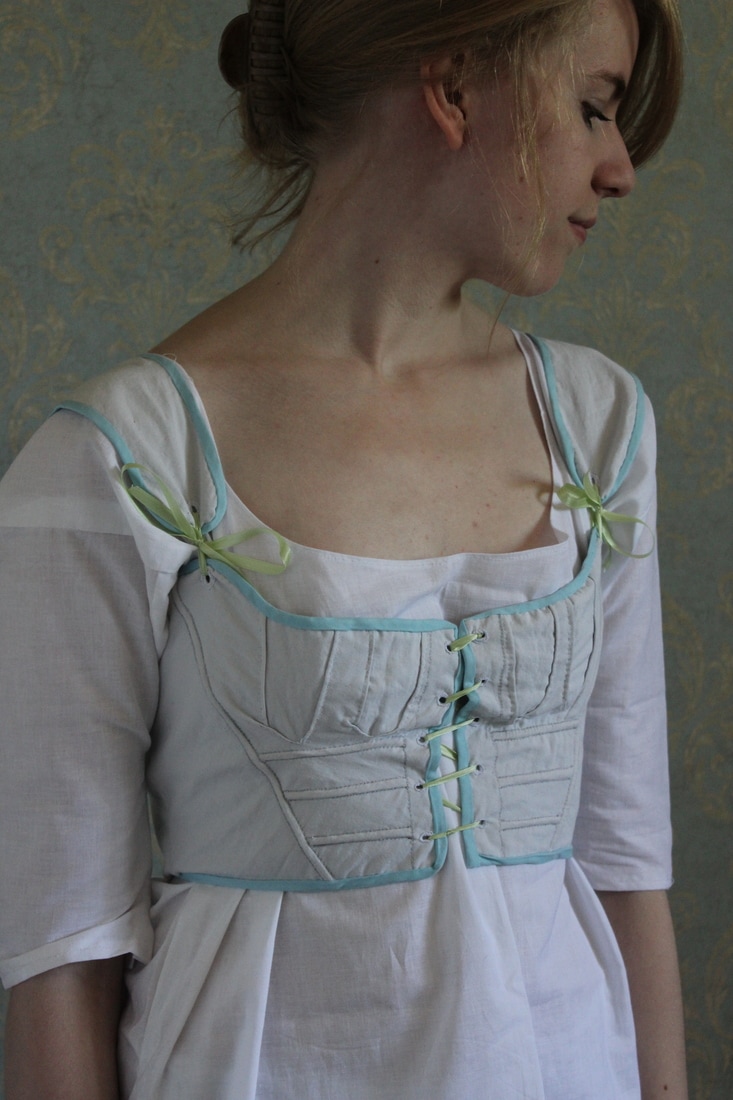 Next up in my Regency wardrobe I need to make a petticoat. This will be another stash-busting project, since I have the perfect materials for it already. I would also like to make a summer spencer (basically a short coat) out of a light blue linen that I have, and I also would like to make a few changes to my dress that I posted about here. 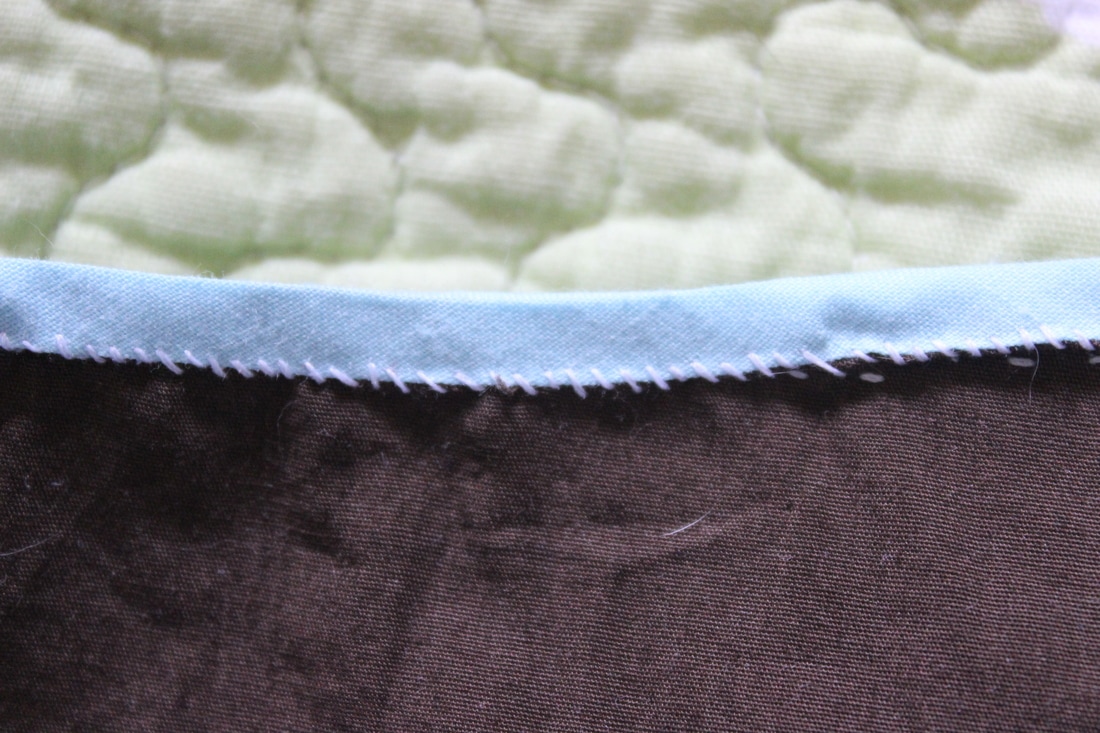 A close up of the inside of the stays 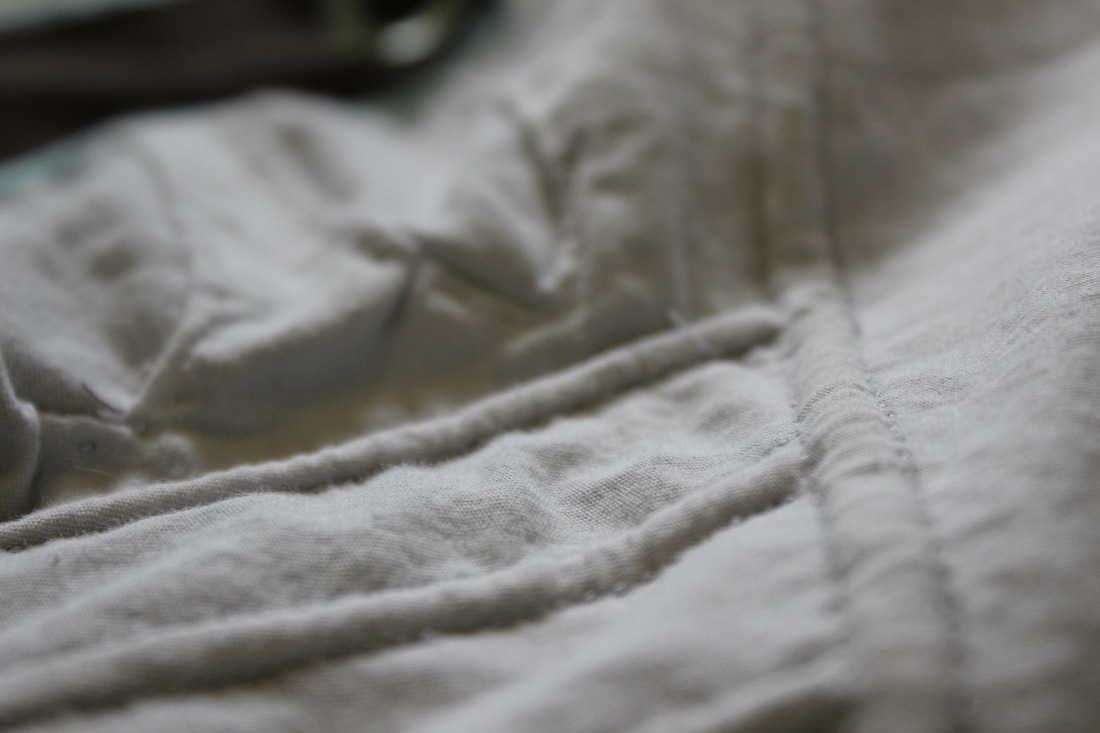 Here you can see the gussets and cording in more detail 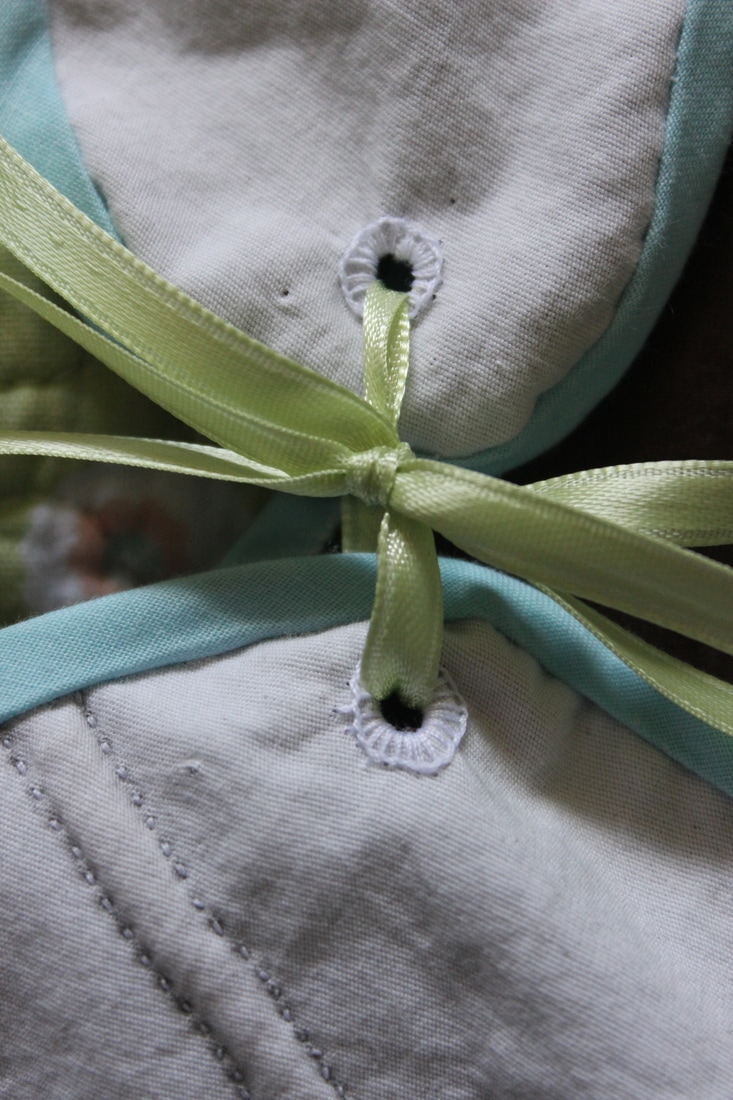 Some of the eyelets that were hand done. I am very proud of these, since I am slowly getting better at them ~K
I have been intrigued with quilting for a while now, but so far I have never tried it. I decided to learn some new skills by making a small quilt as a present for a teacher. 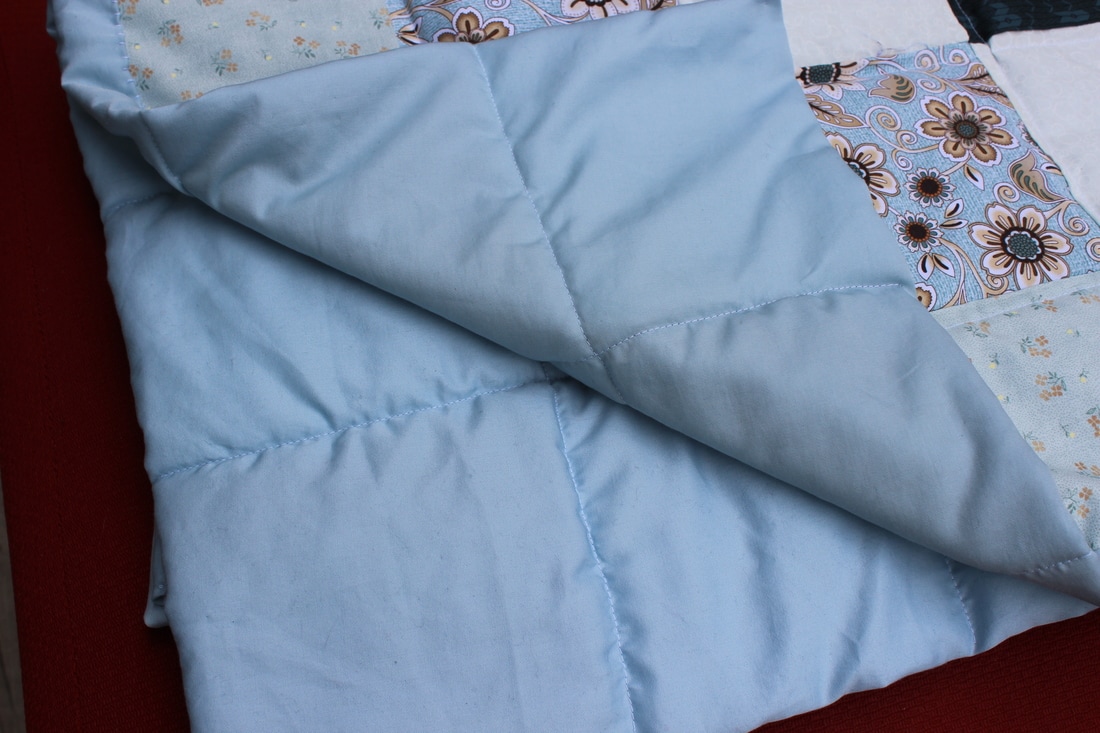 The fabric that I used is from a bundle that I received as a gift a while ago. I thought that the colours in the cotton fabrics went so well with the cotton sateen that I decided to use it as a backing for the quilt. 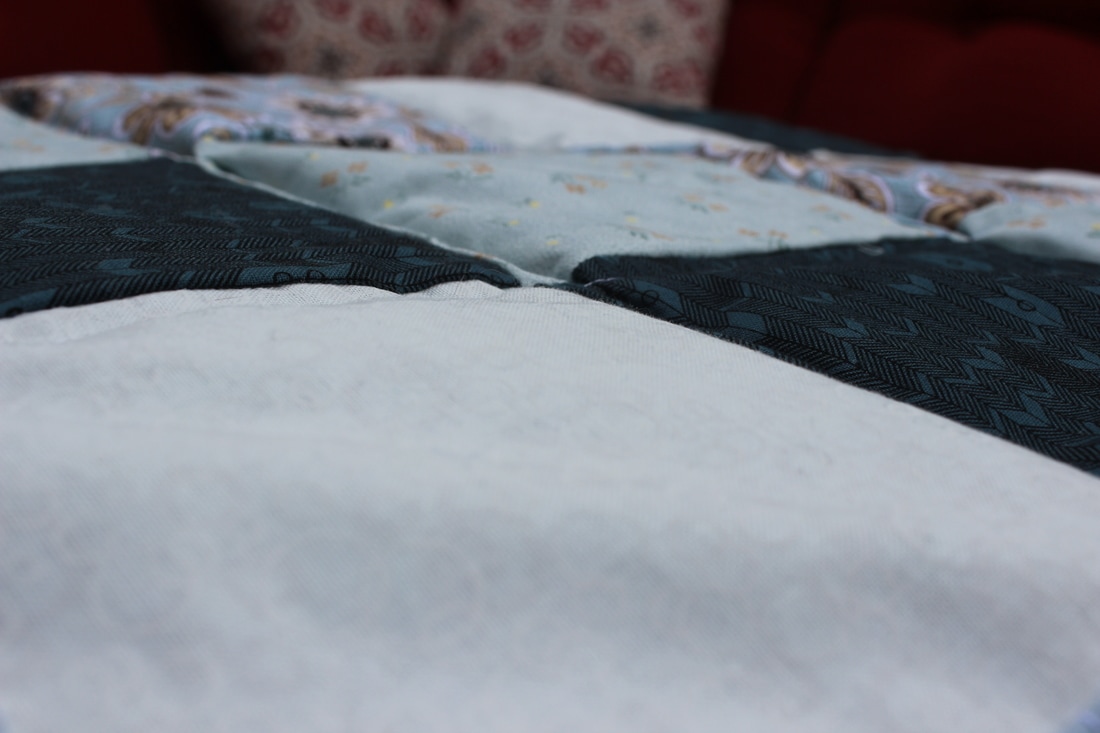 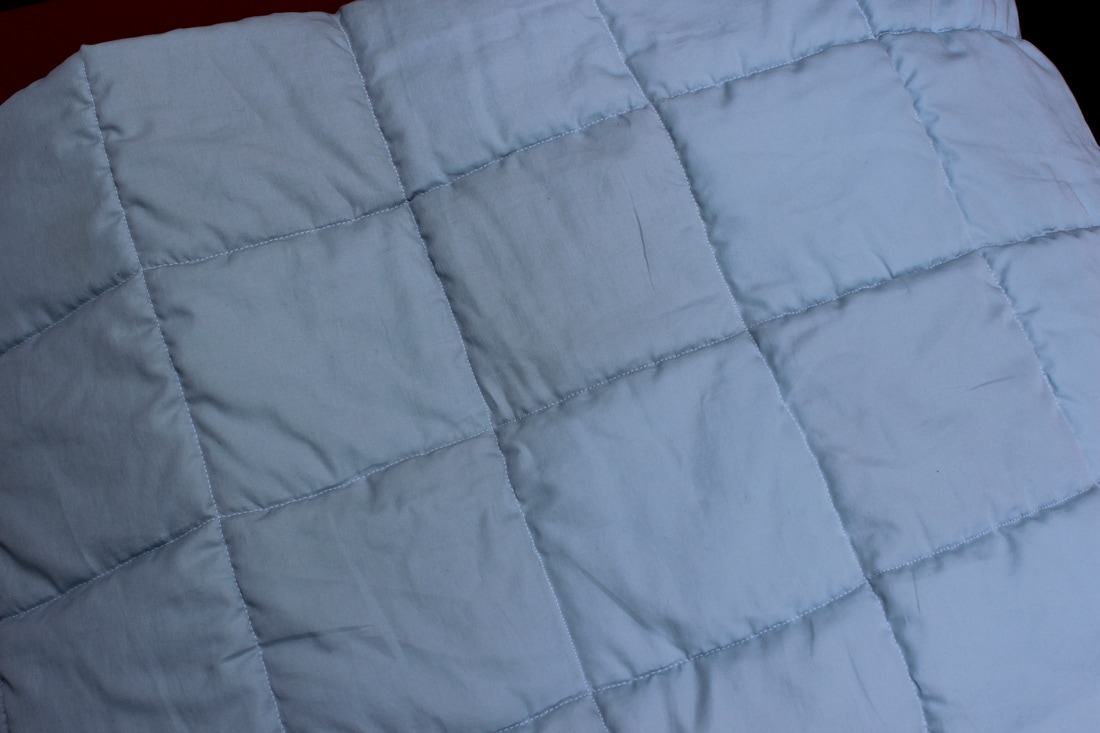 The quilting that I did was very simple, since I have only ever tried it on some test pieces, but I like how it turned out. The entire front piece is hand sewn together, and the quilting was done by machine. It was finished off by hand as well. 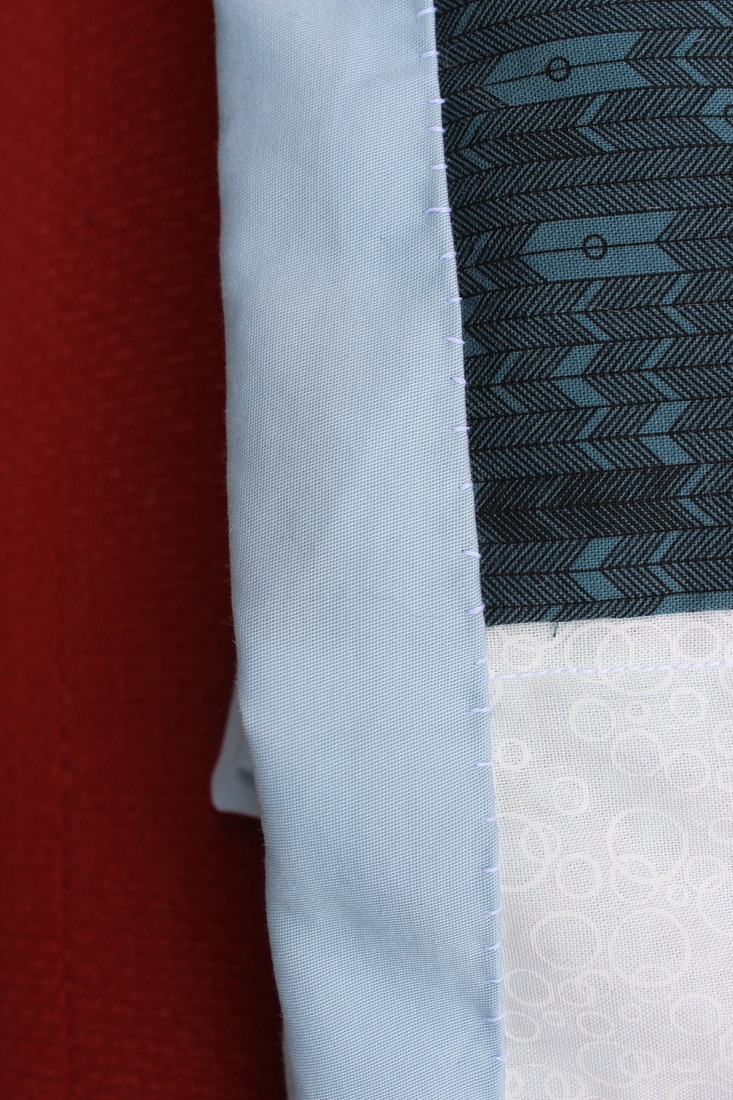 Since this project turned out well, I have some ideas brewing for a pair of 18th century quilted jumps. Jumps are basically a pair of stays without the boning, and they were often worn by working class women. 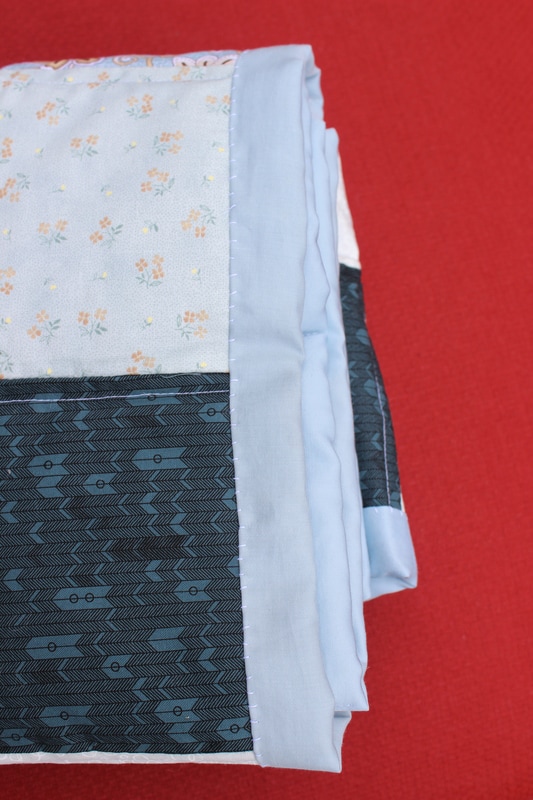 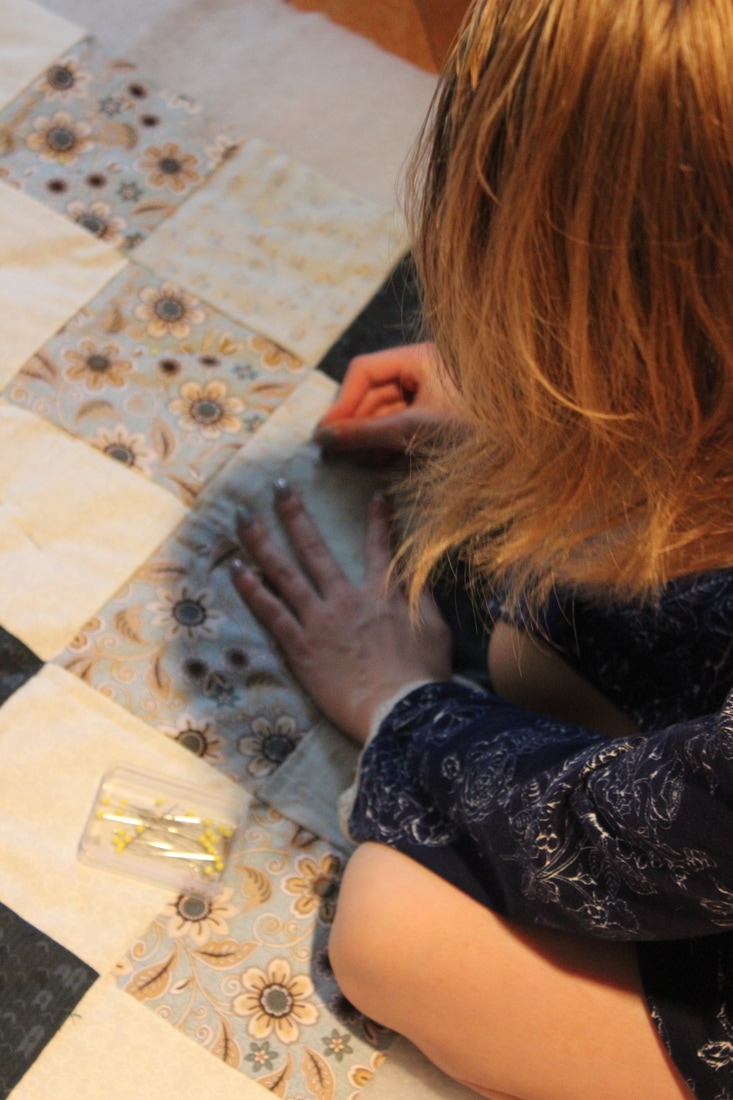 Pinning the three layers together 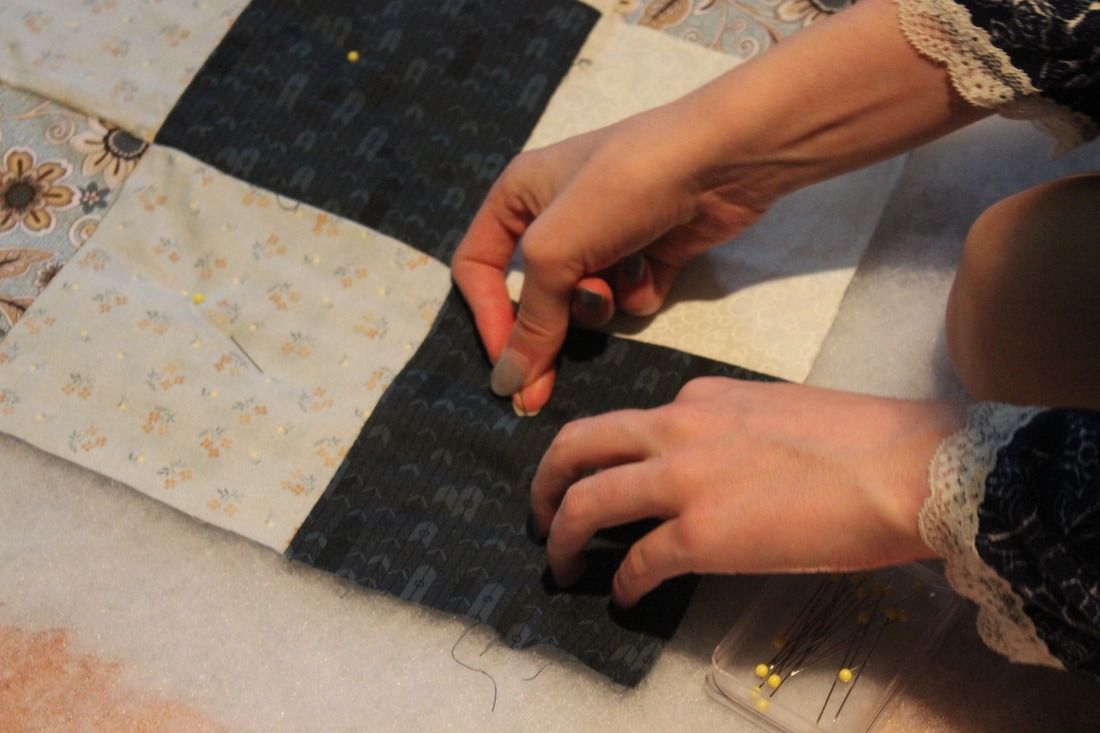 ~K
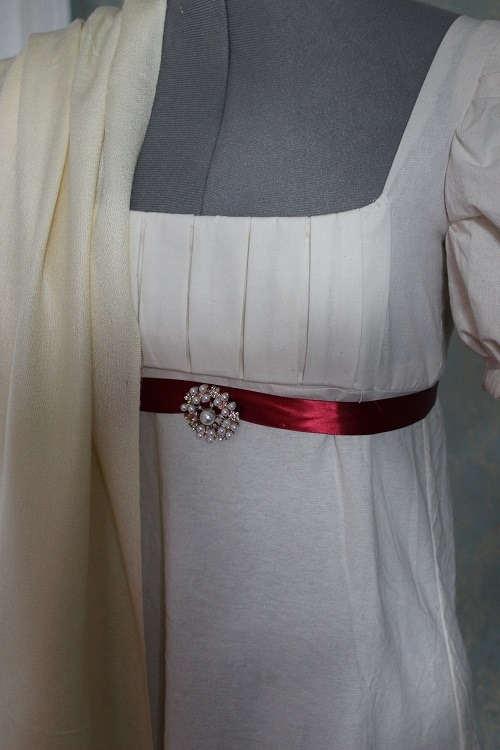 There are a few things that I would like to change on this dress, such as adjusting the fit (it is slightly too big, something I can fix pretty easily), as well as adding another band about 2/3 of the way down the sleeve to make the sleeve have a double puff. Other than that, I am pretty pleased with how it turned out!  The front of the dress features a box-pleated panel, and I added a red ribbon along with a brooch. 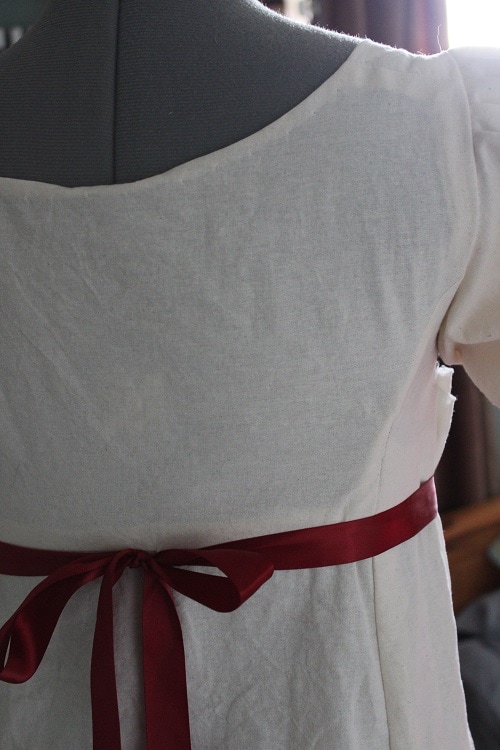 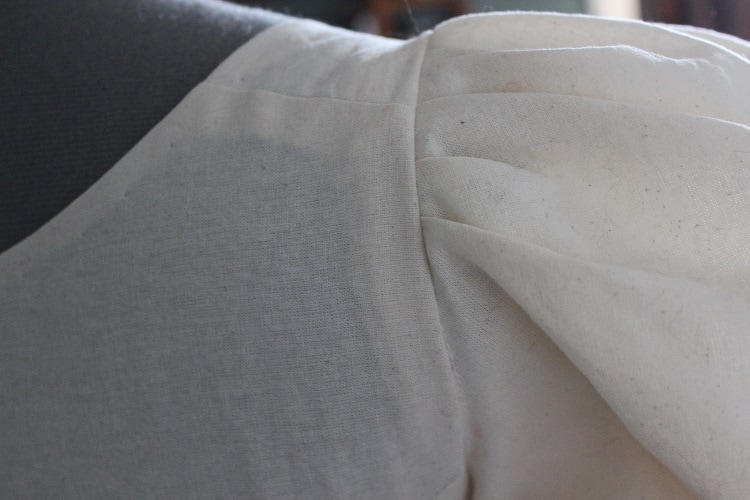  ~K
My mom and I went to the Regency at the Fairmont Palliser a few weekends ago, and it was beautiful. The hotel is old and is stunning inside, and I loved seeing all of the costumes that people were wearing. I made dresses for my mom and I, and I have to admit that I cut a bit close to the deadline when it came to making them... I ended up finishing my dress just a few hours before we had to leave. Fortunately, I did not have to finish it in the car on the way there, which I have heard of happening in the costuming world!  I used the pattern on the left for my dress, and the one on the right for my moms. Everything that I used for this project was stash, so it didn't cost me anything. 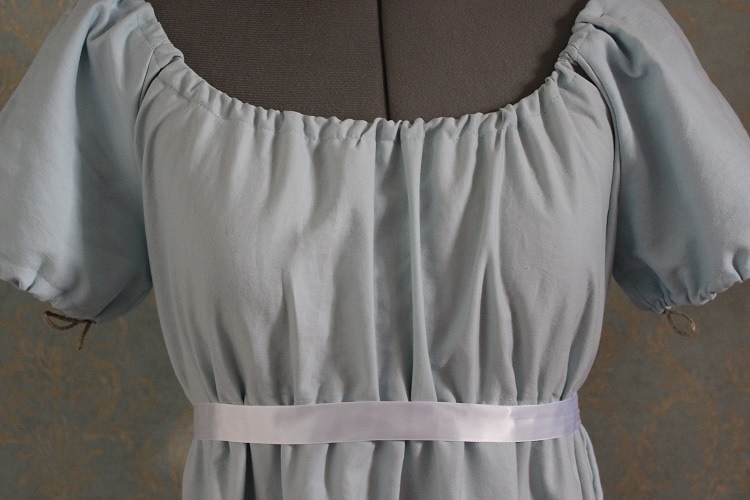 This first one was made out of a sheet. It is gathered at the sleeves, waist, and neckline with twine, which can be tightened or loosened so that different people could wear it. We accented it with a white ribbon at the waist. In some of the pictures you can see the twine at the sleeves. The twine is hidden when the dress is worn. 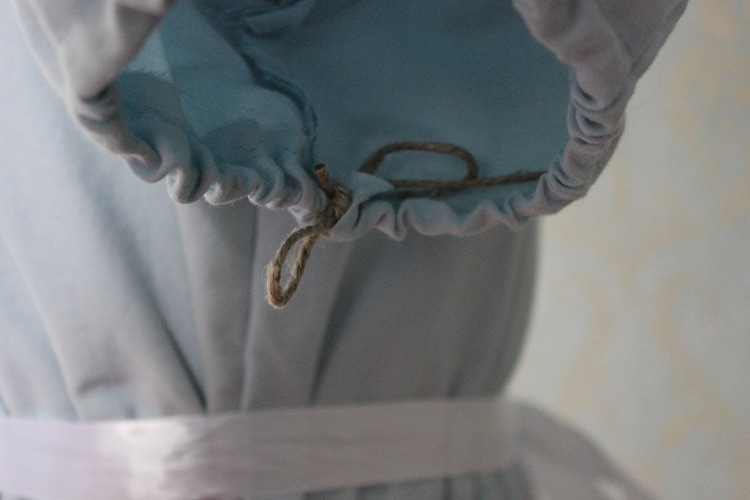 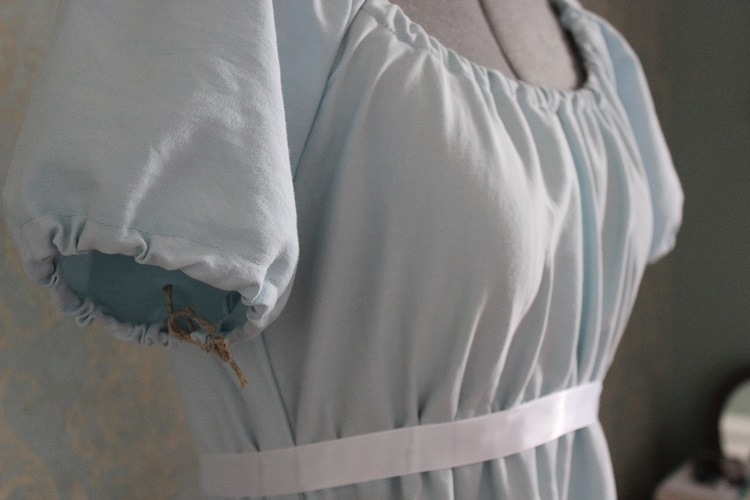 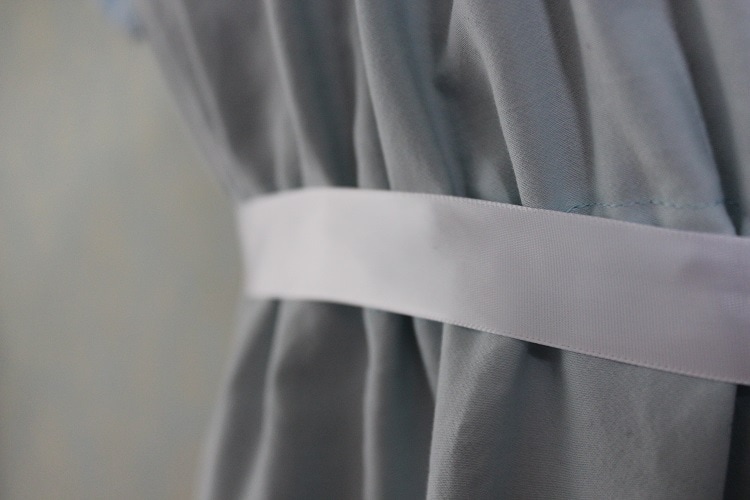 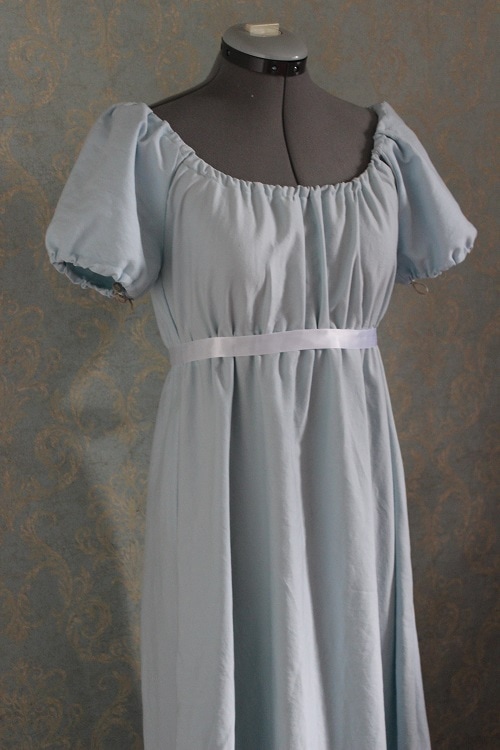 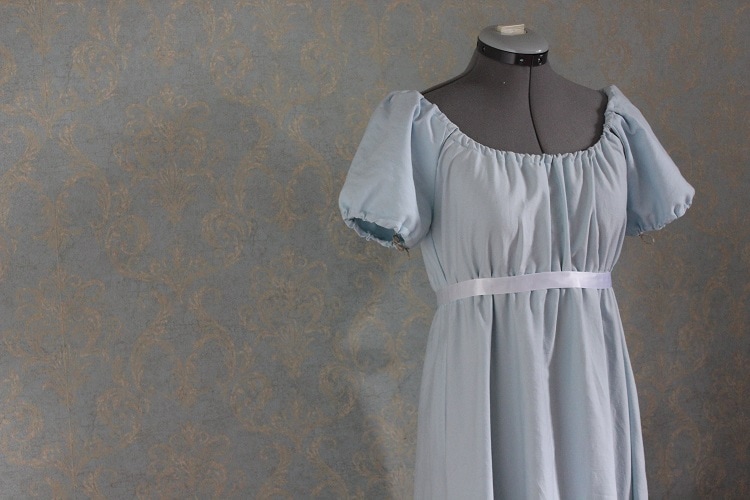 I will do another post about the dress that I wore, along with some photos from the evening at the Palliser.
~Katherine 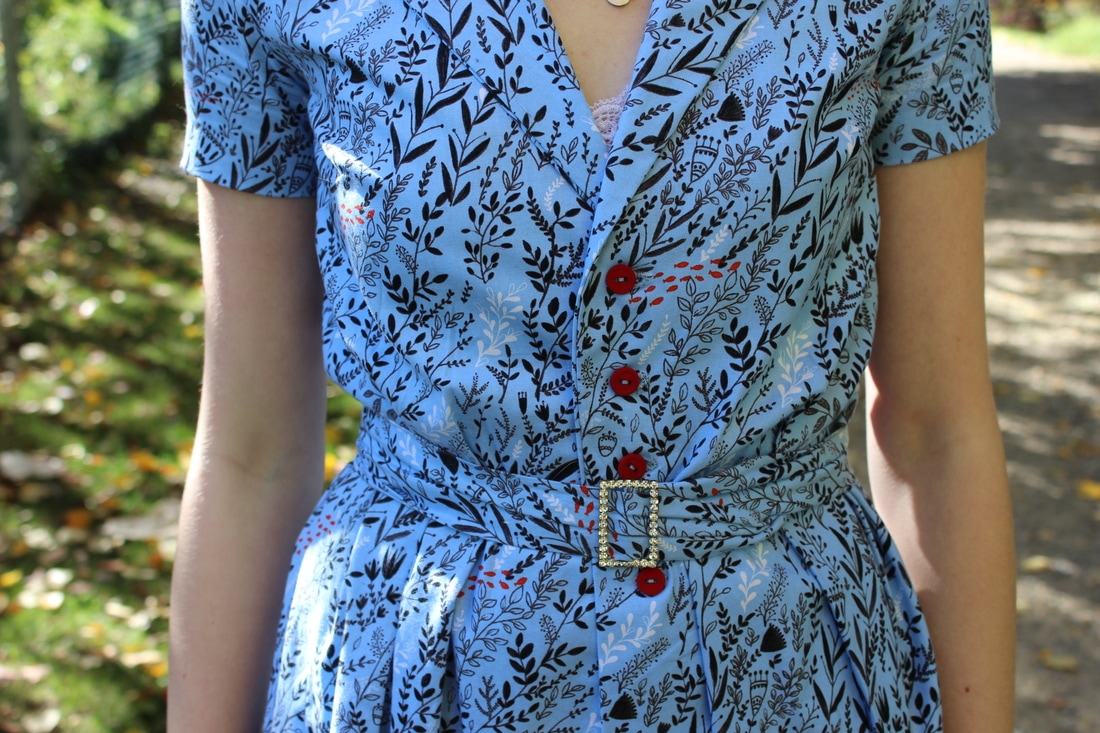 I made this dress using a vintage-inspired Burda pattern. I used a patterned cotton, and I would love to make this pattern again, just as a blouse with a peplum. 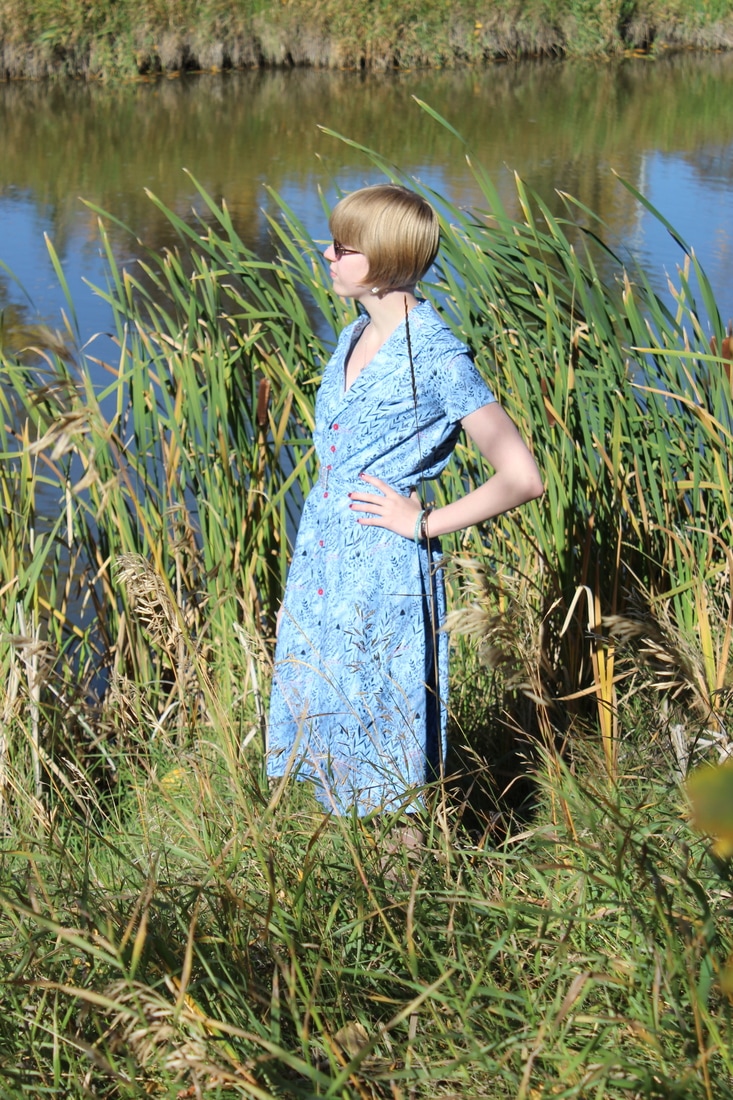 The pattern includes many different types of sleeves as well as collars and other additions to the dress, so you could make many variations of the dress, which I really appreciate. The collar of the dress was really difficult to figure out, but after doing it once, I think it will be easier next time. I would recommend the pattern, but be aware that the instructions aren't very clear all of the time, but with the drawings and some common sense, it is possible to figure it out. 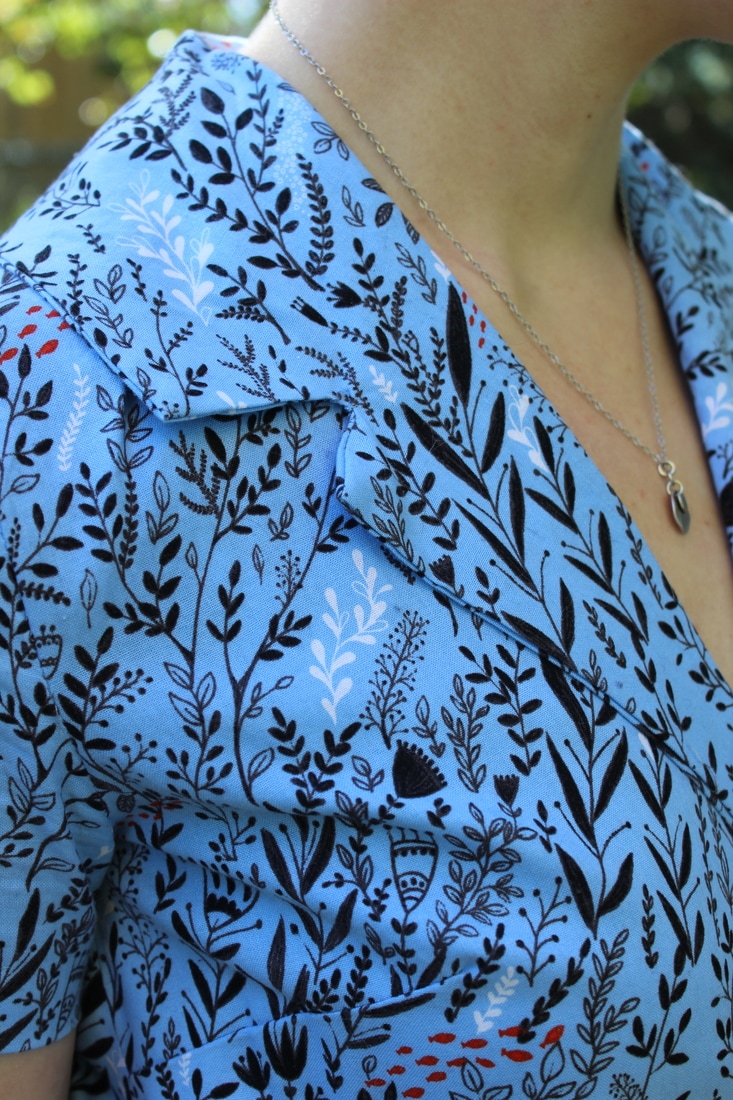  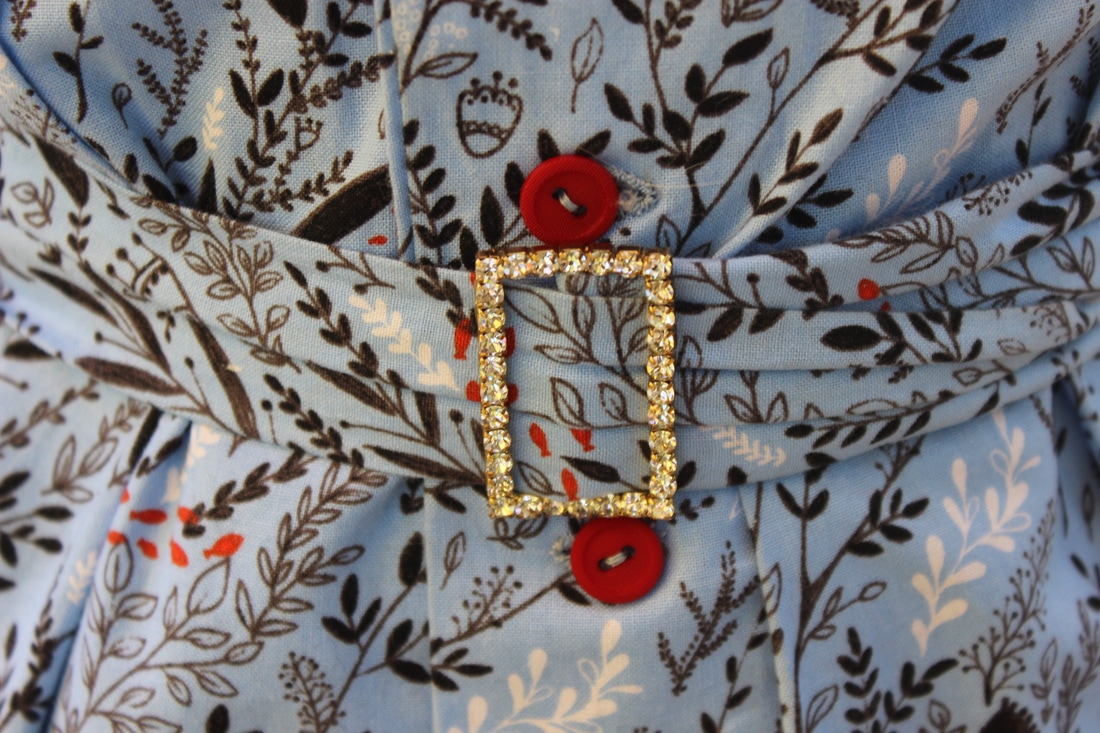  ~K
 I have just started on the project that I mentioned in earlier posts- the Regency era dresses. I will be making two dresses: one will be a simple round gown in a blue cotton sateen, and the other will (hopefully) be a bib-front dress in cream muslin. Yesterday I cut out the pieces for the first dress out of a Burda pattern, one that I talked about in this post.  I will be pretty busy sewing-wise in the next few weeks. Along with this project, I will also be changing my grad dress, and this weekend I am picking up fabric and supplies for my next few projects. 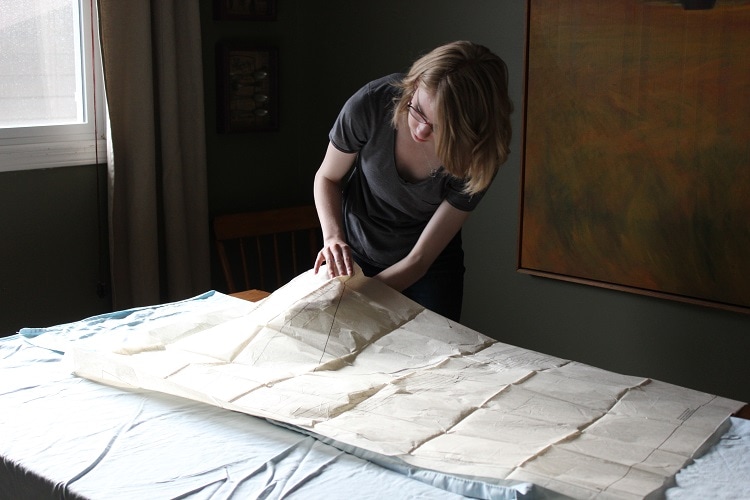 ~K
So the fashion show was on the weekend, and it went almost without a glitch. The show turned out beautifully, and even though there were some things that didn't quite work out on my dress like I wanted it to, I still love how it worked out. I had an incredible technician who helped me, and it made the whole process so much less stressful, even when things went wrong. Everyone who worked on this project was amazing, and I am in awe of their efficiency and how calm everyone was, even during the most fast pace moments before the show. I was working in the team Virtually Vogue, and I had the privileged of working at ARCHEloft in Calgary, a maker space that is open to pretty much everyone. Every single part of this project and the people that I was working with was incredible, and I hope that I will be able to be a part of the event again next year! Okay, enough gushing... here are some photos from the show on Saturday: 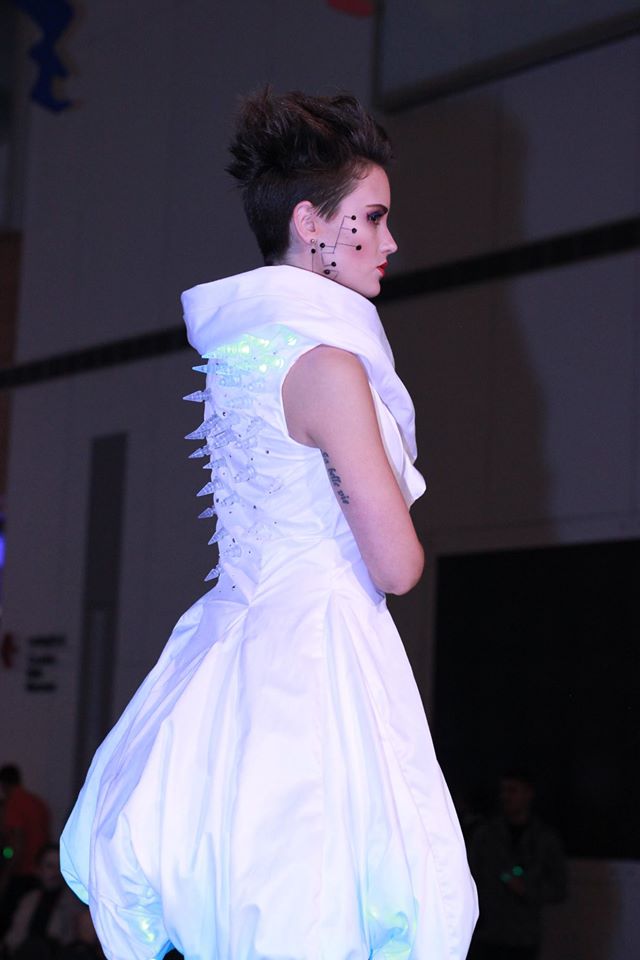 This is my dress, the Dream Dress, that I worked on with Catherine Larose and Kathryn Blair They were incredible to work with, and I love how the dress turned out! You can also watch a video from the show here. If you would like to see more photos from the evening, let me know! Tons more will be showing up on the MakeFashion website as well as their facebook page, so keep your eyes peeled if you are interested in seeing all of the other gowns from the event. Check out their instagram, too, since they have been posting photos of every gown at the show.
~K Photos by Kenneth Fung I have been quiet around here for the past few weeks, but I do have an excuse! I have been recently working with the MakeFashion team for the fashion show at Telus Spark in Calgary that is happening tomorrow (!!). MakeFashion is wearable tech, meaning that not only are the dresses stunning and completely unique, but they also include lights, motors, and other technology. I am so excited for the show, it is going to look incredible!  I have been lucky enough to sew an entire dress for one of the collections, so I will be posting lots of photos once the show is over. It has all gone so quickly, and I can't wait to show you what I've been working on! The show will be on this Saturday at 7, you can check out their website here to check out some of the amazing work from past years and find some more information about this years. I will be posting more behind the scenes looks and progress pictures on my instagram, which you can check out here ~K
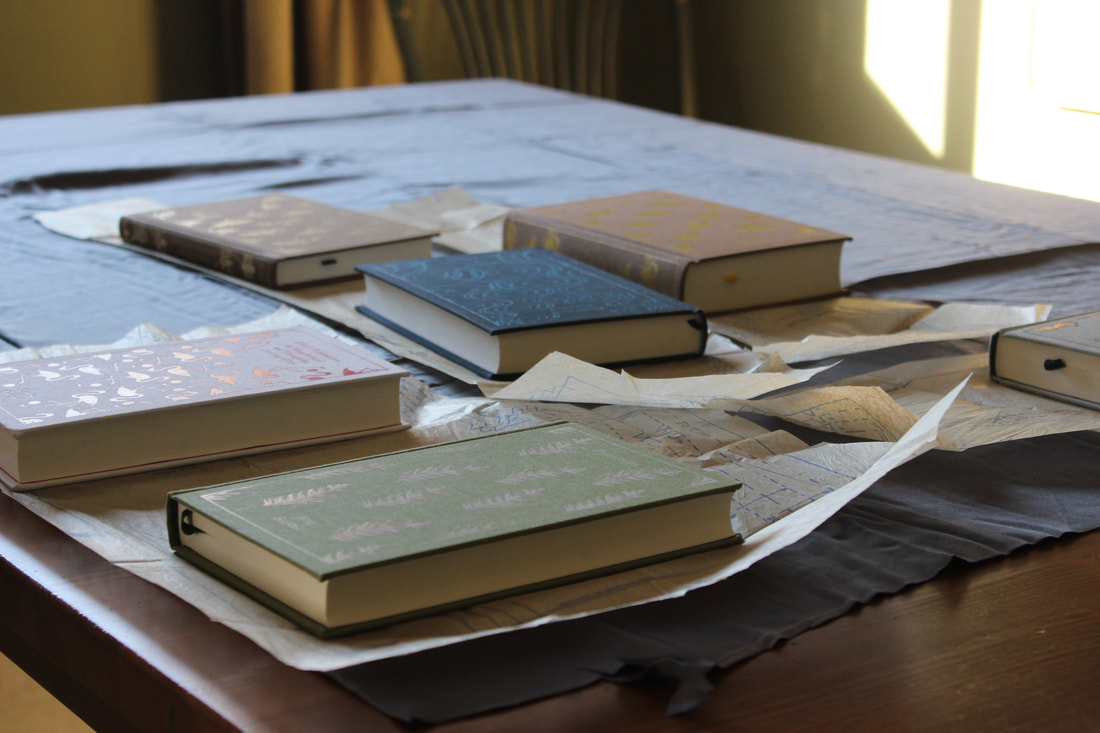
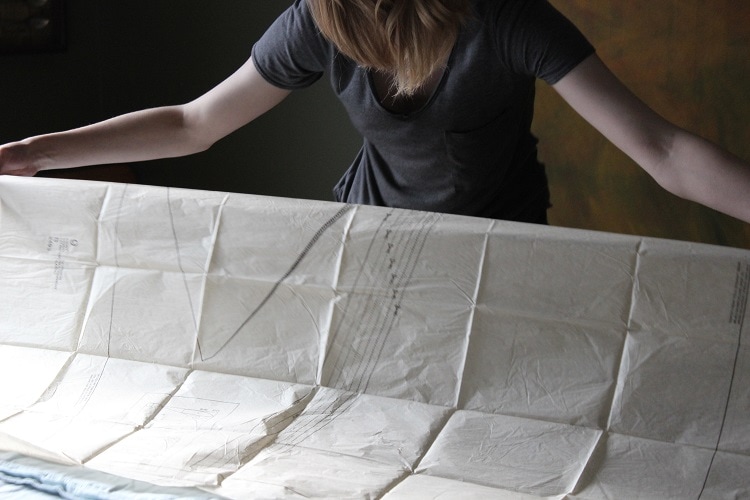
I was recently gifted a bunch of patterns for historical dresses so that I can copy them. I am so excited about these, especially the regency and civil war era styles. They have inspired me to get sewing again, after a brief break for exams. 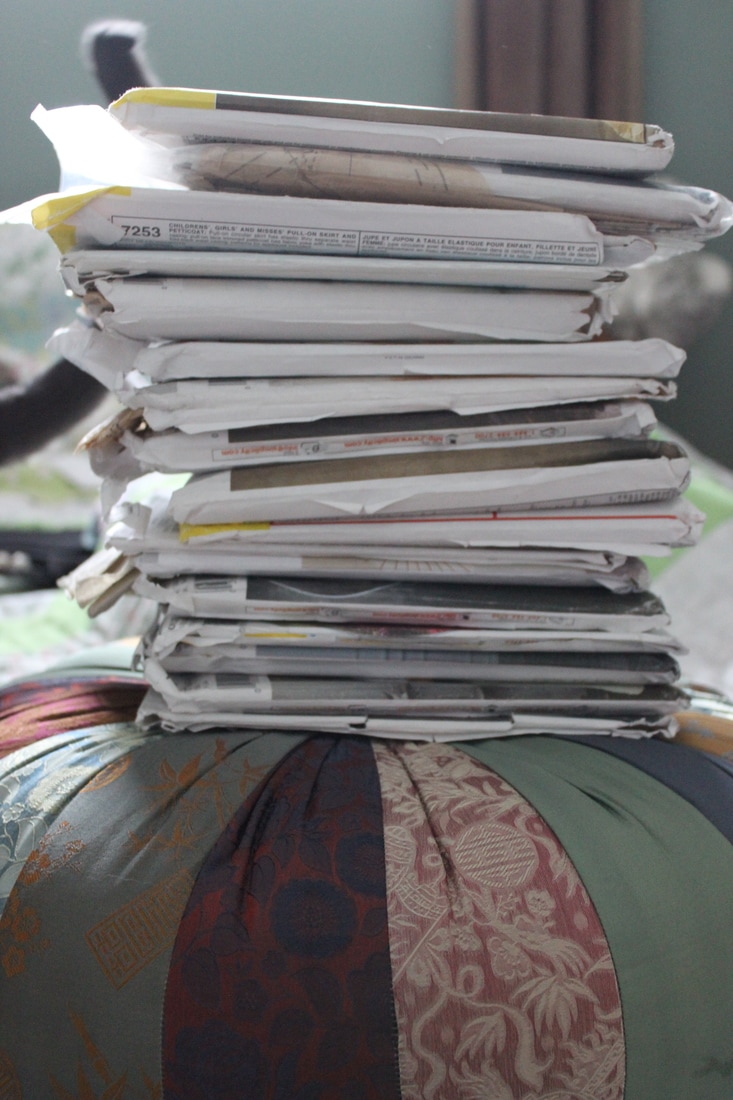 Since I got all of these, I decided to talk about some of my plans and goals for sewing this year. I would like to build up my portfolio before I apply for universities. Most of these patterns depend on fabric, since we do not have a fabric store in my town and it can be difficult to go out and get fabric. 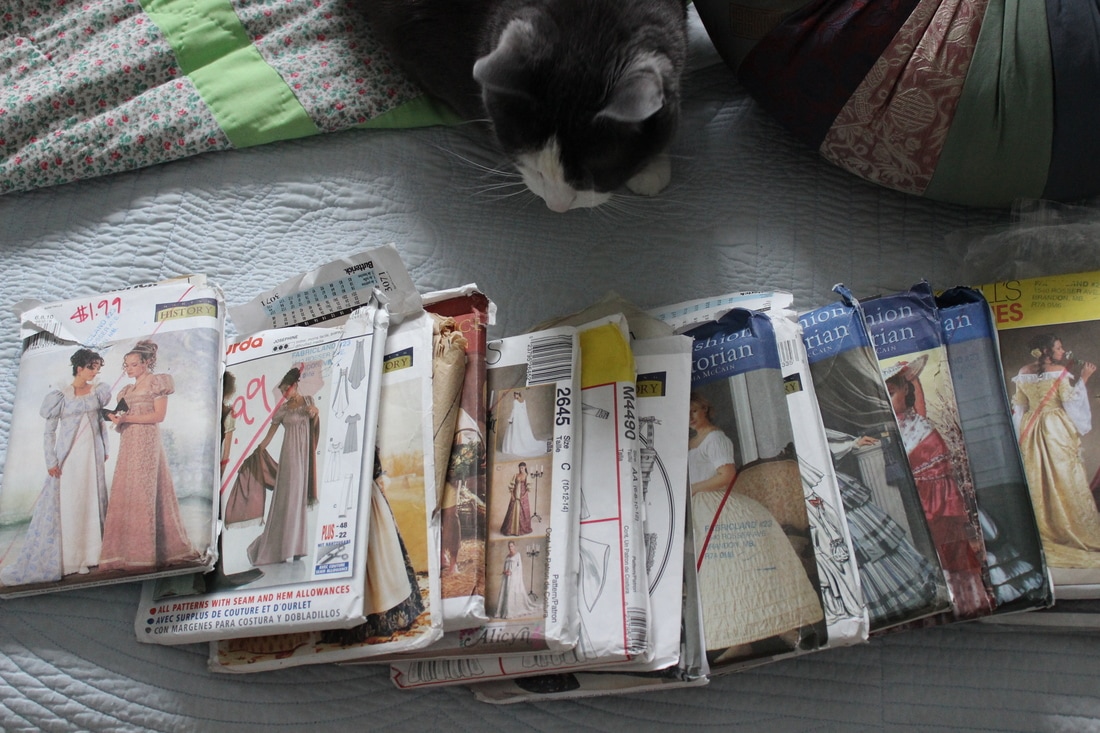 There are patterns for most eras, and many of the patterns could be easily adjusted to fit over foundation garments My first plans are for regency era gowns, which I will talk about in my next post. I have loved the regency era since I first watched Pride and Prejudice, which was at a very young age because my mom has always loved Jane Austen. I am very excited to get going on this project. 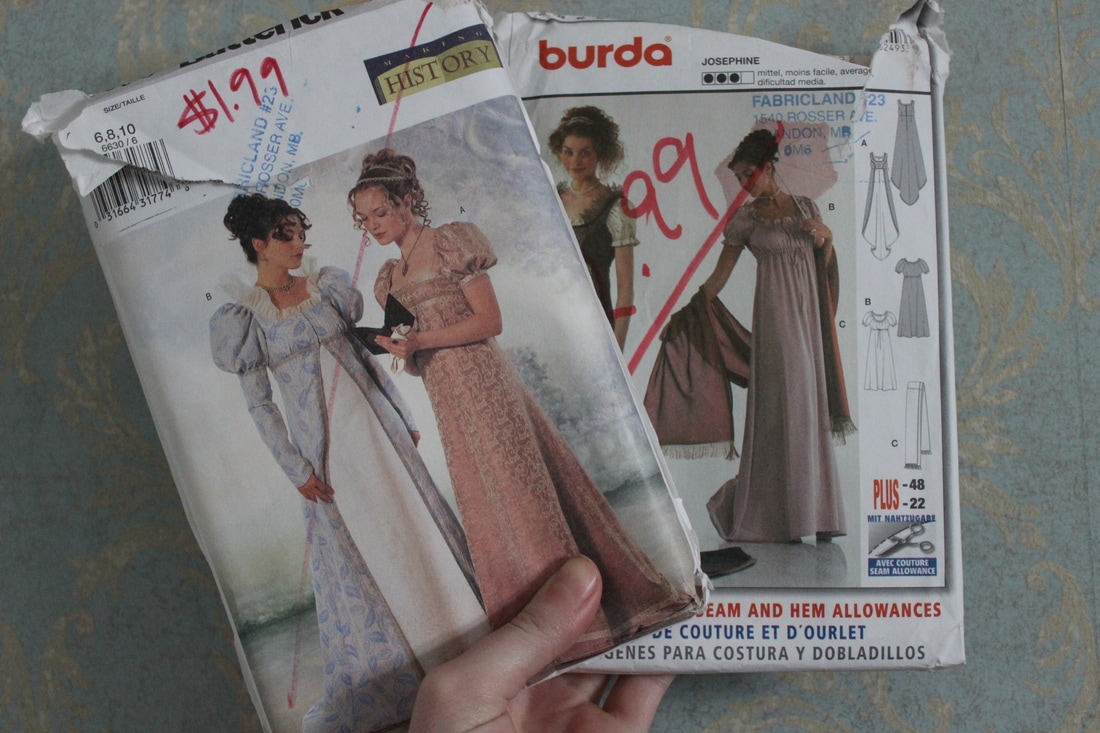 There are two regency patterns, and I am planning on using both of them soon After regency, I would like to sew a 1940s dress and matching blazer. I have had this pattern since last year, and I have been itching to start, but I have to wait to get a nice wool suiting fabric before I can start. Another era that has been catching my attention lately is the civil war era. I used to think the dresses were oddly shaped at this time, with the dropped shoulders and large skirts, but I have come to love the gowns. I am thrilled because quite a few of the patterns that I got are for the era. I have a pattern for everything except for a corset, so I have decided to have a hand at patterning one for myself. 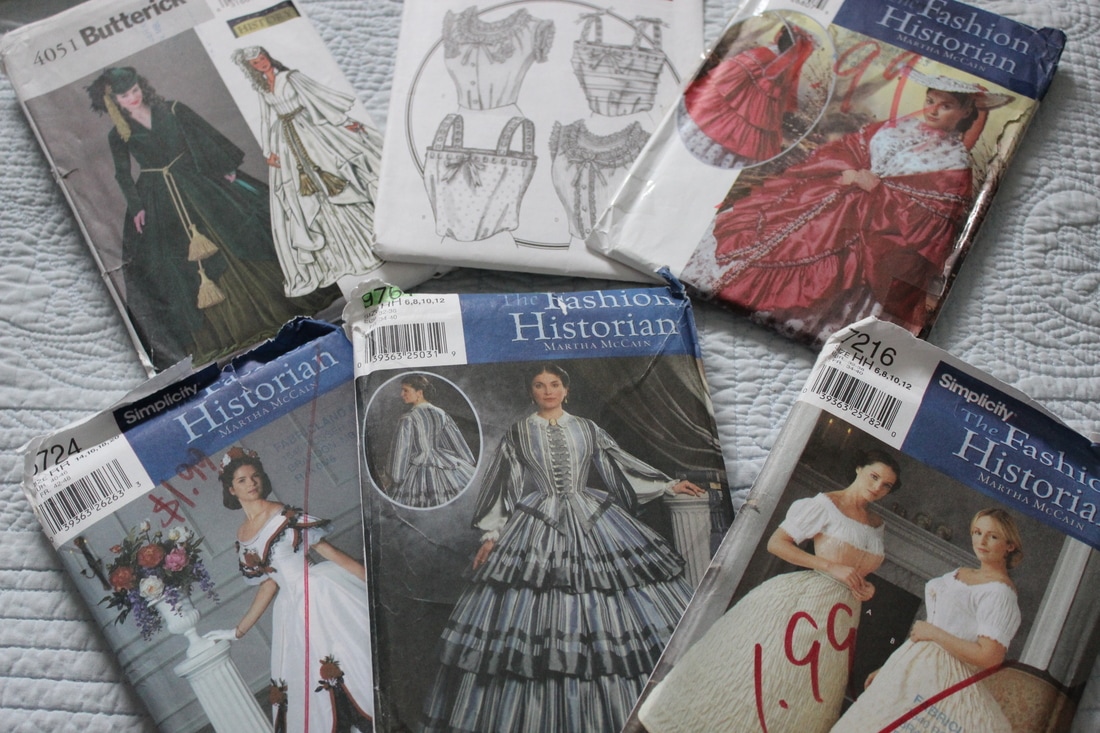 I am thrilled for these patterns, especially since I have been very interested in this era recently. I see a civil war era ball gown in my future Those are the three top projects that I have been wanting to complete for a while now, but there are many other ideas floating around in my head. I would love to research and create gowns from the Tudor era (the era that really got me interested in history when I was young), the 1200s, the late 1800s, and World War One. All of these depend on if I were able to get suitable fabric for them, so we will see what comes to fruition and what will have to wait another year. ~K
One era that has fascinated me for years is the early 1800s. I have always loved Jane Austen, so when the opportunity arose to go to a Jane Austen ball, I was thrilled. It will be in May at the Palliser. You can rent costumes, but I thought that this would be a great excuse to make my first ever regency era costumes. If everything goes to plan, I will be making two dresses for the event- one for me, and one for my mom. I was recently lent about 12 historical patterns to copy, and there are two regency ones. I have already started on making myself a pair of regency stays, which are very similar to modern day bras. 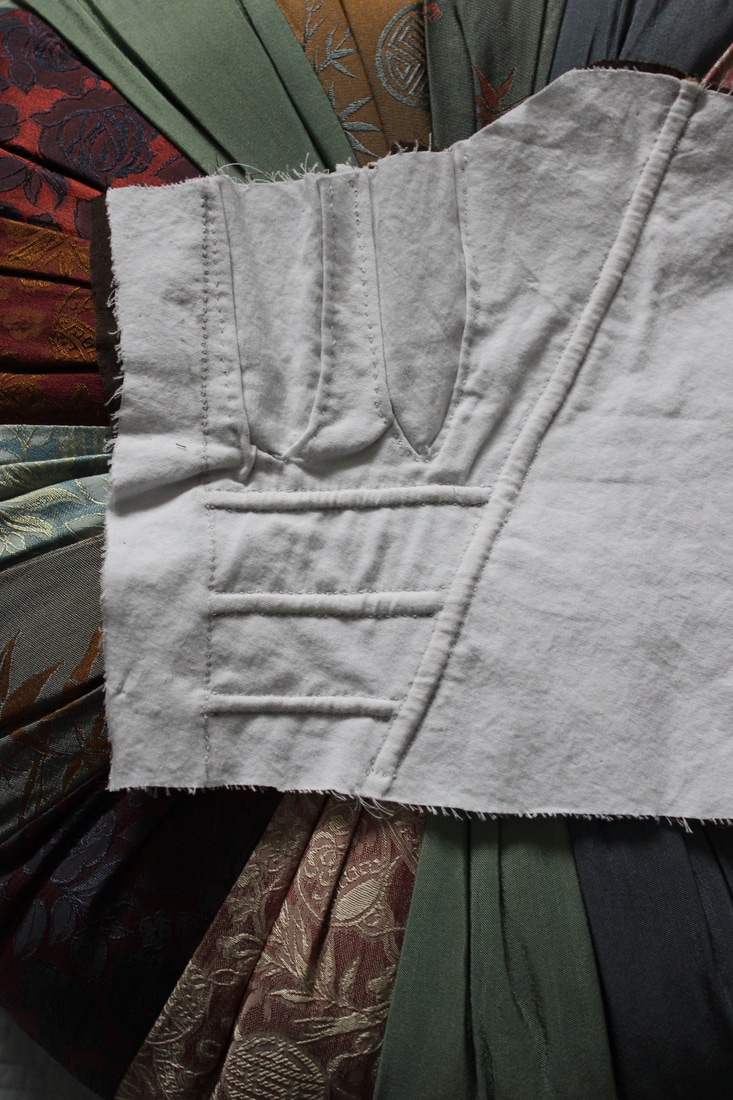 I started these stays this summer, and the ball has made me finish them up. Here you can see some of the cording on them. It is a simple pattern, but they fit very comfortably I was hoping to be able to use the chemise that I made for my 18th century costume, however if I make short sleeves, then I will have to make a new one. Other things that I am planning to make is a few petticoats and the two dresses. Here is some of my inspiration for them. 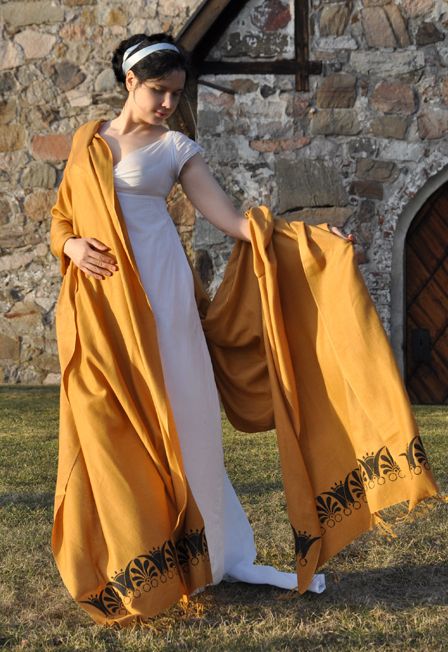 This is from the blog Before the Automobile. She makes incredible historical costumes, and I love the simplicity of this one 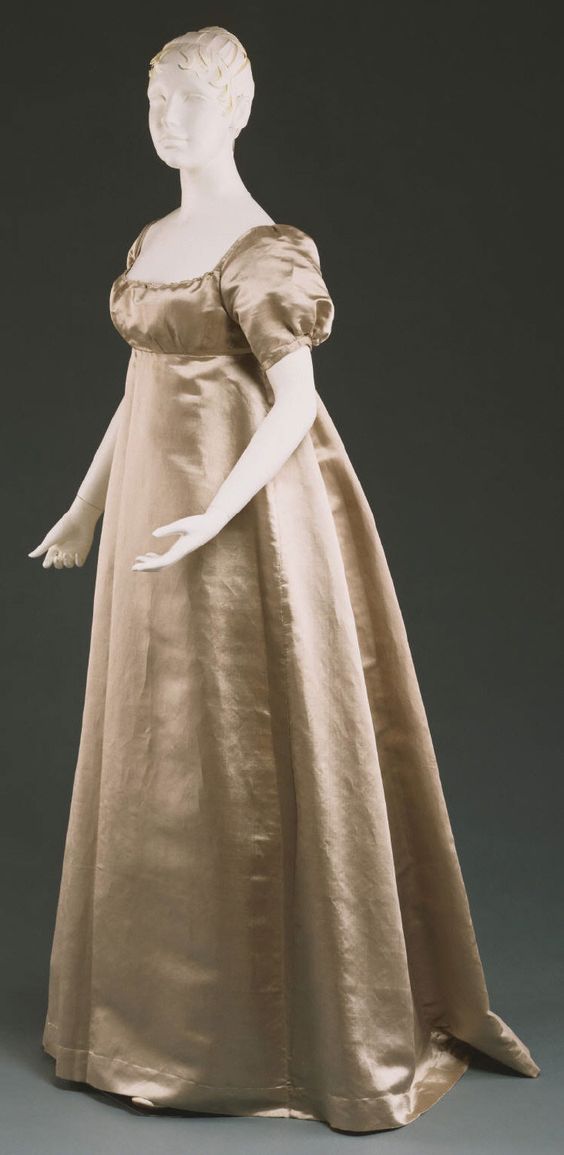 I would like to make a simple round gown like this one out of a blue cotton sateen 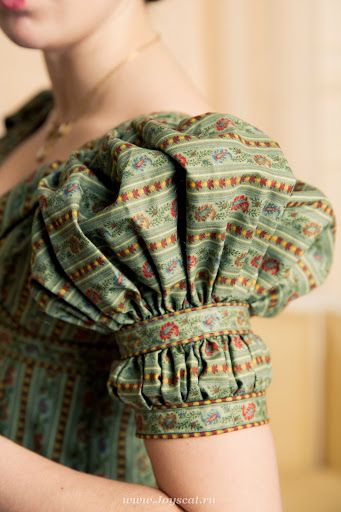 I would like to try and create sleeves like this for my gown. I love how this looks ~K
|
EtsyArchives
April 2020
Categories
All
|
 RSS Feed
