|
I recently made my way to Bhatia Cloth House with some projects in mind, and I am so excited with what I came out with! Let me know how you like this type of video!
~K
0 Comments
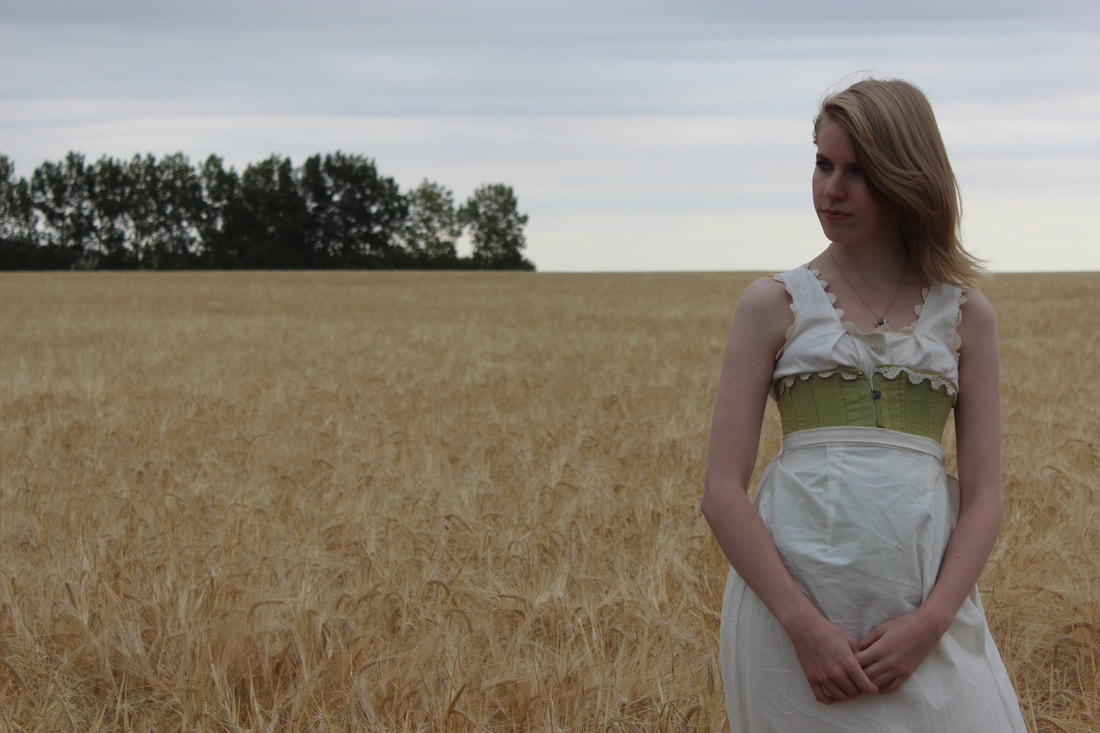
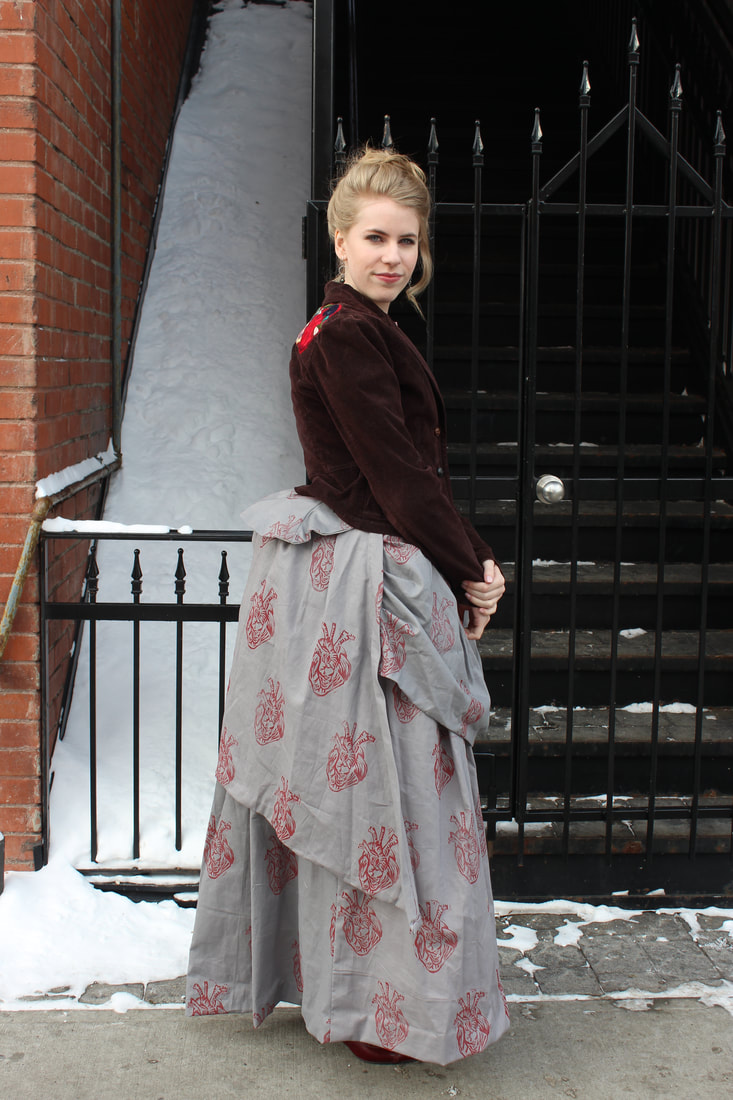 I finished my bustle dress a few weeks ago, but we were not able to make it into Calgary for photos until today. It ended up being freezing! I was completely frozen by the time we got all of the photos, but I think they turned out really well! I know that I have posted a ton about this dress, but I am going to make two posts for the finishing of this- the one today will be of the actual finished outfit in Calgary (we took the photos in Kensington since it is one of the oldest places in Calgary- unfortunately Calgary isn't a very old city, so it was a bit difficult to find something that I thought fit with the dress). The second post that I will make will be about getting dressed in the 1880s, and what all of the layers look like together (including the finishing touches- a jacket and a hat). 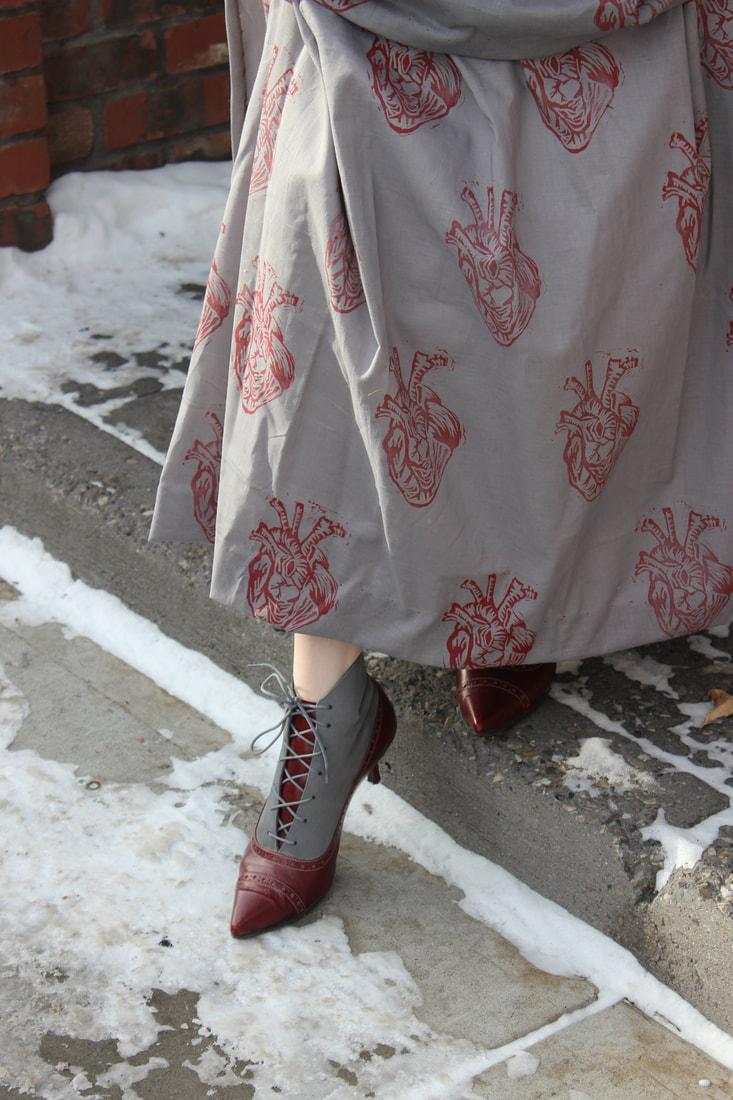 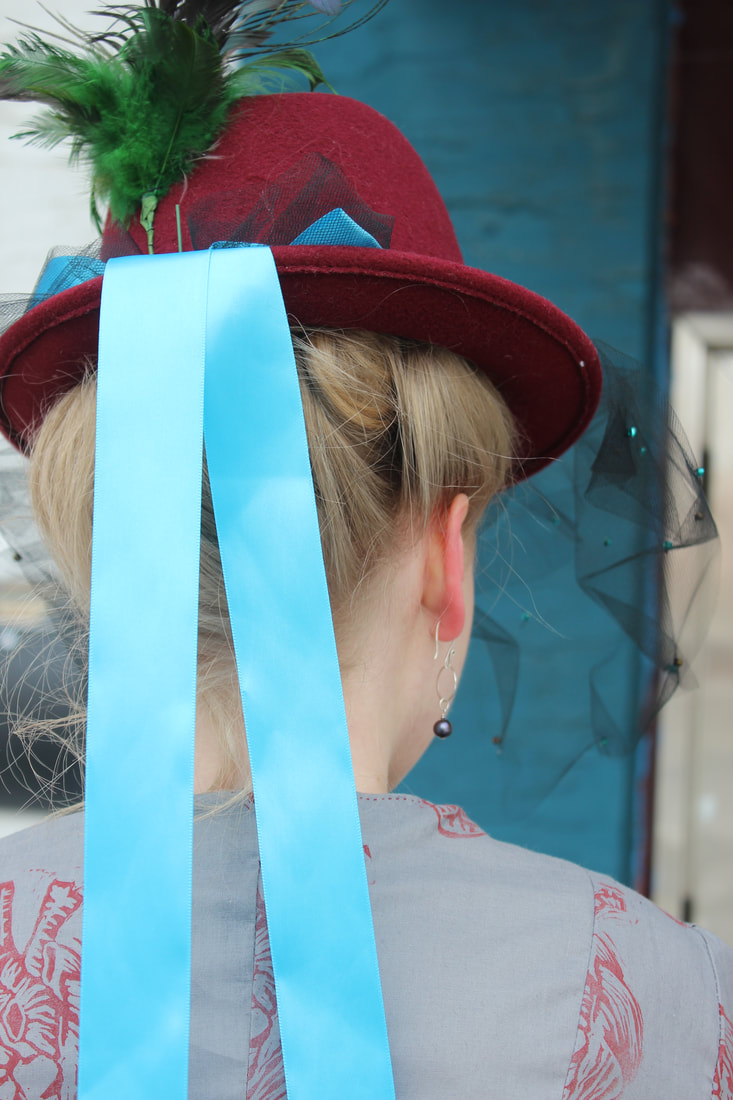 My biggest inspiration for this dress was from Ripper Street, a BBC show that was set not long after the Jack the Ripper murders. It focuses on the police station in Whitechapel that investigated at the time. I love the costumes from the show, especially Long Susan's, so that is where I got this idea from. The show is a little bit steampunk, and the dresses are more historically inspired rather than historically accurate, which I love. I enjoyed the freedom of the outfit not having to be perfectly historical, and I already have ideas for more steampunk-styled 1880's circus/showgirl ensembles (so keep your eyes out for jewel tone fabrics and bustles!). 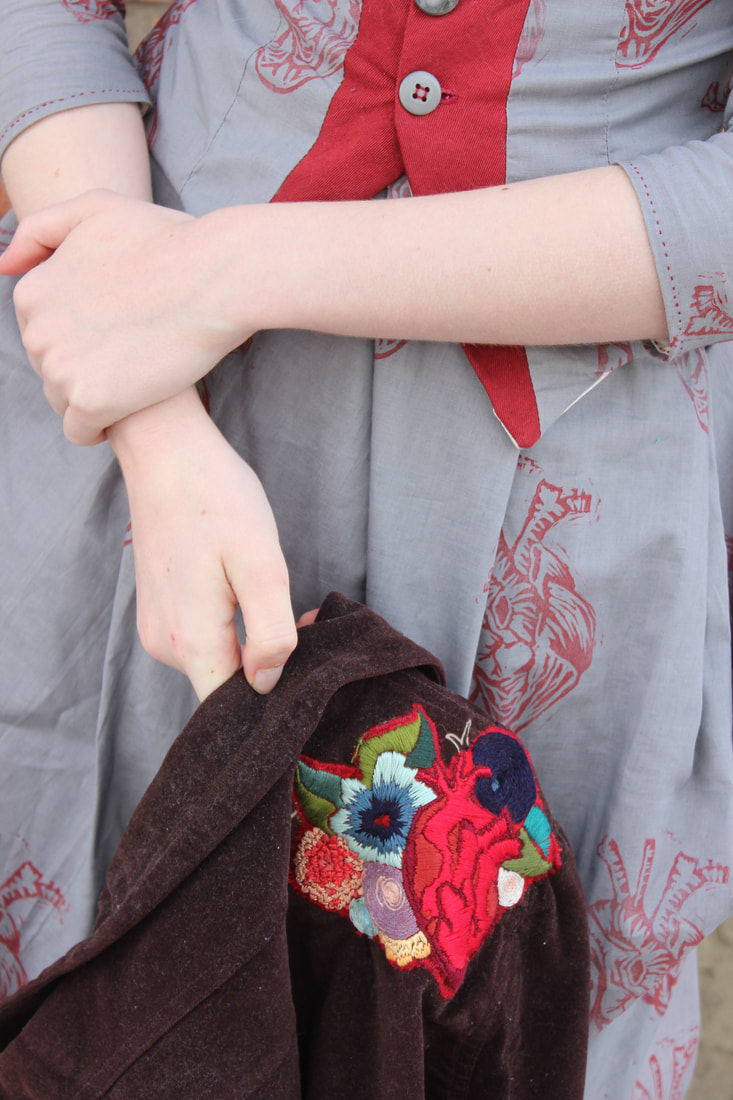  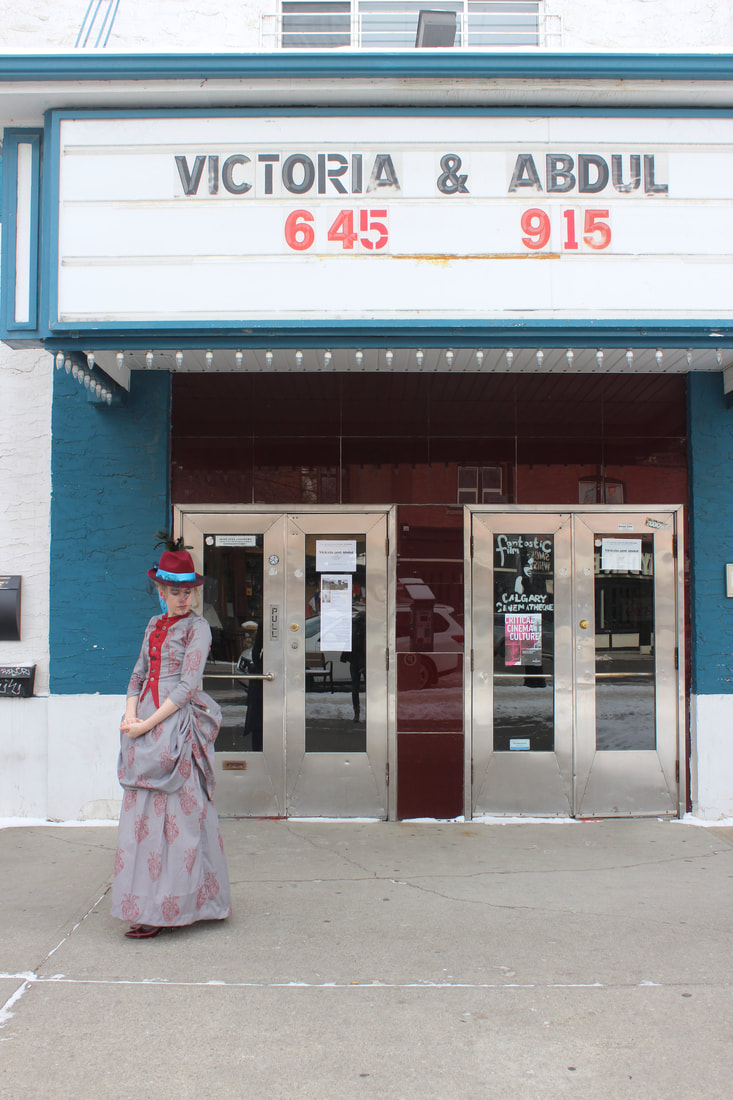 Because my inspiration was so dark, as was the dress itself when I finished it, I wanted a sort of grungy looking place to get photos. Calgary is a very lovely, clean place, which made it difficult to find something that looked anything like Whitechapel in the 1880s. We ended up just walking around Kensington to find the older brick buildings and any neat parts of the neighborhood. There are tons of gorgeous old houses in the area, but most of them look very high-class, which wasn't the goal for this outfit, so I guess I will have to make something more proper and go back for pictures! 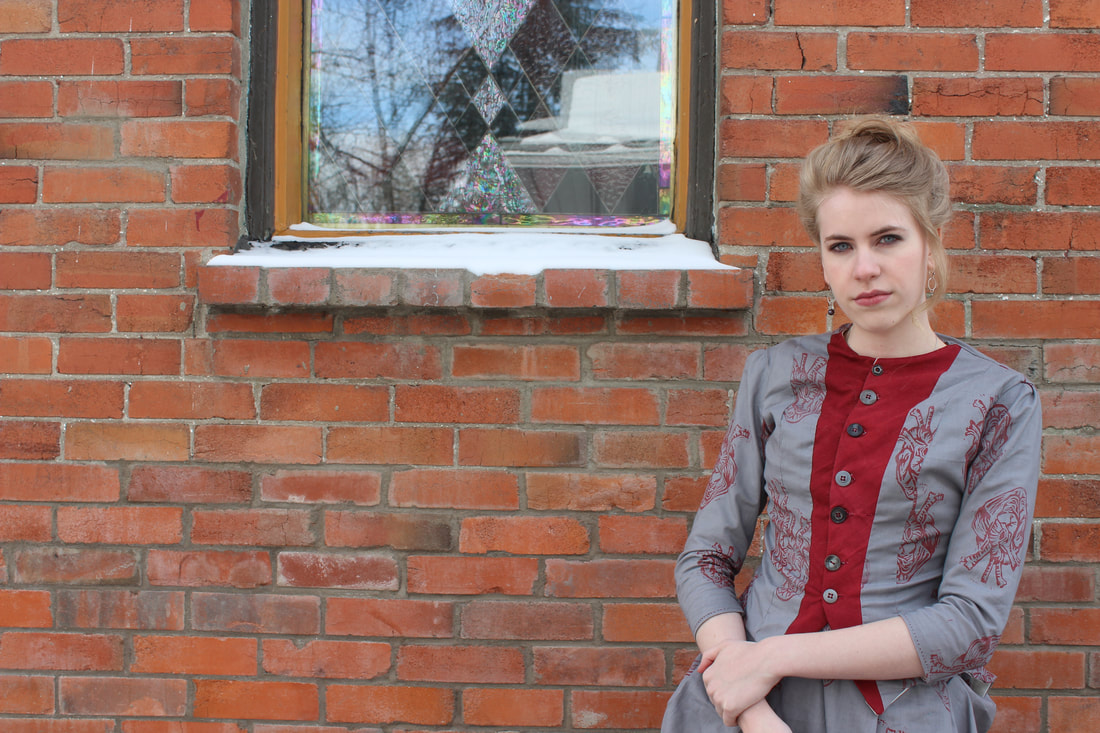 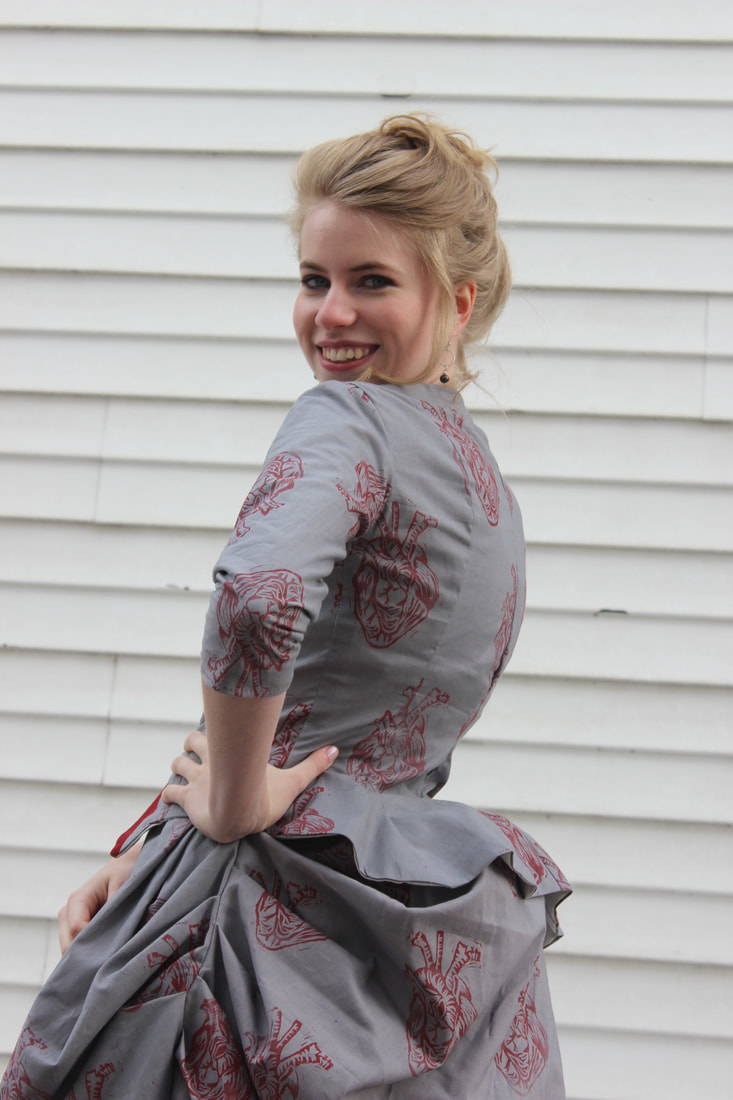 Once we were properly frozen, we made our way to Higher Ground Cafe to warm up and for me to change into something a little more appropriate for the weather. We had a lovely morning in Kensington, stopping by the Naked Leaf (who has the best earl grey vanilla tea), Crave Cupcakes, and Paiges Bookstore where I picked up a cloth bound Sherlock Holmes story. It was a perfect day, even though it was so cold! 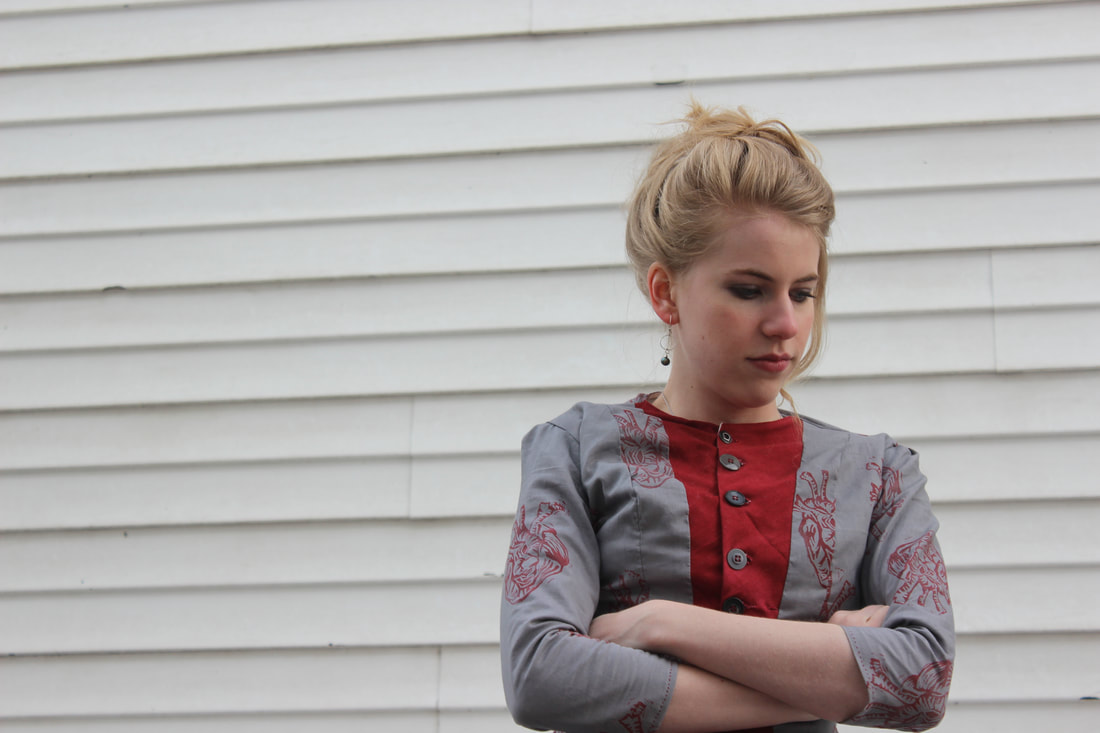 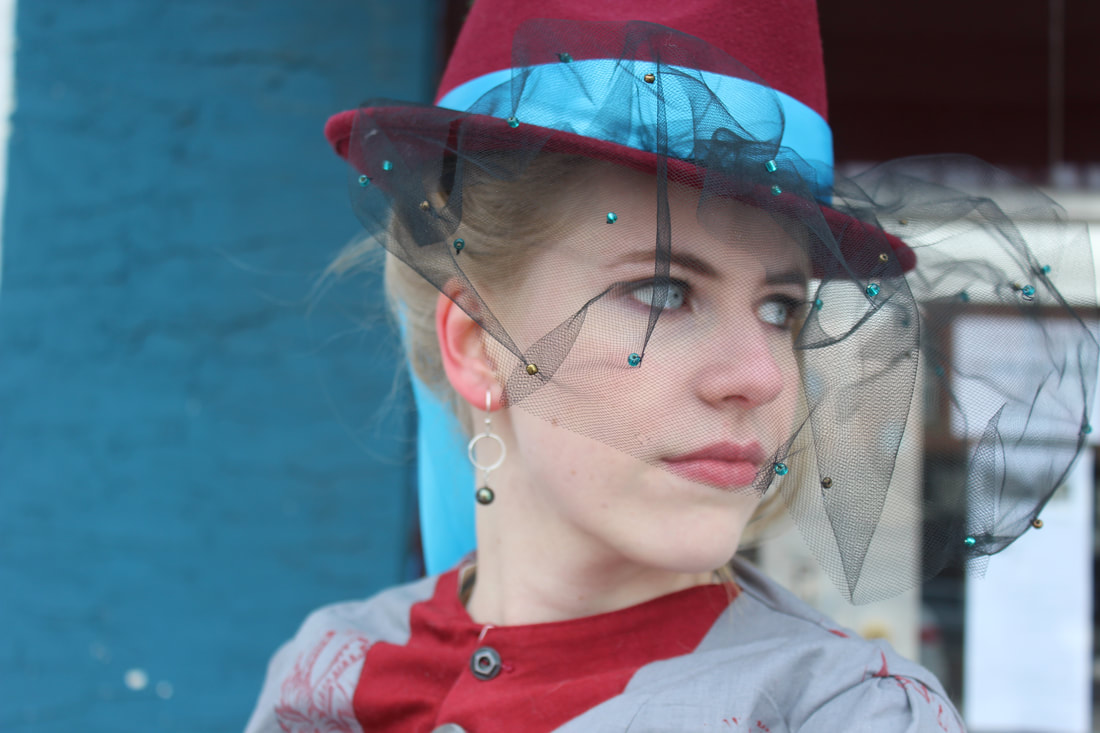 I will put up my next post soon where I will talk more about the history and how they got dressed in the 1880s (and also how long it took me to get ready in the morning). I hope you enjoyed my post, and how the dress turned out! If you want to see more of my making of posts for this dress, the links to all of them are in my portfolio, here 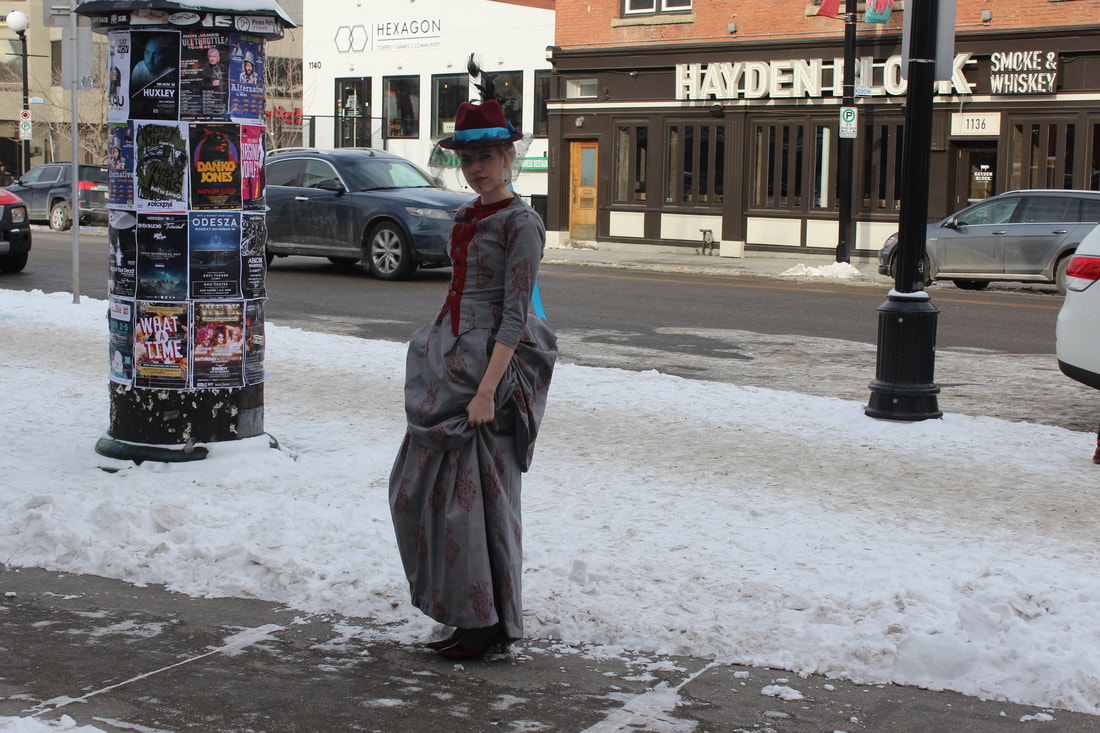 ~K
 I had the most incredible opportunity recently to make a costume for a film made by an Albertan director. I worked with Mitchell George from Crooked Cinema to make one costume for their new film Highway Patrolman. I was so thrilled to be able to be a part of this, especially since my goal is to be a movie costumer! You can check out their website here.  I made a 1950's styled diner dress for the film, which was great to do since I love the 1950's and have had a bit of an obsession recently with the era. I used the same Burda pattern as I did for my 1950's Blue Dress with a few alterations to it. I made the dress in about 3 and a half days, while working on the side a bit. It was a bit of a tight schedule, but luckily enough this was an easy style to make, and I was able to find the right colour of fabric very quickly. 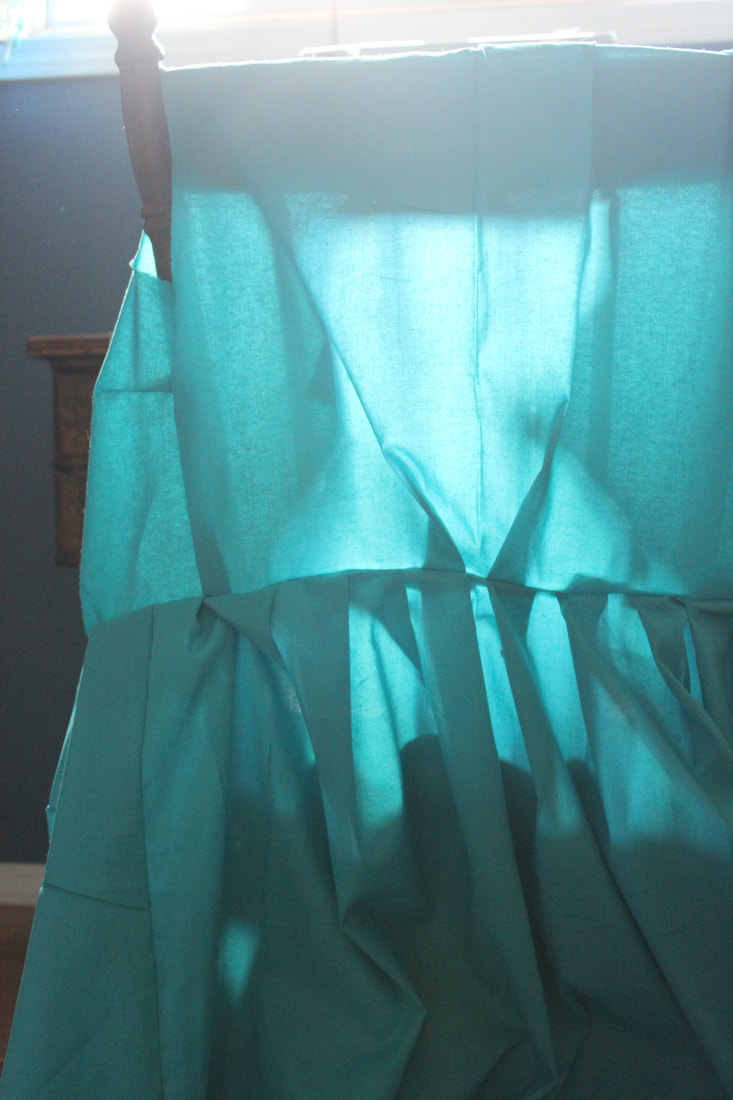 The collar, cuffs, and apron were self drafted, and the dress was based on the Burda pattern. The dress was done mostly on the machine to save time, and finished by hand (button holes, cuffs, and collar were all done by hand). 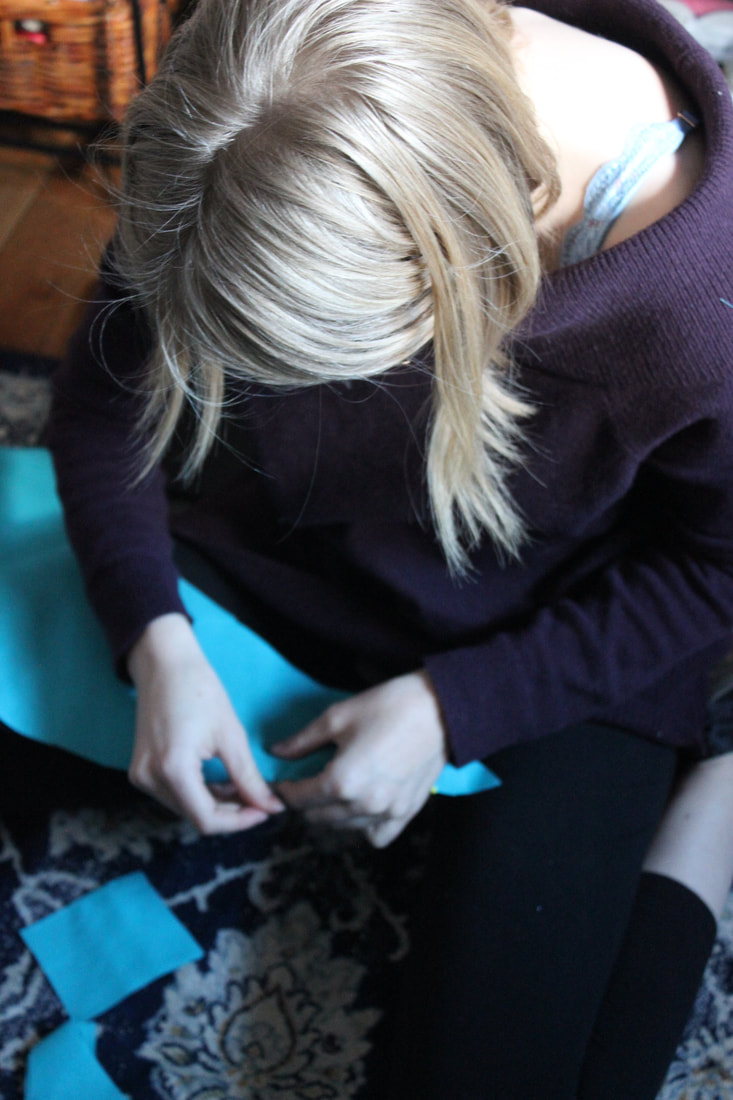 I got quite of few progress pictures of this dress, so this will be a very photo heavy post! 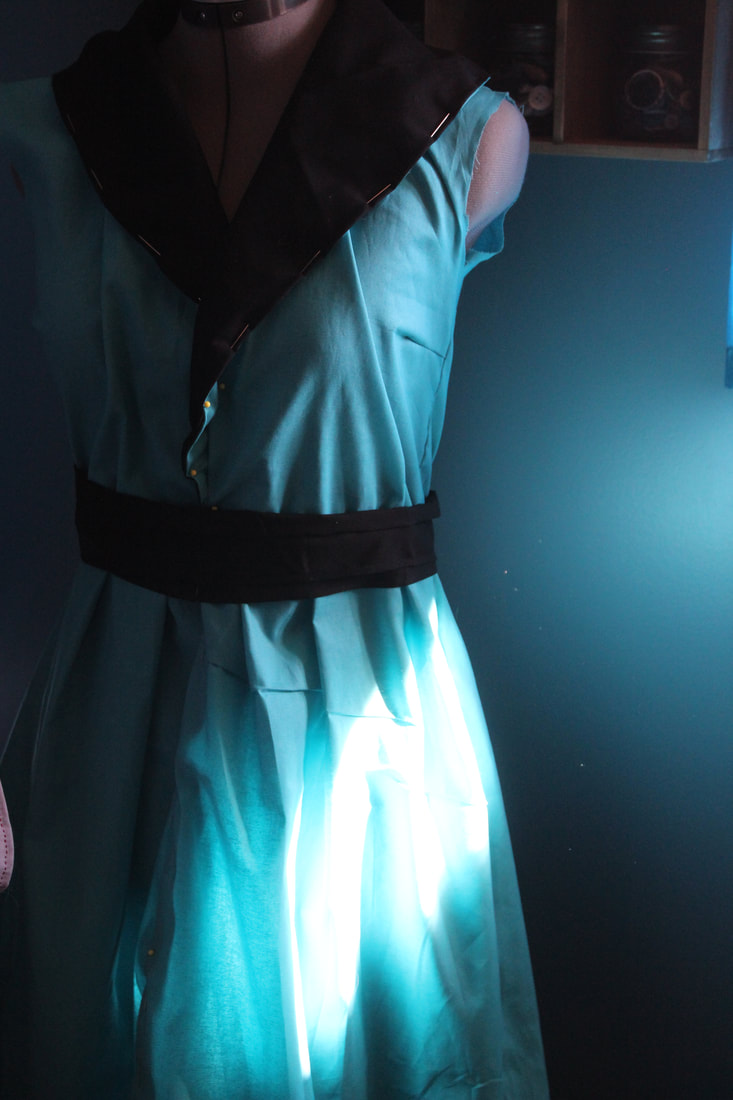 The dress pinned on to my mannequin. Here I was checking for size and where to put the buttons so the skirt would lay nicely. 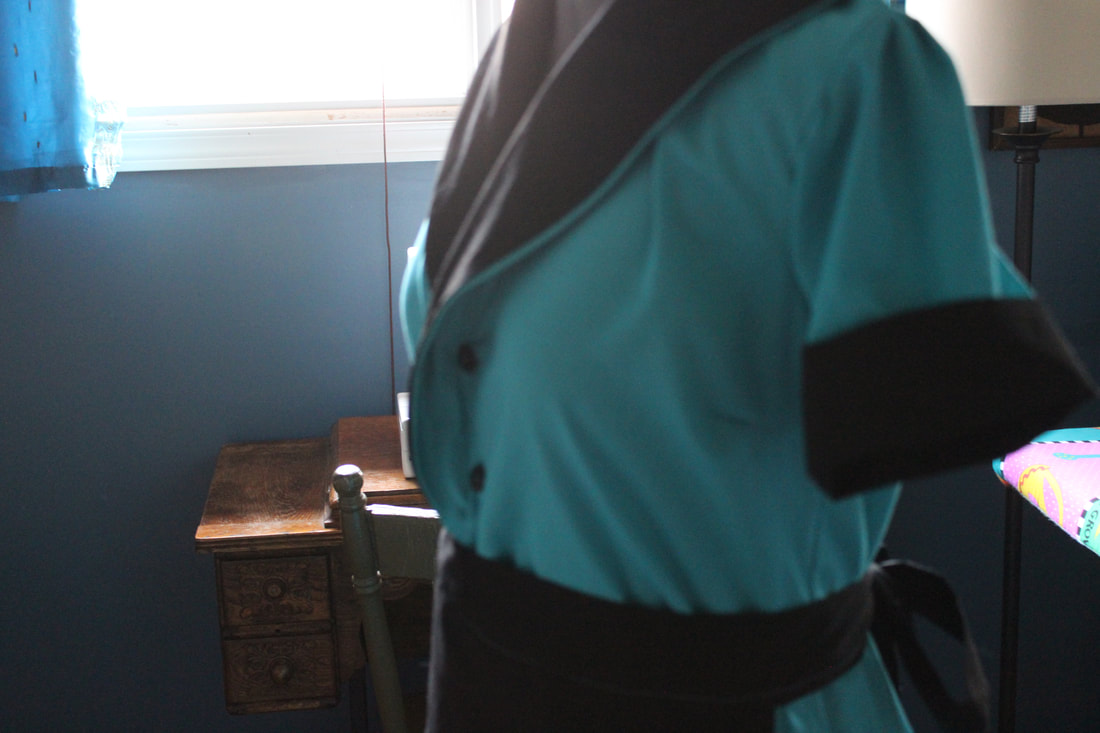 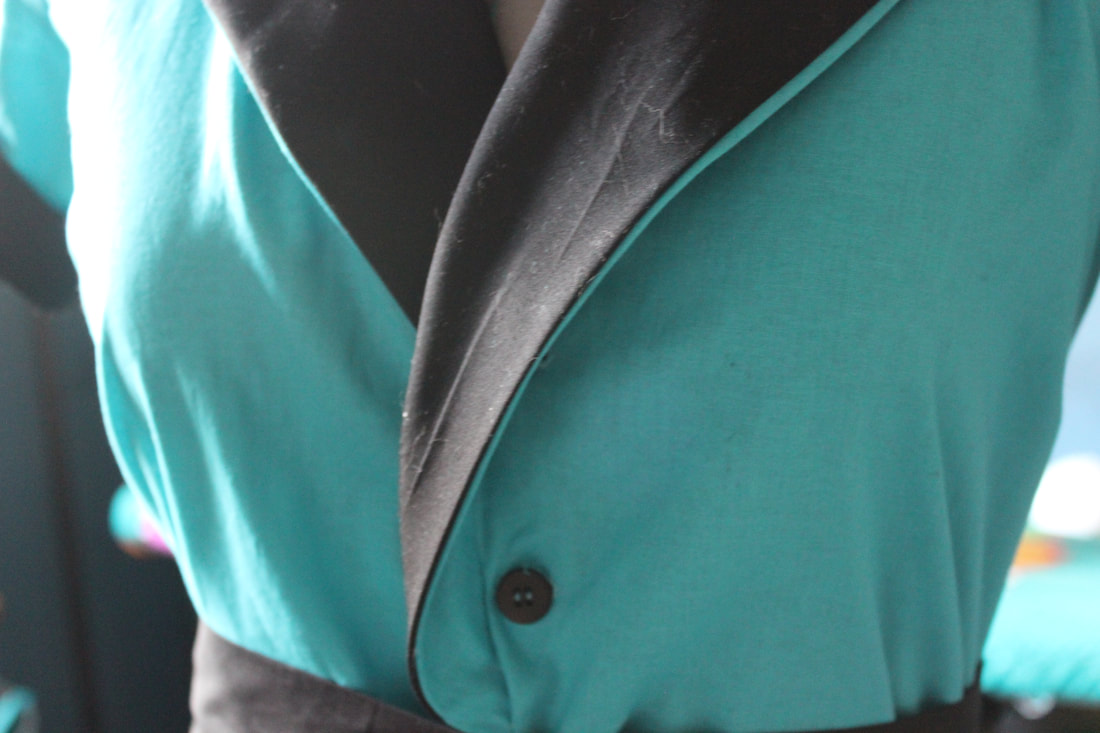 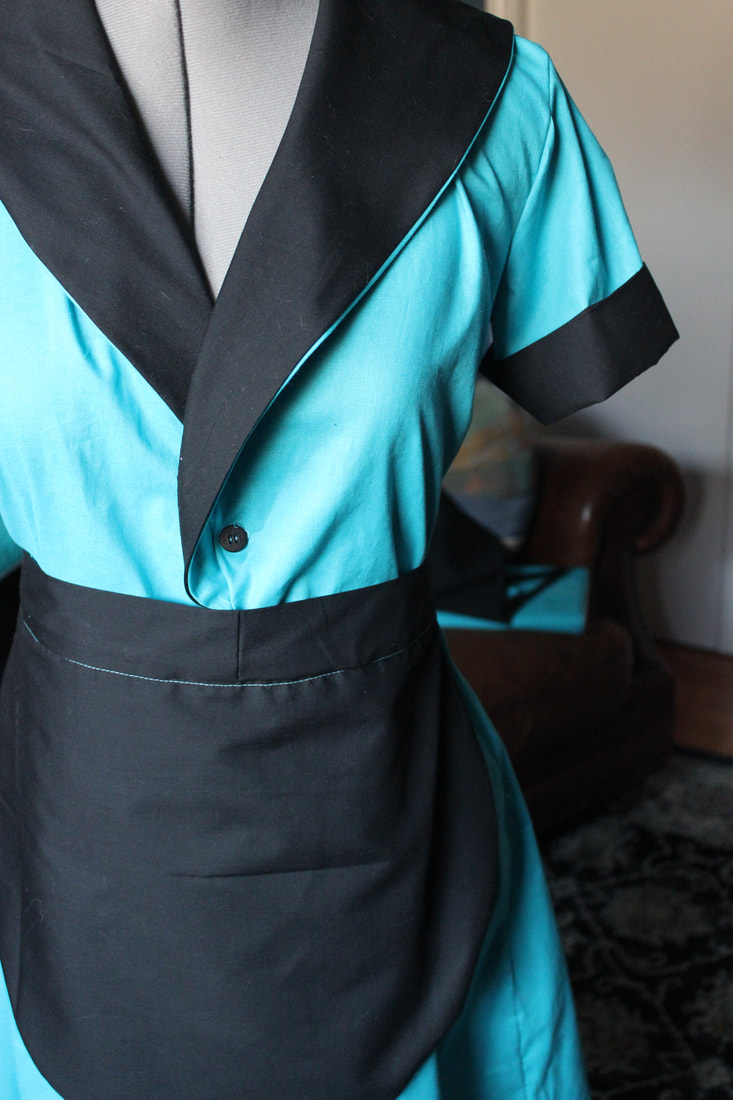 I did end up adding a turquoise pocket on the apron, but I don't have photos of it with the addition 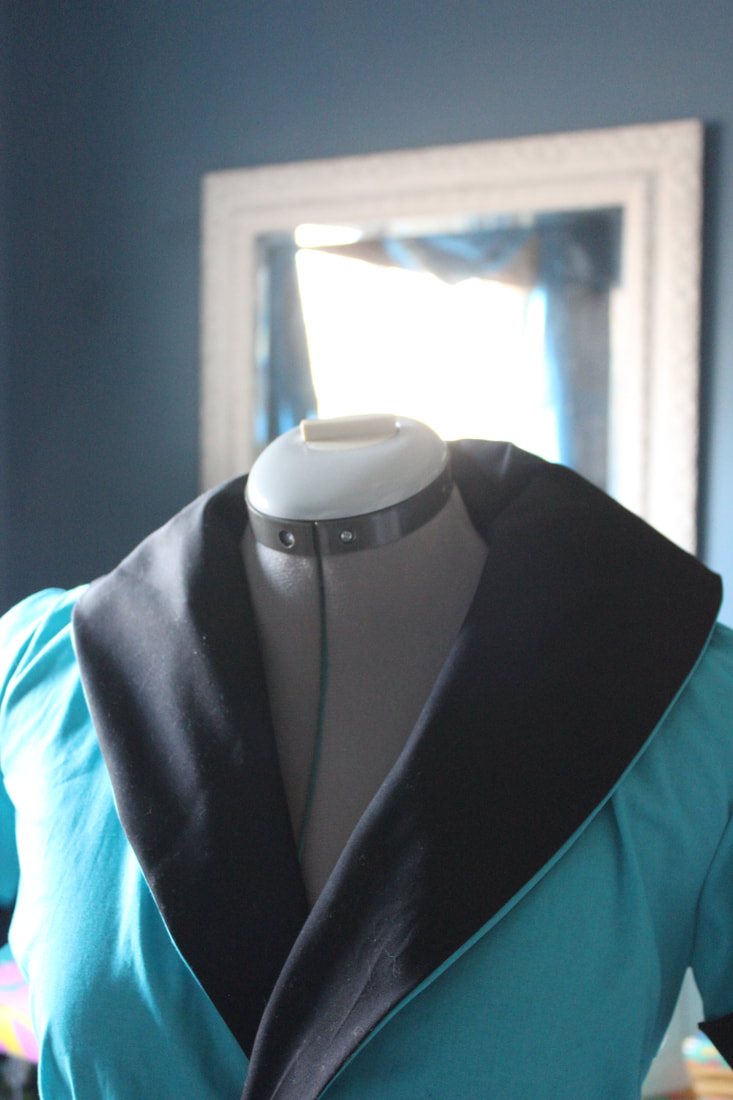 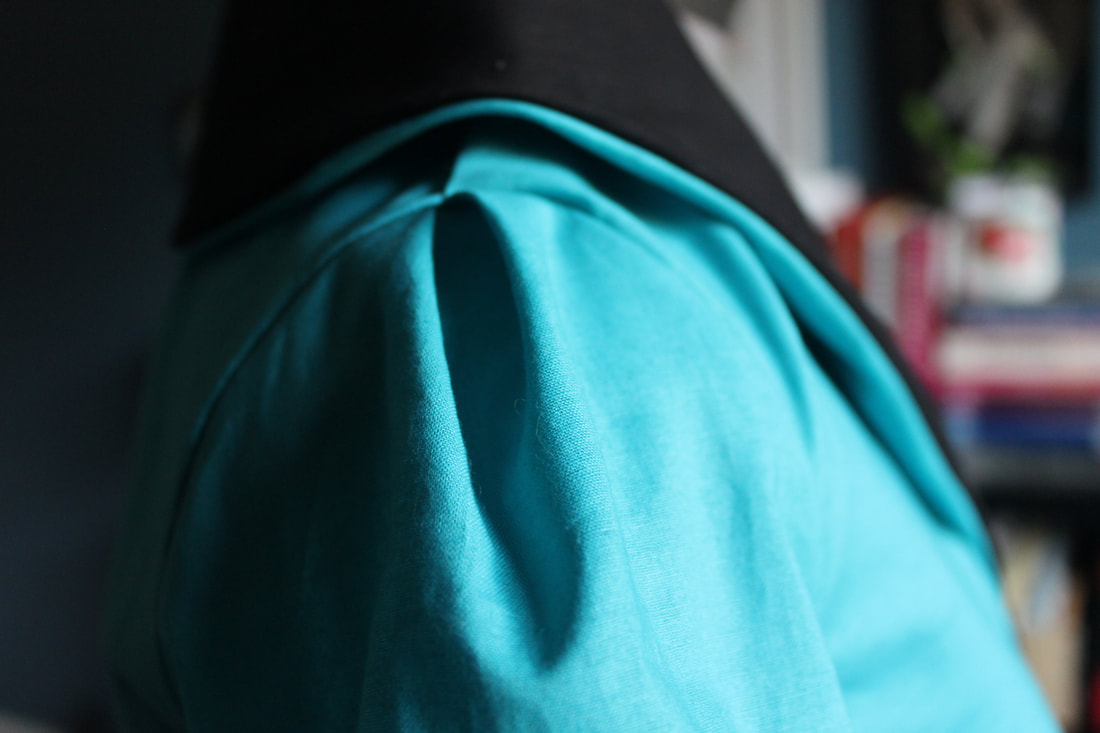 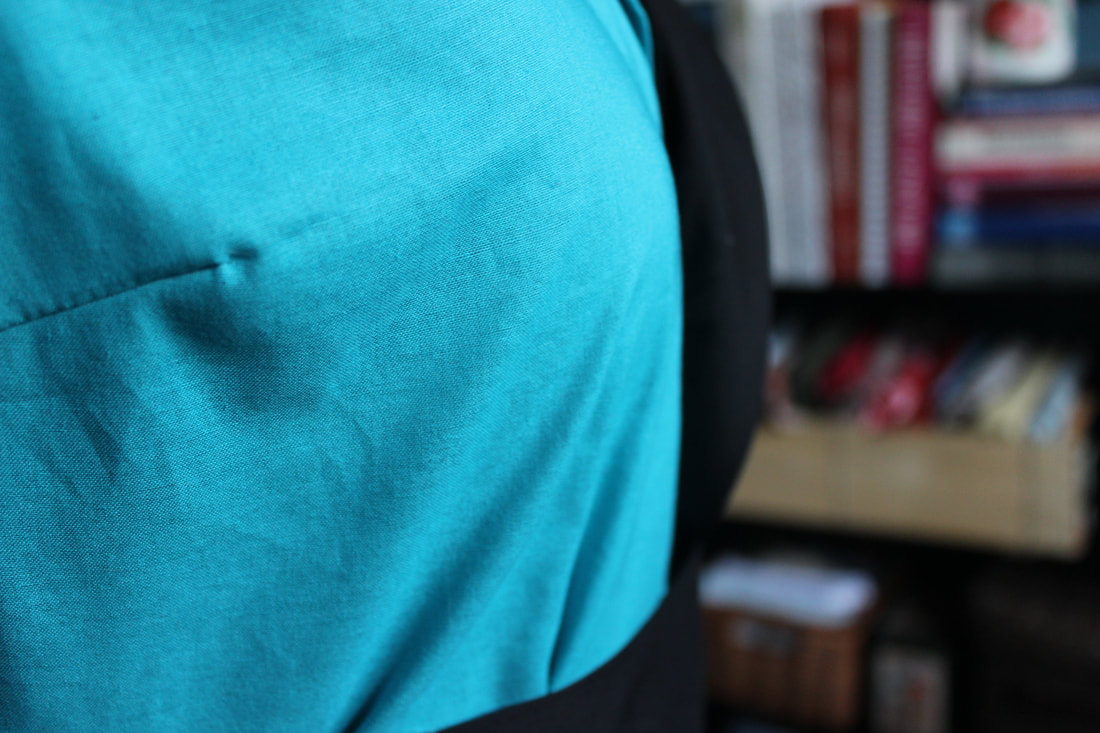  I am so thrilled with how this turned out, and with the fact that I got this opportunity! Be sure to keep an eye out on Crooked Cinema, and for when Highway Patrolman comes out!
~K 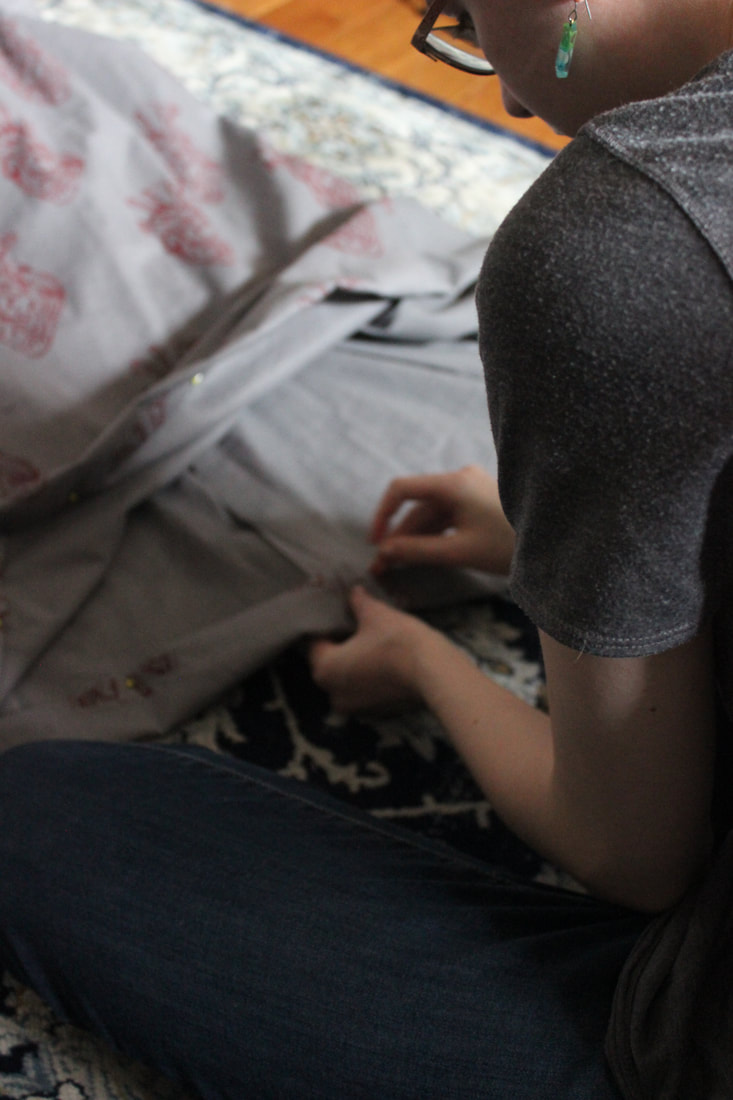 I just had a very exciting opportunity, and I will tell you all about it as soon as I can! But for now, here are a few photos of me working on my bustle dress- this was just when I was hemming it a few days ago. All that is left now are button holes, although that project has been put to the side for a few days. I will get back to it very soon, and I do have a location for photos now, which is very exciting!  Also, if you haven't noticed already, I added another page to my website! I added a Self Care section, which is another blog page. Since I have been doing so much training about cosmetics and skin care with my job, I thought that I would share another one of my passions with you, and some of the information that you may not be hearing from others. I also have an instagram for the self care side of my interests, and you can see that here if you are interested. 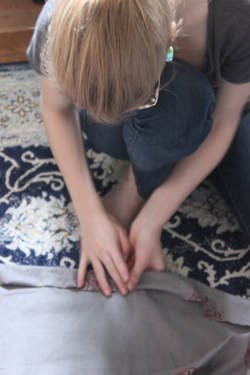 I also have some more exciting news that I found out a week or so ago- I got accepted into Olds College for Costume Cutting and Construction, starting next fall.
I can't wait for all of these new opportunities, and I am very excited for when I am able to show you what I have been working on this week! ~K 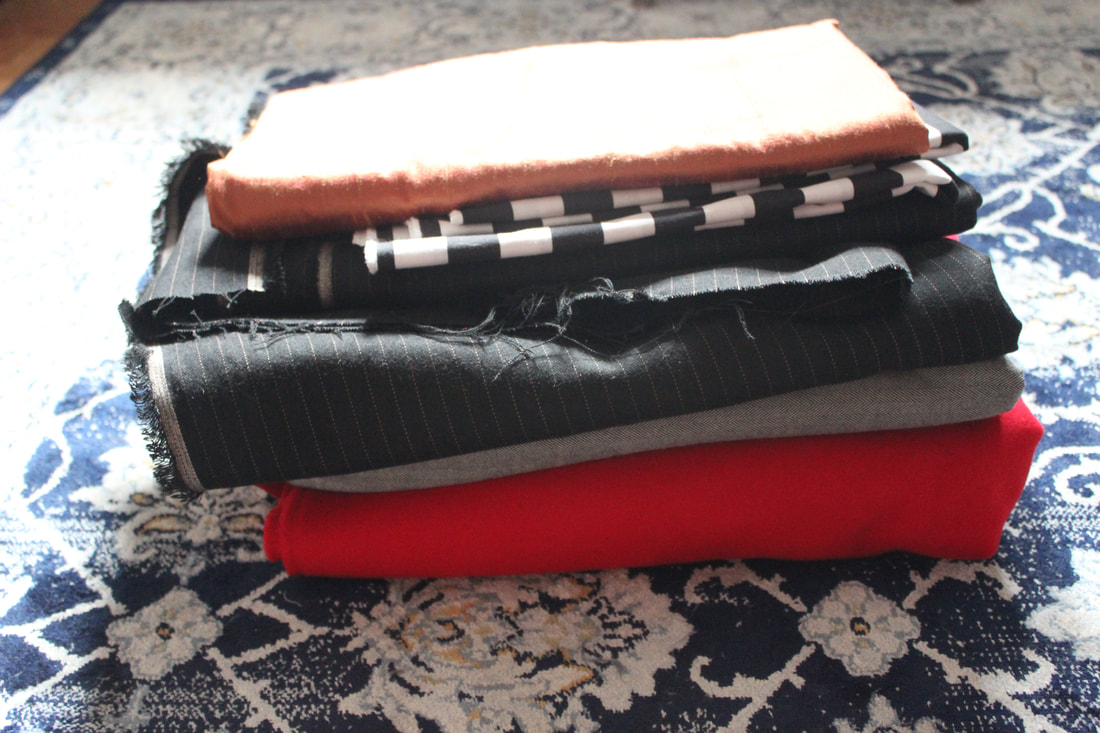 I have been in Calgary quite a bit lately for training for my job, so the last time that we went my mom picked up some fabric for me while I was training through the afternoon. There are a couple of projects that I have been planning for a while now, and I am so excited that I have fabric so I can start! 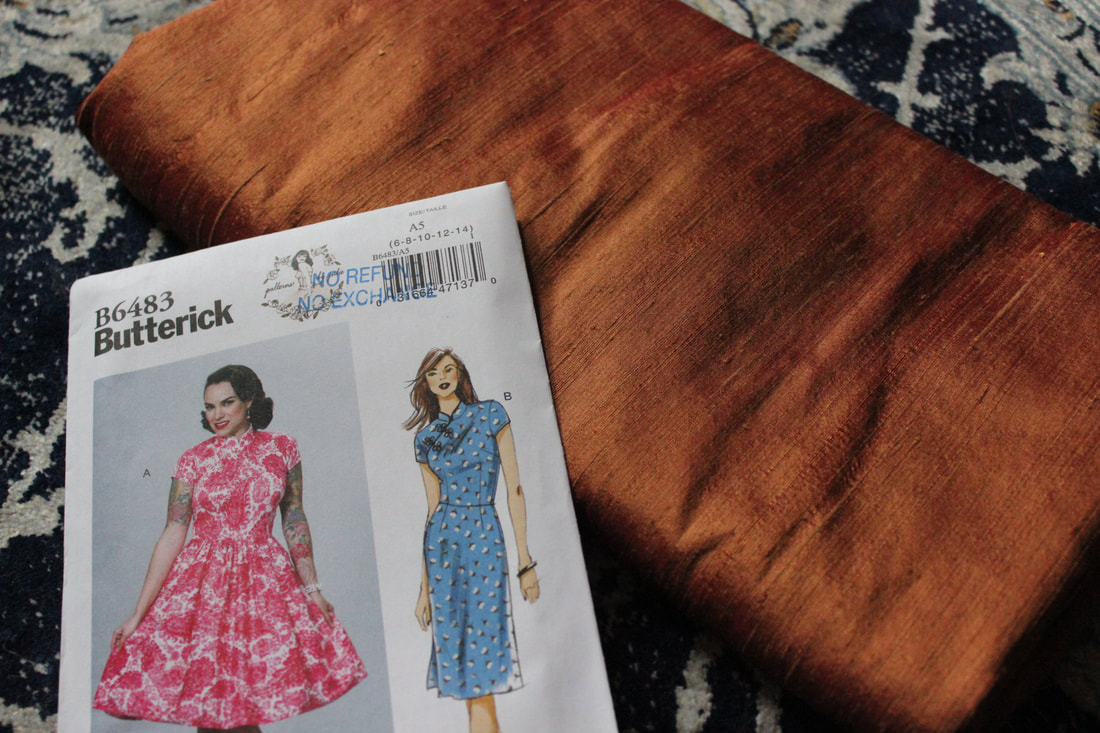 The first project that I have been wanting to make for a few months now is a dress inspired by the movie 'In the Mood for Love' directed by Wong Kar-wai. The movie is beautiful and sad, and the costumes are stunning! It is set in the early 1960's, and I loved the main female characters costumes, so I wanted to make myself something like that. For that project, I got a deep orange- red silk dupioni, as well as a pattern from Patterns by Gertie, which I am very excited to use since I love all of her patterns but so far have not gotten one! 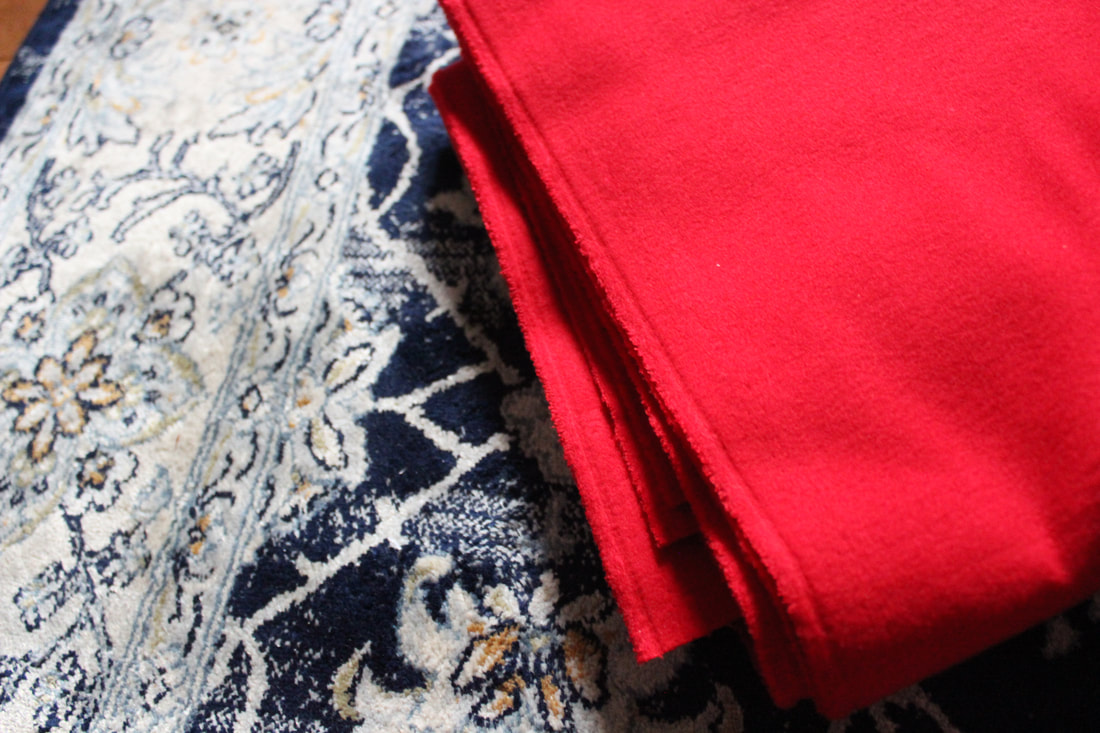 The next fabric that I got is a red jacket fabric, which is sort of similar to polar fleece, but more tightly woven and a little thinner. I am going to make a Victorian inspired jacket for myself to wear in Germany when I go in the spring. I have decided to use the pattern that I made for my bustle dress bodice for this one, just adjusted to fit an un-corseted body and with a collar. 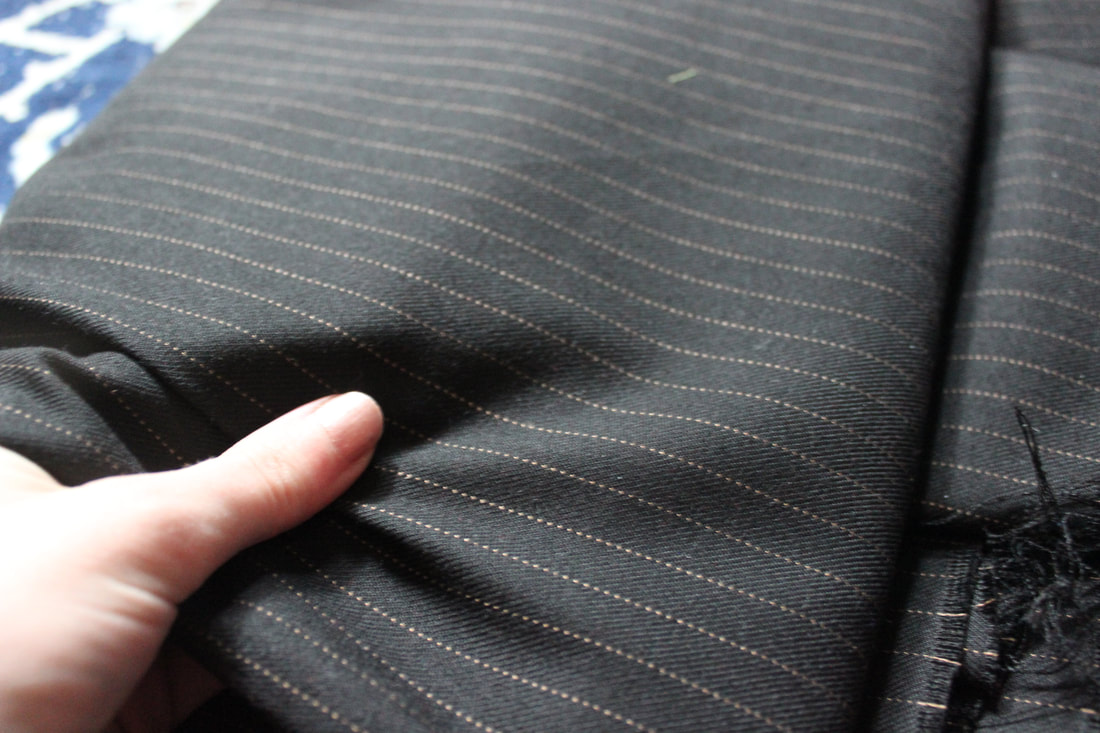 I also got a pin-striped light weight wool that I am going to use for a World War 1 era womens suit. I am loosely basing this one the new Wonder Woman movie, since I love Wonder Woman, and I loved the suit that she wore in much of the movie! That one is a plain grey wool, but I didn't want mine to be too close to that one, just more similar in shape, so I chose a black pin stripe instead. 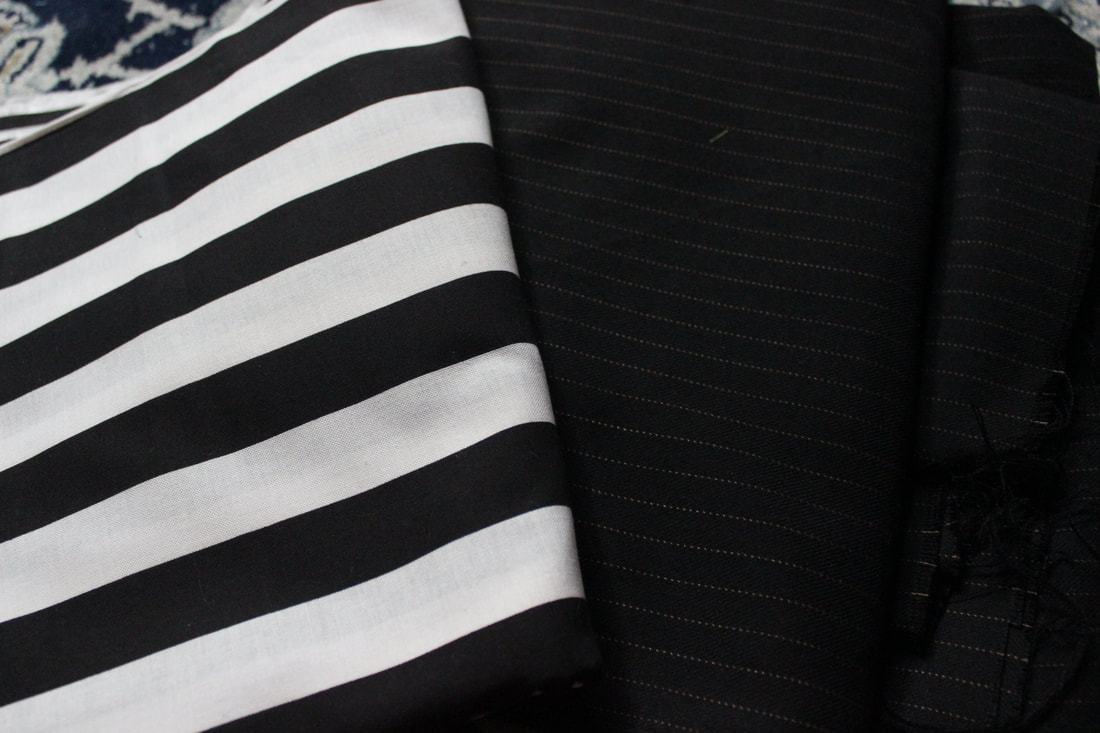 The last fabric that I got is a white and black striped cotton. I have been planning this project for ages, and I am really excited to get going with it! I think it will be a pretty quick outfit, which will be a nice change from my multi-step bustle era dress that I have just been finishing up. This one will be made into a a-line skirt and halter top printed with gold bees. My mom made a bee stamp for me, and since I love bees so much I wanted to make something out of it for myself that I can wear in daily life. This outfit is a little summery, but I think the skirt will be fun for winter to layer with tights. 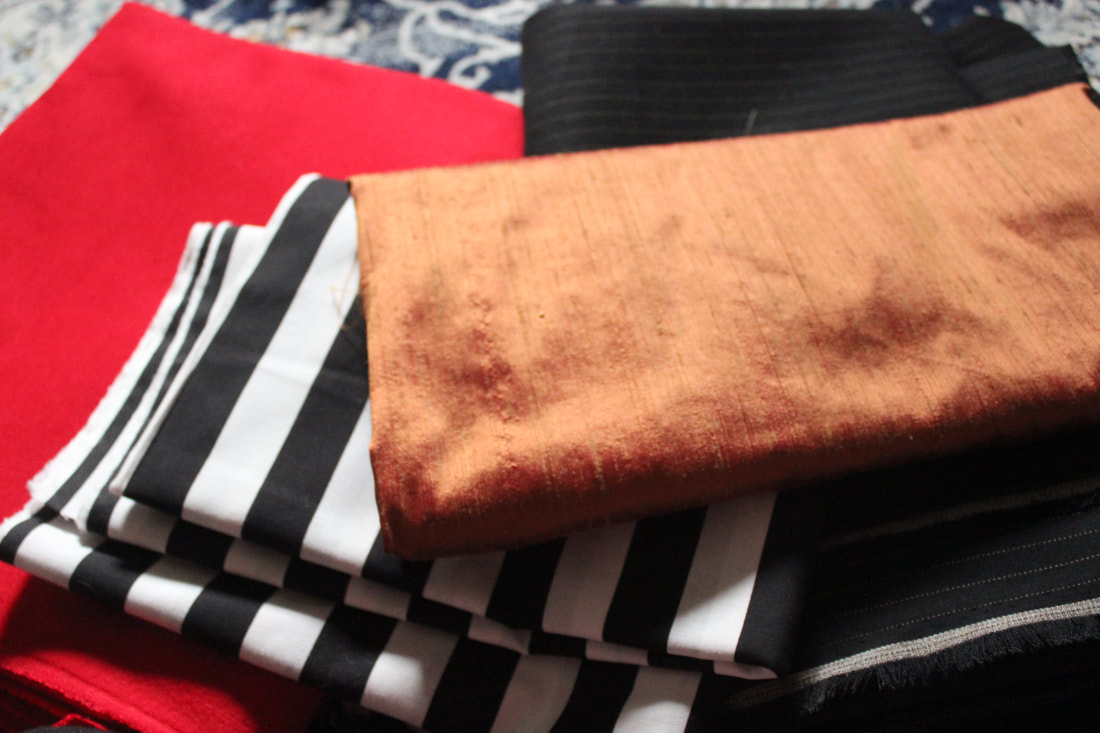 These pictures were taken in my new sewing room! I will post a studio tour in the next week or so, and I am so excited to show you! I moved into a much larger space and I am so thrilled with how everything looks in it! It also has a window, which means that I finally have the natural light that I've been missing in my old little room. ~K PS- Would anyone be interested in a video of me talking about plans and looking at fabrics and trims and showing sketches?
 I finished the undergarments for my bustle era dress, so now I can start the main dress! Before that, I went out and took some photos of the undergarments, which include the combinations, corset, a bum-pad, and a petticoat. 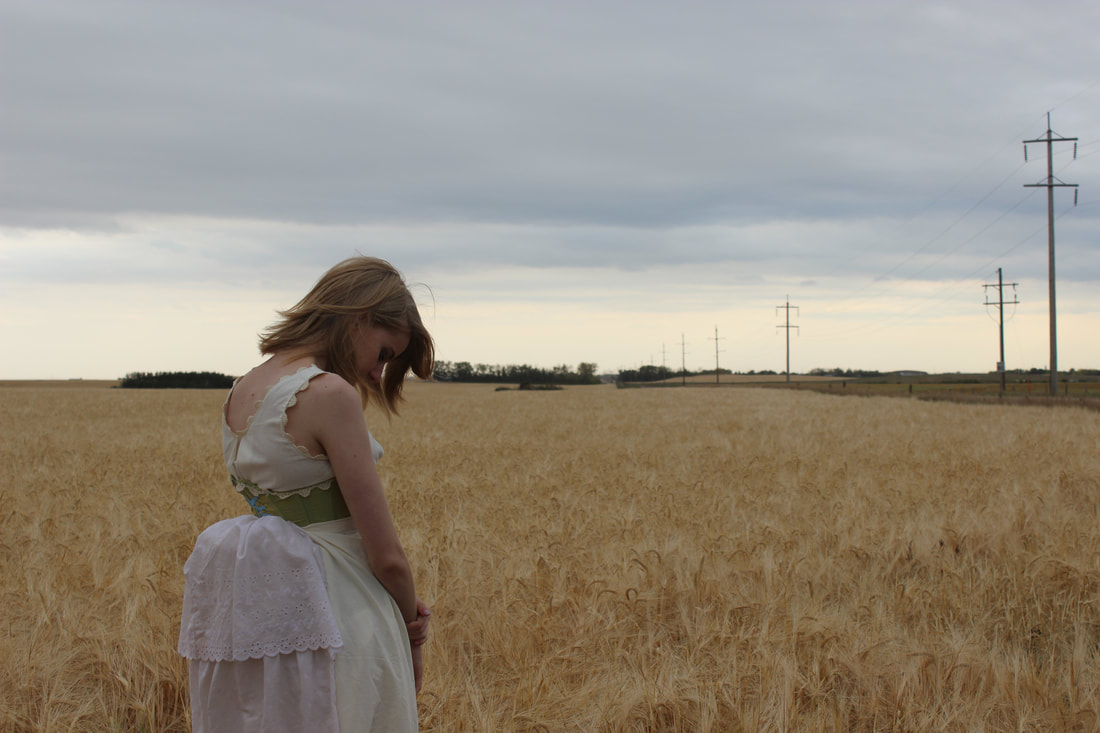 The bum-pad goes up more than out unfortunately, but I think it will look nicer once the dress weighs it down a bit. It is made of two stuffed crescent shapes, one smaller one stacked on top of a larger one. I made sure that it didn't go past my hips, since the style of the era is all volume in the back with none in the front and side. 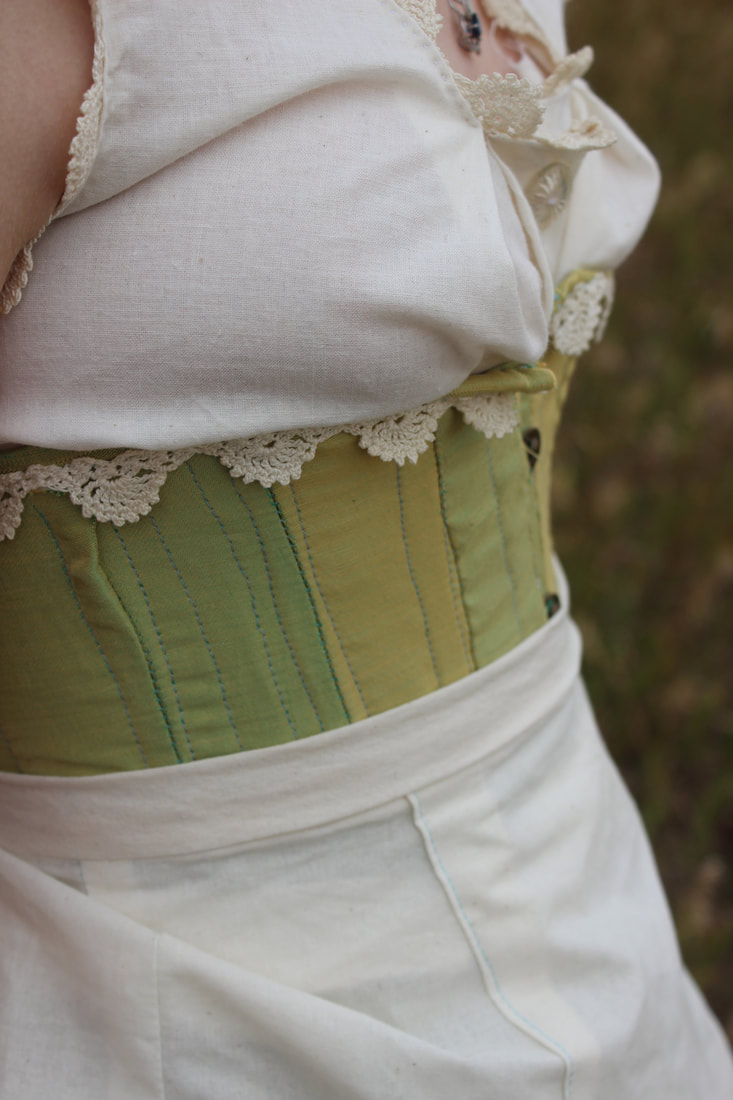 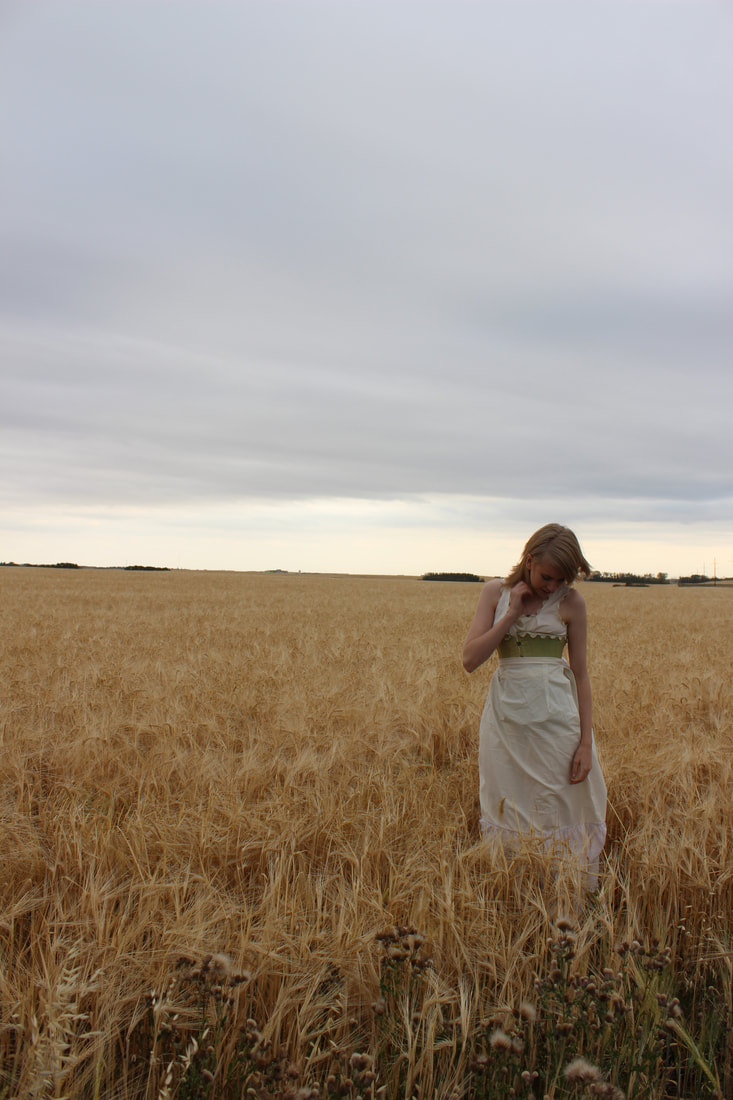 On top of the bum-pad is the petticoat. It is made of muslin (like all of the other parts, other than the corset) and eyelet lace. The lace is from an old dust ruffle that we had. I cut the lace off of the dust ruffle and tea-stained it to match the fabric as much as it could. 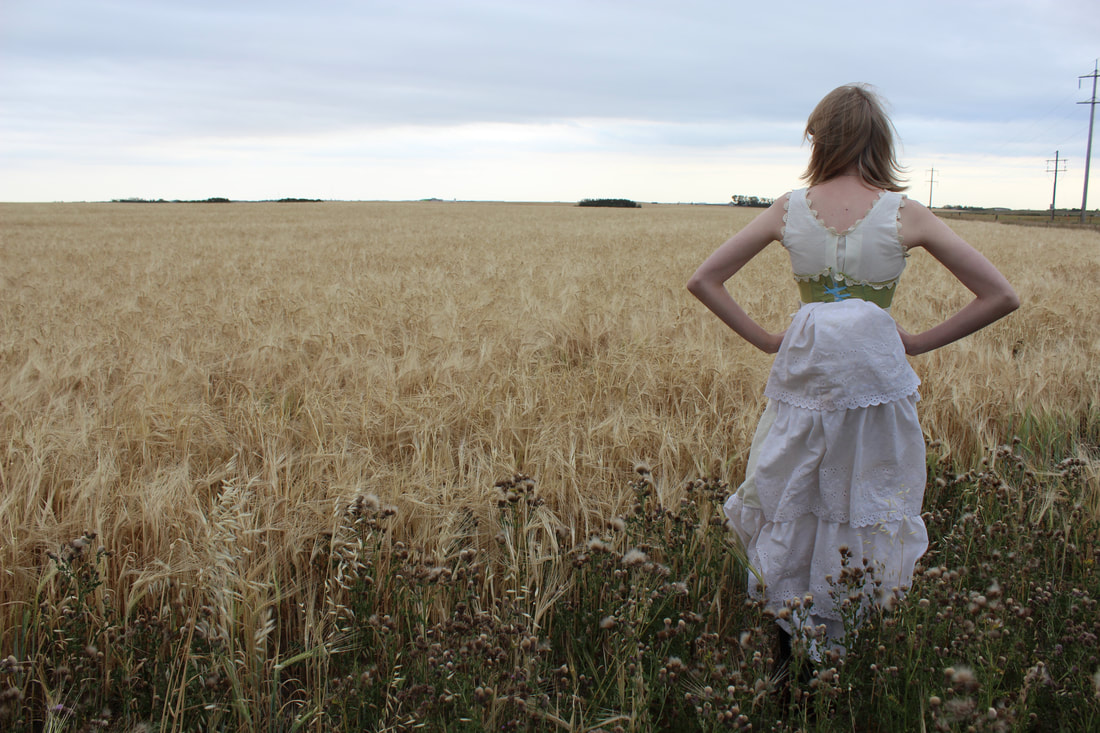 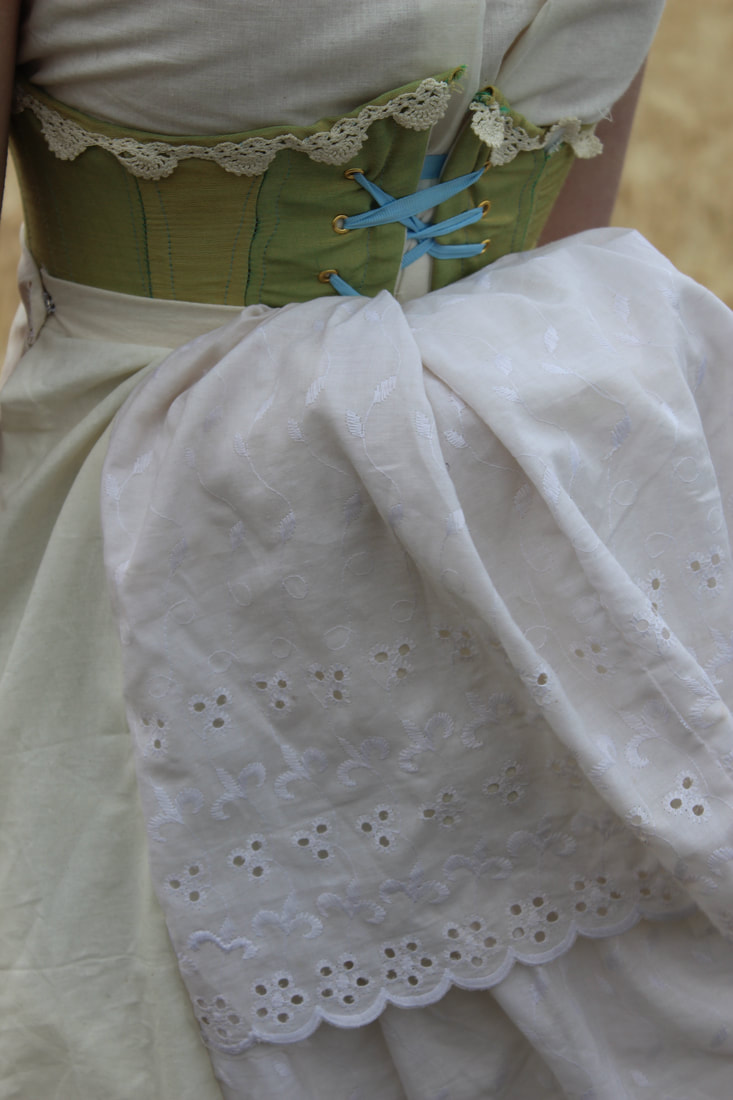 The shoes that I am wearing with this are, as always, from DSign Step, a Canadian company. I also wore a pair of knee-high black stockings to finish off the ensemble. 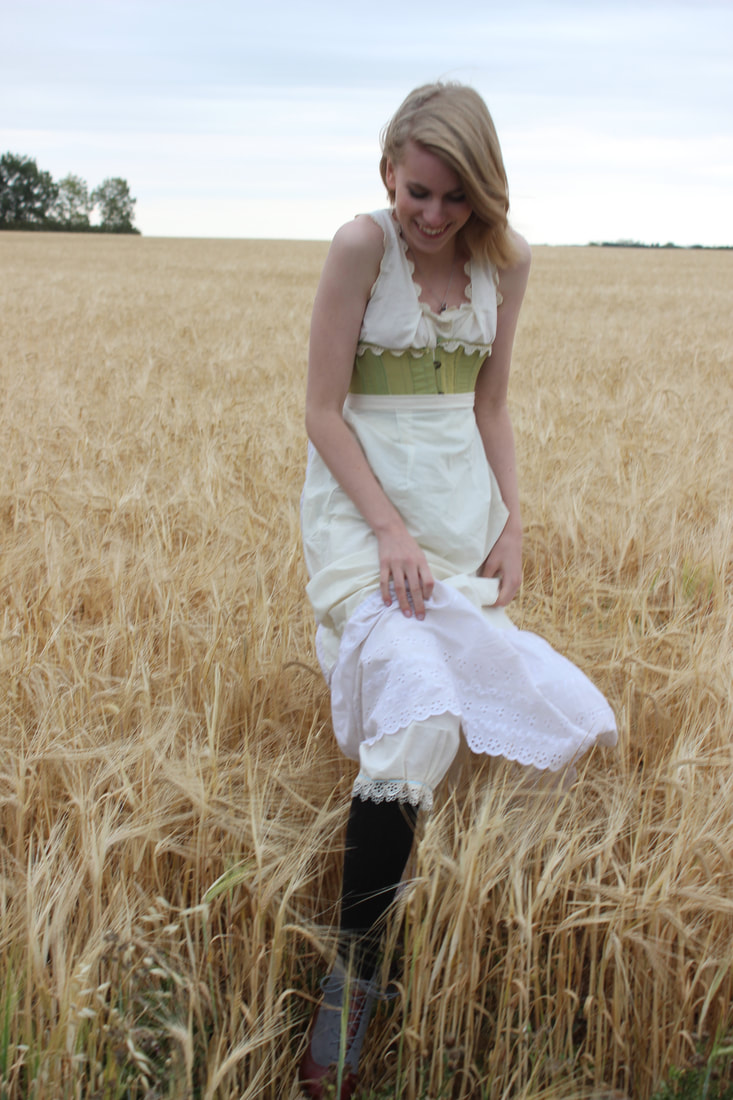 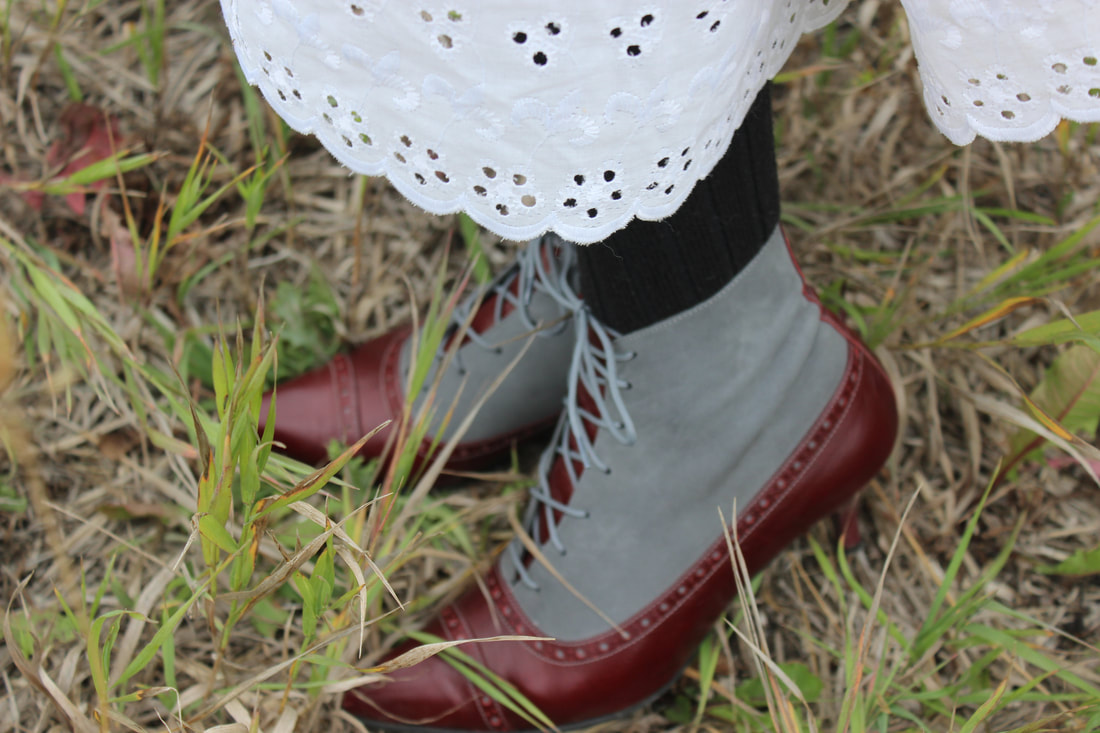 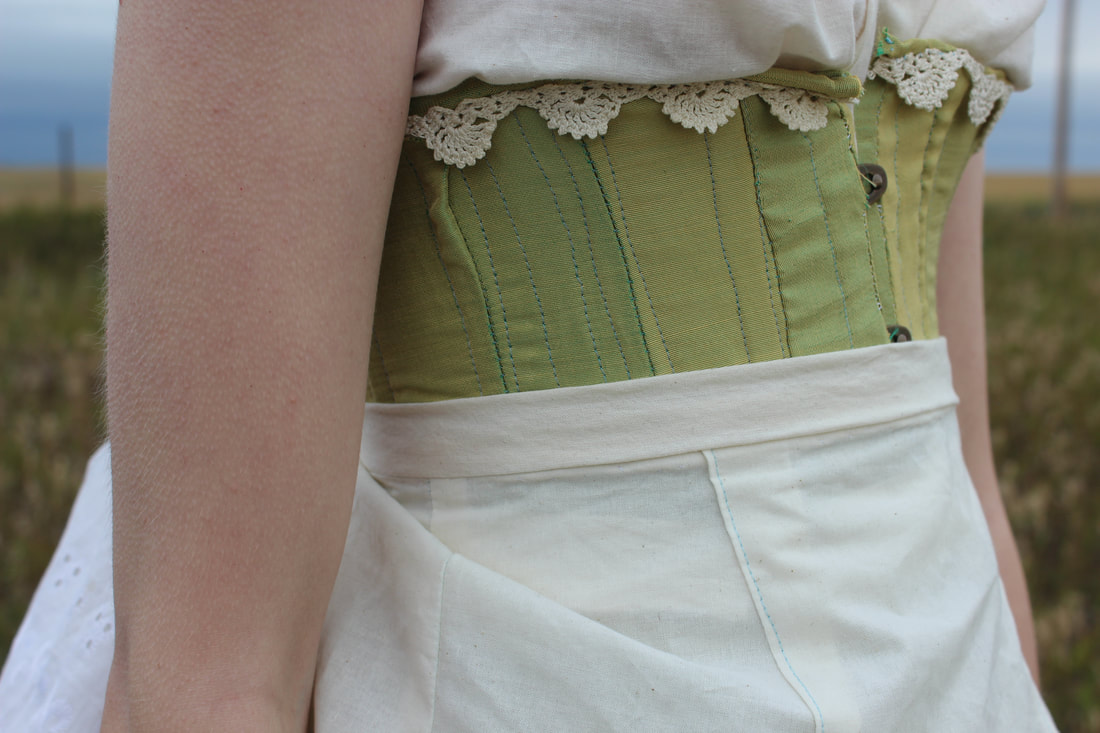 Here are a few photos of it on my dress form, when I was still working on the petticoat. 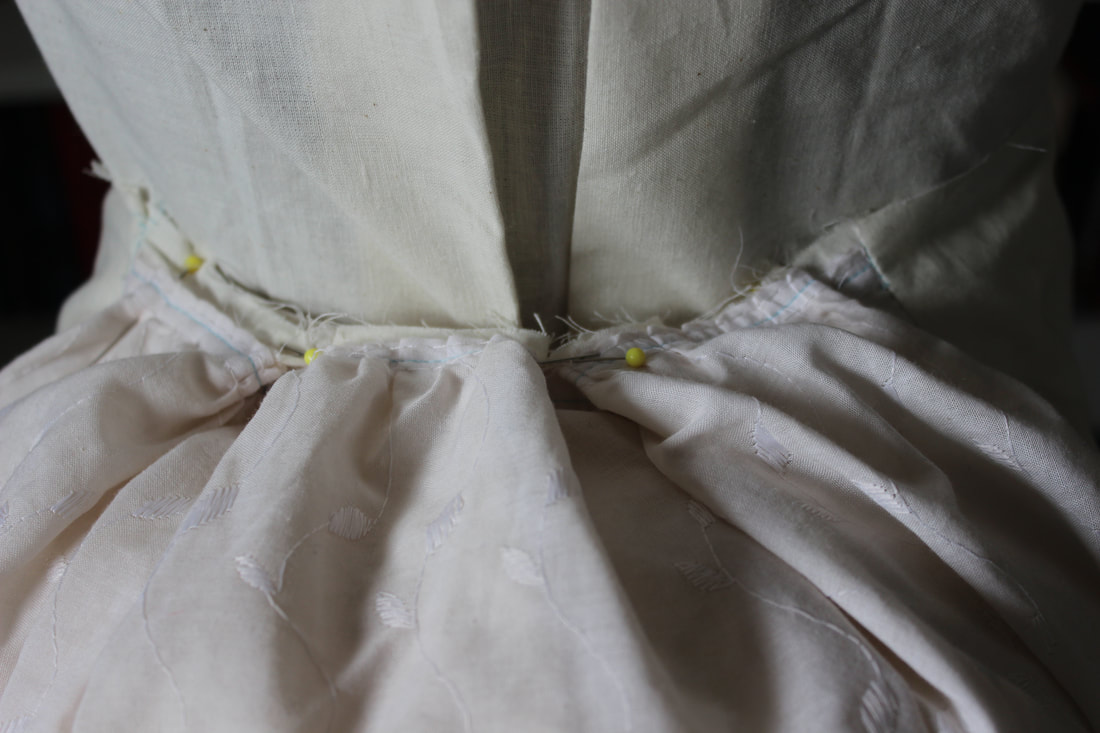 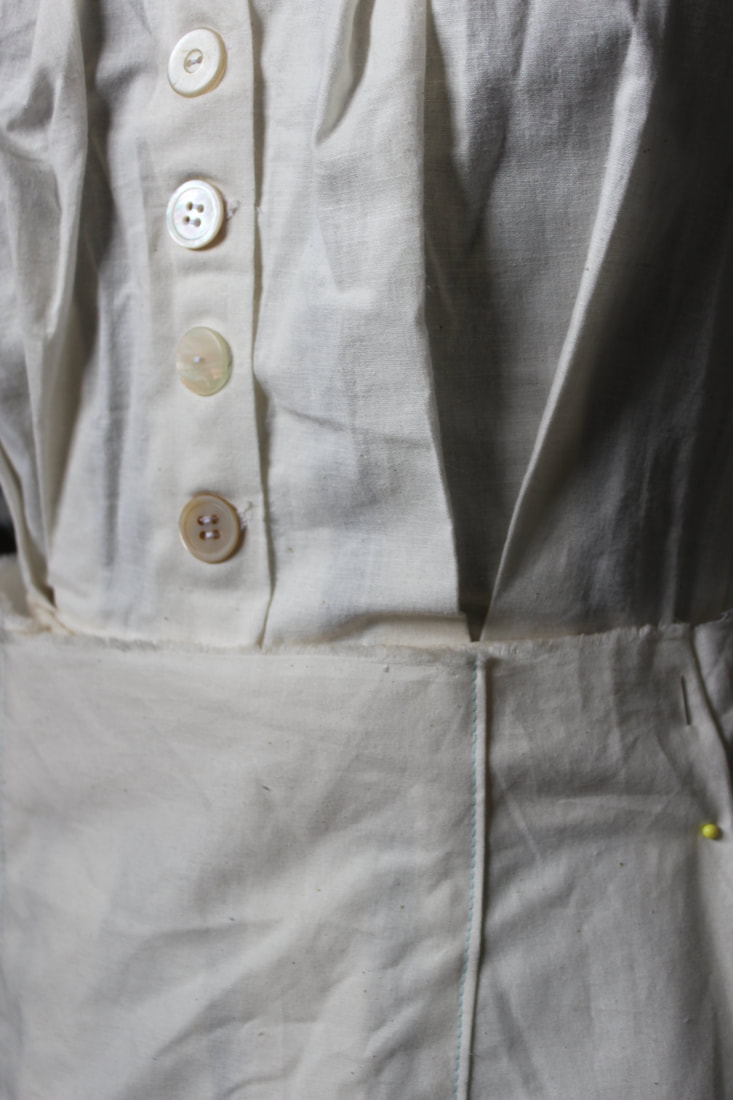 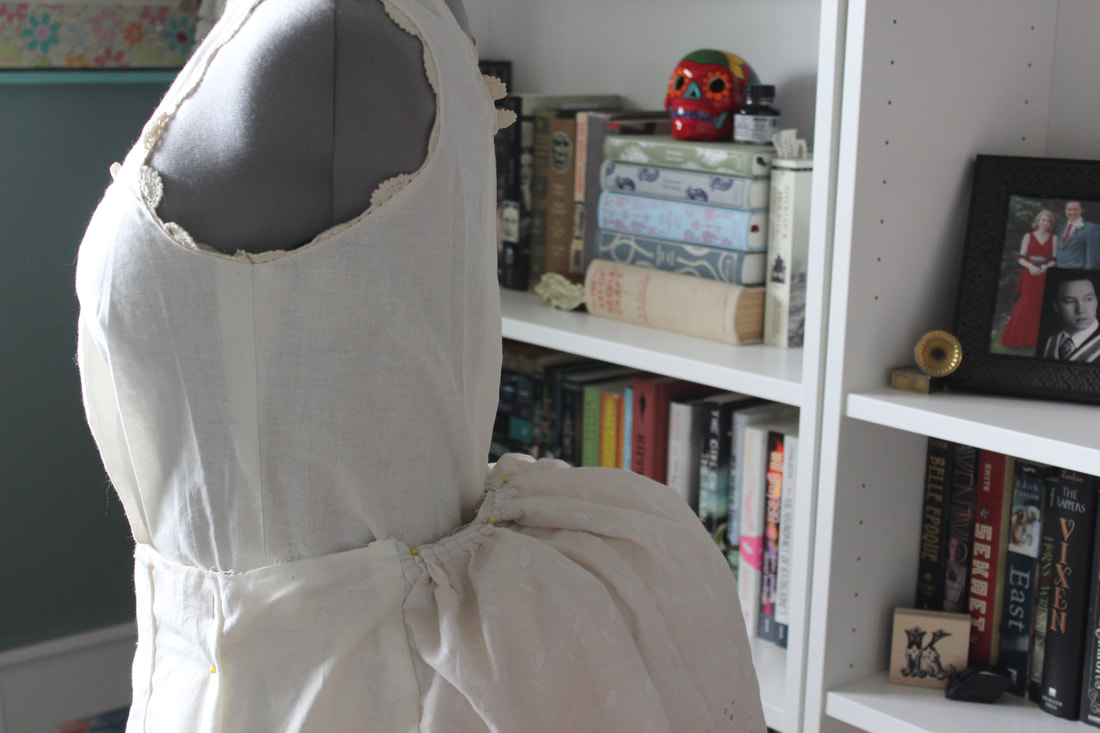 I can't wait to get started on the dress now! ~K 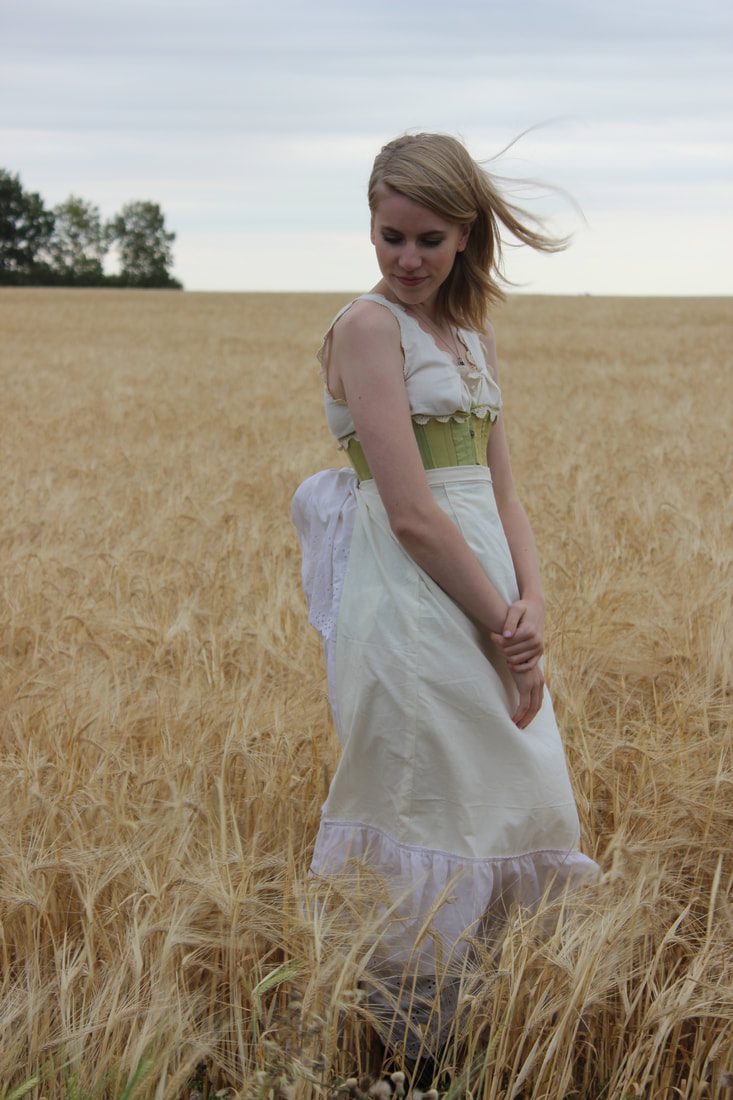 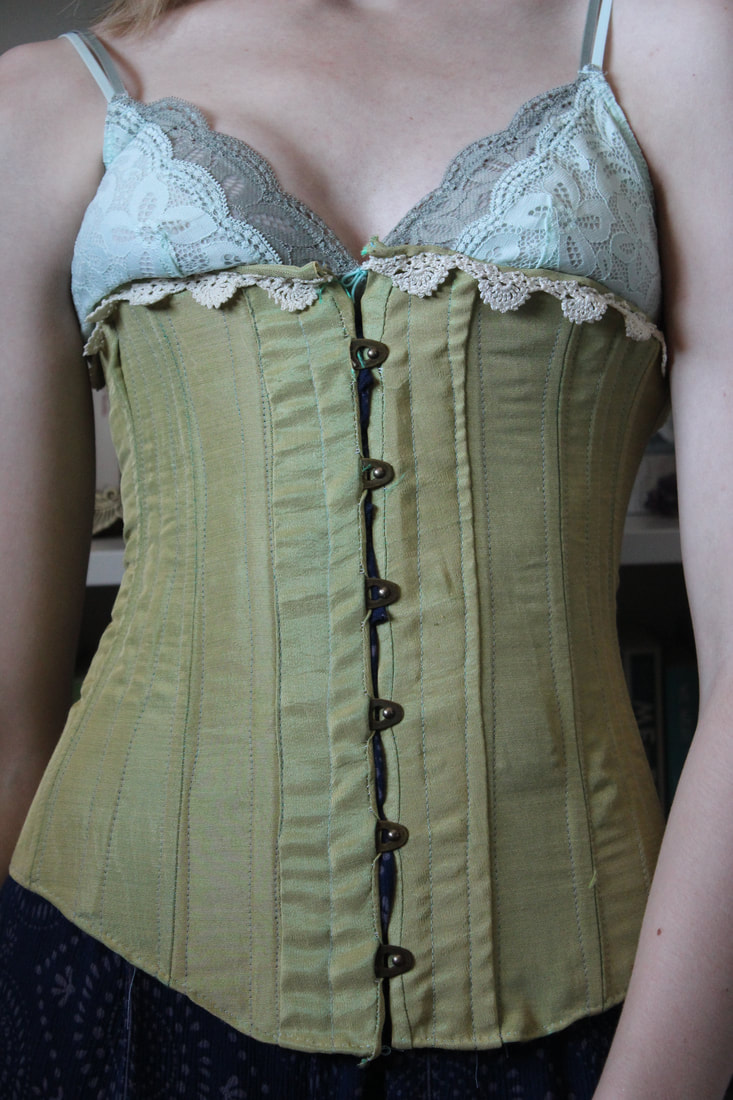 I am so thrilled because I have finished a second piece to the puzzle that is my bustle-era dress! I have been working on each section of the ensemble from closest to the skin to the outer layer- first were my combinations, now the corset, and I am currently working on the bustle and petticoat. 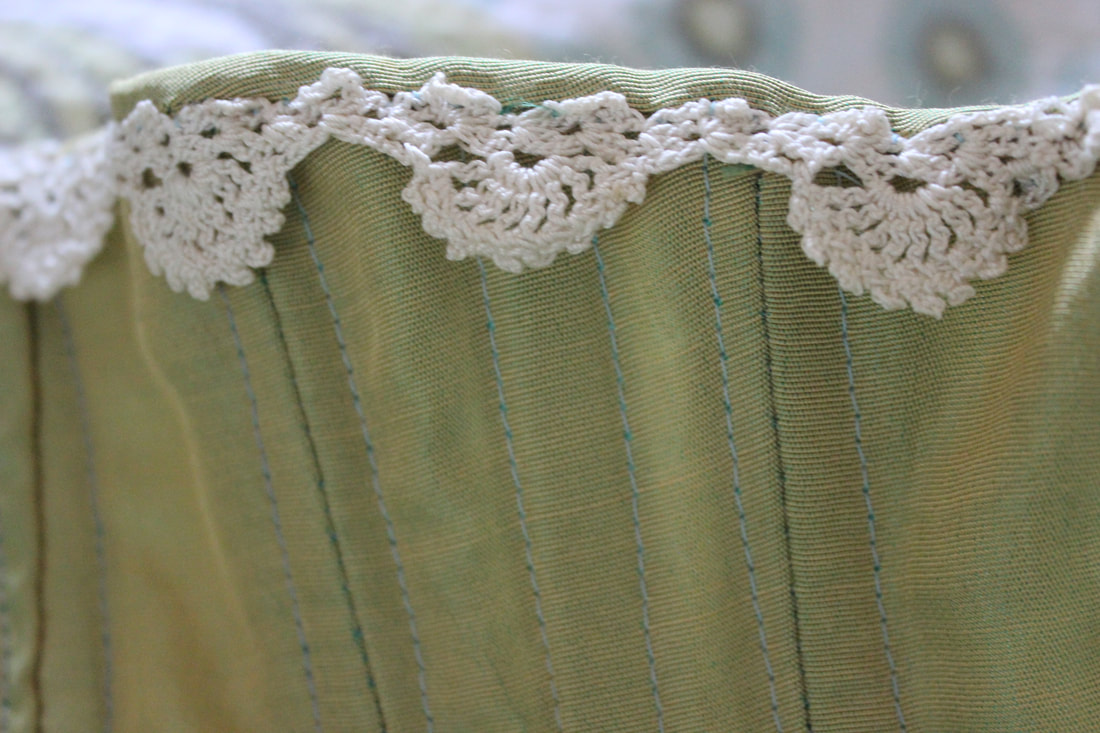 The corset was made entirely of scrap fabric. I was gifted the fabric that I used as the outer layer, and I thought it was stunning! Unfortunately there wasn't very much of it, but there was the perfect amount for this corset. The lace that I used is the same vintage lace that I used at the neckline of my combinations. 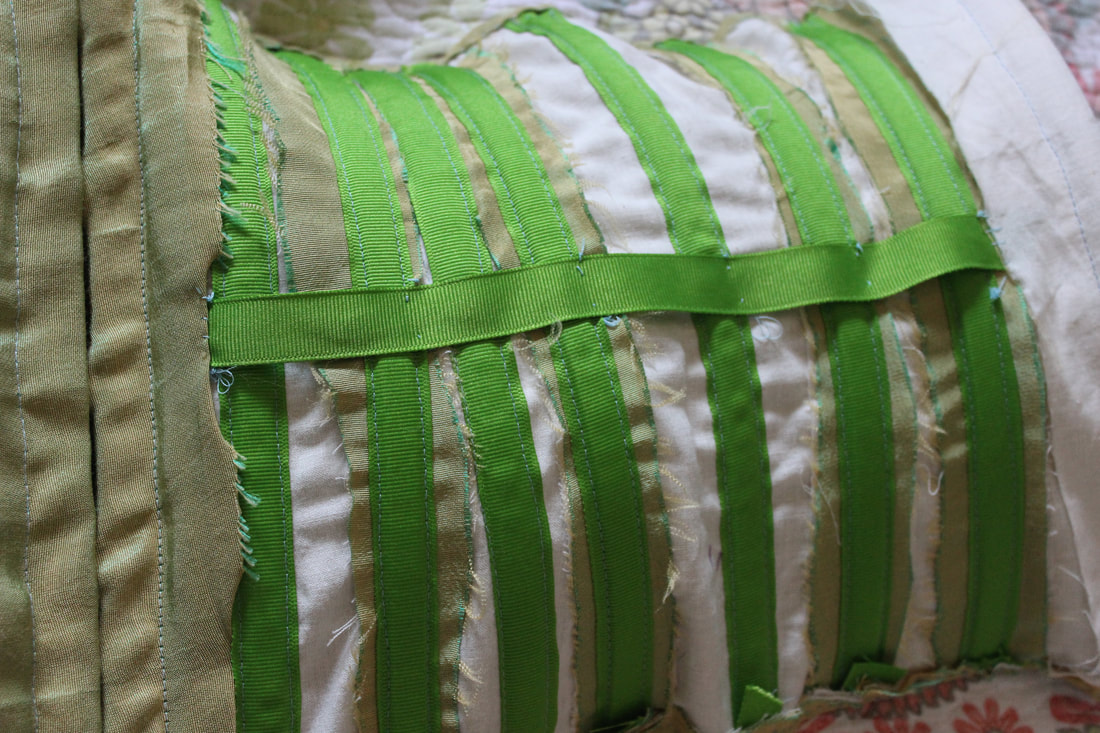 This is fully boned with heavy-duty cable ties, and I used grosgrain ribbon for the boning channels. I also used the same grosgrain ribbon as a waist stay, which is basically just a strip of tightly woven fabric that goes at the place with the most stress- the waist. It keeps the corset from stretching out too much. 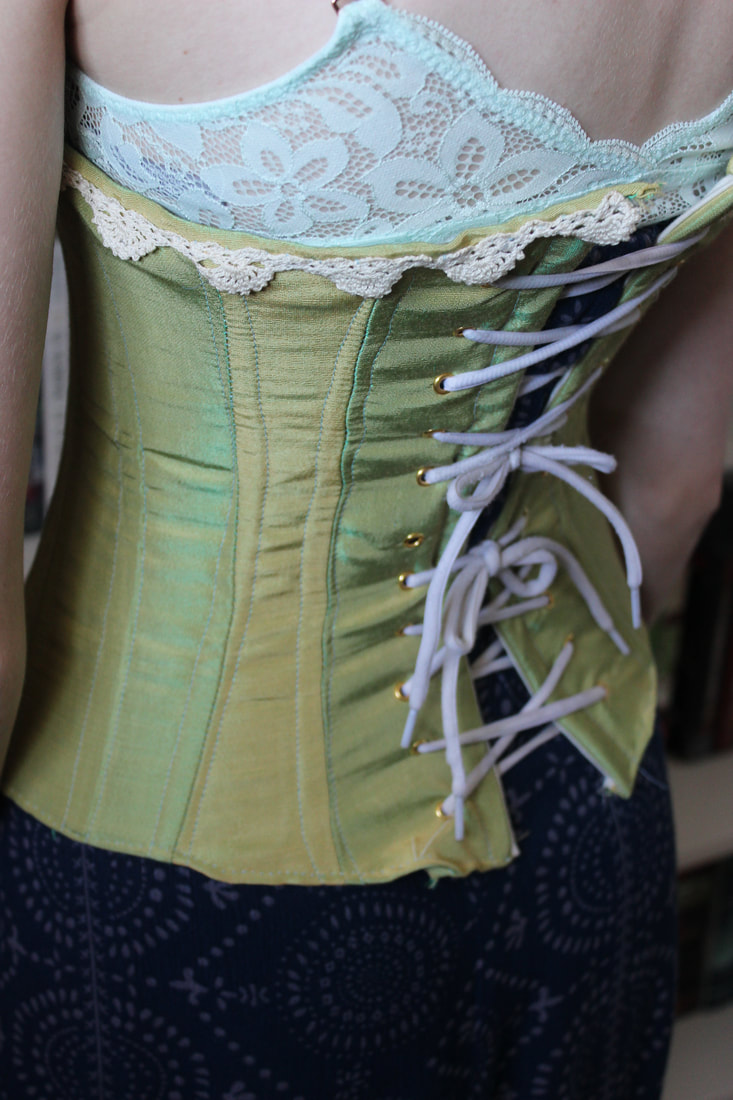 Please forgive both the terrible lacing job as well as the old laces... I was so excited about finishing the corset that I used running shoe laces while I wait to get some nicer ones Although it is not historically accurate at all, I used grommets for the laces in the back of the corset instead of hand-sewn eyelets. This was partly for strength, and partly to save some time since I am very excited to get started on the actual dress. Even though they aren't accurate to the time, I think it looks quite nice. 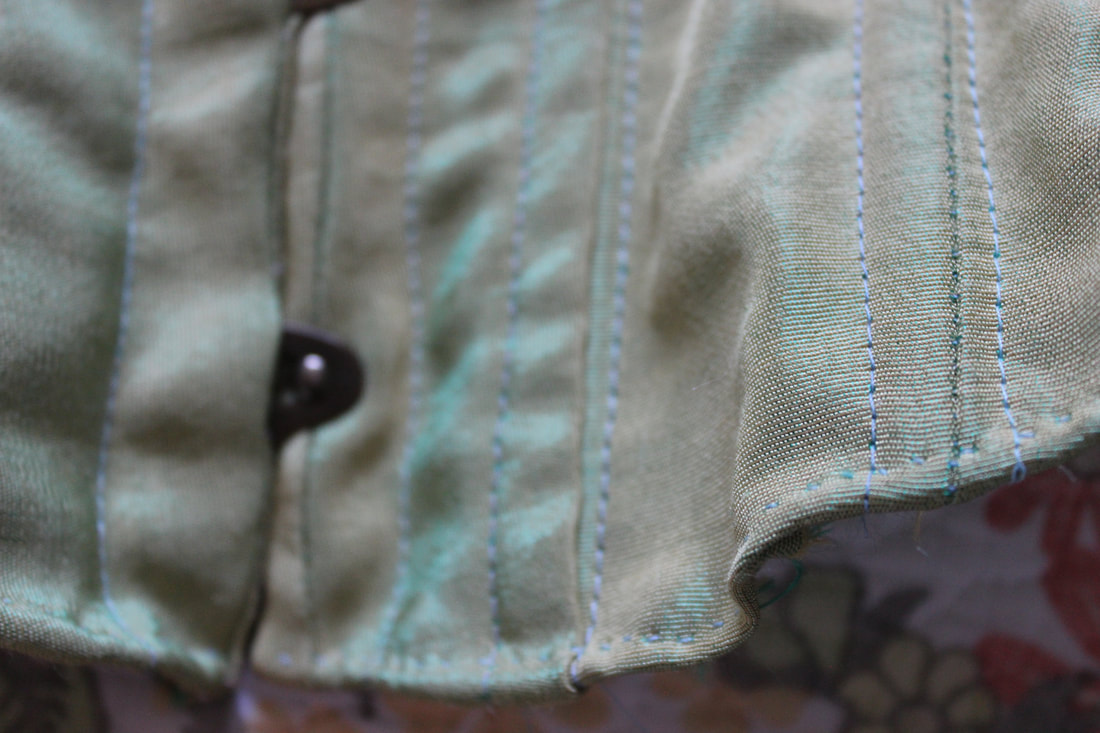 Since I had so little of the fabric left, I only bound the top of the corset. The bottom just has a narrow hem instead. 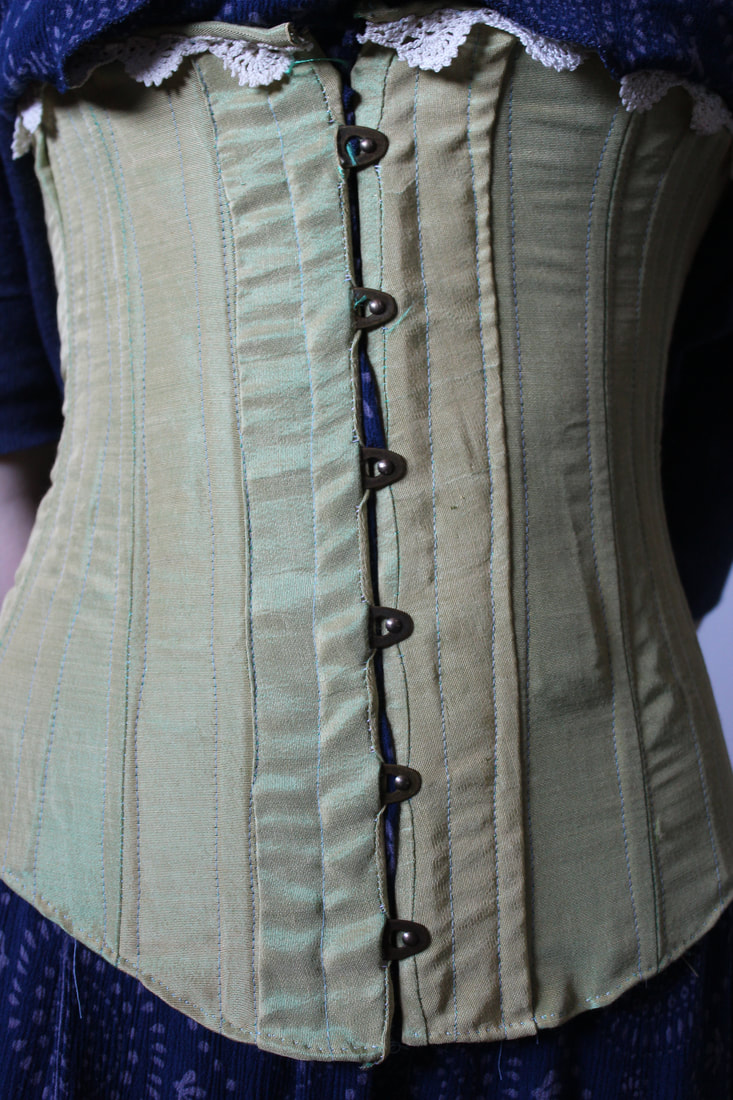 The busk is from a Canadian company called Farthingales. They sell corset and historical undergarment making supplies, as well as other things. They were so easy to work with, and my busk came very quickly! I am so pleased with the colour that I chose as well. 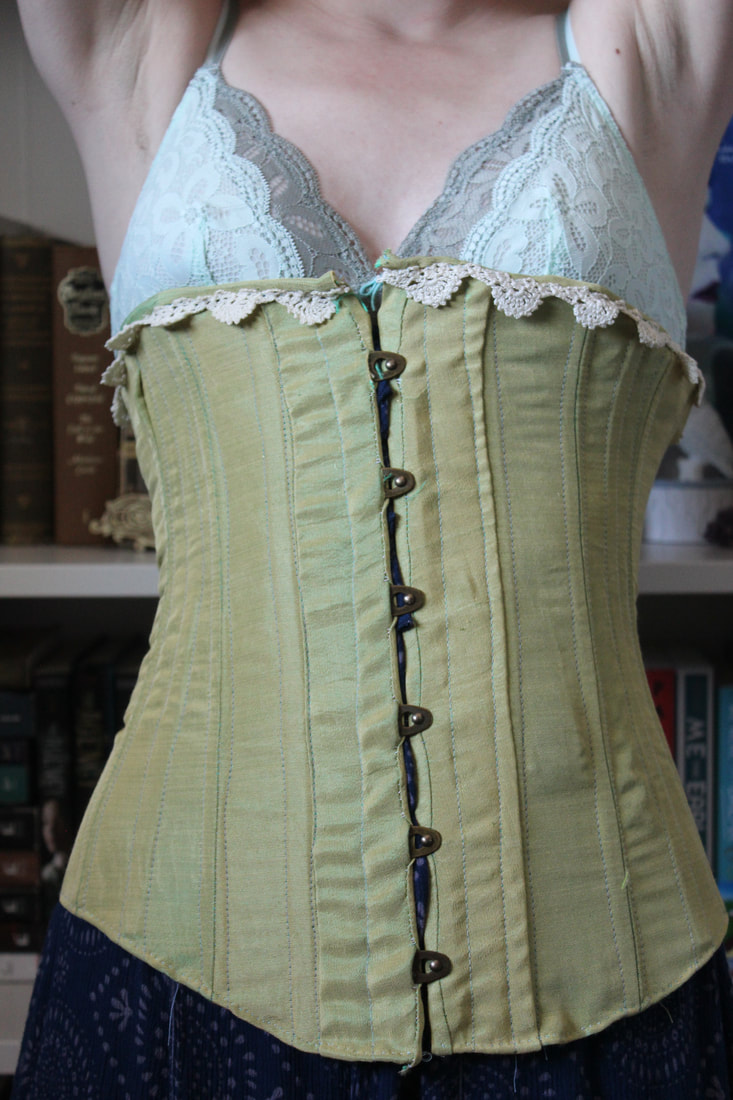 ~K
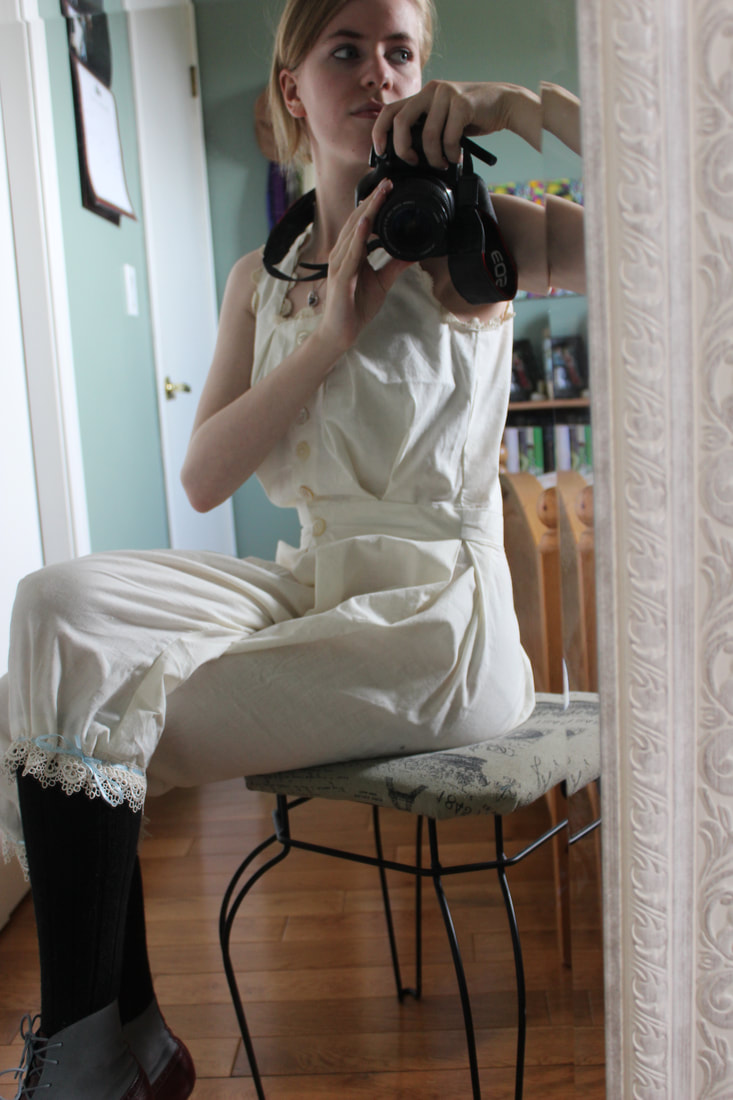 I have been hard at work on my newest project, and the first thing that I have had to make is the undergarments! I decided to make an 1880's bustle gown out of my anatomical heart printed fabric, so I have been working on the proper undergarments. The first thing that I have finished are a pair of combinations! 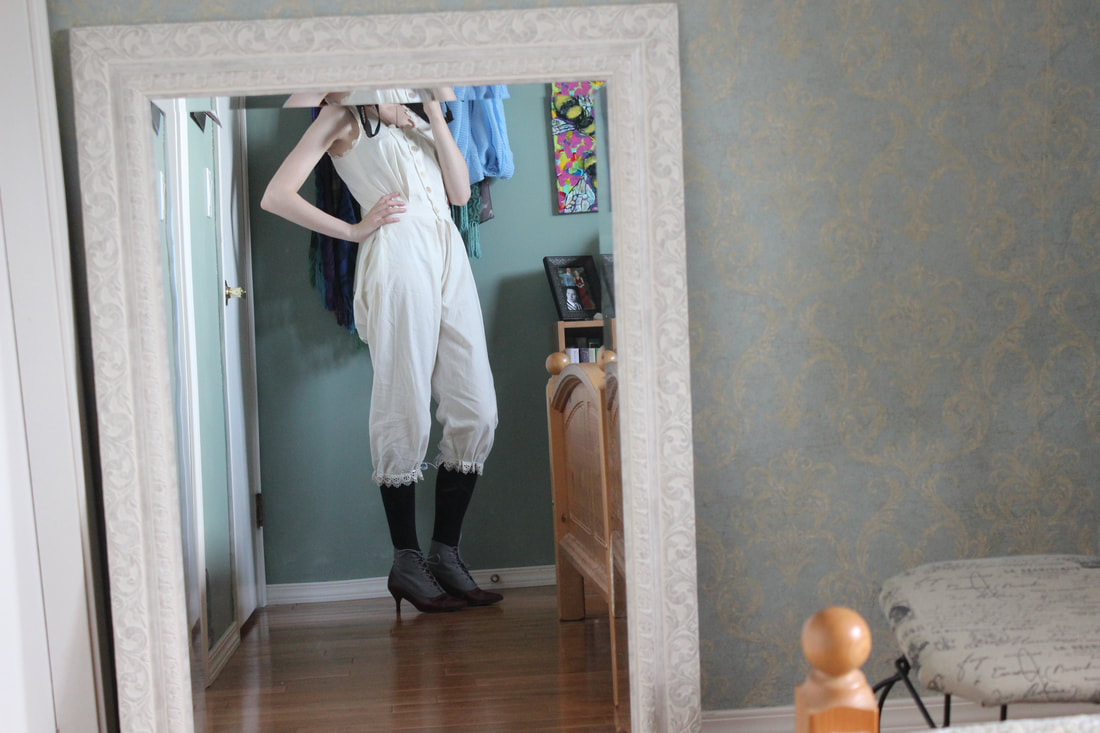 I am quite thrilled with how these turned out! I used Simplicity pattern 1139 as a base pattern (just for the bloomer part of it), and changed it quite a bit to make a pair of combinations that were inspired by ones from the 1880's. 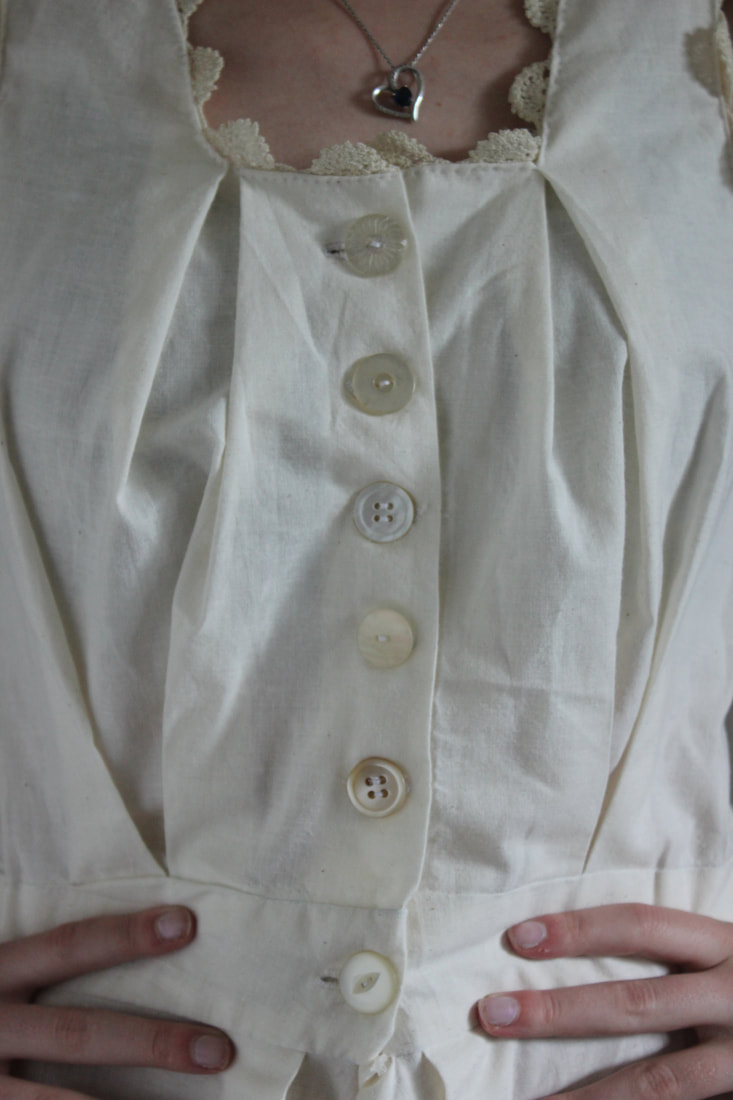 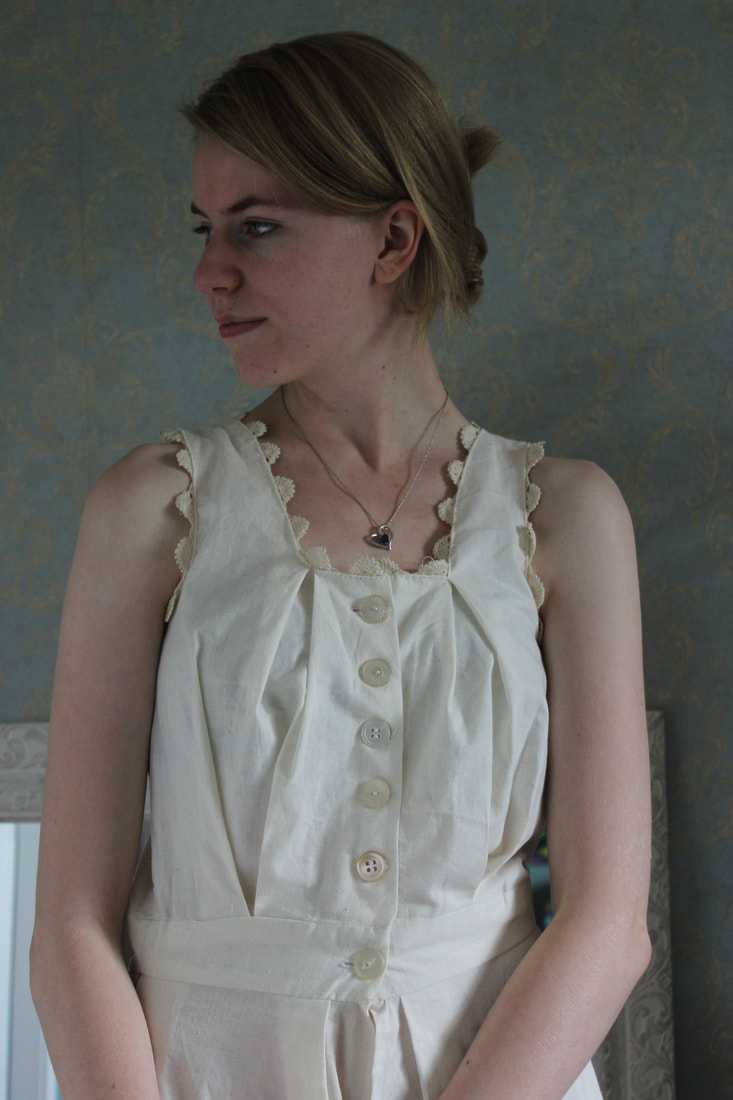 I used some muslin to create the combinations, and trimmed them with some vintage lace that I was very generously gifted a while ago. The buttons on the front are all vintage as well. I thought that it looked cute with the unmatched buttons, so I didn't even try to find matching ones. 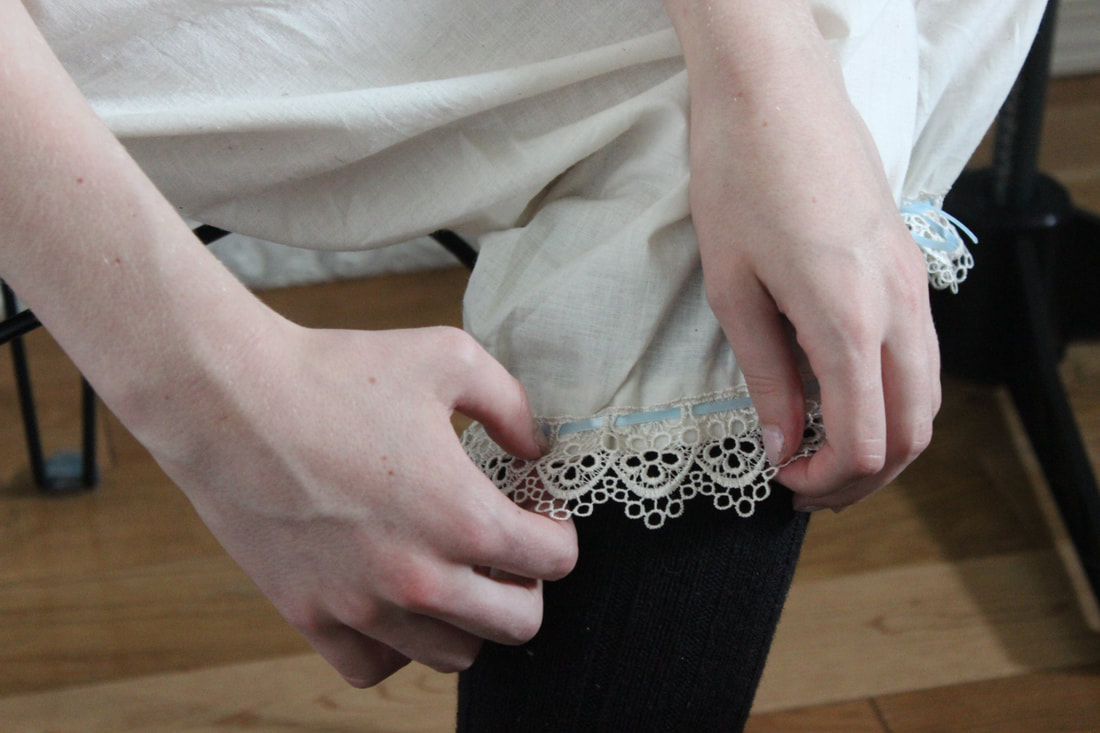 On the bottom I have a different lace that I bought at Michaels and then tea-stained for it to match the fabric. I used a light blue ribbon, also from Michaels, to tie the bottom. 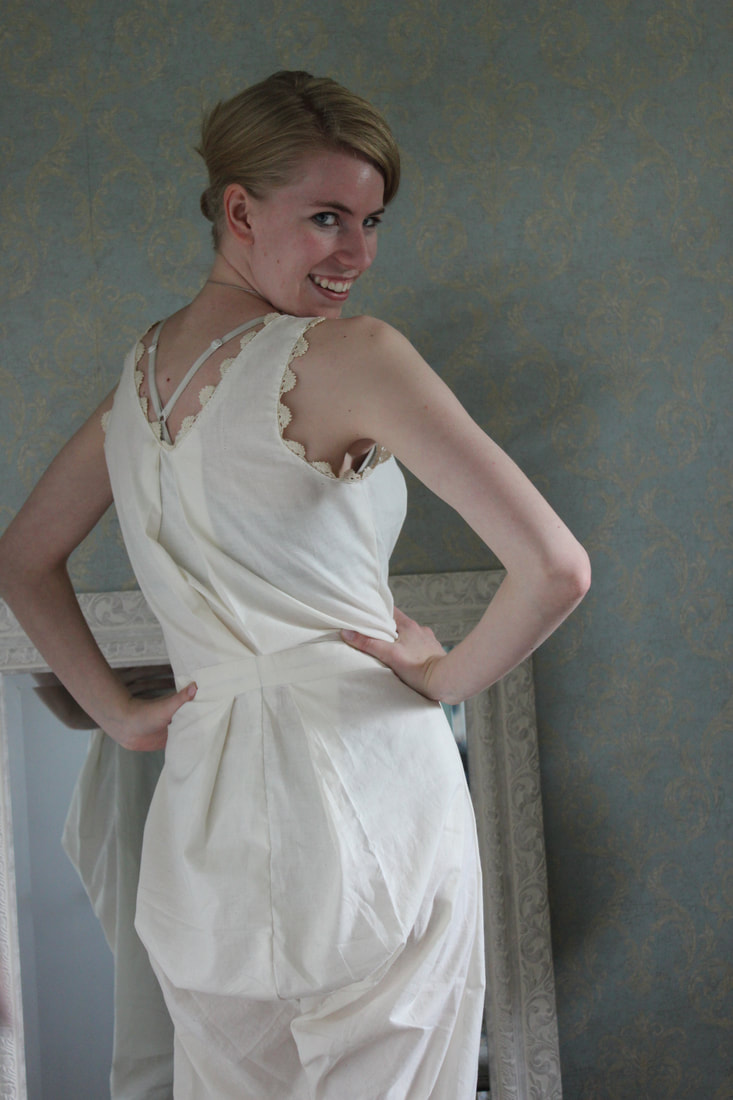 I think the extra space in the bum is hilarious- and very accurate to the time! These are split-drawers, meaning that the front seam is not sewn together. This was done through the 1800's so that the women could use the bathroom without having to take off their bloomers, and once combinations were created, this feature was especially important since the only other way to get the bloomers off would be to take off everything else on top of it! 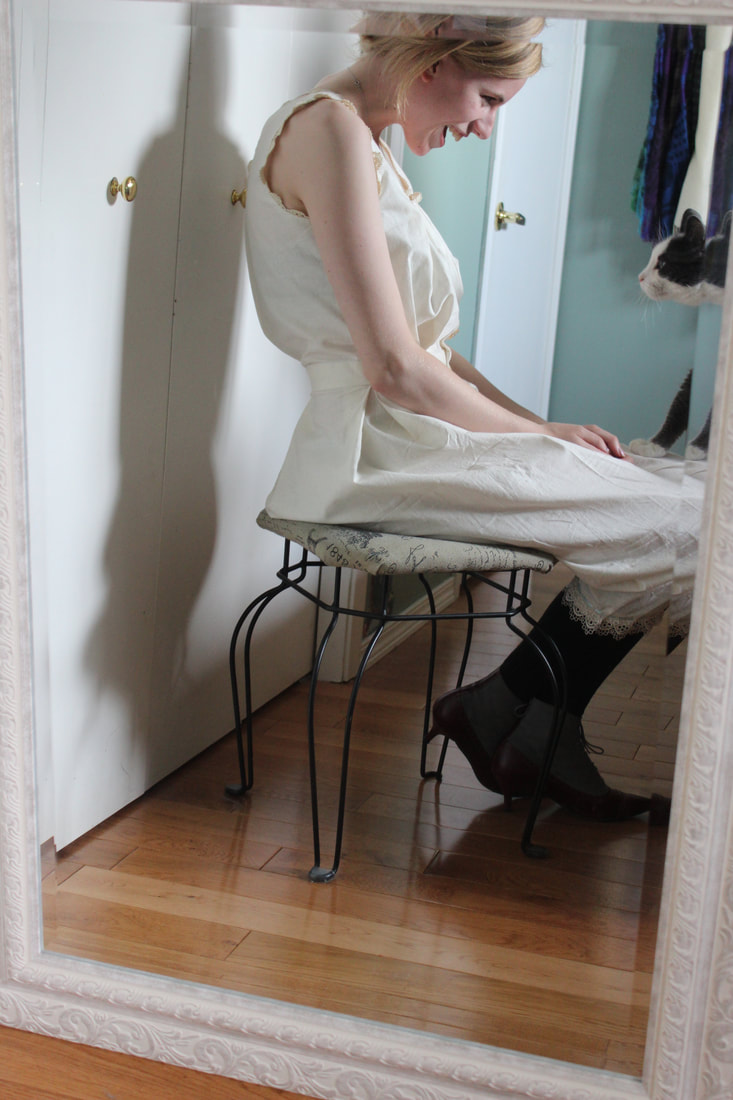 As always, the kitten came over to check out what we were doing Since finishing this, I have been working on the other undergarments that will go under my bustle dress- a corset, a bustle, as well as a petticoat. I will blog about those as soon as I finish them! I am so pleased with how this came out, and I am so excited to keep working on the other pieces of this project! To see more pictures of this and other things that I have been working on, check out my instagram 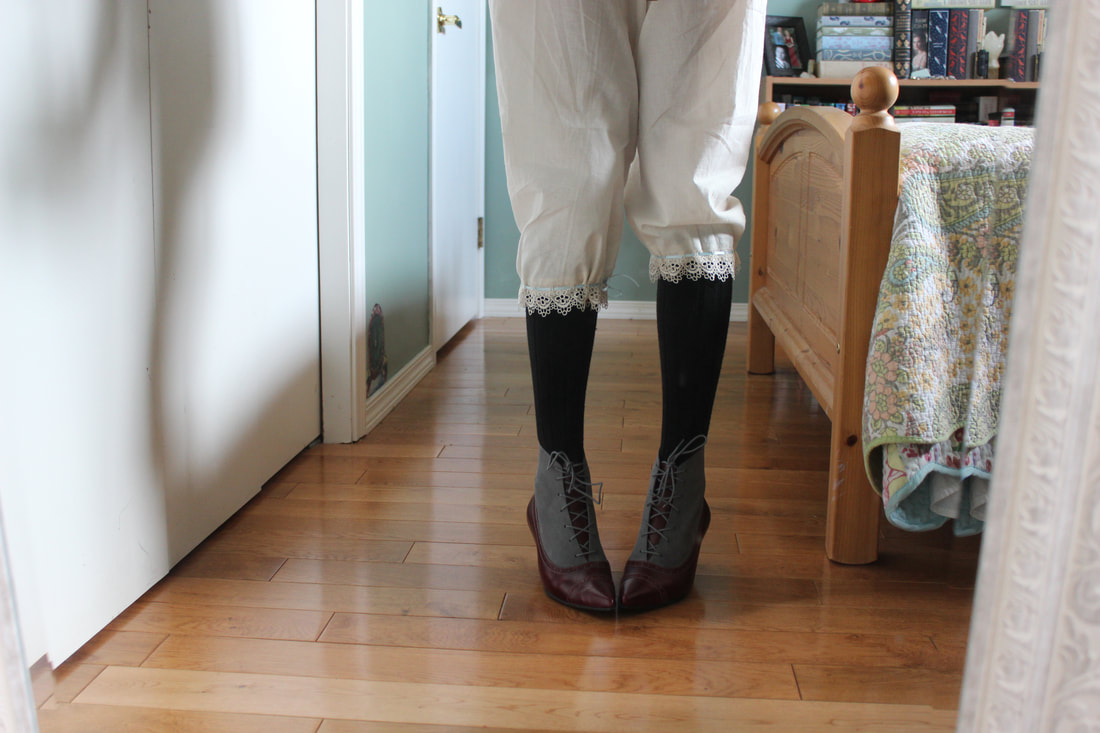 ~K
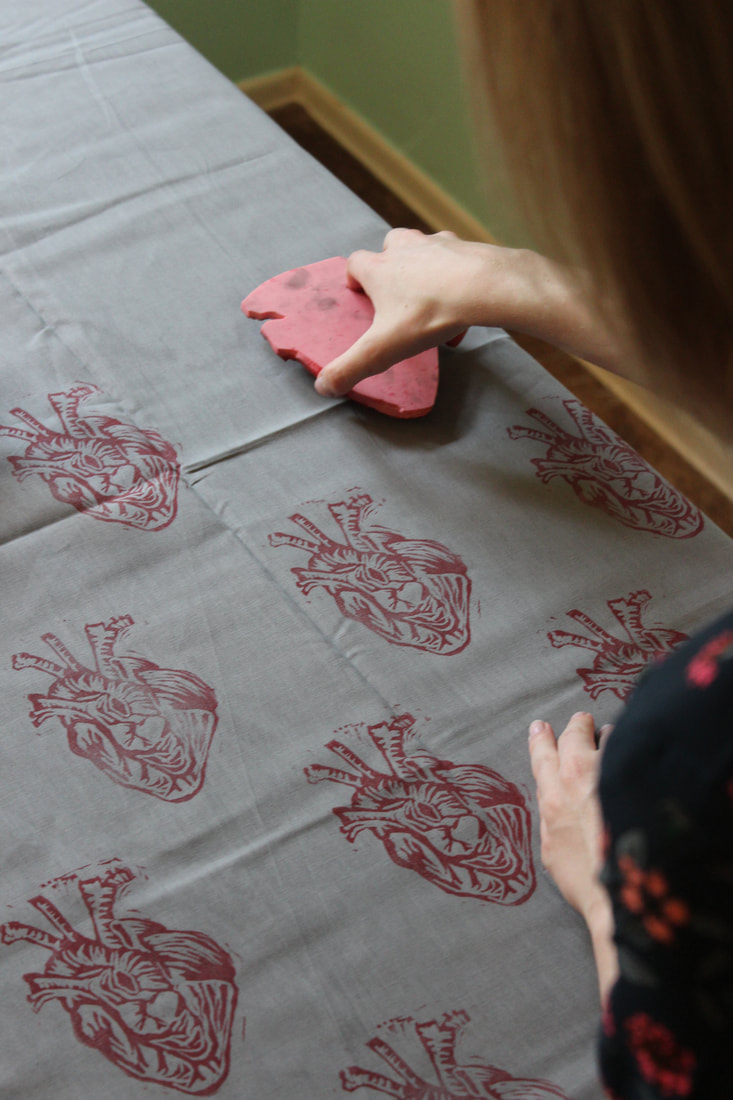 For my newest project, I have decided to print my own fabric!My mom (her blog is here) carved a stamp for me, and I printed it onto a grey cotton with fabric ink. I had a very clear idea of what I wanted, and I knew that it would be very unlikely that I would find a fabric like it so I decided to print it myself. I am thrilled with how it turned out! 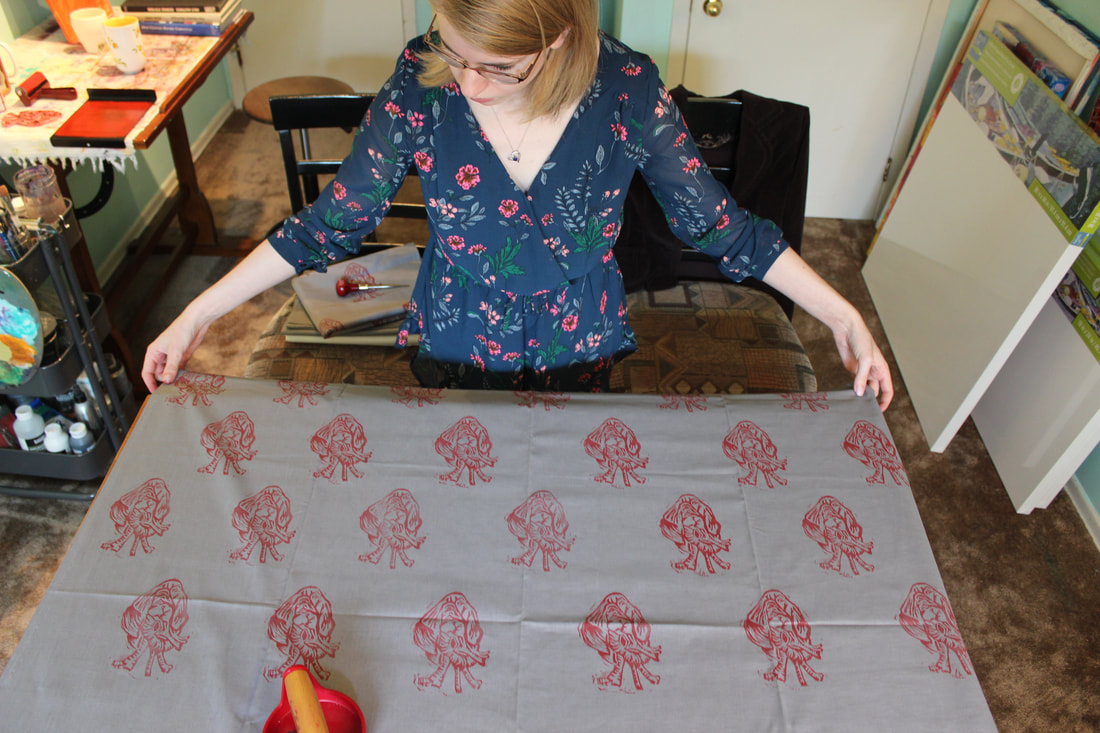 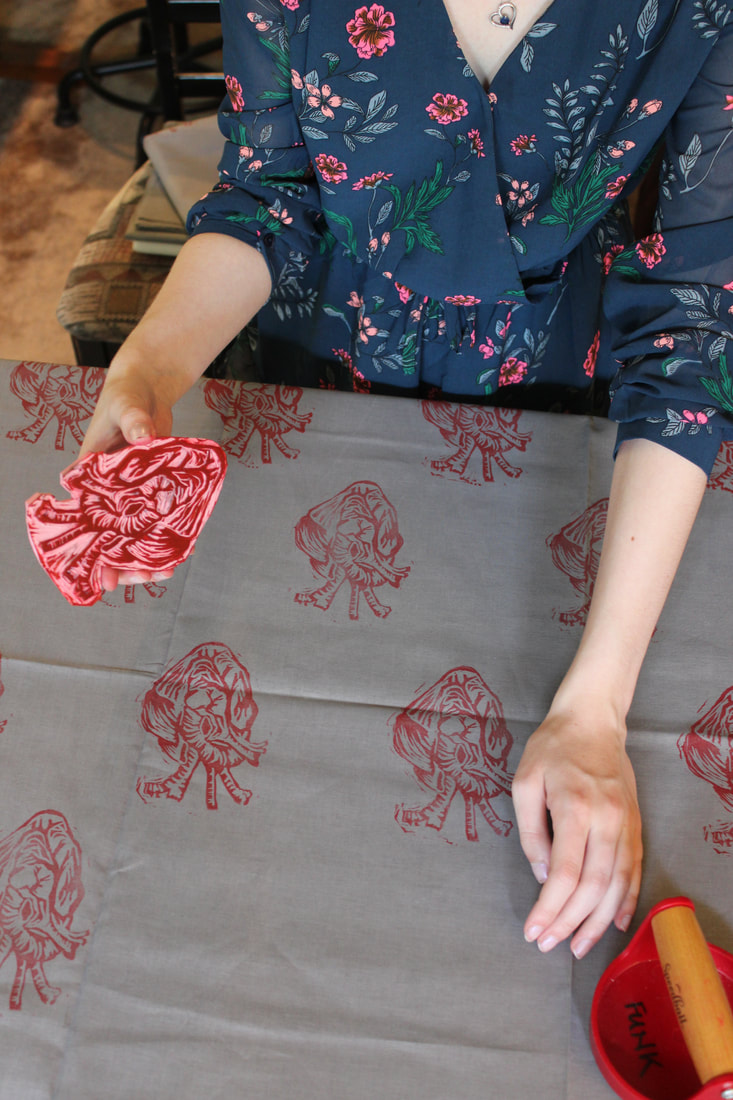 It took me between an hour and an hour and a half to print each chunk of fabric, which was 2 yards long. I printed 3 of those, and I am sure that it will be enough fabric for what I want to make with it.  You can also see for the first time in these photos our combined studio space! I am still in my little storage closet, but this table is perfect for cutting out pattern pieces and such, so it's really great to have this second space.  I have been busy over the past few weeks, so stay tuned to see all of the projects that I have been working on. I will also let you know what this fabric is for in my next post!
~K  I just recently finished an embroidery project for Voice and Vision, which is a program through my local library. The idea is that there are an equal number of writers and visual artists, and they exchange their work. Each writer will then have a piece of visual art to inspire some writing, and each artist will have some writing to inspire a piece of art. Our deadline was the beginning of August. 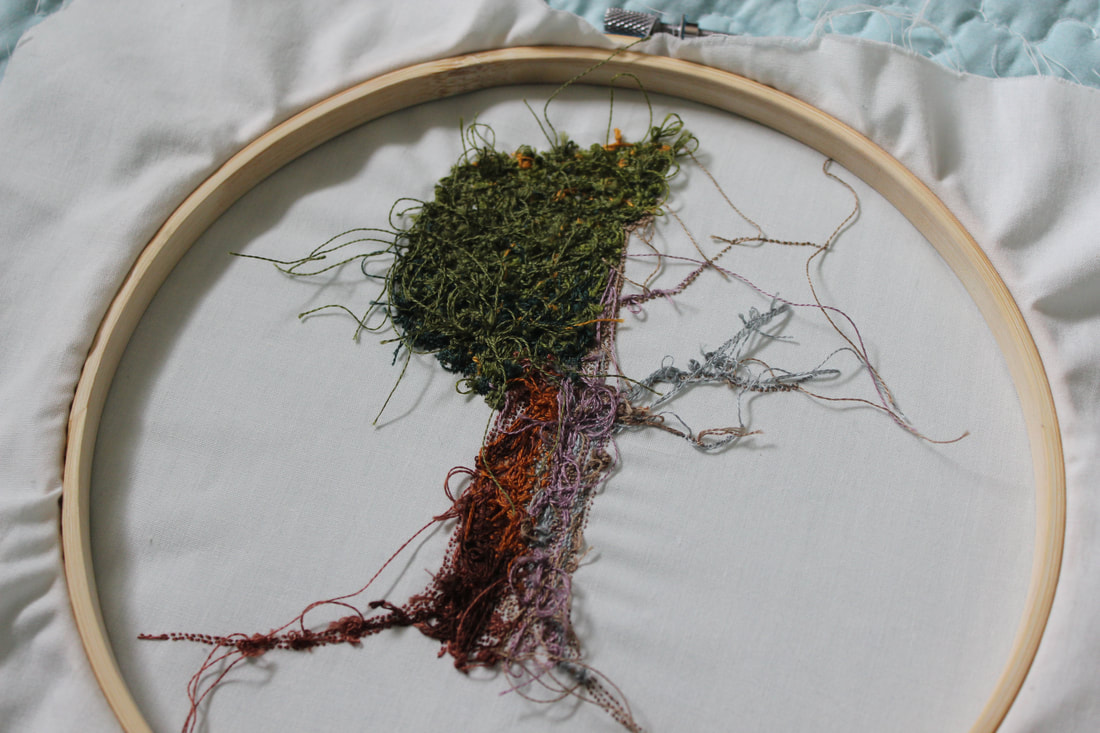 The back started off looking very neat and tidy... This is only the second time that I have done a piece of embroidery- the first time was for a school project. So this project was mostly experiments with different stitches and such. 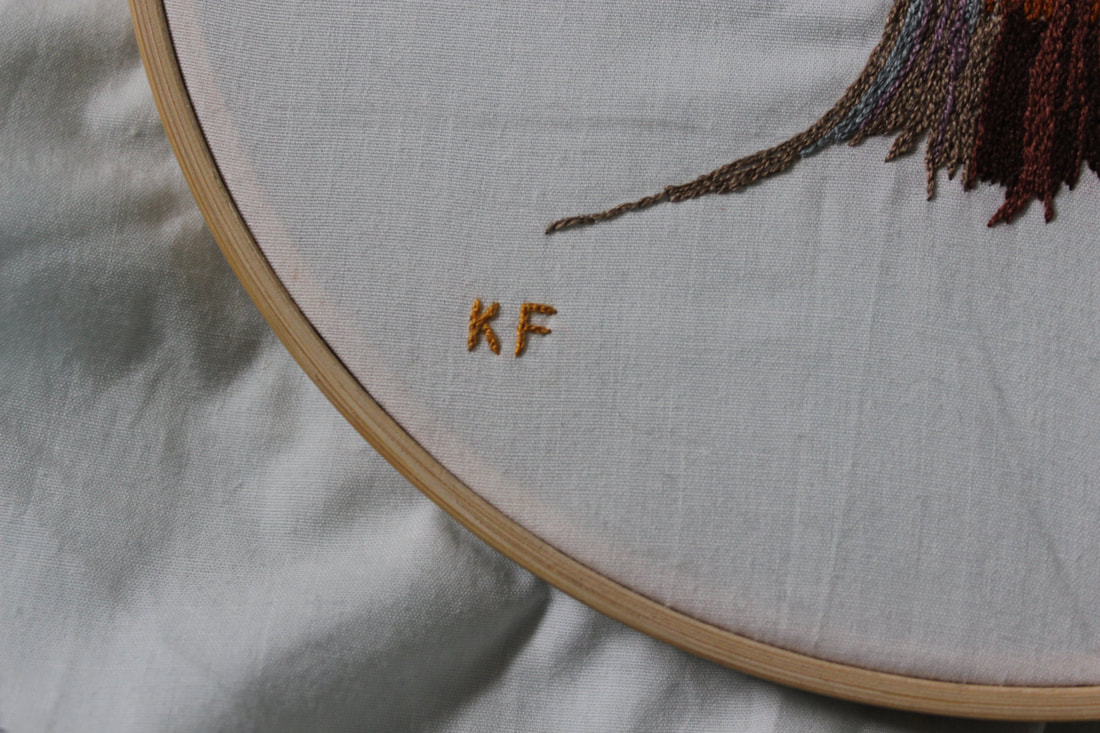 I am very pleased with how this turned out, especially since I haven't had much practice before making this. It took me about a month to do, mostly just working on it while I was watching tv (Indian Summers is amazing by the way, and a really great show to stitch to because the costumes are stunning). 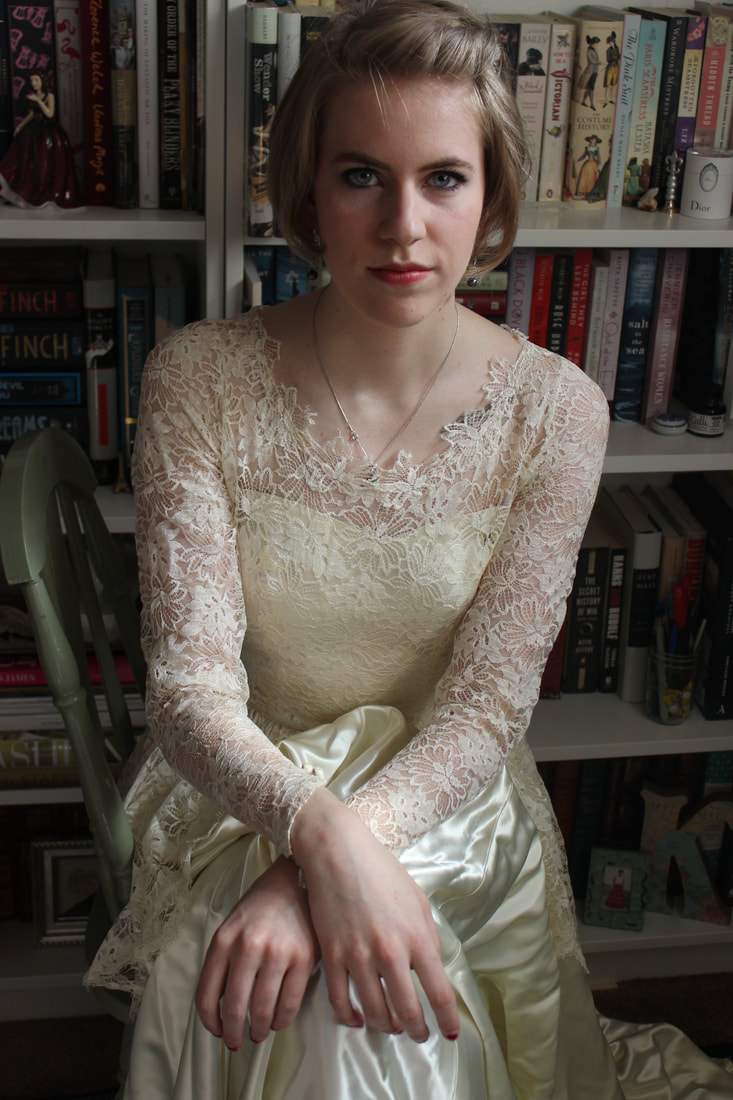 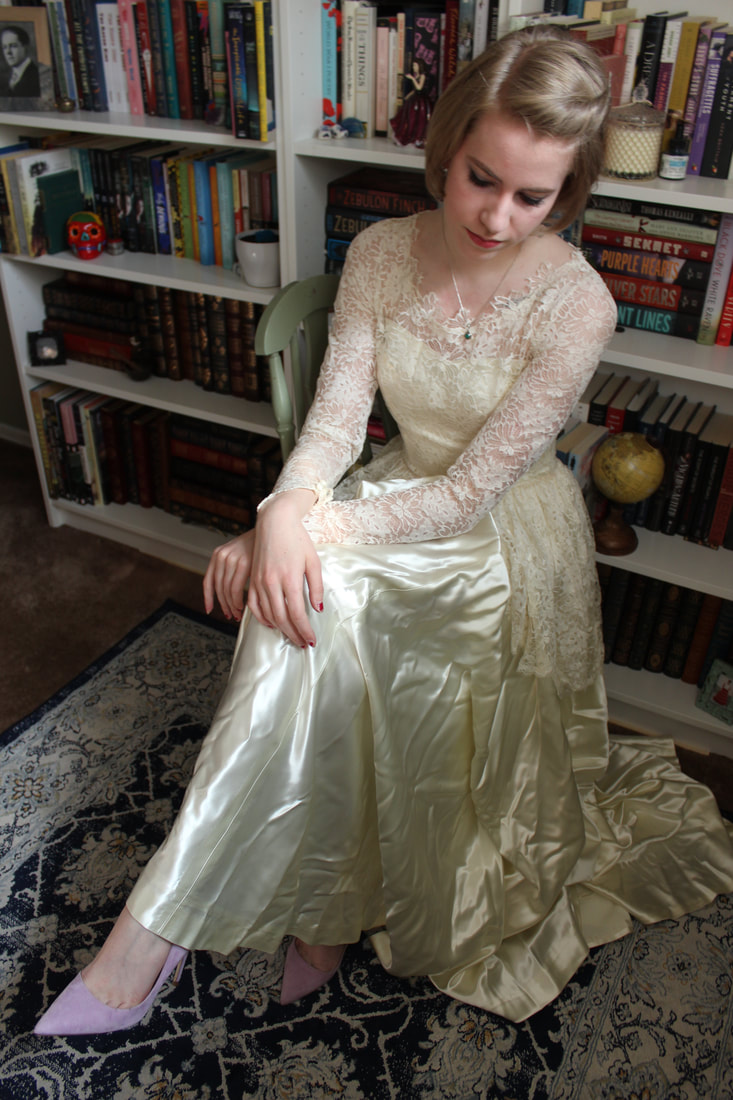 I have been busy with other things as well over the past few weeks- I have been planning and researching for new projects, getting my proposal ready for MakeFashion, and I just recently got a job as a cosmetician at a drugstore. I have also been sewing, and I am almost finished a section of my newest project. 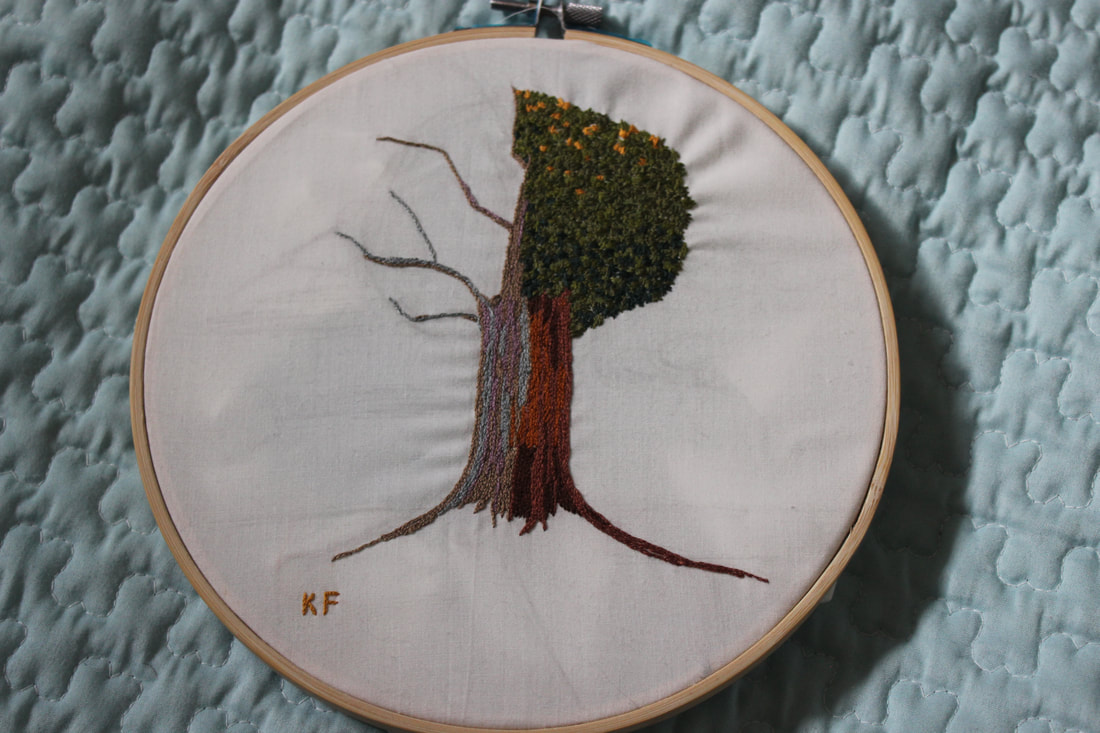 ~K
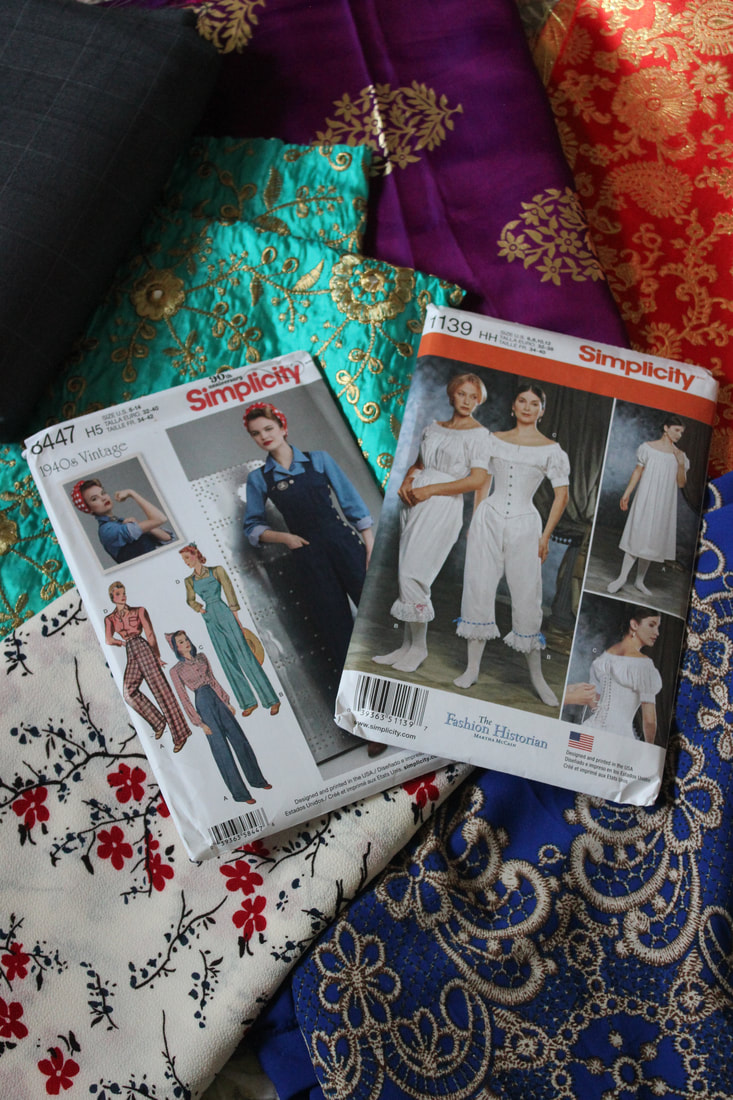 I made my way over to the Bhatia Cloth House for the first time last weekend, and I am so thrilled with the things that I found! 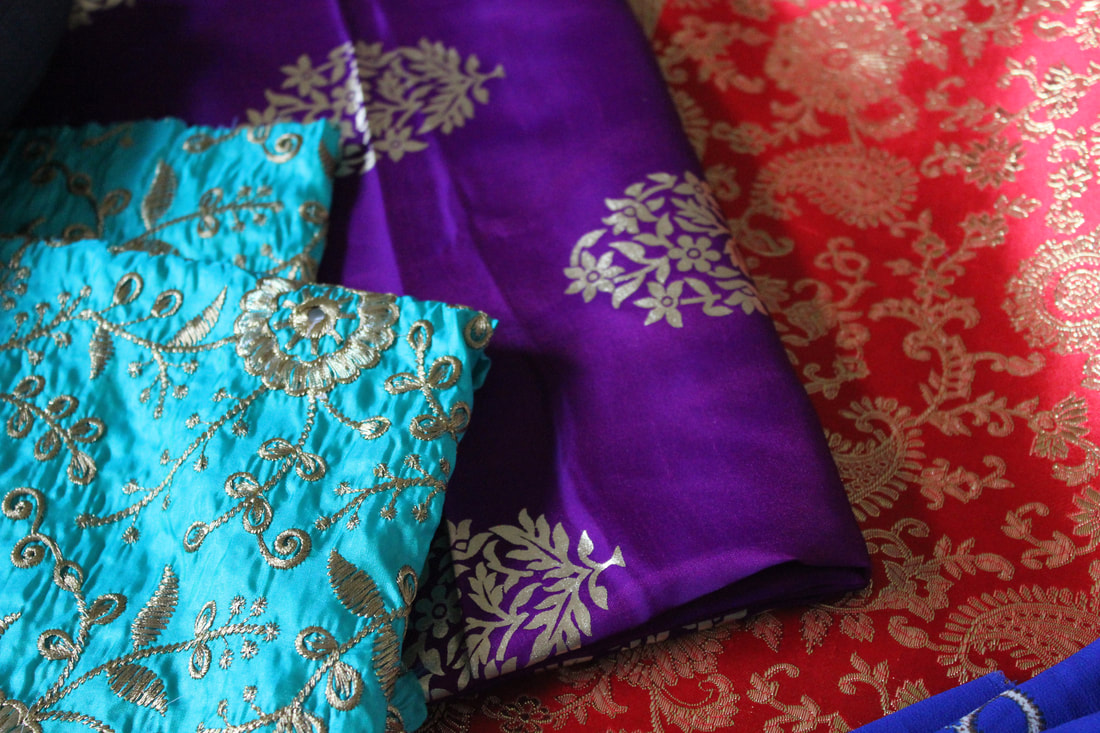 The Cloth House was really beautiful and they had tons of gorgeous fabrics, as well as sarees and other fancy dress. The costumer service was really lovely, and I can't wait to make my way over there again to pick up more fabric! 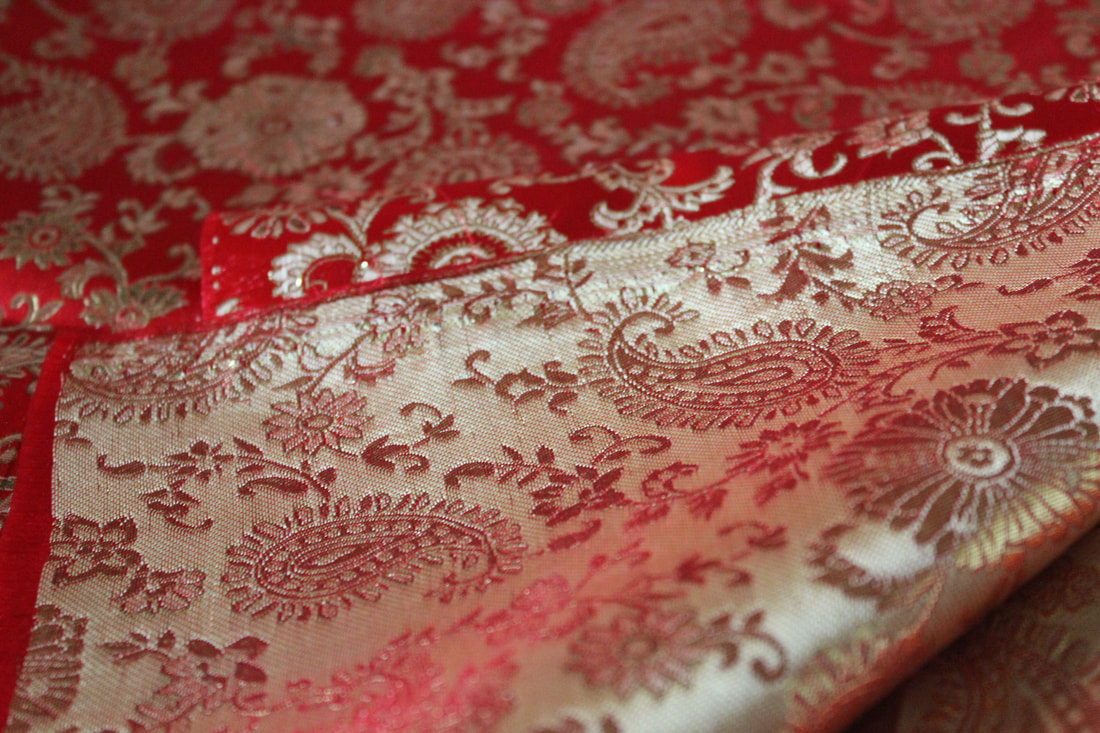 This red and gold brocade is stunning, and a bit darker than the photo shows 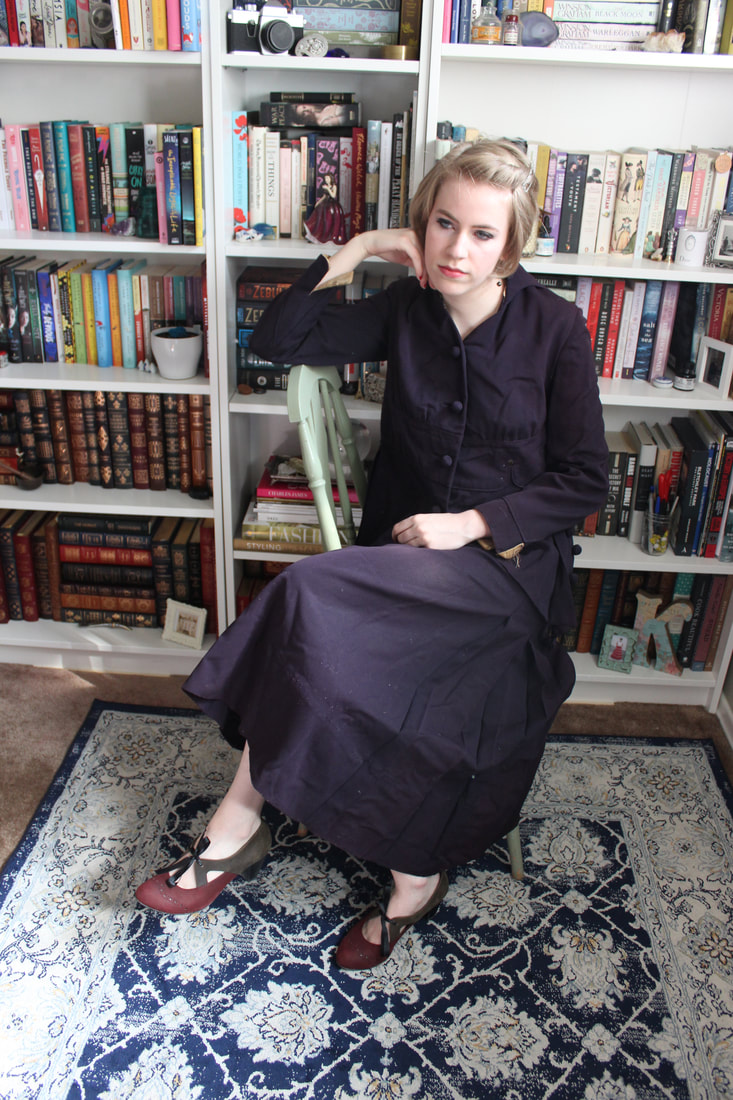 Silk is so difficult to take pictures of! This one is more of a turquoise than a pure blue 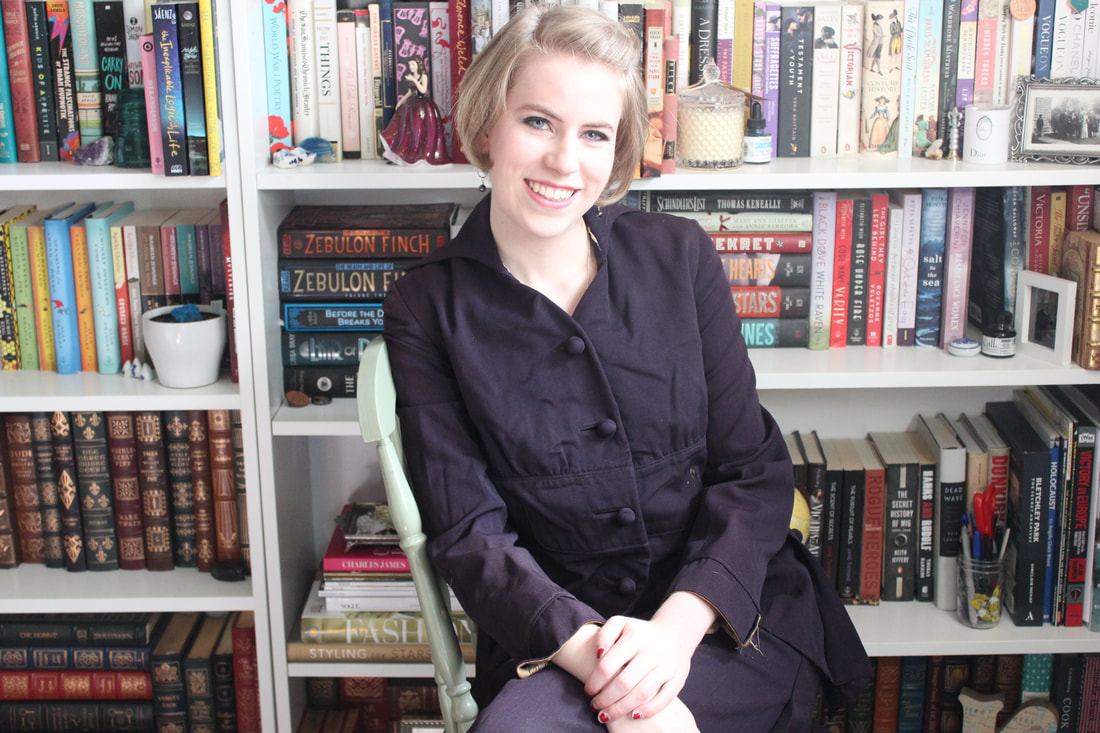 This photo is actually pretty close to the real thing! I love that it can look purple or pink in different spots I do have plans for all of the pieces that I picked up, but the only plan I will tell you about is for the mens suiting. 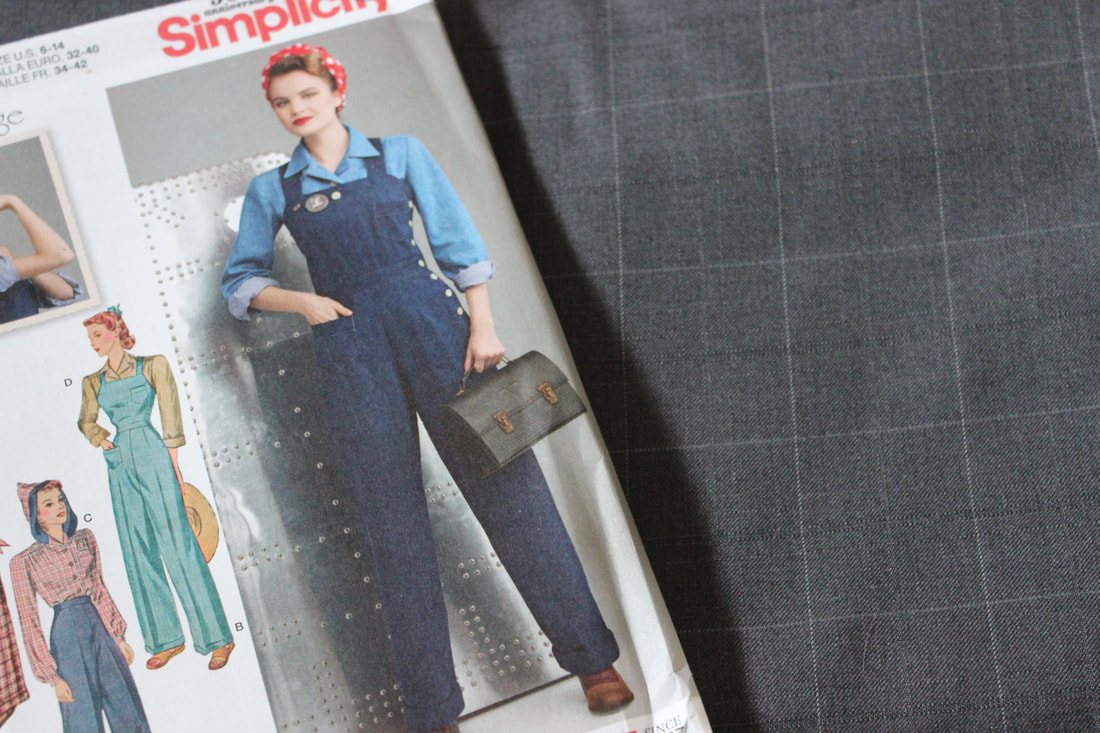 Not only did I pick up fabric from the Cloth House, but I also ordered a few patterns not long ago. The 1940s pants are what I will be making with the mens suiting wool, and there is so much of it that I am hoping to also get a pencil skirt or blazer out of it! 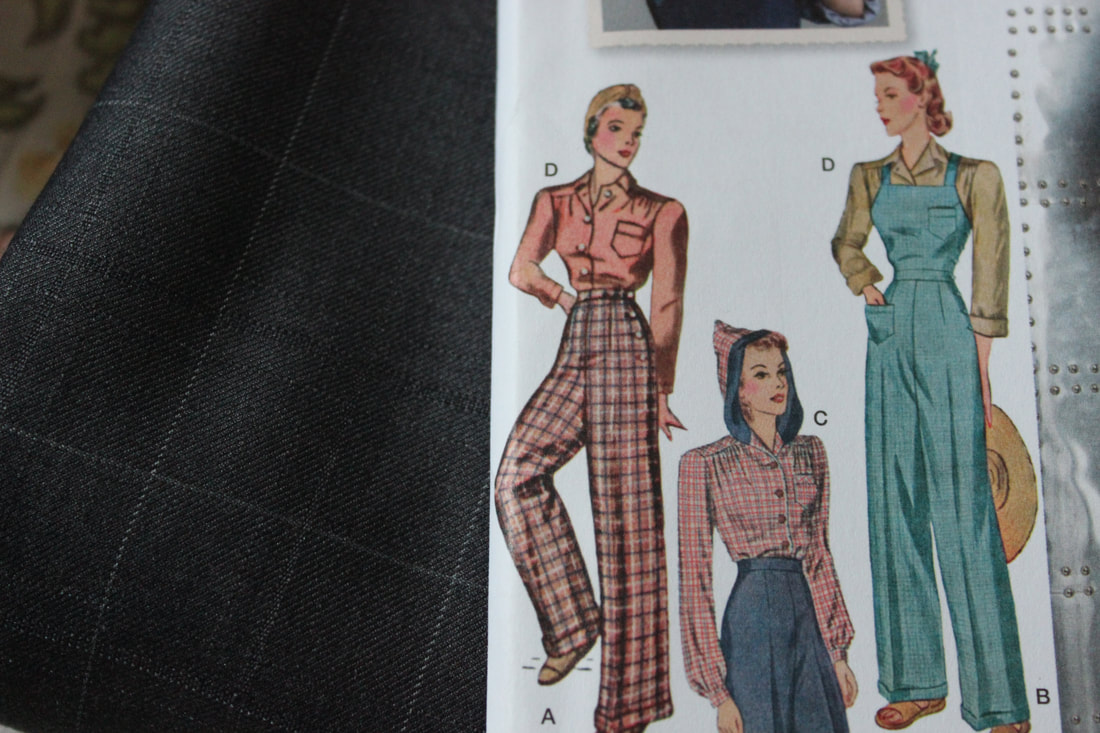 The drawing on the left are the pants that I am going to make with the mens suiting material Both of the patterns are from Simplicity. I have ordered a few patterns from Simplicity now, and they have always been great. The patterns have come quite quickly every time as well, which is very nice when ordering things online! 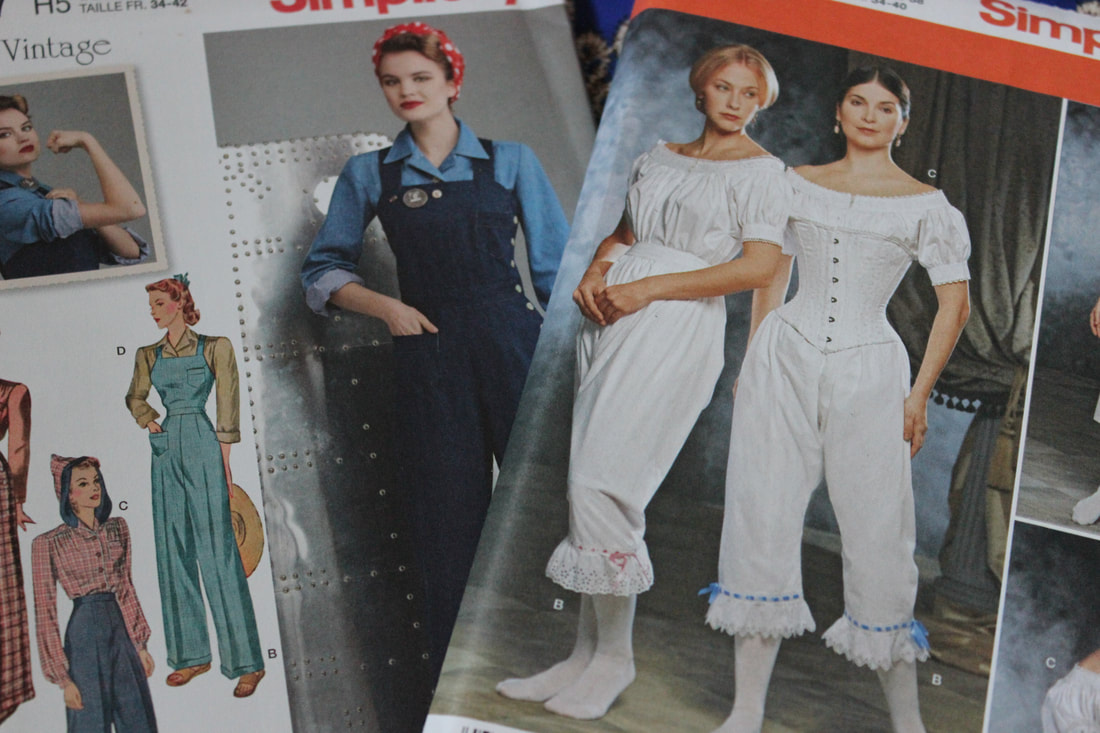 And there is more! My boyfriend just got back from Vietnam, and he brought me back such beautiful things! He had an Ao Dai (traditional clothing from Vietnam) made for me, and I was given the extra fabric left over from that along with another chunk of fabric!  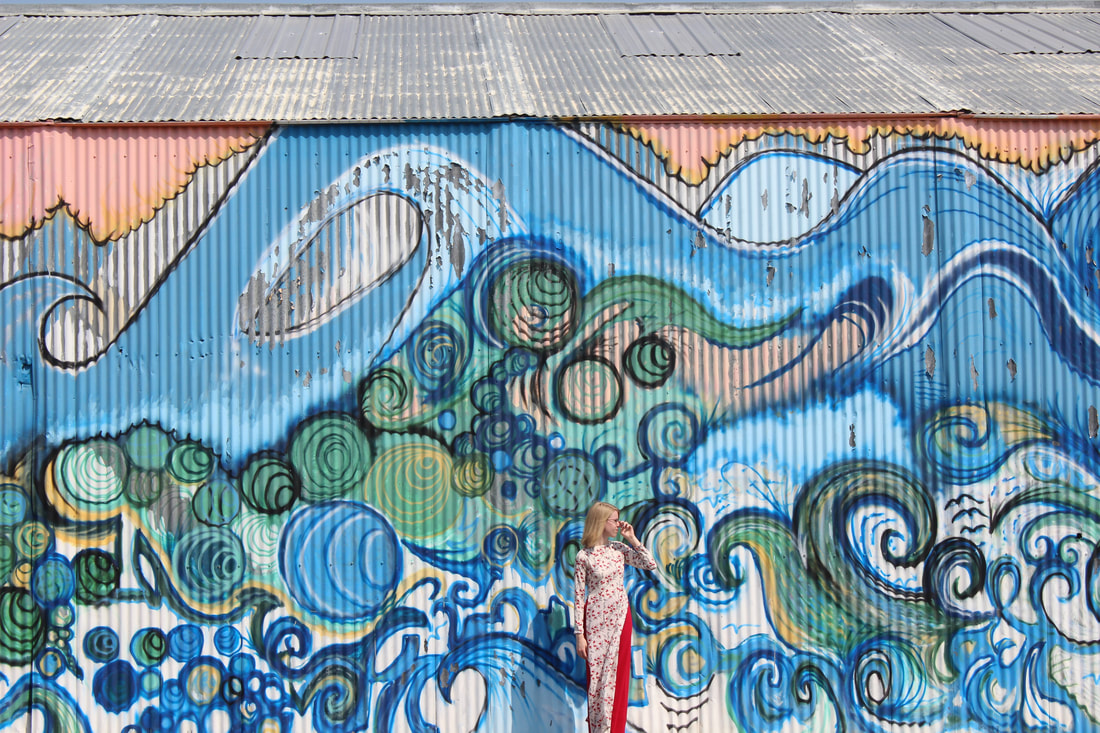 And here is the ao dai! You can't see details here, but it is made of the red and white fabric in the photo above this, and it is paired with red pants Stay tuned for lots of exciting new projects!
~K I filmed the whole process of making my 1940s styled dress from yesterdays post. If you have any questions about the process, or if you want to see more videos like this, let me know! To see more photos of the finished dress, click here. The music is from bensound.com ~K
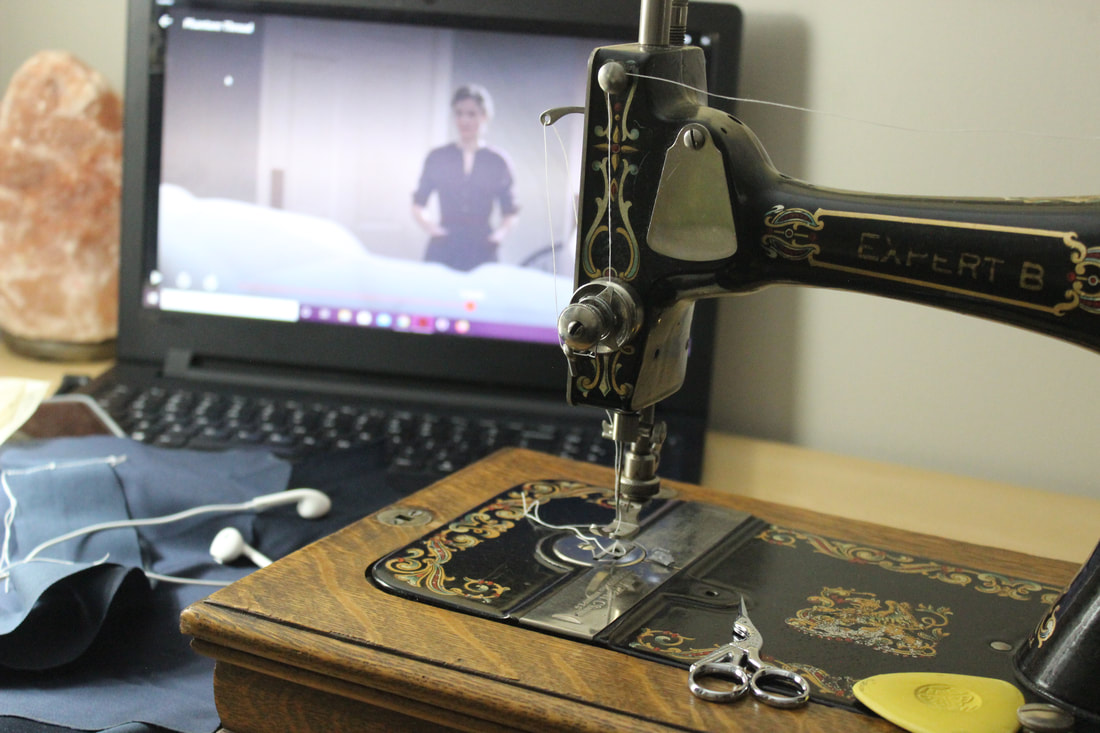  I have finally finished my wool suiting 1940s dress that I have been planning on for a while, and I am really pleased with how it turned out! 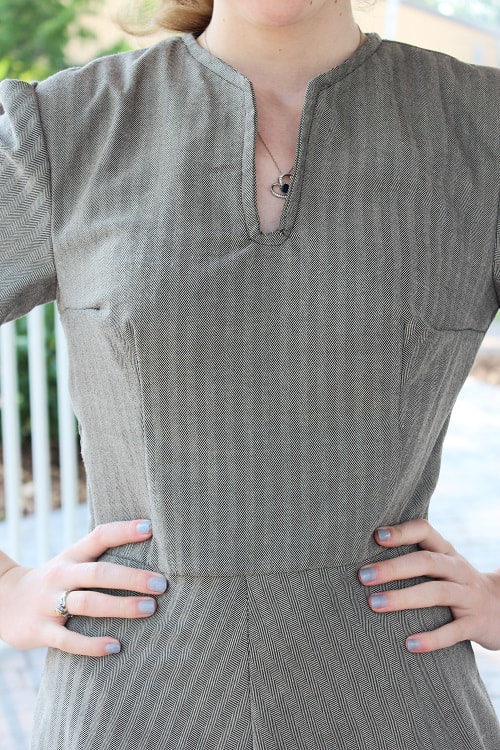 The dress pattern that I used is the Vintage Vogue pattern V9082. The whole pattern fit very well, and the only adjustments that I had to make were to the darts. That was an easy fix to ensure that it fit me perfectly, and the rest of the dress went together quickly. 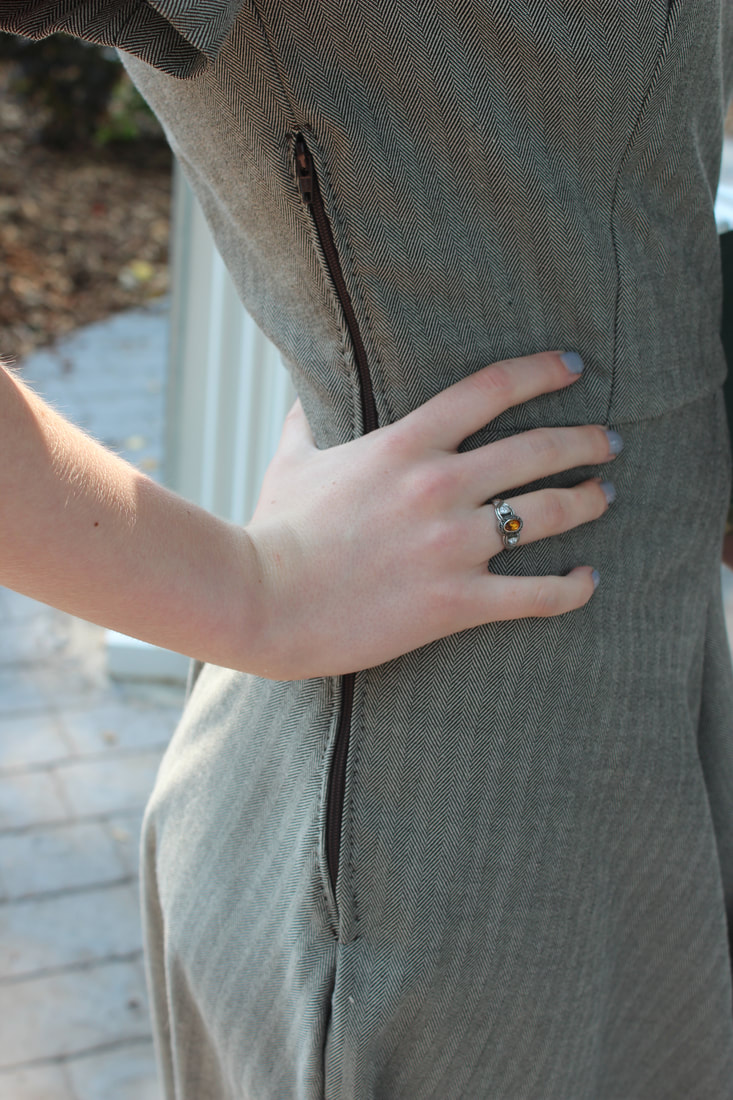 The pattern called for a hidden zipper, but I prefer to set the zipper in normally because that makes it stronger, and I have had the issue of hidden zippers getting caught.  One detail that I am very proud of is the matched front panels. This happened completely by accident, and I love how it looks. 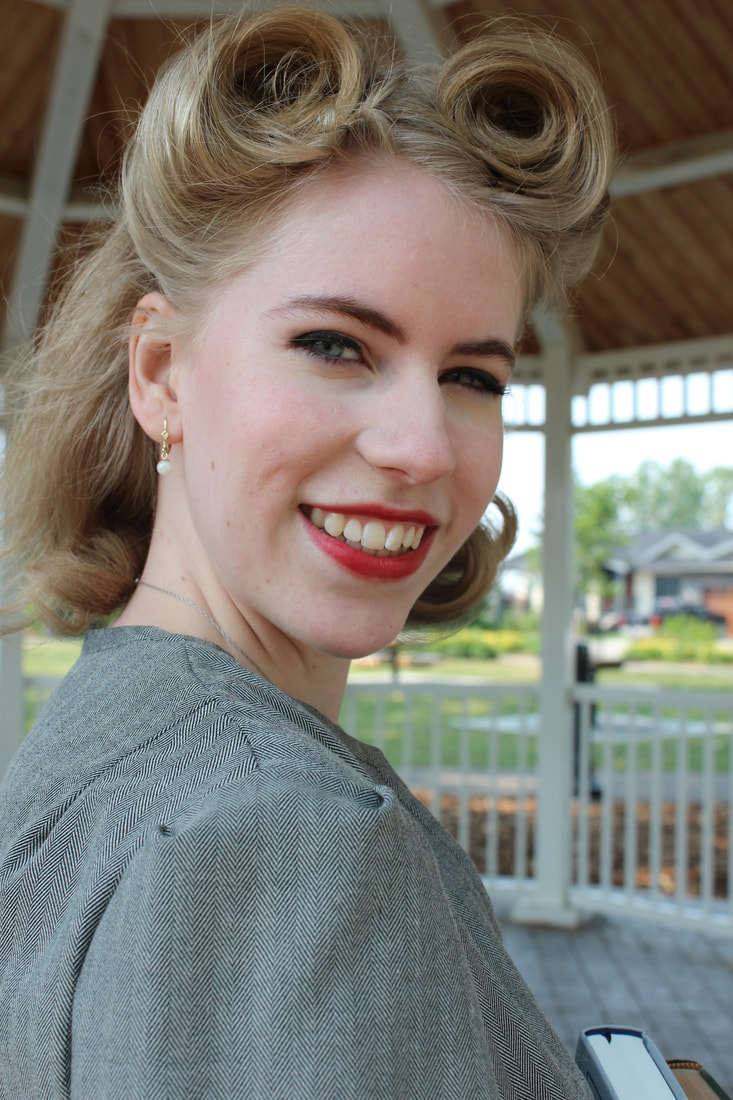 The sleeves have two pleats in them to create a 1940s silhouette without any padding. 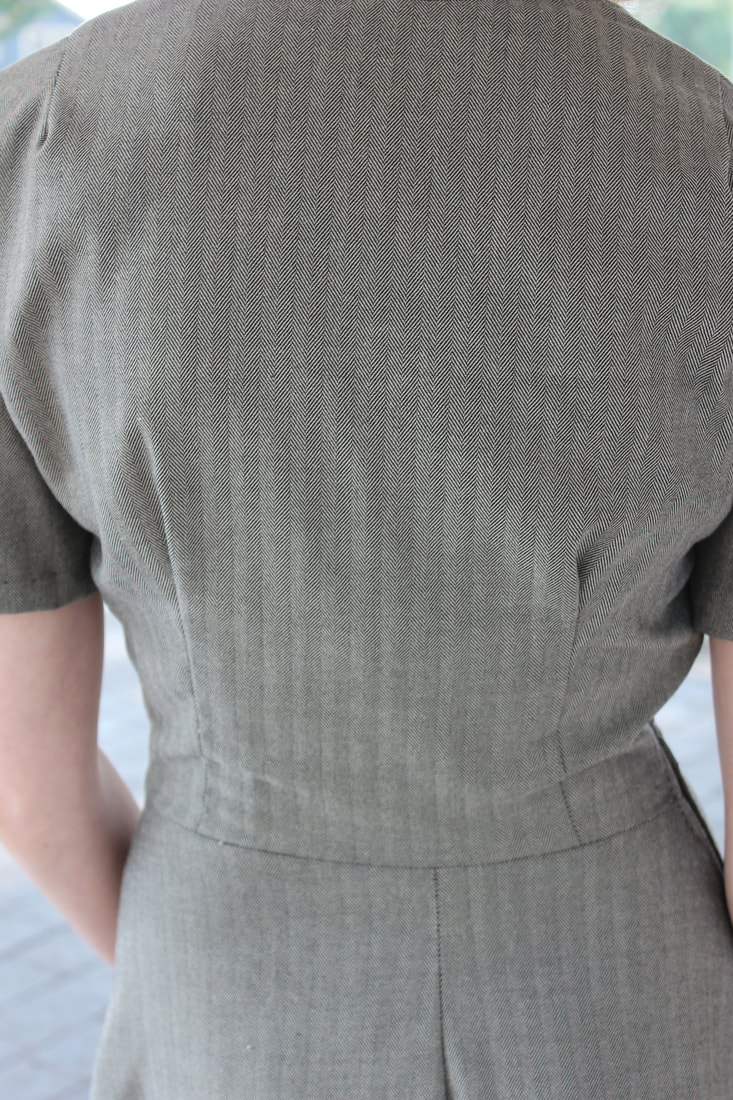 There are so many photos that I like from the photo shoot, so I will put a break and you can see more if you would like.
Also, stay tuned for a video about how I made this dress over the next few days! 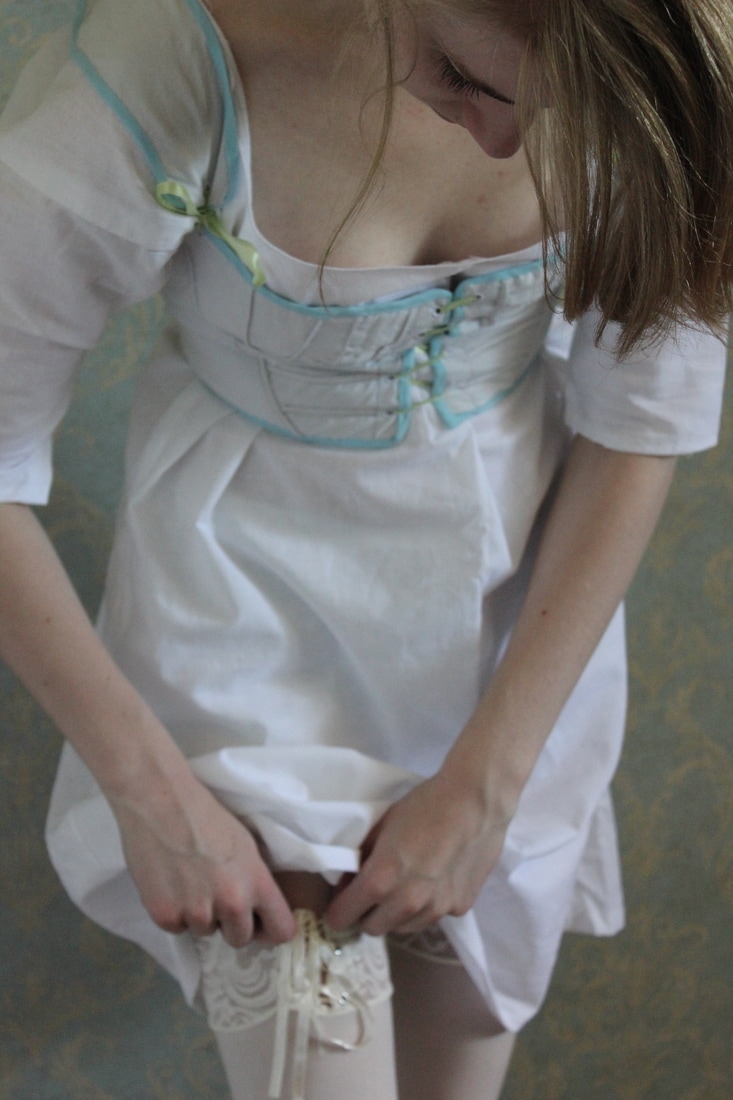 I finally took a few photos of my finished Regency stays! They are three layers of cotton with very minimal cording at the front. The entire garment is hand sewn. 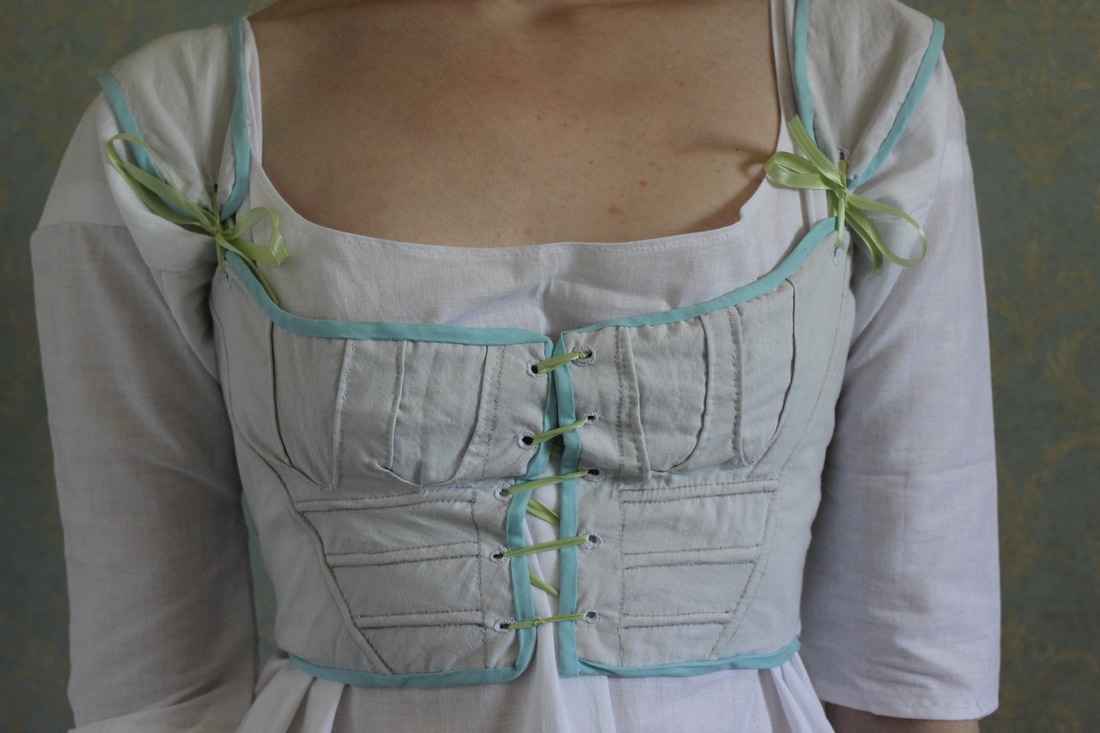 I wore it here with my 18th century chemise 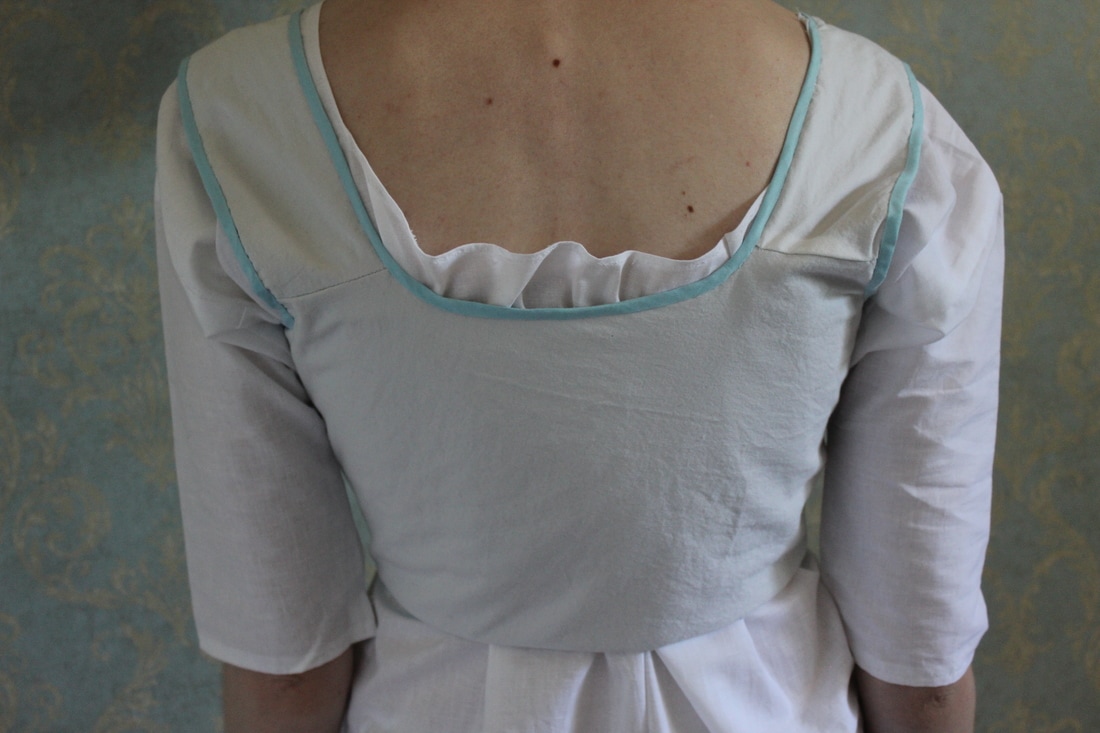 This was a bit of a stash-busting project, so everything except for the bias binding was from my stash. The stays were also drafted by me, based off of a few Pinterest photos of original stays from the 1810s. 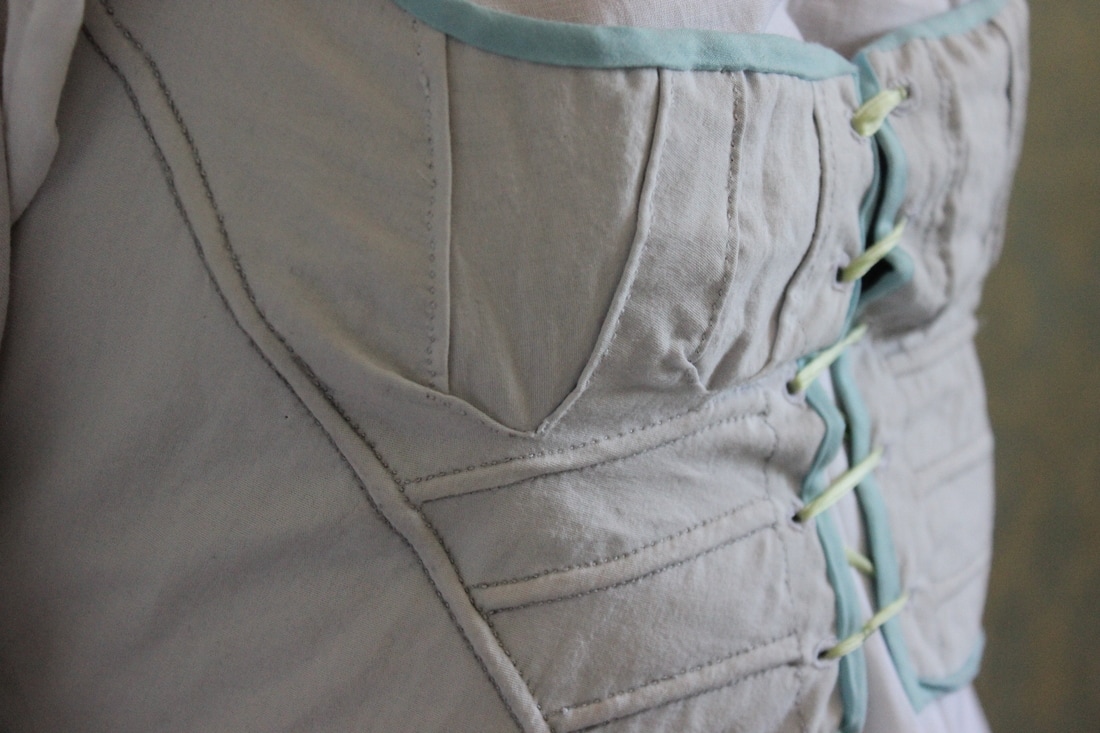 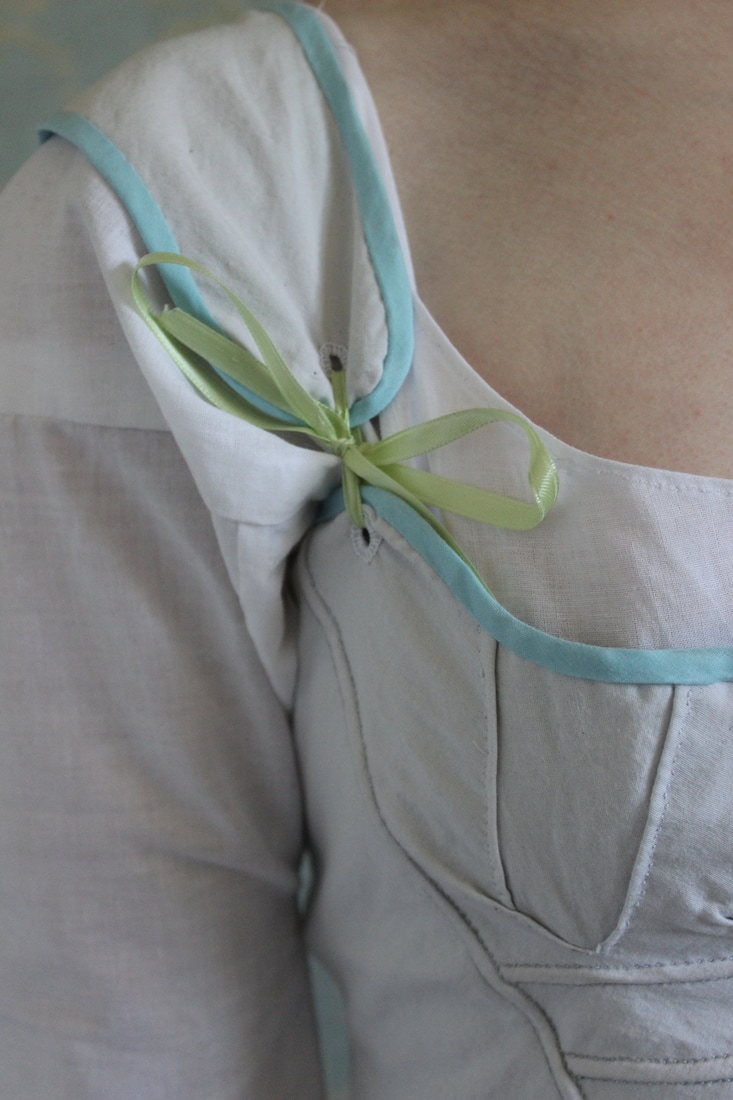 The middle and lining fabrics are a brown cotton that is from worn out sheets, so it is tough fabric. The front white fabric is a white cotton that I have had for ages. I decided to bind the stays in turquoise for fun, since binding is such a long and sometimes tedious job. 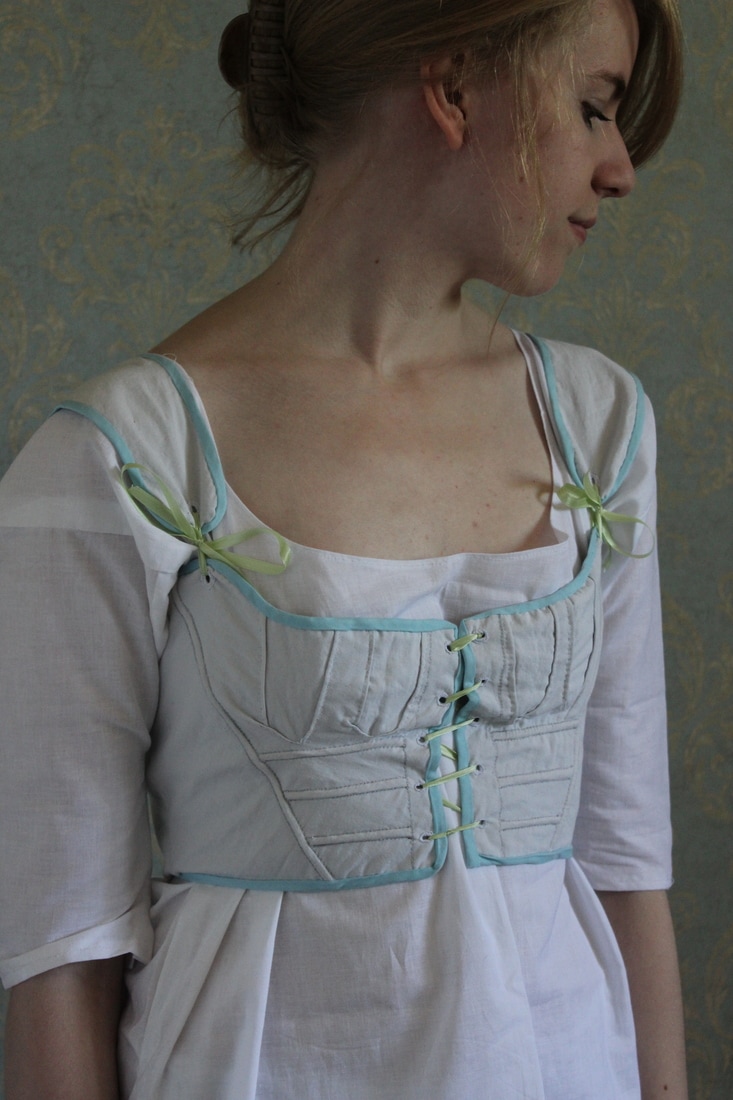 Next up in my Regency wardrobe I need to make a petticoat. This will be another stash-busting project, since I have the perfect materials for it already. I would also like to make a summer spencer (basically a short coat) out of a light blue linen that I have, and I also would like to make a few changes to my dress that I posted about here. 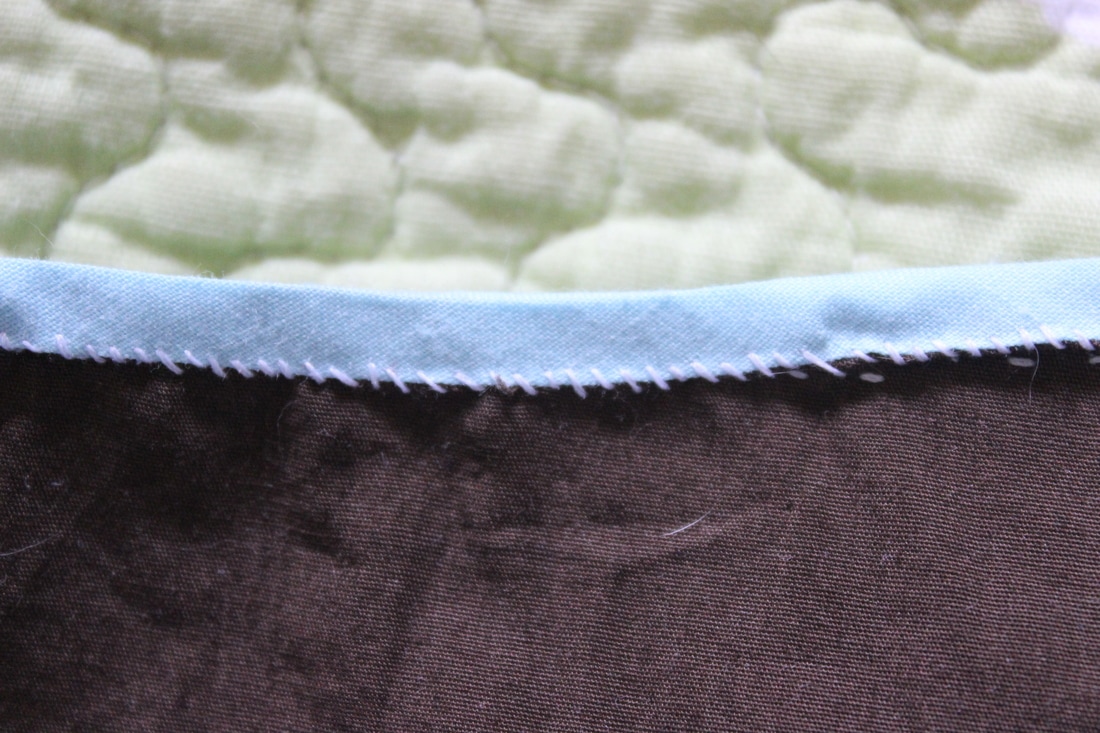 A close up of the inside of the stays 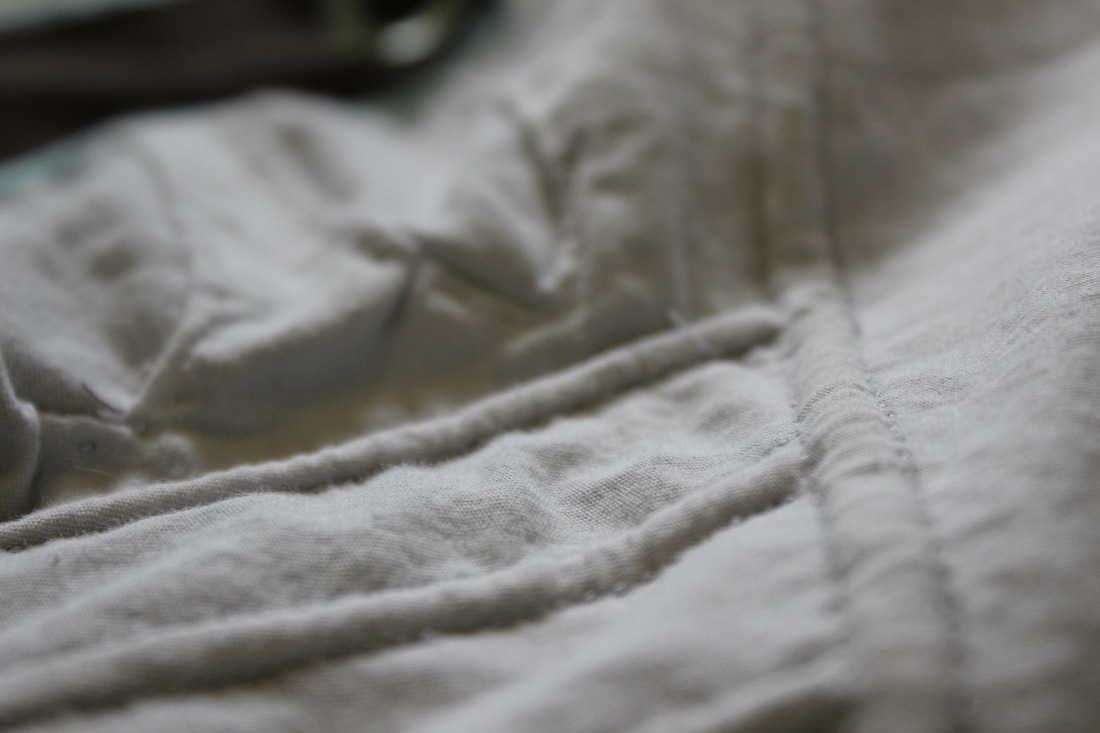 Here you can see the gussets and cording in more detail 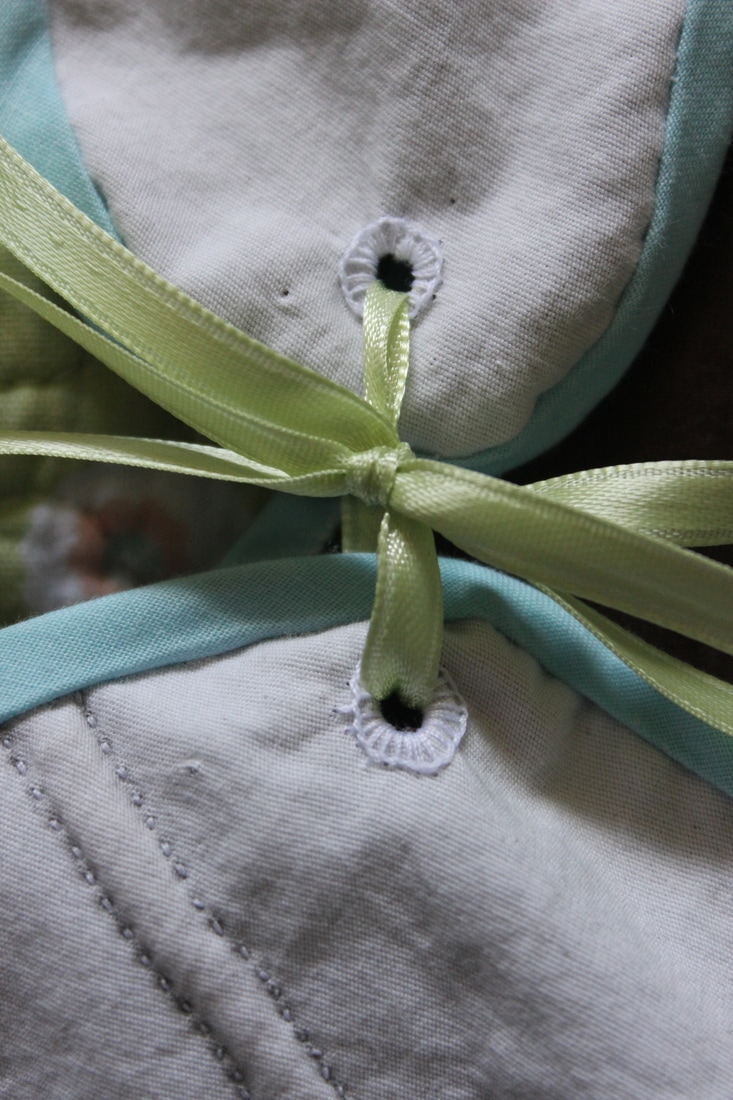 Some of the eyelets that were hand done. I am very proud of these, since I am slowly getting better at them ~K
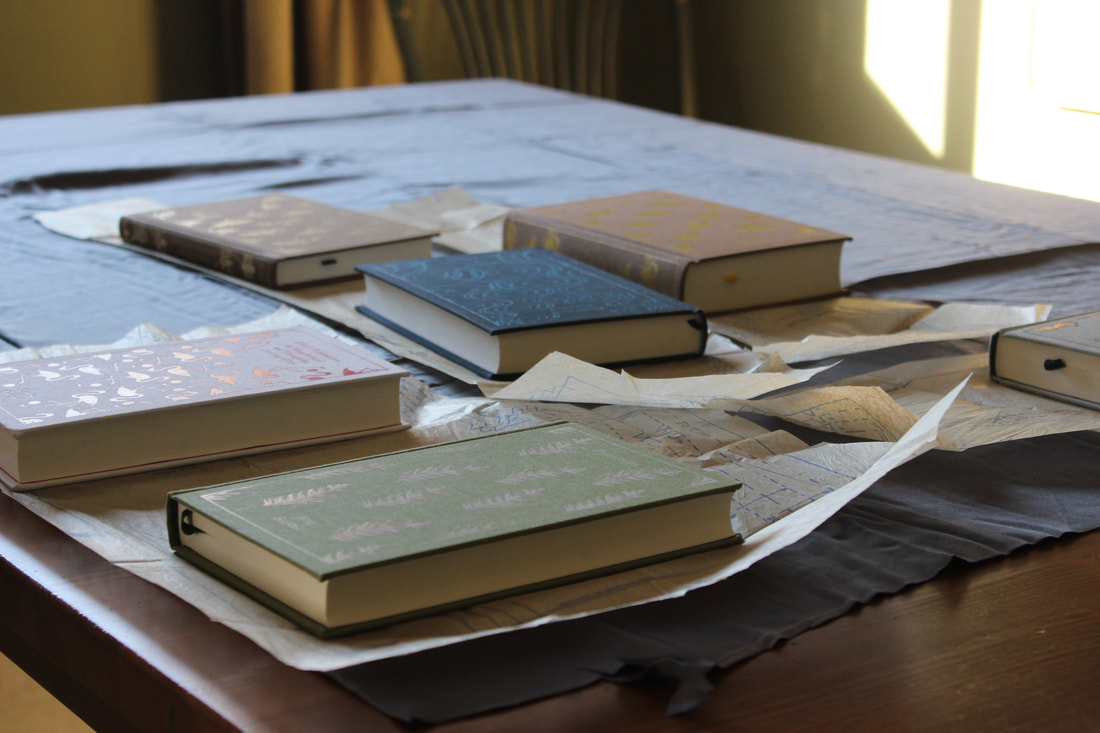
I have been intrigued with quilting for a while now, but so far I have never tried it. I decided to learn some new skills by making a small quilt as a present for a teacher. 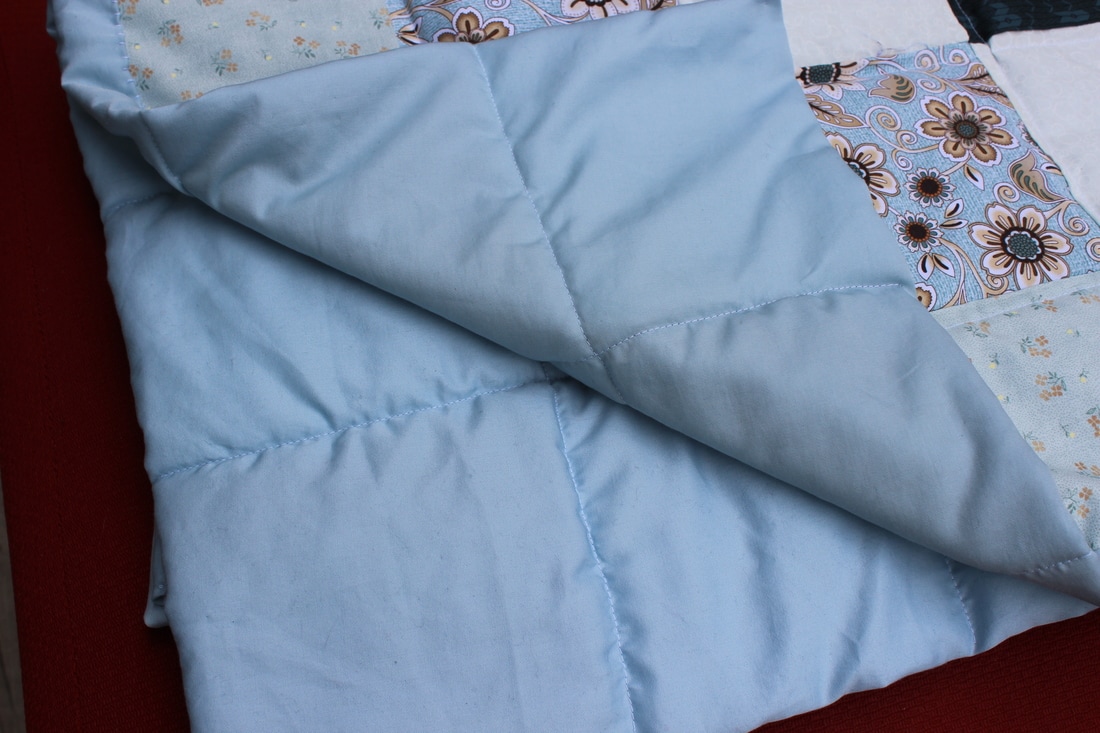 The fabric that I used is from a bundle that I received as a gift a while ago. I thought that the colours in the cotton fabrics went so well with the cotton sateen that I decided to use it as a backing for the quilt. 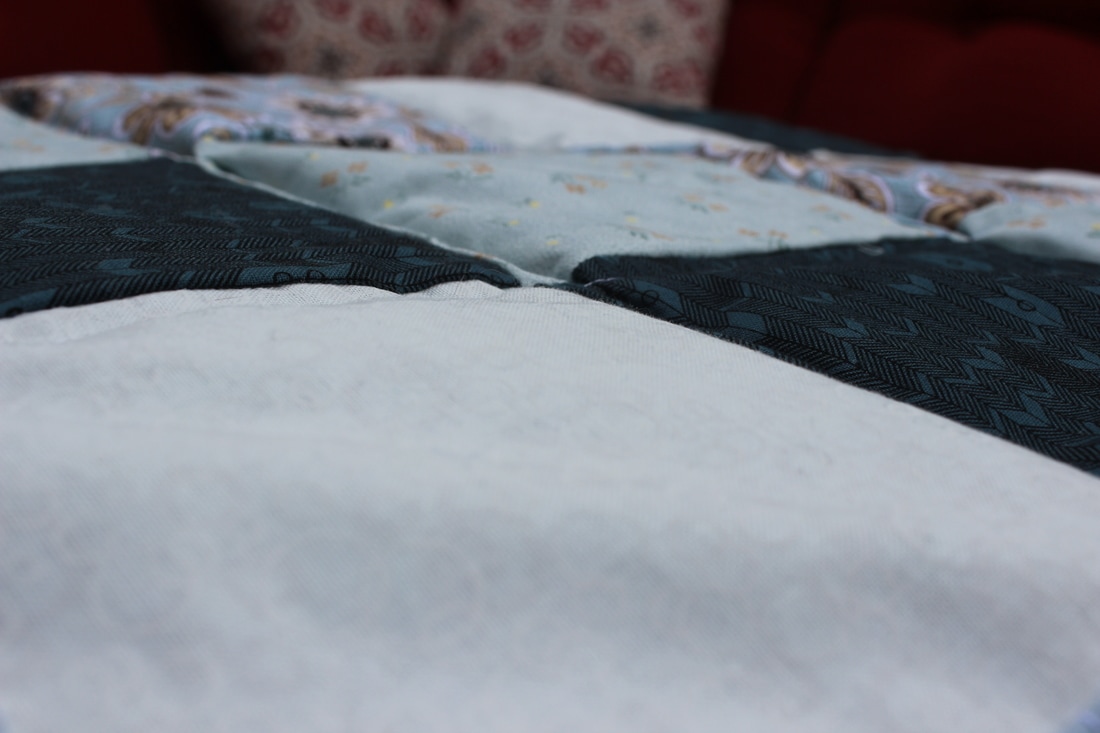 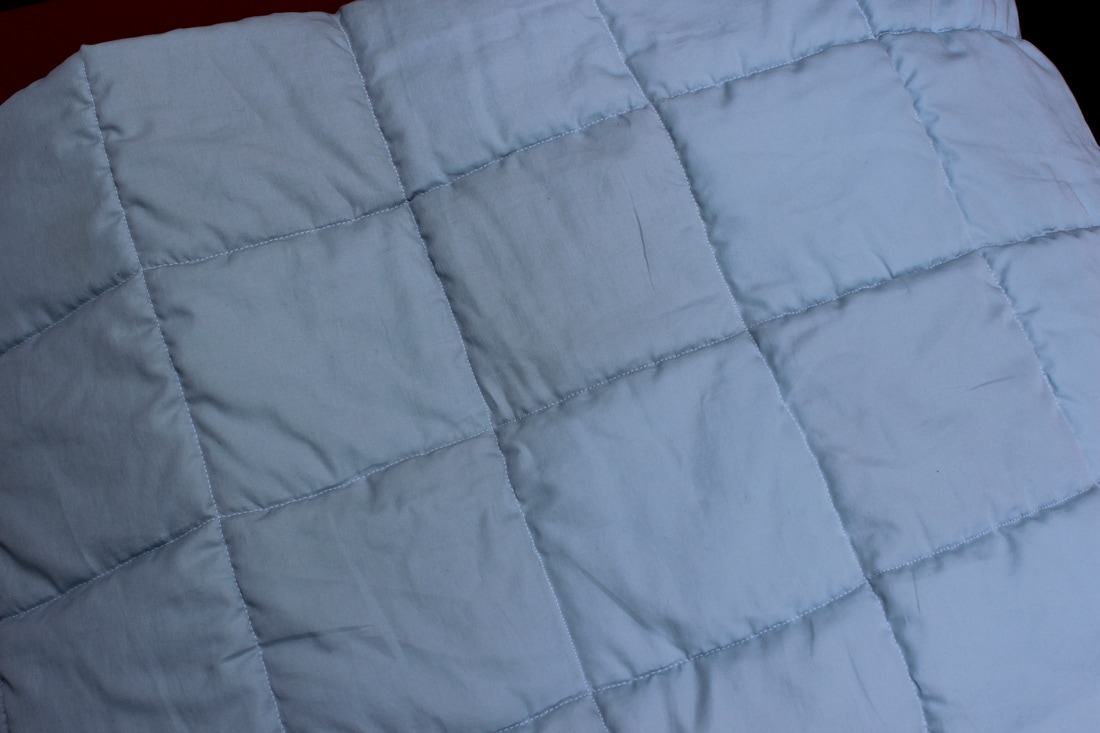 The quilting that I did was very simple, since I have only ever tried it on some test pieces, but I like how it turned out. The entire front piece is hand sewn together, and the quilting was done by machine. It was finished off by hand as well. 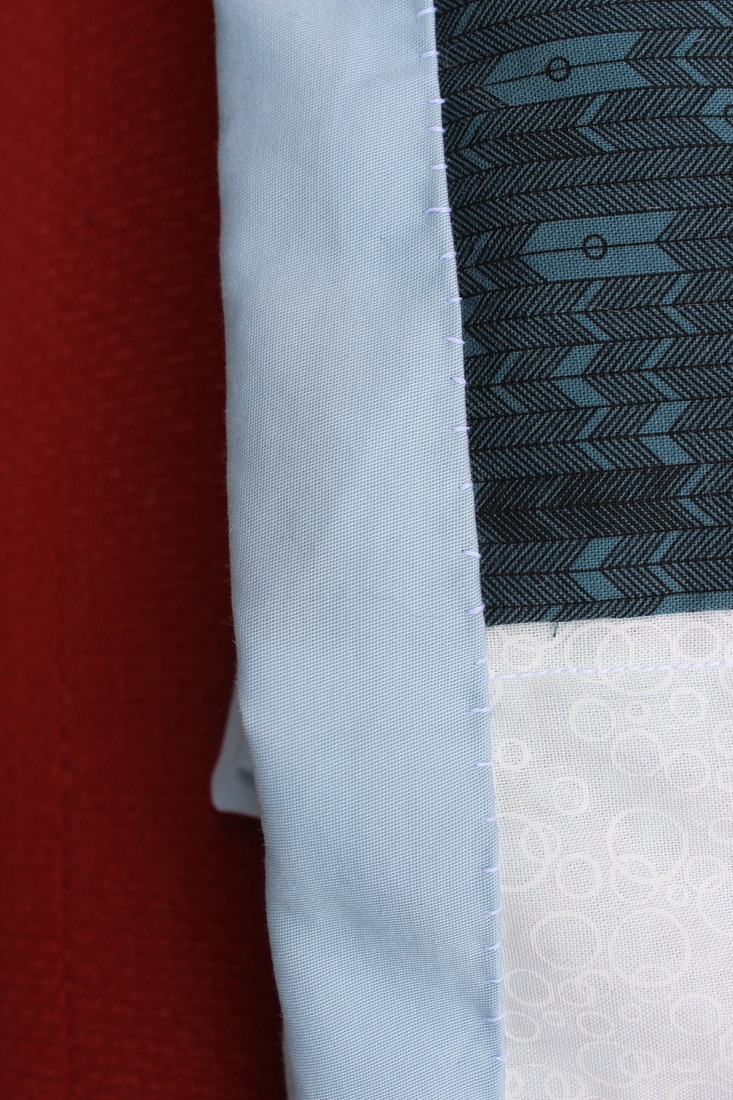 Since this project turned out well, I have some ideas brewing for a pair of 18th century quilted jumps. Jumps are basically a pair of stays without the boning, and they were often worn by working class women. 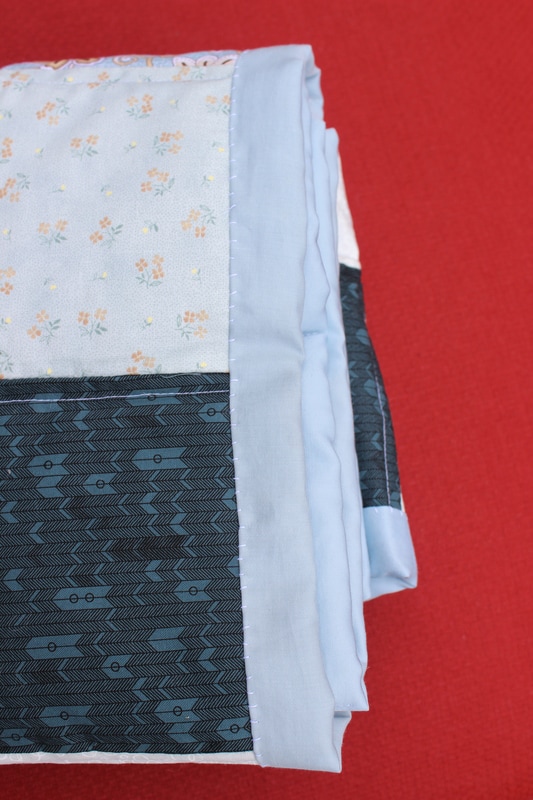 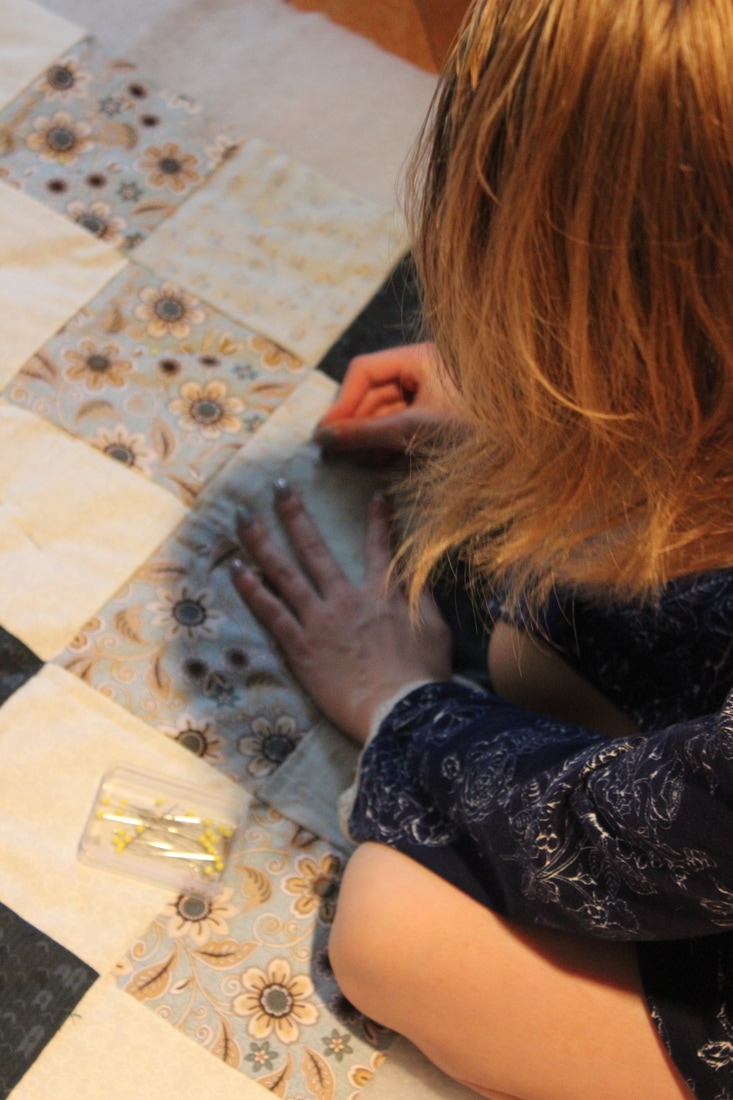 Pinning the three layers together 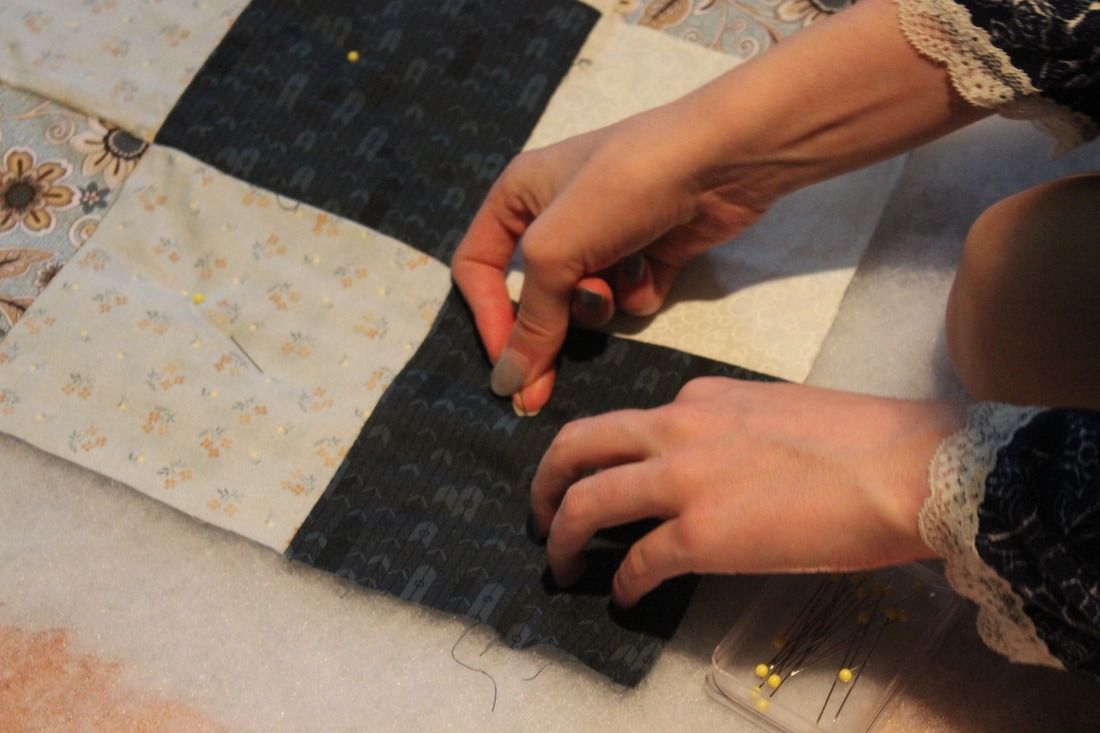 ~K
|
EtsyArchives
April 2020
Categories
All
|
 RSS Feed
